• When you click on links to various merchants on this site and make a purchase, this can result in this site earning a commission. Affiliate programs and affiliations include, but are not limited to, the eBay Partner Network.

1969 Dodge Coronet R/T restoration, going one piece at the time

I really like the look of those headlights. I know little about electrical, I will watch to see how things come out with you.
You are doing a great job, keep up the good work.
 
Thx Showard, i've gone through your project topic as well and seeing projects like that just give motivation and ideas.

You may want to consider the remote relay kit for the headlights.

That's what i was thinking about as well, not sure what power rating the OEM head lights used to be?
Think it will be not far off, them old bulbs consumed more power and created more heat them days compared to modern bulbs.

But still it is quite strange these power consumers are not protected by a fuse...
 
Today i was reading some other members their restoration posts and realized i overlooked something....
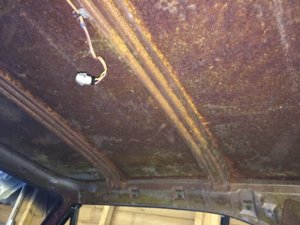
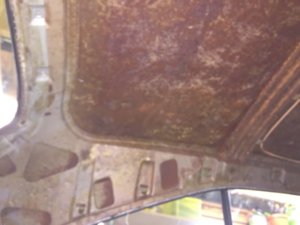
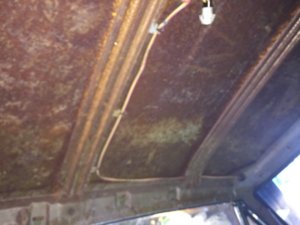
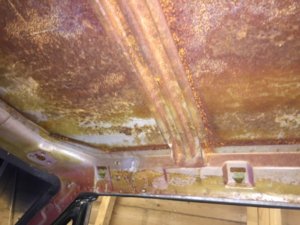
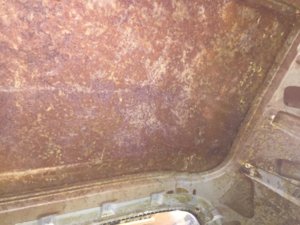
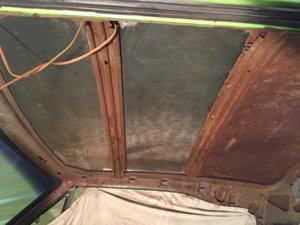
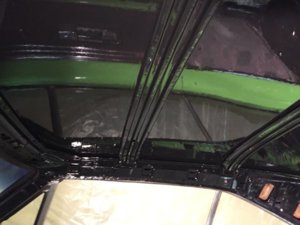
I am already not looking forward installing a new headliner but this really needs some love...and POR15.
It's nothing severe, just dry surface rust and due to the red primer it looks worse on the picture then it really is.
Just needs a buff to clean up to bare metal and should be good to go.
Also i can apply some sheets to prevent drone/rattle noise.
Anyway, i am in my last week home so this is something to worry about probably next year to get this completed.
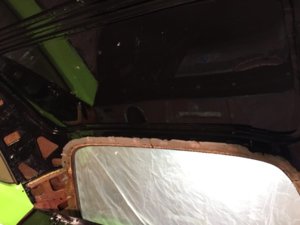
Nasty part is that the dash etc. already is installed, but i will get some plastic protective sheet to cover everything to prevent dus and paint to get on it.

IMG_8660.jpg IMG_8662.jpg IMG_8663.jpg IMG_8664.jpg IMG_8665.jpg
 
Last edited:
Great series of articles here... will be very helpful on my project. Nice guys.

Asking is for free, if you need any tips or info/pics just ask!

Just wondering, as i want to install a new dash bezel kit does the passenger side does not have a R/T badge on it?
Never came across one for that location, i did see some examples of having a "Coronet" badge on the dash.
 
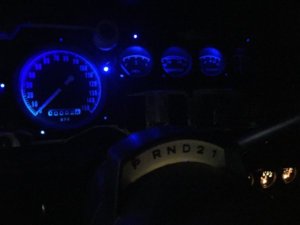
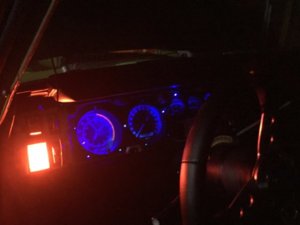
I received my new speedometer from Classic Industries, the one under warranty!
So installed that on the dashboard and temporary installed it in the car and hooked it up to test everything.
Luckily everything was working correct! Not bad for a amateur electrician. :rolleyes:
Those 4 H4 bulbs in the front provide enough light, that's for sure. :D

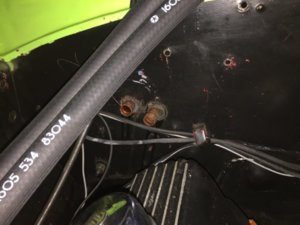
Also completed the installation of the coolant hoses for the heater core, was not hard at all to install the hoses on the tubes as they went on quite easy.
Just doubting a bit on these hose clamps, i might change them for proper hose clamps.
I got a radiator cap for 16 lbs. and i am a bit afraid of blowing a hose off.

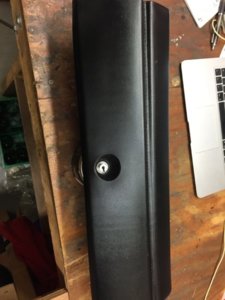
Last bit of the dash exterior, the glove box had to be cleaned and treated with some love to get the vinyl nice and shiny black again.
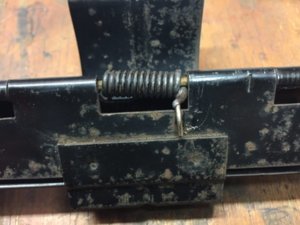
Also found out why the glove box never fully went up, 1 spring was broken so only 2 out of 3 springs were doing the work.
Little weld tag with the TIG machine did the trick by adding some stainless steel weld rod on it and bend and cut to size.

Was looking today on CI for some replacement headliner etc.
I also found new sail panels, but maybe anyone knows if these come with the 2 little brackets at the back for mounting them with the spring clip?
Hope so because that will be a pain to fabricate something for it, or instead glue the whole thing agains the steel frame.

View attachment 539375 IMG_8680.jpg IMG_8681.jpg IMG_8672.jpg IMG_8682.jpg IMG_8683.jpg IMG_8684.jpg
 
By the way, in the pictures you can see the damage taken by the old speedometer. (Left=old)
The drive insert is sitting much lower inside the body compared with the new one.
Just for anyone, be aware if you struggle to install the white clip on the back of the dash there might be something wrong which will destroy your speedometer.

IMG_8674.jpg IMG_8675.jpg IMG_8676.jpg
 
Last edited:
I did find i still had some time at hand to get the roof done before i go back to work.
Now finished i cannot feel my arms anymore of working above my head. :eek:
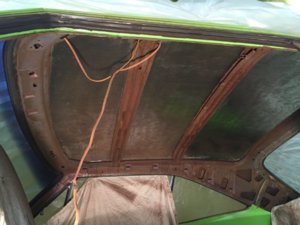
I got my angle grinder with one of these soft wheels that don't remove metal and are ideal for removing rust and paint.
After that i went with a electric drill and a wire wheel and did the beams and all other corers i could reach.
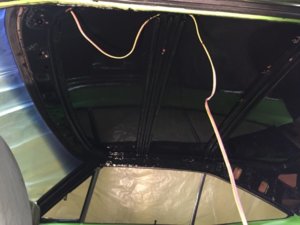
The result turned out good, and after a good clean and degreasing i applied the first coat of POR15.
Tomorrow i will apply the POR15 top coat and that should survive for a long time :thumbsup:

Also, to complete the interior i still require to order some bits and pieces.
Now, as i was wondering i have 4 arm rests and all have an ash tray installed, but how i understand only the rear ones originally had a ashtray right?
I still need a set of arm rest bases for the back seat, but if the front arm rests came without ash tray will give me an excuse to order a set of arm rests for the front.
All are not in a bad shape but would look nice to get a set of new arm rests in the front and keep the 2 best with the ashtrays in the back.

IMG_8692.jpg IMG_8694.jpg IMG_8696.jpg IMG_8697.jpg IMG_8698.jpg
 
I think you’re correct, never saw an ashtray in a front rest.
 
Last night did some more picture hunting of interiors on the internet but never came across one that had ashtray's in the front so guess i will get a set of arm rests as well!

So are there any logo's/emblems on the doors or dashboard? (Coronet or R/T)
I will order the Ralley Dash Medallion for it, expensive though but will stand out well on the new dash bezels.
 
Well, last day something done on the car for now.
Next time home will be X-mass and new year so i am guessing not much will get done in that time.
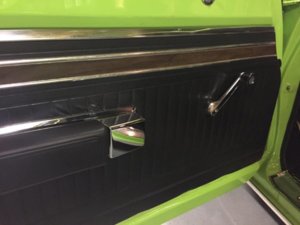
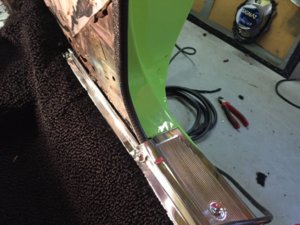
Today received my rear light harness so got that tucked in to the side rail, finally could make a start on the trim on the driver side door.
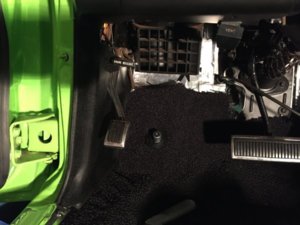
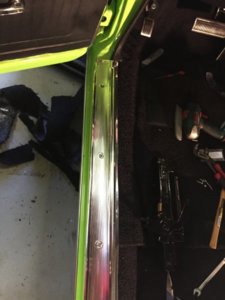
Got the kick panel back in with all it's insulation behind it, trimmed the carpet and installed the door sill and extension piece and a new piece of the black plastic strip in the edge.
Hooked up the window wiper motor and is working correct.
And awaken the 440 for some running as it has not been run for months now.
I had the rpm up a bit for some time to reach normal operating temperature, in the mean while checked all the installed fittings and hoses for any leaks.
Had to top up the coolant as well as the new heater core and hoses were empty.
Initially it fired up it was popping from the exhaust and i wondered why, after i realised the only thing i removed from the engine was the driver side spark plug wires to get access to the steering column.
After checking i found i swapped cylinder #5 and #7 spark plug wires :)

All in all some productive time done again i guess, i was silently hoping to take it out of the garage and go for a short spin but still working on the seat tracks etc. and run out of time.
Still a lot of cleaning and tidy up to do in the garage :)

IMG_8710.jpg IMG_8707.jpg IMG_8708.jpg
 
Looking good....Like the metal replacement pics!

I too like the headlights...very cool...good progress
 
First coat of POR 15 is in place.
I let it dry for a few more hours and apply a second coat.
Unfortunately last moment i found a crack in the bottom :(
Guess this is due to the tranny mount that has been pulling and twisting here.
Tomorrow when the paint is dry is will have to drill the ends, grind it out and weld it.

View attachment 513856 View attachment 513857 View attachment 513858 View attachment 513859 View attachment 513860 View attachment 513861 View attachment 513862 View attachment 513863
This one lol....
 
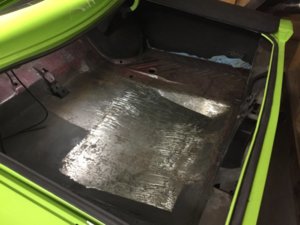
The only actual piece of metal that was "replaced" was the trunk floor.
Unfortunately the person who cut it out replaced it with a normal sheet of metal instead of a correct floor.
But the job is done ok and to me not worth pulling out, unless i would go for a full restoration.

I am really happy this car is so solid as it is, if that would not be the case i would have went for a full restoration.

IMG_8365.jpg
 
The only actual piece of metal that was "replaced" was the trunk floor.
Unfortunately the person who cut it out replaced it with a normal sheet of metal instead of a correct floor.
But the job is done ok and to me not worth pulling out, unless i would go for a full restoration.

I am really happy this car is so solid as it is, if that would not be the case i would have went for a full restoration.

View attachment 540331
It is nice to see a very solid car....a good beginning means a fantastic ending...

Like I said earlier good job on the metal replacement...thats all....
 
He all, first of all a happy new year to all of you!

It has been a bit quiet the last 2 months here due to work and the holiday.
The last week i was at home again and found some time again to carry on with the car.
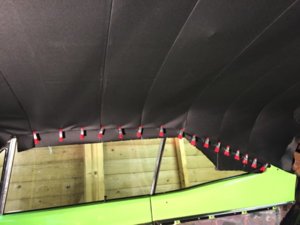
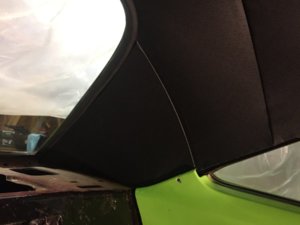
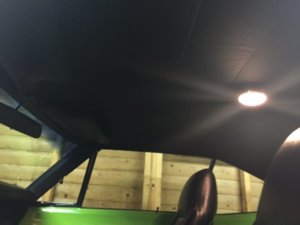
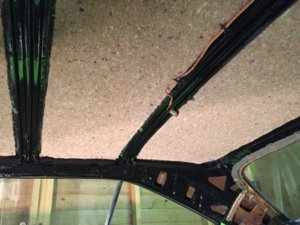
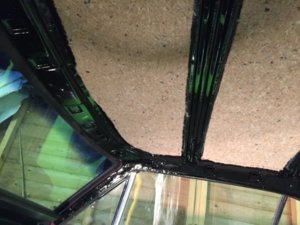
I grabbed all my patience together and started on the headliner installation.
First i glued on some insulation liner and, as recommended, installed all fasteners for the sun visors, dome light and coat hooks to easily locate them afterwards.
This worked really well as you can really pinpoint the location and will not make any mistakes by cutting in the wrong place.
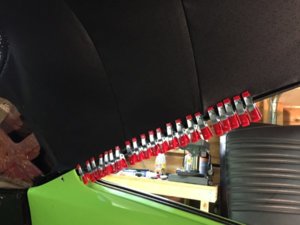
And i got 40 glue clamps which were really helpful to hold the liner in place.
I used contact adhesive, which i applied with a brush as with a spray can type glue it will go everywhere.
Anyway, i would say i got it in place very well, there are still some wrinkles to be seen from packing, i need to try again to smoothen it out a bit with a heat gun or so (which i don't have)

Also got the other door sill installed and installed the roof trim.
The roof trim was not rusty or anything but sanded them up and spray painted them over to make em look good again.
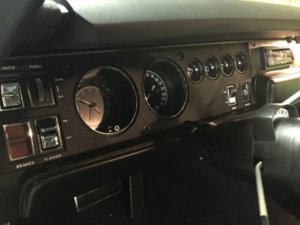
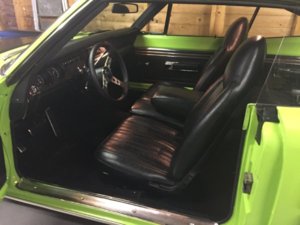
Also received the new dash trim, which was well worth the money, looks perfect!
Also installed the last light bulbs (hard to get here) for the map light and dome light, now all electrical stuff works again!!

And lucky me, yesterday was a nice and dry day so took it out and went for a cruise, i almost forgot about that smile it puts on your face when driving around with it.
Got asked about the car several times at the fuel station and met some other guys who were taking some pics of their own cars with the beautiful weather we had.
Nice to see everything works, all lights, dashboard 100%, heater operational and all audio sounds very good.
It appears to be that all insulation i added does a great job, i can barely feel any heat coming through the floor from the exhaust and noise levels did drop a decent amount when cruising.
When i came home i realised the garage floor needed some attention as well.:wtf:
Lots of drops of POR 15, dust, cut zip ties etc etc...what a mess.
But got it all cleaned up before parking the car back in place.

All in all a good session on the interior.
I will spend some time now and look for a good suspension and steering upgrade/overhaul.
I would like to go for a QA1 kit with shocks, K-member, control arms etc, and get new leaf springs and bushings on the back.
Any suggestions are welcome, i am hoping to find a complete kit for the car to prevent buying from several brands, double parts etc.
And obviously Polyurethane bushing are a good upgrade i guess to make the car a bit more solid with cornering.
IMG_8883.jpg IMG_8888.jpg IMG_8898.jpg IMG_8901.jpg IMG_8908.jpg IMG_8928.jpg IMG_8923.jpg IMG_8924.jpg IMG_8926.jpg
 
Last edited:
And i wanted to share this one with you guys, i laughed when i saw this :rofl:

a85c19765eeeea0f073489c96e9c4d19.jpg
 
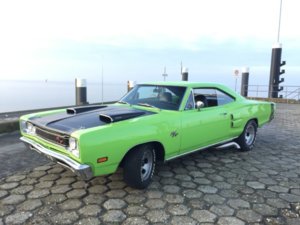
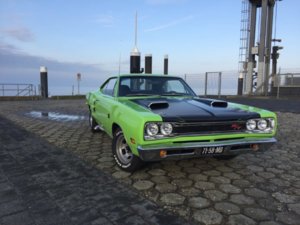
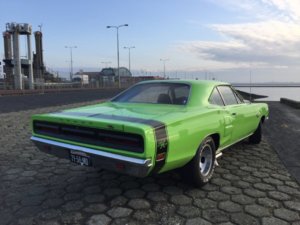
Lovely car! Hard to decide whether it is more beautiful viewing from the front or the rear. No matter, it's my opinion that 68/69 Coronet R/Ts are the handsomest of ALL the muscle cars.
As far as the lack of heat gun is concerned, perhaps your wife's hairdryer would suffice.

And the POR15 on the garage floor, maybe 50% will come off. The rest is concrete sealer. I learned from my Coronet to leave the floor dirty underneath so the POR15 won't adhere to the concrete.
 
Auto Transport Service
Back
Top