• When you click on links to various merchants on this site and make a purchase, this can result in this site earning a commission. Affiliate programs and affiliations include, but are not limited to, the eBay Partner Network.

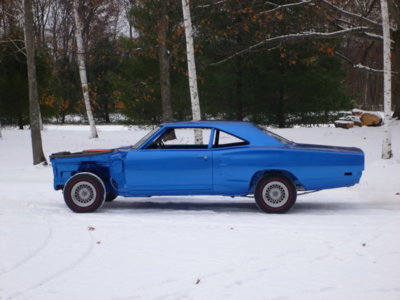
1969 Dodge Super Bee Coupe Restoration

Well I haven't been so determined to finish something since I was trying to get the first airplane that I built completed and test flown before Oshkosh 1995 !

Our youngest Daughter announced she was engaged two weeks back and yesterday while going over what she wants to do for a ceremony, here at our house, she asked to be driven to the "alter" by me in the Bee and her Mom or Brother to drive her Brides Maids out in the Bird. Kristal knows I'm restoring the Bee in her Sister Jen's memory, as my therapy, and she's good with that and wants to make it part of her day. The Bird I need to get cleaned up and roadworthy for Talladega 2019 anyhow so a win win in my books. Gonna be a blur from here on out to get this all done!

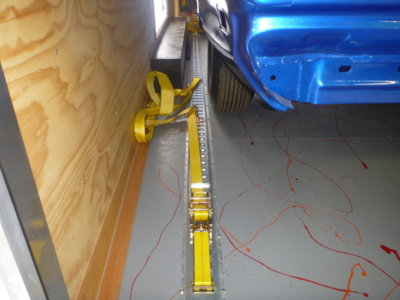
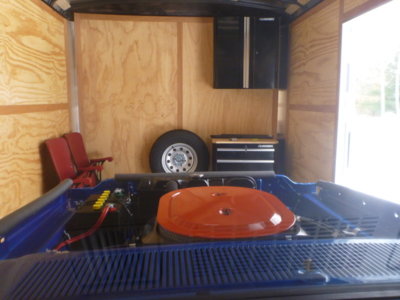
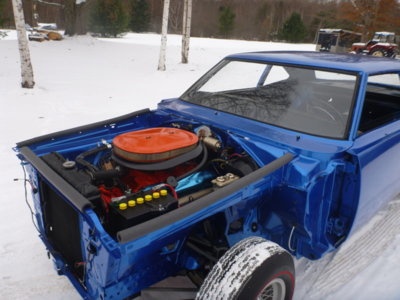
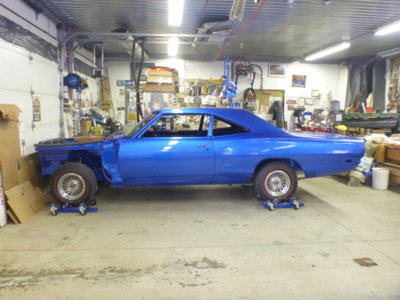
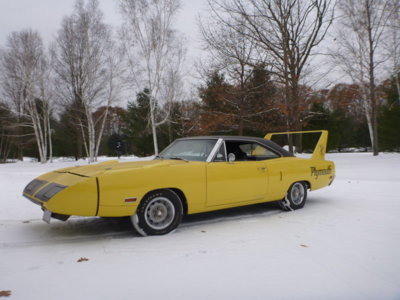
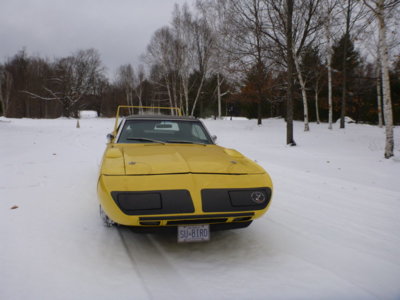
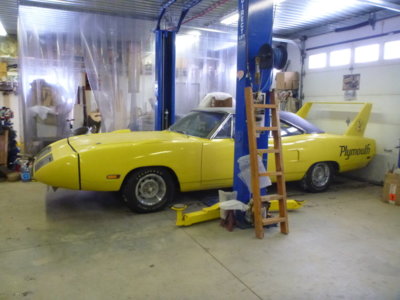
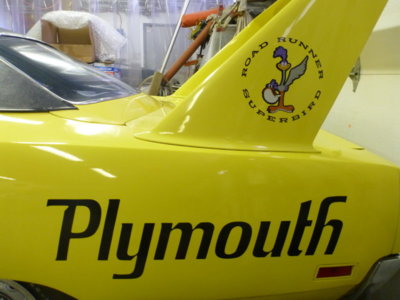
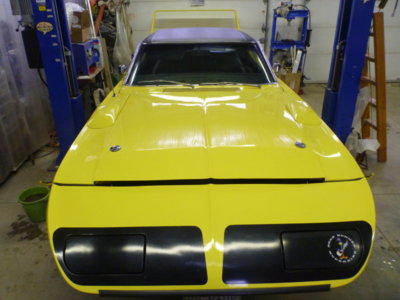
Pics of unloading the Bee out of the trailer today and into the shop, along with the Bird that I'd moved to the house garage so I was ready to go on it. Both in the shop now and ready to get to work.


beeandbirdtoshopfall2018 012.JPG beeandbirdtoshopfall2018 017.JPG beeandbirdtoshopfall2018 029.JPG beeandbirdtoshopfall2018 031.JPG beeandbirdtoshopfall2018 046.JPG beeandbirdtoshopfall2018 001.JPG beeandbirdtoshopfall2018 005.JPG beeandbirdtoshopfall2018 009.JPG beeandbirdtoshopfall2018 072.JPG beeandbirdtoshopfall2018 077.JPG
 
Last edited:
Looks like the Bee's leaf springs have some serious arch to them.
 
Looks like the Bee's leaf springs have some serious arch to them.
I'm hoping once I get some weight in it and bounce it around they'll settle back down. They use to sag somewhat before and all I did was pull them apart and put all new interleaf plates / plastic wear pads etc in and reband them.
 
Well I haven't been so determined to finish something since I was trying to get the first airplane that I built completed and test flown before Oshkosh 1995 !

Our youngest Daughter announced she was engaged two weeks back and yesterday while going over what she wants to do for a ceremony, here at our house, she asked to be driven to the "alter" by me in the Bee and her Mom or Brother to drive her Brides Maids out in the Bird. Kristal knows I'm restoring the Bee in her Sister Jen's memory, as my therapy, and she's good with that and wants to make it part of her day. The Bird I need to get cleaned up and roadworthy for Talladega 2019 anyhow so a win win in my books. Gonna be a blur from here on out to get this all done!

Pics of unloading the Bee out of the trailer today and into the shop, along with the Bird that I'd moved to the house garage so I was ready to go on it. Both in the shop now and ready to get to work.


View attachment 679314 View attachment 679315 View attachment 679316 View attachment 679317 View attachment 679318 View attachment 679319 View attachment 679320 View attachment 679321 View attachment 679322 View attachment 679323
Great daughter! Get going dad!
 
Between plowing snow, splitting firewood, putting the dedicated snows on the truck, etc, it didn't leave much day to work on the Bee... but I gotta get at her and gett'r done!

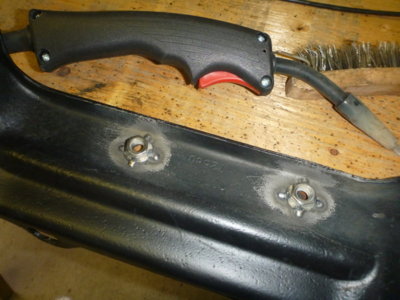
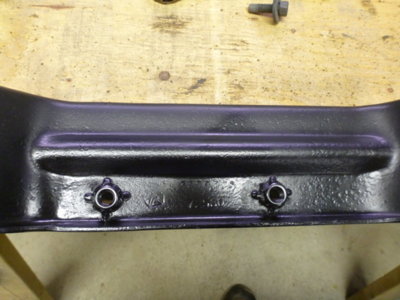
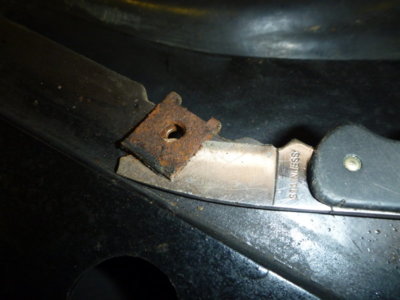
Thought the bumper bolt kits where short 4 nuts, but then was enlightened to the fact the factory nuts where welded on and had left this car sometime in the past 50 years!

Acquired 4 x 7/16 washered nuts to weld in place.

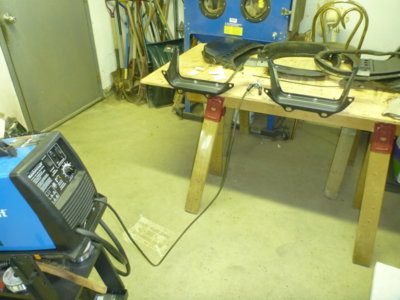
Nuts welded on and of course messing up my epoxy paint from the resto shop.

Fortunately with 18 different blacks, from doing trim and colour tests for my instrument cluster, I had a good match in Krylon Semi-gloss.

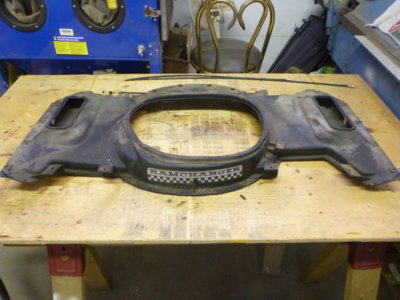
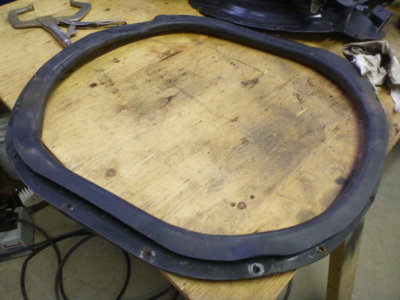
Realized I'd better get going on my Ramcharger hood box first so I can get it restored and attached to the hood, so we can get the fenders and hood back on the car asap.

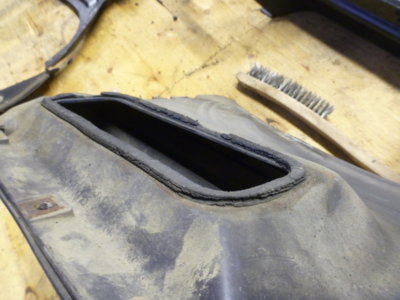
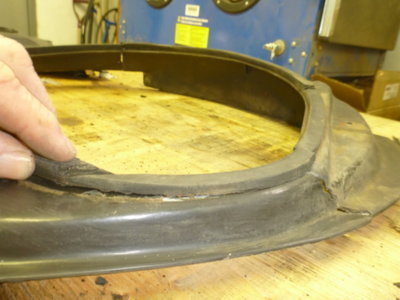
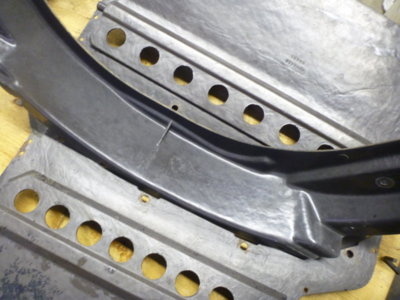
Biggest job is going to be figuring out how to fix the broken center "ring" that was cracked from people doing the "Leno" hood drop!

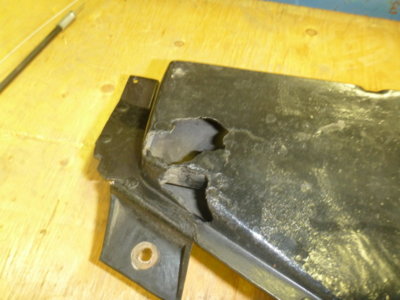
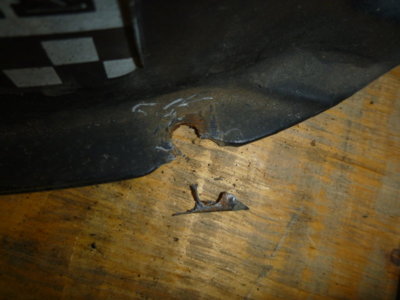
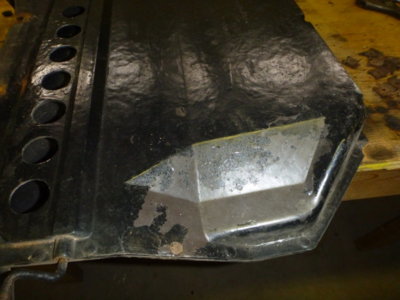
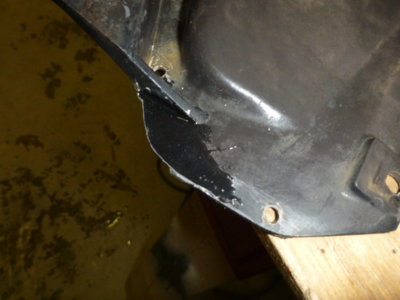
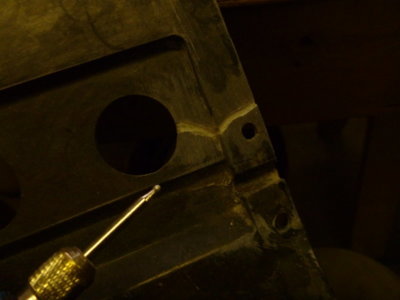
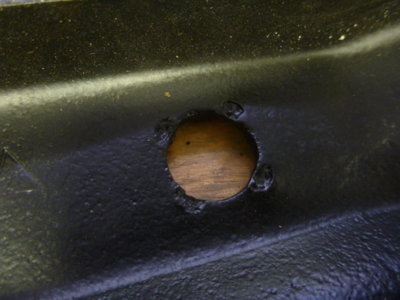
Also have this corner of the outer box, eaten by the battery post I believe.

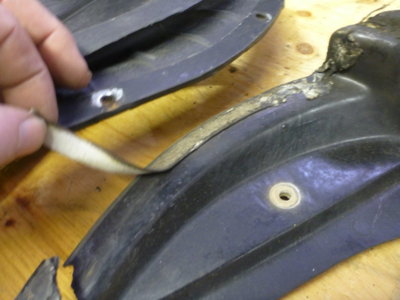
Anyone know if this "caulking" strip between center and outer boxes is factory or just something one of two previous paint shops put on here in '78 and '88?

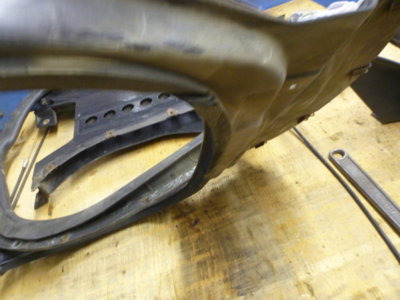
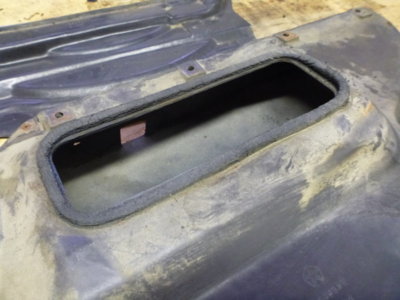
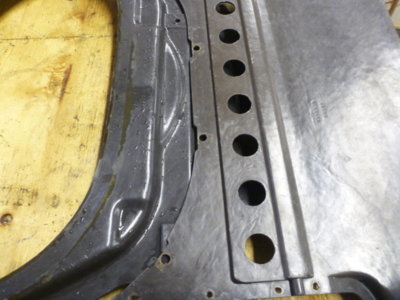
Shot to show factory foam seal on outer boxes, where it seals up to the hood holes.

Foam seal on center box.

beerestorationfall2018 075.JPG beerestorationfall2018 079.JPG beerestorationfall2018 082.JPG beerestorationfall2018 087.JPG beerestorationfall2018 058.JPG beerestorationfall2018 065.JPG beerestorationfall2018 068.JPG beerestorationfall2018 073.JPG beerestorationfall2018 088.JPG beerestorationfall2018 089.JPG
 
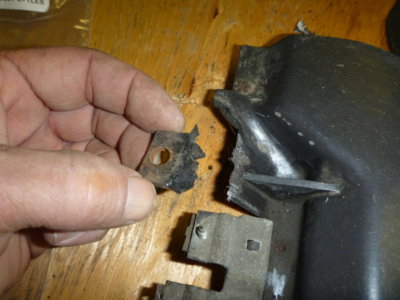
Don't get in a hurry pulling nut plate / clips off the Ramcharger hood box. More to fix.

Pry up on both sides of the clips and make sure they are fully released before trying to get them off the 50 year old brittle fiber filled plastic.

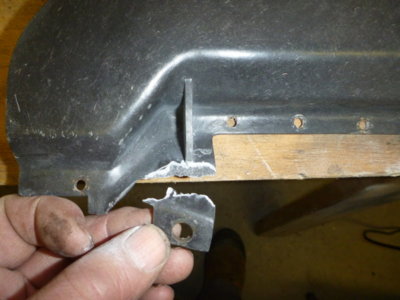
Hood mount tab that broke off when I was drilling the rivets out of the hood 3 years back. Another spot to fix.
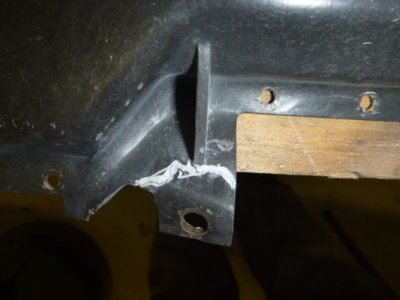
Appears the real colour on these "black" factory boxes is Brown. I know I painted it once back in '88, but was pretty sure it was black before that. More to research. The brown isn't consistant between sections, so maybe Ma Mopar painted the final assembly??

Detail shot to show the recessed section on the foam box to hood seal for the center section. Need to look at hood to see why this was done....

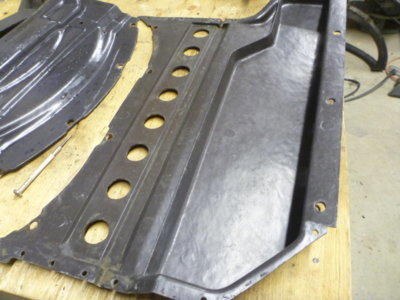
Original scoop feed holes foam seal.

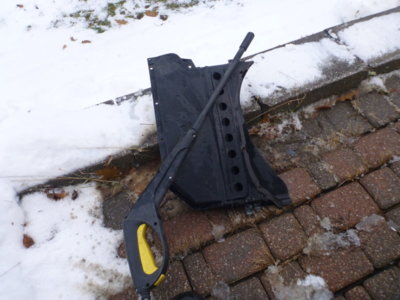
Tried powerwashing the paint off. Removed some, but not the solution. Paint stripper or maybe glass media blast?

beerestorationfall2018 091.JPG beerestorationfall2018 114.JPG beerestorationfall2018 105.JPG beerestorationfall2018 109.JPG beerestorationfall2018 099.JPG beerestorationfall2018 120.JPG beerestorationfall2018 127.JPG
 
Last edited:
So true! Why I'd better get this thing back together before I forget why I started !

I've seen mainly black air boxes, but this one is obviously brown under the paint.. as are others I've seen including Justin's pictures. Any insight?? Almost seems that during layup on the parts that one side is almost black and the other is brownish... like the OLD household bakelite light switch plates.

Same deal on the caulking between the outer and inner boxes, factory or some hack?
 
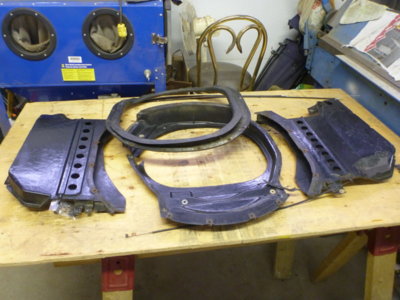
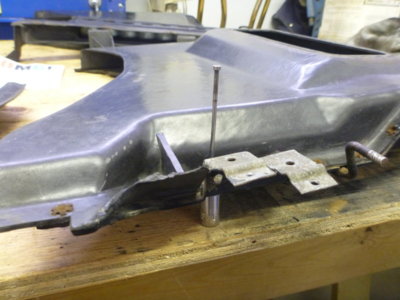
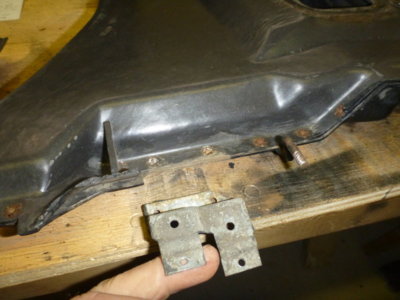
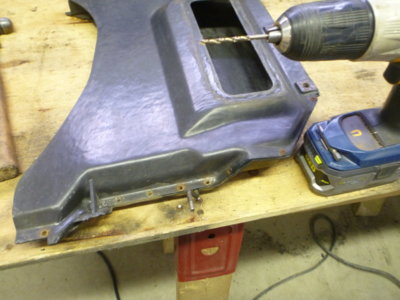
I carefully pried up the 6 tabs on the rivets shop end and tapped it out into a socket with a punch (mould ejector pin actually).

I did both of them on the cable bracket plate, as the plate gave a solid backing to negate any damage.

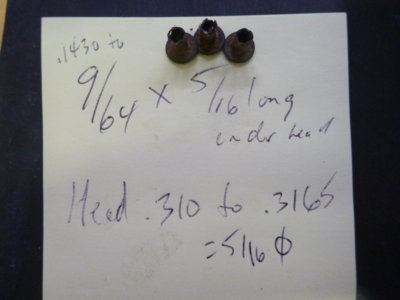
I wanted a complete rivet or three so I could get true dimensions for replacement rivets.

The rest of the rivets I CAREFULLY drilled partially to weaken and then before they spun I punched them out. I've replaced over 1/2 a million rivets in the past 25 years repairing aircraft, these were removed more carefully than ANY of those. One spin of those 6 tabs is like blasting a milling cutter through the air box material.

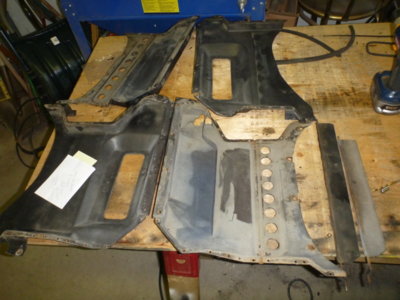
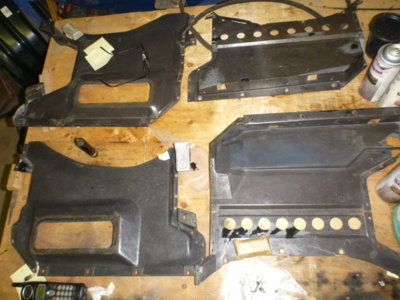
Both side boxes all apart to repair and then we'll have to put Humpty Dumpty back together again!

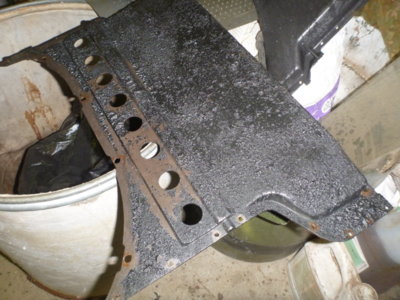
What should have been a 15 minute job! 3 cans of paint stripper in the shop and I used about 25 old spare nozzle tips to try and keep them spraying. I gave up with one part not totally stripped and will get a jug to brush on tomorrow. If you're gonna sell something, design the f'n can to work!

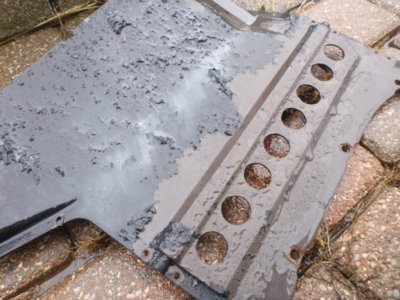
Shot shows the box is definitely brown, as the black paint comes off.

Not sure what to do on the repaint once repaired. Center section is definitely darker than the sides boxes.

Shot to show while both are Brown (and not Black) the center section is darker than the outers. Kinda like Belgian chocolate and cheap Dairy Milk!

Inside a side box showing how water is kept out of the air cleaner. It can come in the scoop, then into the "tray" and drains out the side holes through rubber flaps.

beerestorationfall2018 132.JPG beerestorationfall2018 135.JPG beerestorationfall2018 137.JPG beerestorationfall2018 140.JPG beerestorationfall2018 144.JPG beerestorationfall2018 148.JPG beerestorationfall2018 151.JPG beerestorationfall2018 153.JPG beerestorationfall2018 157.JPG beerestorationfall2018 159.JPG
 
Last edited:
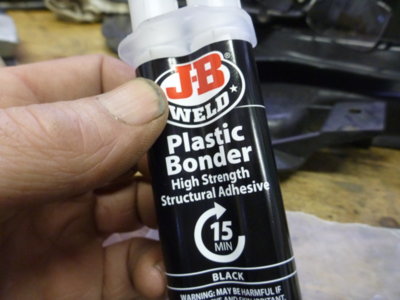
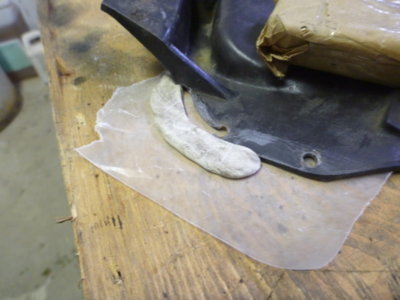
I hate using fiberglass resin with a passion, and considering that the OE box isn't fiberglass but an old style plastic I thought I'd do some experimenting with a newer technology plastic bonder.

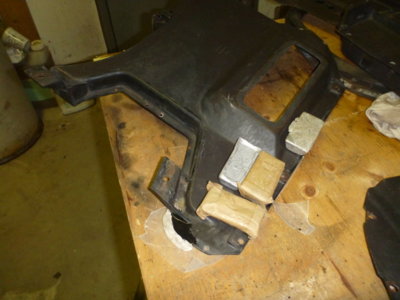
Some wax paper and borrowed some sculpty clay of my Daughters to build a dam.

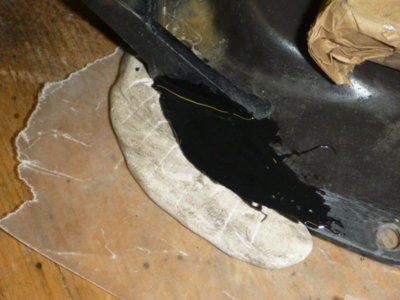
Filled the broken off section with the JB Plastic Bonder.

Let it sit in place all night without disturbing it.

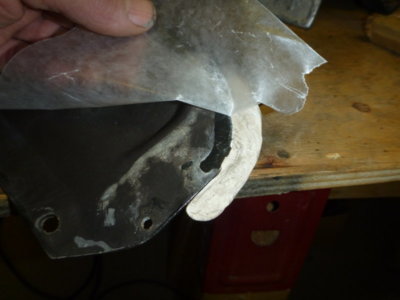
Today I peeled off the wax paper and then the clay

Looking good so far.

I filed it out pretty close to the original, pre-broken shape.

beerestorationfall2018 165.JPG beerestorationfall2018 163.JPG beerestorationfall2018 168.JPG beerestorationfall2018 170.JPG beerestorationfall2018 176.JPG beerestorationfall2018 179.JPG beerestorationfall2018 181.JPG
 
Cleco'd to the other half to get my rivet hole position back and drilled it out.

I bent and twisted this pretty darn good and I can't snap it off ! So I'm proceeding with the JB to fix the other broken edges and cracks.

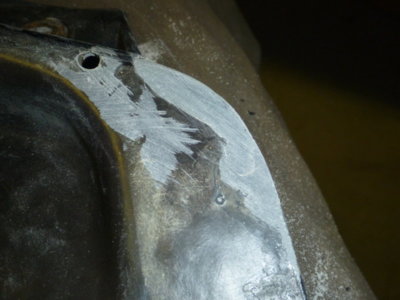
Grinding out the cracks for a larger bonding surface

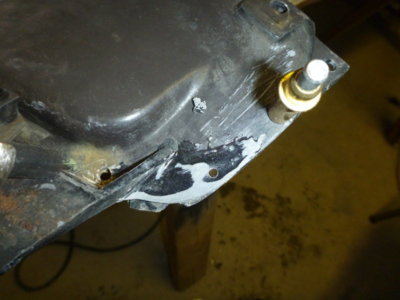
Hood mounting tab snapped off on box removal from hood.

Ground out the mating surfaces

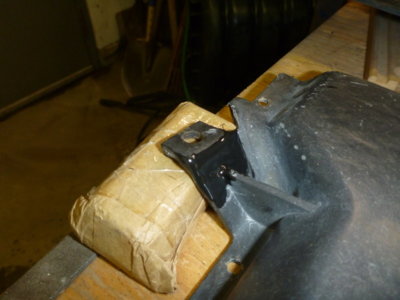
Bonded in place. Once it's sets up I'm going to grind a U from the box onto the tab and then back to the box to embed a piece of wire into it with JB as well to add strength.

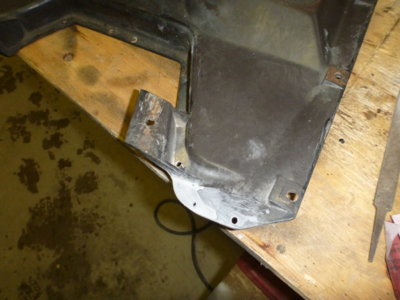
Most of the cracks and oval rivet holes filled. Still have a huge section to fill on the drivers front corner. For that I may have to get the glass fiber cloth out to complete.

beerestorationfall2018 185.JPG beerestorationfall2018 187.JPG beerestorationfall2018 189.JPG beerestorationfall2018 195.JPG beerestorationfall2018 196.JPG beerestorationfall2018 199.JPG beerestorationfall2018 202.JPG
 
Todays acquisition ! Thanks 6pktgo (Fred). Now I can get the 12YC's (or what ever they were) that I bought last year out of my engine.

Also picked up a gallon jug (ouch $72) of paint stripper and what I think will be a perfect deep Brown paint for the ramcharger air box.

beerestorationfall2018 223.JPG beerestorationfall2018 228.JPG
 
Very nice work!
Thanks Rob! That tab I "glued" on, I tried yesterday and I cannot snap it off but I'm still going to embed a wire into it for added strength. Hoping to get the Ramcharger box repairs completed over the weekend.
 
Those air boxes are a PITA.......the material was more dense than the heater box but similar....The color of the grabber units were a funky shade of black.....Through time the outer coating wore off due to heat and age and they look brown.......If you replace the seal around the center ring be sure to trim it down. The reproductions are too tall and don't compress well.....Every rivet I placed on these gave me a heart attack when attaching to the hood.....

Definitely reinforce that tab....the side boxes are heavy and take a lot of stress...

That aside great work on the grabber repair...that is a huge task....
 
I talked to Mr Hall and he assured me they were indeed Brown " the same as the heater box" (which I thought was black and then I looked at it again and no its DARK brown) and he even offered to sell me paint. Is yours, Justin, not Brown as received from him? My weekend project is to get all the pieces bonded back together again and hopefully at least into primer. I always thought they were black, and that's what you always see on restorations... except until I saw yours!

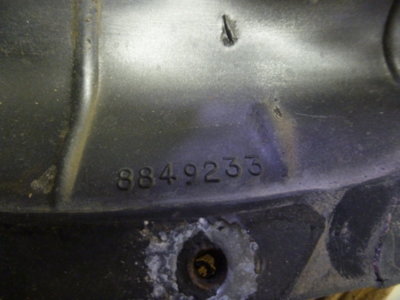
As for the seal, I have a new repop one from Dales Cuda Shop... but my old one (that I bought in '88 from Mopar) is still in pretty good shape. Just needs a good clean up and repaint along the steel strips. Part # 8849233

beerestorationfall2018 160.JPG beerestorationfall2018 161.JPG
 
I talked to Mr Hall and he assured me they were indeed Brown " the same as the heater box" (which I thought was black and then I looked at it again and no its DARK brown) and he even offered to sell me paint. Is yours, Justin, not Brown as received from him? My weekend project is to get all the pieces bonded back together again and hopefully at least into primer. I always thought they were black, and that's what you always see on restorations... except until I saw yours!

As for the seal, I have a new repop one from Dales Cuda Shop... but my old one (that I bought in '88 from Mopar) is still in pretty good shape. Just needs a good clean up and repaint along the steel strips. Part # 8849233

View attachment 682636 View attachment 682638
Maybe I should have just posted a picture...lol.....Sorry, I got lost in a sea of blackness....

The first taken with a flash but without a flash and the black hood it looks black....(last pic)

You should have let Don do your setup.....He has a good turnaround and very reasonable versus another restorer that rapes folks...They are known to have hairline cracks that are not visible. I don't know if he told you but they scan every inch with a large jeweler magnifying glass searching for cracks.... That one broken tab is concerning but I think your use of wire will support it.


IMG_1245.jpg
IMG_20181118_104157.jpg
 
Auto Transport Service
Back
Top