• When you click on links to various merchants on this site and make a purchase, this can result in this site earning a commission. Affiliate programs and affiliations include, but are not limited to, the eBay Partner Network.

1969 Dodge Super Bee Coupe Restoration

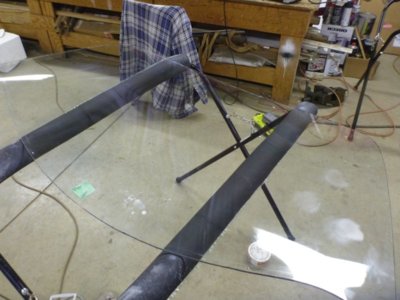
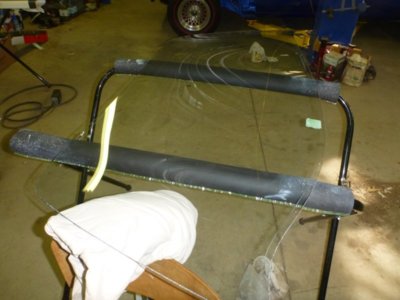
I certainly wouldn't be doing this on a windshield, but the multi curve rear glass should hide any optical discrepancies that I might create. I've already removed and buffed out a scratch the shape of the cancer ribbon that was a good 1/32nd deep. No optical distortion that I can see. This back glass has less deep scratches than my original, but the more I stare at it the more light ones I find. May be doing this all over again on my original !
 
Spent another 3.5 hours today getting these three spots polished out and a complete once over of the entire surface.

Working on three spots.

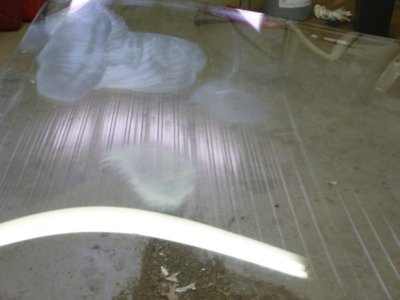
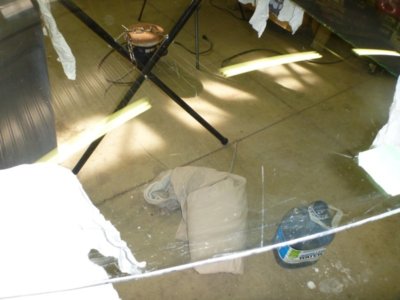
And the spots are gone! Lines are the ceiling reflection.

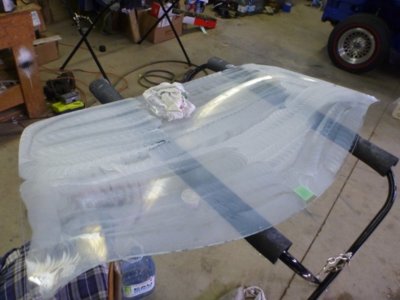
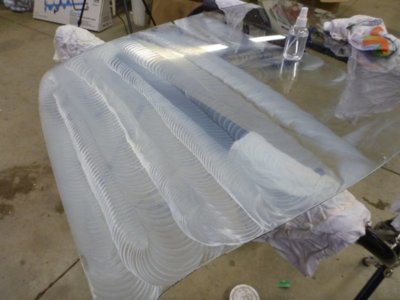
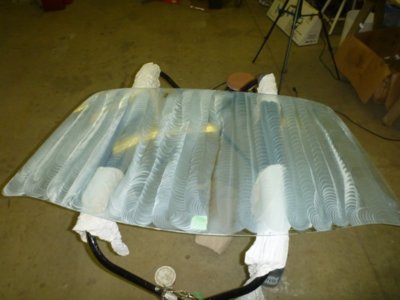
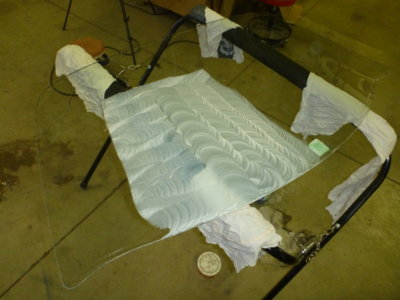
Total glass surface coverage. I've found that one "out of the bottle" coverage, then misting water on surface and pad as you progress numerous times. Final buff is dry and removes all the compound (some goes back into pad). Just be careful on heat generation!

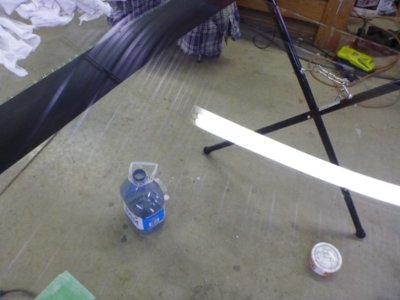
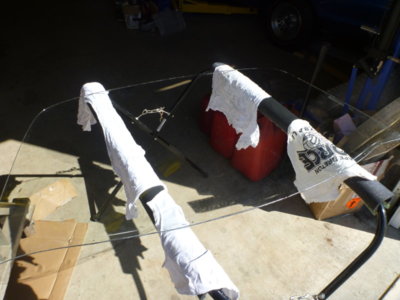
We'll call the back side a wrap ! Note the curved reflection of the ceiling and the yellow power cord that hangs from the ceiling.

Now to get a few major scratches off the outer side. I found a razor blade knocks some of the "visual" off some scratches. Don't want to over do it, but I'll be lightly grinding and buffing out the major ones.

mar3018a.jpg mar3018b.jpg mar3018c.jpg mar3018d.jpg mar3018e.jpg mar3018f.jpg
 
Spent another 3.5 hours today getting these three spots polished out and a complete once over of the entire surface.

Working on three spots.

And the spots are gone! Lines are the ceiling reflection.

Total glass surface coverage. I've found that one "out of the bottle" coverage, then misting water on surface and pad as you progress numerous times. Final buff is dry and removes all the compound (some goes back into pad). Just be careful on heat generation!

We'll call the back side a wrap ! Note the curved reflection of the ceiling and the yellow power cord that hangs from the ceiling.

Now to get a few major scratches off the outer side. I found a razor blade knocks some of the "visual" off some scratches. Don't want to over do it, but I'll be lightly grinding and buffing out the major ones.

View attachment 589119 View attachment 589120 View attachment 589121 View attachment 589122 View attachment 589123 View attachment 589124
Is there glass there? Great job.
 
Day 4 on the scratch removal and polish. That's probably why people say it can't be done.. lol My abrasive pads are just about toast and polish is running low.

My body had 3 hours in it today, to work on the outer face. Who needs to go to a gym ?? !! Probably the same tomorrow and then we'll call it good, I hope!

mar3118a.jpg mar3118b.jpg
 
About 2 hours today working the final area some more.

Looks pretty good in the sun. Guess the only thing to do is pop the OE off the car and set this in place, then decide which looks better.

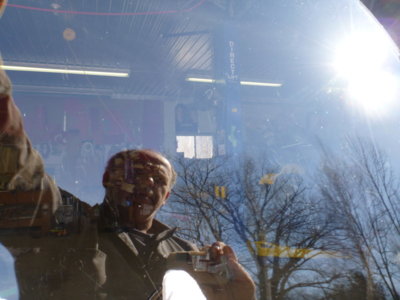
If you stare for a minute you're realize this is a shot through the glass looking into the shop. Ticked off I must have picked up a bit of grit on the 2nd to last polish as I put some new swirls in it! $(@*%

beerestoration2018 1900.JPG beerestoration2018 1913.JPG beerestoration2018 1903.JPG
 
LOL... Dirt / sand, something I picked up by dropping a rag on the floor probably.
 
I've got to stop with the "challenges". Been told and read that 95% can't get the rubber in the sway bar mount without cutting the metal strap off, putting the rubber in and then rewelding. That's how they were built at the factory. And to add to the challenge, I'm using PST's harder Polyurethane bushings. Make sure you understand final assembly and have the mounts on the correct side and direction. You're not going to do this twice!

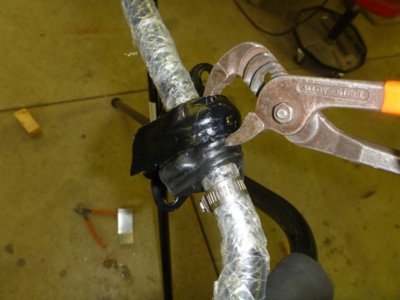
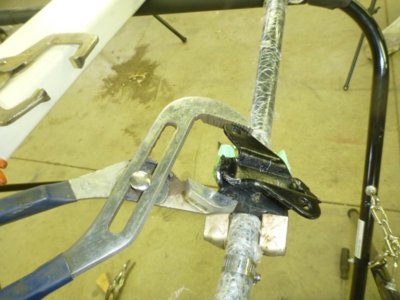
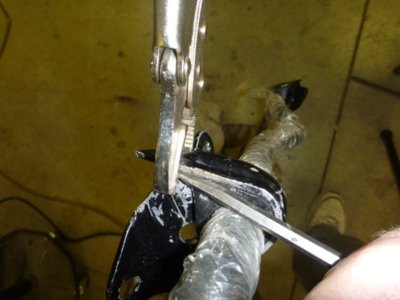
I spent about an hour and a half trying different things with no success, realized part way through that the mount has to be on the bar first, then the bushing, so you can use the hole in the base to help pry the bushing into place. I started out protecting the paint with a rag, but gave up on that. Anyhow, start the center in with channel locks. Squeeze, rotate the pliers around and down to force the bump in under the strap.

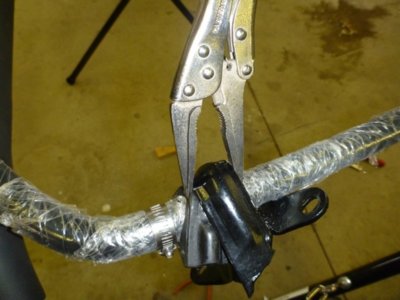
Once the center is in, lock it with vise grips... or it WILL pop back out. I lost ground many times stopping to grab the camera!

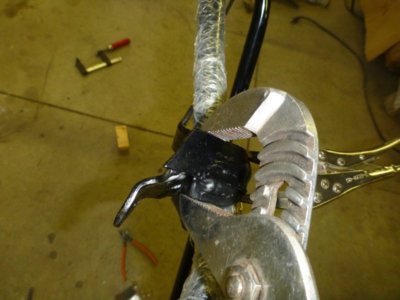
Use the BIG channel locks to start each end/corner of the bushing into the mount.

Once you get it in a bit, with the big channel locks, reclamp QUICKLY with welding vise grips. This is where the hole then comes in. A bit of prying..

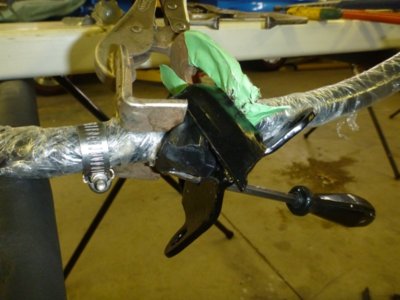
Some squeezing lower down with the welding clamps and one corner pops in.

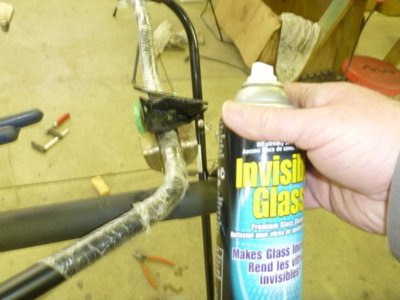
Lots of glass cleaner for lube and you can make the rubber "flow" if you hold it long enough.

More squeezing..

ap618a.jpg ap618b.jpg ap618c.jpg ap618d.jpg ap618e.jpg ap618f.jpg ap618g.jpg ap618h.jpg
 
Last edited:
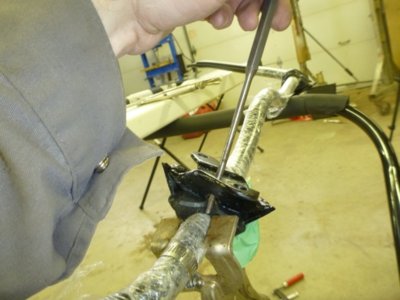
A bit more prying with a round punch for no tearing..

And the bushing is in ! 20 minutes on the final attempt, with arms aching and hands about done.

I then took a two hour rest and figured "I've got this" and went out to do the second one. Thought this will be quick, 2 hours later I threw the tools on the floor and gave up for the day. Next day 1 hr -50 minutes had it all in except I couldn't get one hung up end to go across fully into the mount. I lubed the **** out of it, clamped two pairs of vice grips on and hoped it would flow in by itself overnight. This morning I found it had done just that and it just needed a bit more leverage to push it in completely. Clamped the grips on for a pry spot and done.

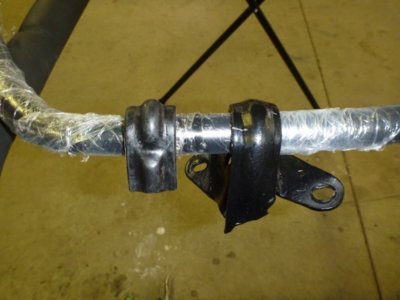
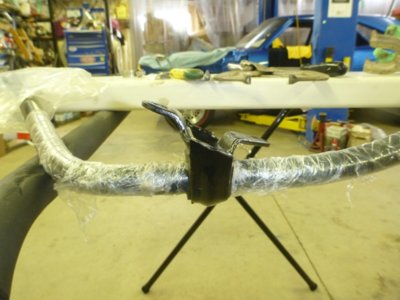
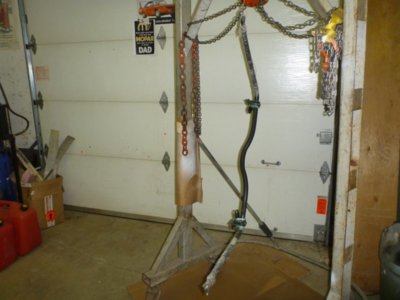
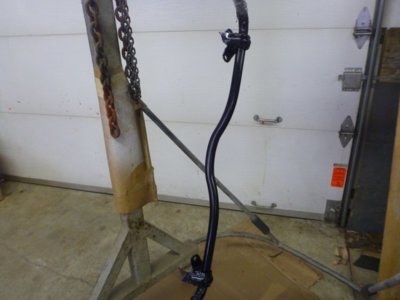
Taped up the rubbers, after sanding out all the scratches and repainted the mounts and the bar area between them.

All painted, ready to install to car once the paint cures. Next time... I'll cut the f'n straps off the mounts!! I'd hate to be the customer with the 9 hour labour bill to install two pieces of rubber!!!

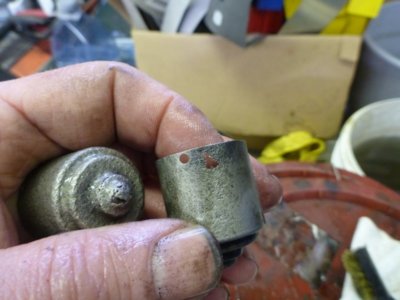
Don't forget your parts in the Evaporust, they may be a bit lighter when you find them next! But there is evidence of that OE gold zinc plating!! lol

Reading for the past 2 years how all the repop window seals / slides, that goes on the back of the vent frame, are junk and too tight I splurged for some OEM ones that are formed with the curve and correct dimensions. $260 friggin CDN dollars delivered for two pieces of mylar and fuzz. It is what it is...
At least the guide pins that came with them are almost correct to OE and not enormously oversize like the repops!

ap618i.jpg ap618j.jpg ap618k.jpg ap618l.jpg ap618m.jpg ap618n.jpg ap618o.jpg ap618p.jpg
 
A bit more prying with a round punch for no tearing..

And the bushing is in ! 20 minutes on the final attempt, with arms aching and hands about done.

I then took a two hour rest and figured "I've got this" and went out to do the second one. Thought this will be quick, 2 hours later I threw the tools on the floor and gave up for the day. Next day 1 hr -50 minutes had it all in except I couldn't get one hung up end to go across fully into the mount. I lubed the **** out of it, clamped two pairs of vice grips on and hoped it would flow in by itself overnight. This morning I found it had done just that and it just needed a bit more leverage to push it in completely. Clamped the grips on for a pry spot and done.

Taped up the rubbers, after sanding out all the scratches and repainted the mounts and the bar area between them.

All painted, ready to install to car once the paint cures. Next time... I'll cut the f'n straps off the mounts!! I'd hate to be the customer with the 9 hour labour bill to install two pieces of rubber!!!

Don't forget your parts in the Evaporust, they may be a bit lighter when you find them next! But there is evidence of that OE gold zinc plating!! lol

Reading for the past 2 years how all the repop window seals / slides, that goes on the back of the vent frame, are junk and too tight I splurged for some OEM ones that are formed with the curve and correct dimensions. $260 friggin CDN dollars delivered for two pieces of mylar and fuzz. It is what it is...
At least the guide pins that came with them are almost correct to OE and not enormously oversize like the repops!

View attachment 592036 View attachment 592037 View attachment 592038 View attachment 592039 View attachment 592040 View attachment 592041 View attachment 592042 View attachment 592043
The aftermarket sway bar bushings are a royal PITA to get in......Especially, if you have paint on the inside of the brackets...I am sure your hands and arms are beat....I wish they would reproduce as the originals with part numbers.....When I replaced the ones on the X, I searched through 50 or more sway bars to find 2 viable originals with PN's......I just almost resorted to buy the NOS unit from great lakes but fortunately I found them....

Found some gold on the washer pump...hmmm...told ya so, lol...

It is crazy for the coast of those window slides........Back in the day I got 5 sets for 40 each and thought that was a crazy price, lol....I should have bought more....
 
Video of "Ken and Barbie" sounds. Quiet it down now before you hook it up!
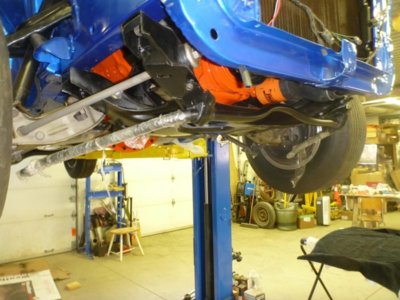
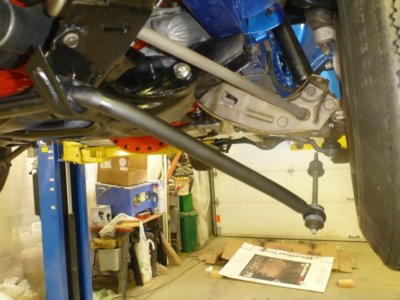
Sway bar mounted and the bushing mount bolts tightened to 200 in - lbs. Now's the time to swing it back and forth and get the squeaks out

After lots of playing and finding a mix of white spray grease and Krown rust and lube was the best to remove the squeaks. Bar link and rubbers swung back ready to be put in place. Ready to lower car to floor.

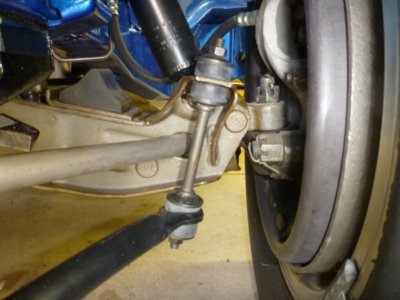
Car back on it's suspension, link moved into place and tightened to 100 in- lbs. Actually bottoming the threads and why many snap on removal.

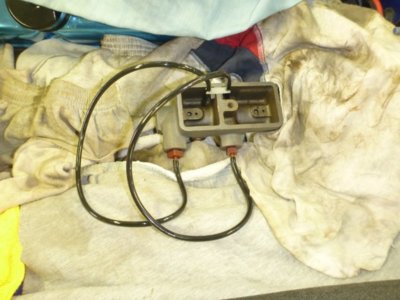
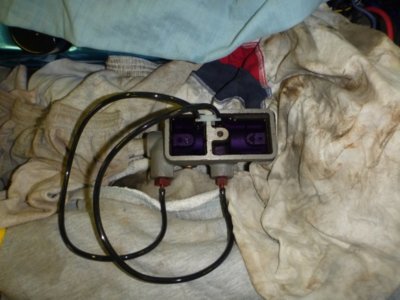
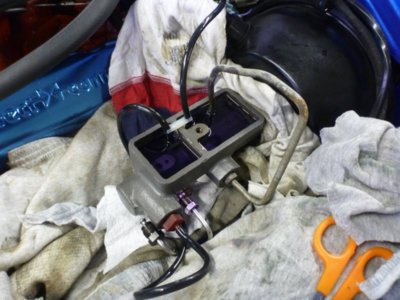
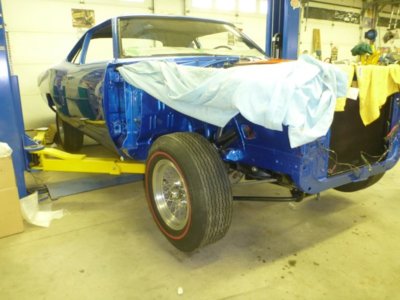
Why bleed the master cylinder on the bench and drip fluid everywhere, when there's less mess to be made just doing it in the car.

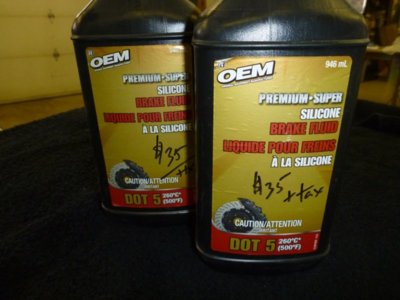
Absolutely dry brake system, you bet your *** I'm going DOT 5 and not worrying about paint loss!

Master partially filled and ready to bleed.

My helper for today..

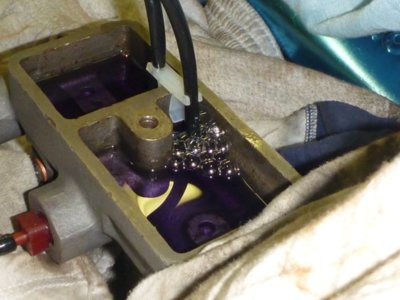
Tiny bubbles, in the wine. My back locked up shortly into this, so as far as we'll get today!


ap1018a.jpg ap1018b.jpg ap1018c.jpg ap1018d.jpg ap1018e.jpg ap1018f.jpg ap1018g.jpg ap1018h.jpg
 
Video of "Ken and Barbie" sounds. Quiet it down now before you hook it up!
Sway bar mounted and the bushing mount bolts tightened to 200 in - lbs. Now's the time to swing it back and forth and get the squeaks out

After lots of playing and finding a mix of white spray grease and Krown rust and lube was the best to remove the squeaks. Bar link and rubbers swung back ready to be put in place. Ready to lower car to floor.

Car back on it's suspension, link moved into place and tightened to 100 in- lbs. Actually bottoming the threads and why many snap on removal.

Why bleed the master cylinder on the bench and drip fluid everywhere, when there's less mess to be made just doing it in the car.

Absolutely dry brake system, you bet your *** I'm going DOT 5 and not worrying about paint loss!

Master partially filled and ready to bleed.

My helper for today..

Tiny bubbles, in the wine. My back locked up shortly into this, so as far as we'll get today!


View attachment 593287 View attachment 593288 View attachment 593289 View attachment 593290 View attachment 593291 View attachment 593292 View attachment 593293 View attachment 593294
Looks great.....

Dot 5 is the way to go:thumbsup:
 
Last time I try to bleed a master on the car. First 5 minutes air was gone from front reservoir, 4 hours in and still air on the rear I thought the plastic fitting must be sucking air so put a metal line on. Nope!

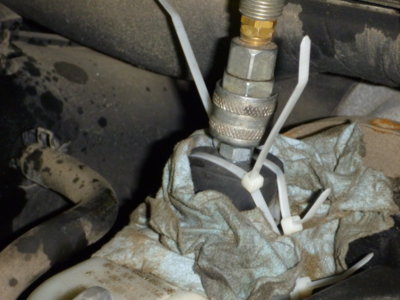
Not good for the hoist, but, lifted the *** end to get air trapped in front of master bore. Air came out of front and rear reservoirs on the first few strokes.

Then lifted the nose, same deal on air. Back to level and a few strokes showed I was clear. Who the hell needs to go to the gym! Almost 6 hours of leg and arm work.

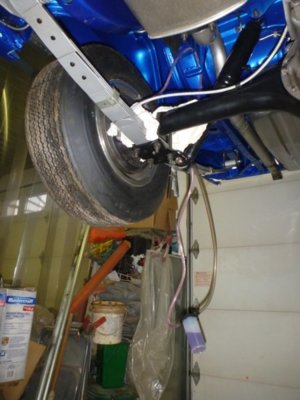
At first I couldn't get the rear to draw any fluid down and wondered WTF was plugged or possible wrong with the master. Went around to all my stainless line connections and gave them a snug. Found the two lines off the axle Y went 1/2 turn and then no issues quickly bleeding the rear lines.

These nice line fittings made rear bleeding easy.

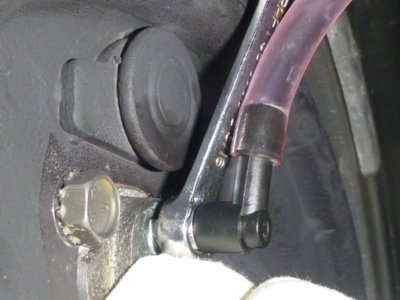
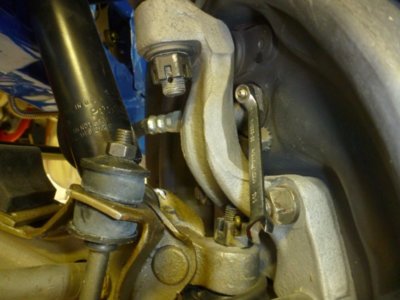
Now the front bleeder screws, if the Chrysler designer wasn't probably gone already I'd kill him for burying them behind the knuckle.

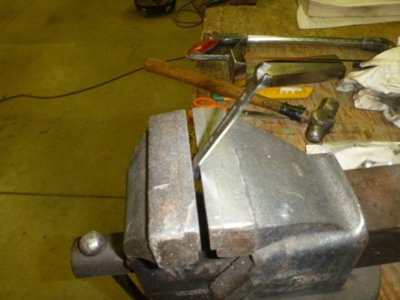
Wrench bent to get on bleeder and swing almost a 1/5th of a turn.

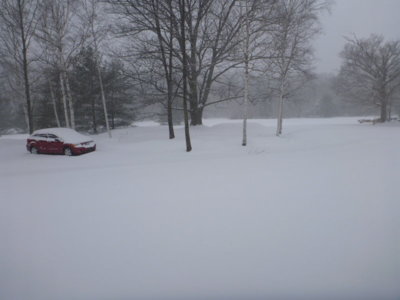
Fronts bled easy and I have a firm pedal! Time to get the rear bumper on and finally get her out of my hoist bay.. when the snow stops!! $(@*%$

ap1418a.jpg ap1418b.jpg ap1418c.jpg ap1418d.jpg ap1418e.jpg ap1418f.jpg ap1418g.jpg ap1418h.jpg snowapril142018 002.JPG
 
I use the motive power bleeder setup.....easy peasy and spot on, it is a one man job......

Highly recommend it.....
 
I almost gave up and was going to make a top plate for the master to pressurize it like I do with a rubber cork and air hose connector on "cap" style reservoirs. In the end glad I didn't or I may not have caught the leaking Y lines.

trailblazerrepairsnov2013 045.JPG
 
The key thing is your running dot 5.....just imagine if it was dot 3......

I think your leaks added the air in the system......the motive kits have the correct plates/caps engineered to fit.....we made a special clamp for the Oe MC.....I do t have a pic on my phone of that....
 
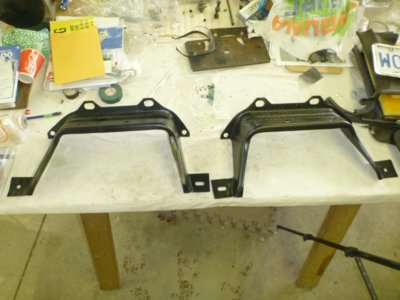
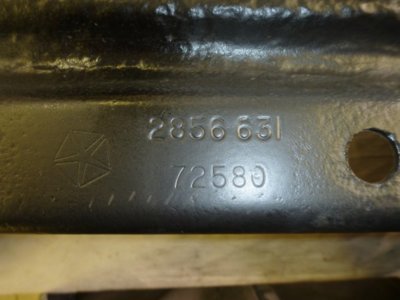
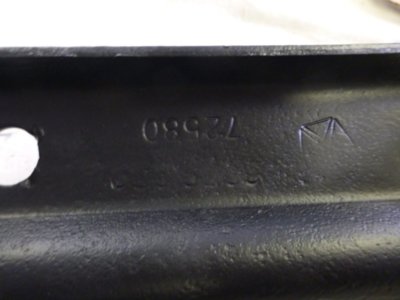
OE rear bumper attach brackets. They were media blasted and sealed / painted with epoxy paint.

Drivers side bracket 2856 631. Also has 72780 on it, but so does the passenger side so I presume they were stock #'d as a set.

Passenger side. Believe it is 2856 630

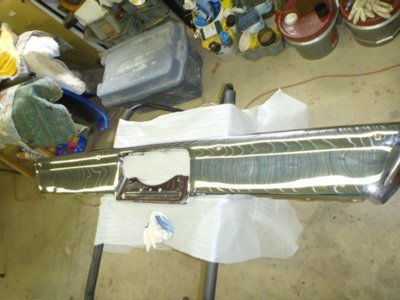
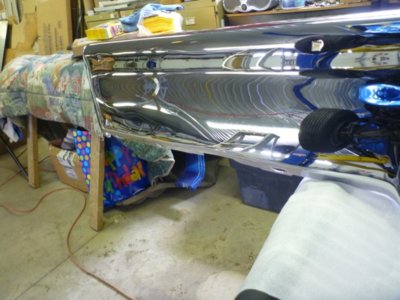
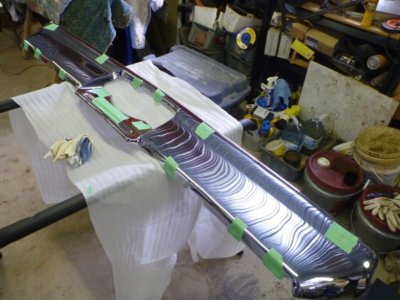
First time I've totally unwrapped my repaired and rechomed OE bumper. So this is what $1400cdn gets you. Looks damn good.

Pretty close to a mirror.

Looks like they put a lot of work into the passenger side straightening before rechrome

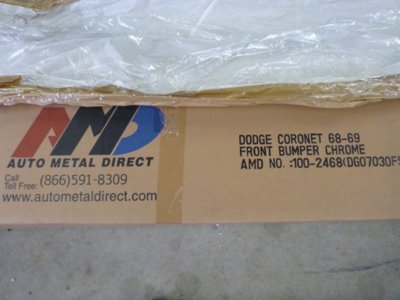
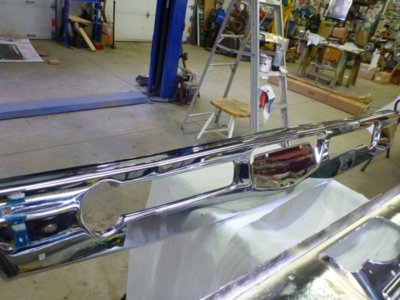
My front OE was in pretty bad shape, thanks to Dad's ditch run, so I bought an AMD reproduction.

Looks pretty good. I was told it would be thinner, but it's the same 0.95" thickness as my OE rear one.

ap3018a.jpg ap3018b.jpg ap3018c.jpg ap3018d.jpg ap3018e.jpg ap3018f.jpg ap3018g.jpg ap3018h.jpg
 
Picked some loose spots off on the back side of the rear bumper.

Everything loose picked off.

Was suggested by the shop that did my body work and paint to seal the back side of the bumpers, so rust doesn't make it's way through and around to the front.

Bumper holes taped off and ready to paint the back sides.

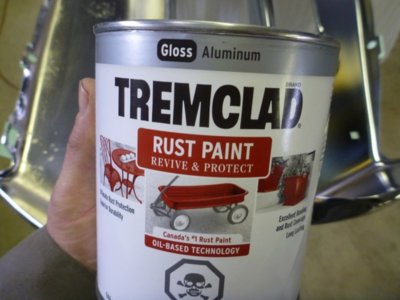
Both bumpers sealed with 2 coats of Tremclad.

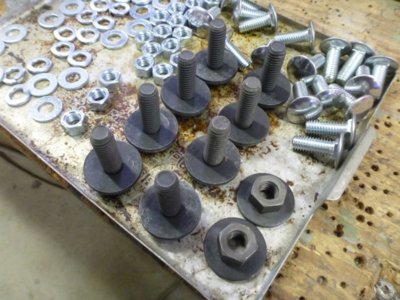
Went to mount my rear bumper and opened my mounting bolt kit. WTH.. 8 bolts and 2 nuts. Unless I'm seriously missing something I require 8 bolts and 6 nuts to install the brackets as only two mount spots have nuts welded in the frame. All bolt kits I can find are being sold this way... 4 nuts short! (anyone have 4 they wanna part with??)

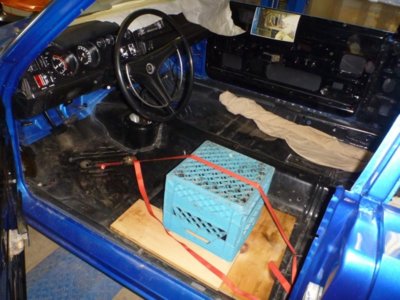
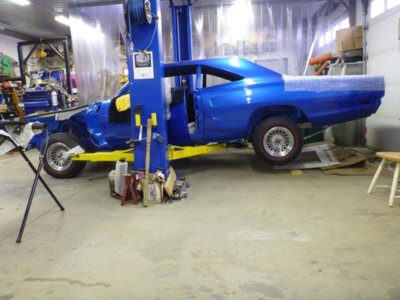
Installed my drivers seat, as I needed the hoist bay to work on the wife's plastic thing.

Guess "Therapy" will sit for a bit while I work on cleaning up the Vette.

ap3018i.jpg ap3018j.jpg ap3018k.jpg ap3018l.jpg ap3018m.jpg ap3018n.jpg ap3018o.jpg ap3018p.jpg
 
Auto Transport Service
Back
Top