• When you click on links to various merchants on this site and make a purchase, this can result in this site earning a commission. Affiliate programs and affiliations include, but are not limited to, the eBay Partner Network.

1969 Dodge Super Bee Coupe Restoration

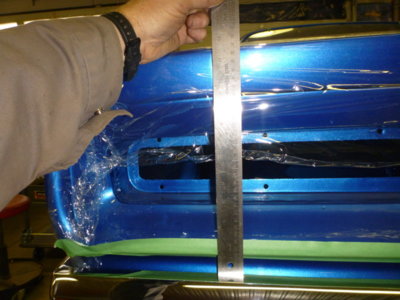
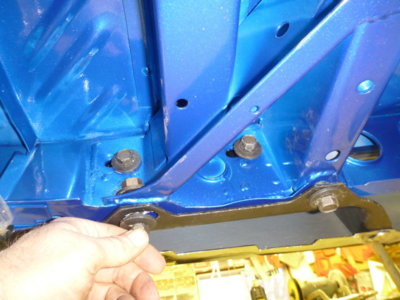
Couple of bolts in to hold it.

Shot to show attach hardware on one side. Three bolts into threaded holes and one bolt / nut combo.

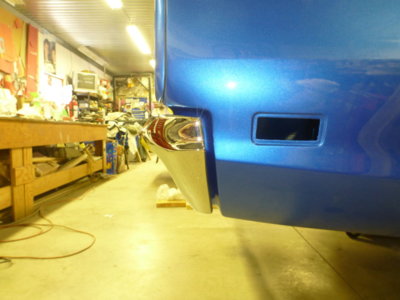
First shot and I'm centered and it's looking great on the drivers side.

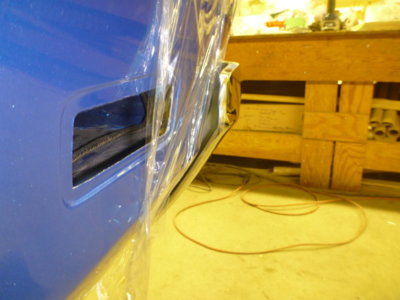
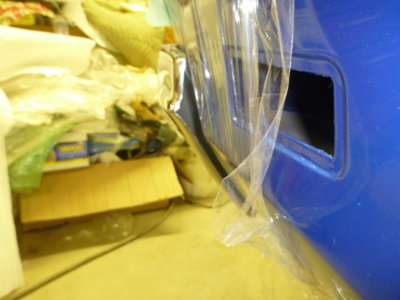
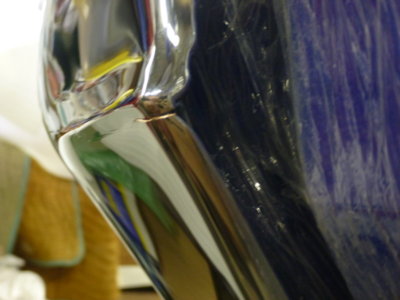
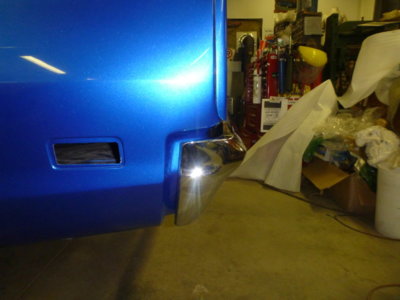
And this is where I just wanted to lie curled up on the floor with my thumb in my mouth and make baby sounds! %($$!!!***. I was asured that it was test fit, etc before being sent out for it's $1400 re-chrome job!

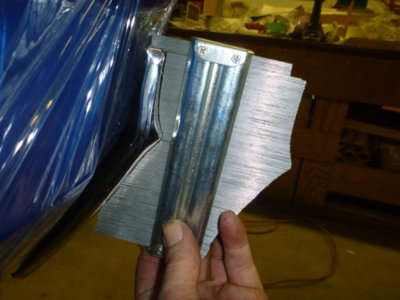
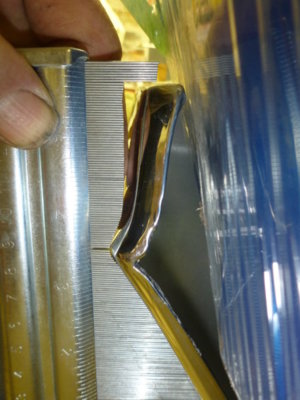
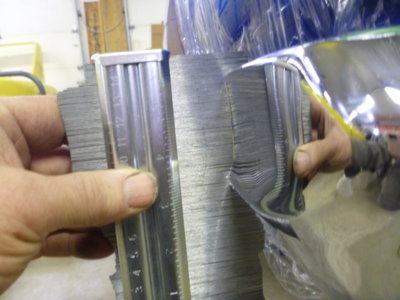
Pin profile off the drivers side that looks perfect.

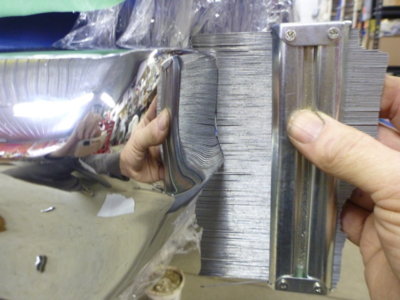
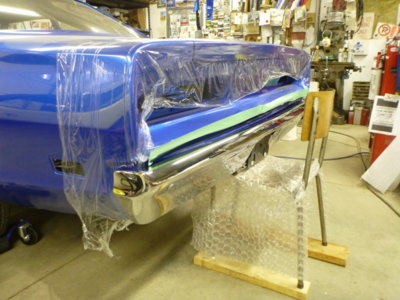
F'd up Passenger side. Guess the bumper's coming back off! Just shoot me now...
beerestorationfall2018 879.JPG beerestorationfall2018 885.JPG beerestorationfall2018 897.JPG beerestorationfall2018 898.JPG beerestorationfall2018 890.JPG beerestorationfall2018 913.JPG
 
Thinking back to how pissed off I was when I paid good money to Year One for this (on the right) absolutely incorrect / useless / "OEM in every detail" / POS that I bought last year.
Looks like YO used the profile of the side/roof molding also for the package tray molding...
The bumper issue s*cks.
 
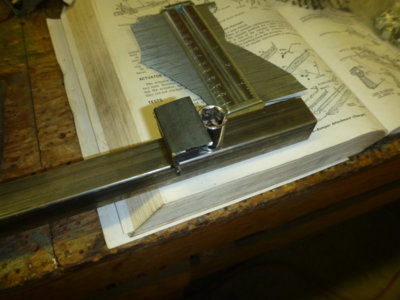
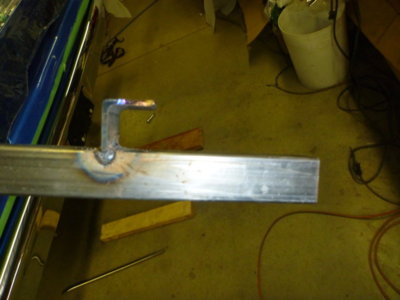
Need is the Mother of all invention !

Quick flux MIG weld.

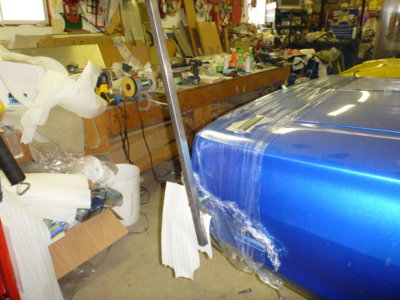
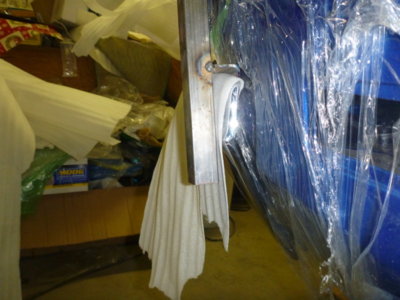
..and yah gotta do what yah gotta do !

Out with the top, in with the middle.

Didn't really think I'd get away with it with out this happening, but it is what it is and at least the bumper is the correct profile now. I'll hash it out with the plater later.

Drivers side..

beerestorationfall2018 916.JPG beerestorationfall2018 919.JPG beerestorationfall2018 920.JPG beerestorationfall2018 921.JPG beerestorationfall2018 926.JPG beerestorationfall2018 927.JPG
 
Passenger side. I'll call that close enough!

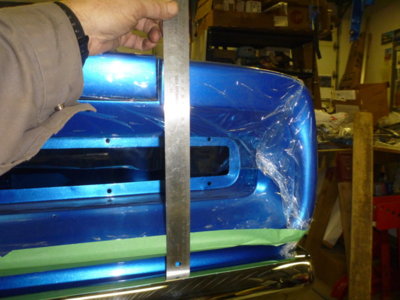
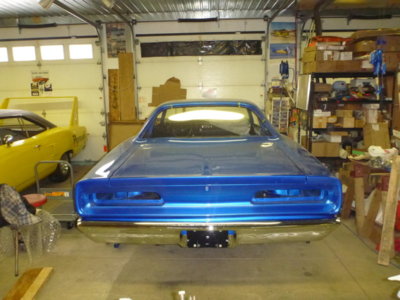
A bit of fiddling and shimming to get the bumper top the exact same distance to the quarter panel tops on each side.

Tightened in place and spot on.

Passenger side gap even.

Drivers side even. A bit more gap but as far as I can pull it in and bumper looks even across the tail light panel.

What the Ford drivers will see! I also see body man Kenny didn't get all of the wow out of the passenger side tail panel from an old hit. Doesn't really show looking at it in person but the flash sure picks it up.

beerestorationfall2018 928.JPG beerestorationfall2018 947.JPG beerestorationfall2018 948.JPG beerestorationfall2018 959.JPG beerestorationfall2018 956.JPG beerestorationfall2018 966.JPG
 
I'm sure it's better fitting than when it left the factory. Now it makes me want to go look mine over.
 
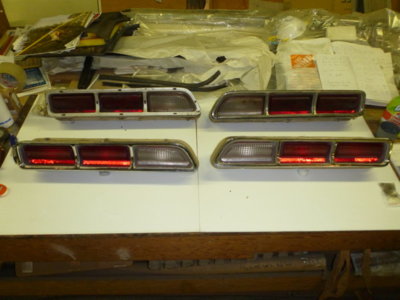
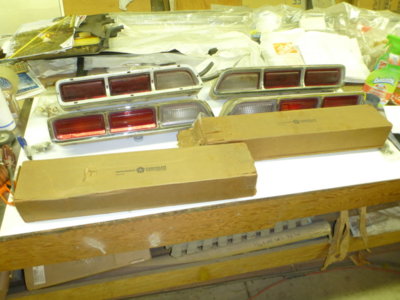
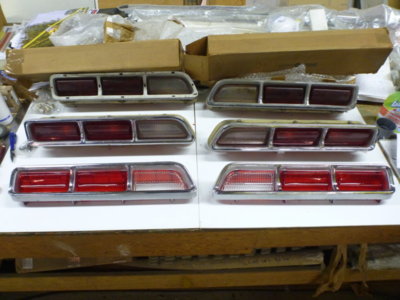
Went back out to the shop and thought I'd end the day on a brighter note! My OE tail lights front and another pair, rear, that I scored at Tracy's junk yard West of Barrie Ontario back in 1988.

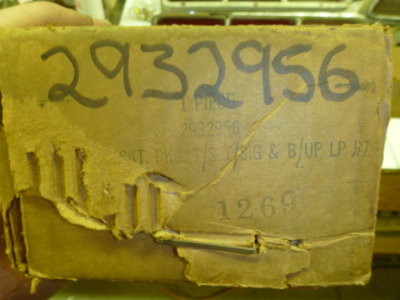
Now while my OE tail lights aren't really bad, I couldn't resist a deal a year or more ago for factory NOS lenses still in the box, from a guy in Venezuela of all places!

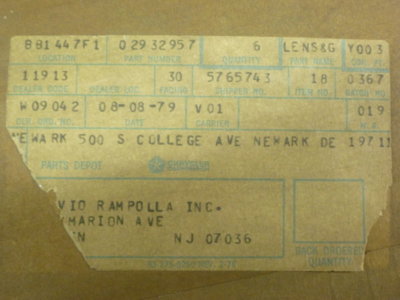
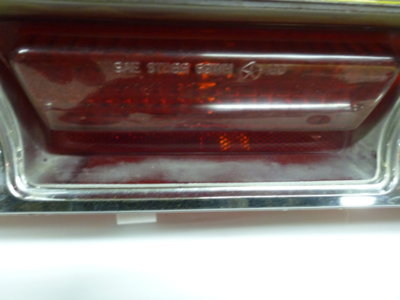
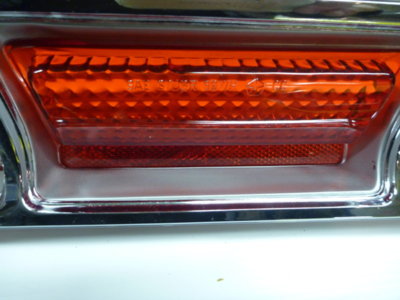
I'm always terrible with the many ways Chrysler date coded stuff. I believe this is Jan 2 1969.. or Feb 1st or December '69. I don't really care they're 49 years old and NEW !

Shipped from the parts depot in August of '79 (along with 5 others). There is currently a SINGLE NOS tail light lense on Ebay right now... $500 US! I paid nothing near that for the pair.

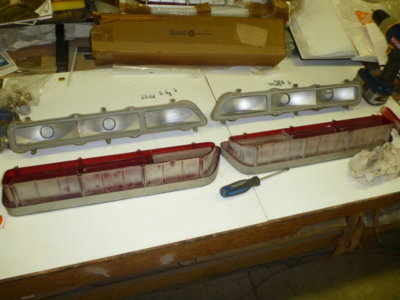
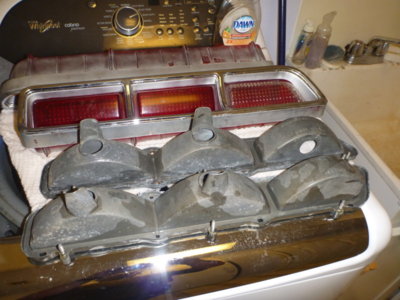
The line up! Plan is to disassemble and pick the best two housings and install the new NOS lenses to same.

Purdy.

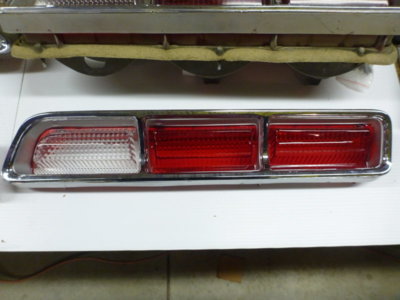
A little closer look, my OE.

The NOS !

beerestorationfall2018 977.JPG beerestorationfall2018 982.JPG beerestorationfall2018 983.JPG beerestorationfall2018 985.JPG beerestorationfall2018 988.JPG beerestorationfall2018 986.JPG beerestorationfall2018 995.JPG beerestorationfall2018 994.JPG
 
Last edited:
Nice! Reminds me of when I used to go to different wreckers and collect concealed headlight setups for 71 and 72 for around 75-100 bucks. Id I only knew then what I know now, so much stuff just got scrapped.
 
Interesting that my OE tail light housings (lower) are flatish black and the set I got out of a Coronet 500 back in '88 are quite light. OE's are the same colour under the lens attachment so not over spray from anything.

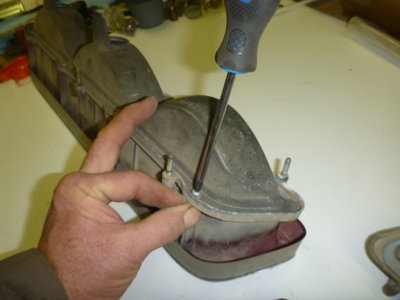
Picking the best set came to a quick end today, as the spare sets rusted screws are a no go. Amazing that plastic can hold something so tight and strip the heads out so easily. Even my stripped screw extractors wouldn't work!

Hold the plastic web below the screw REALLY tight before attempting any turning.

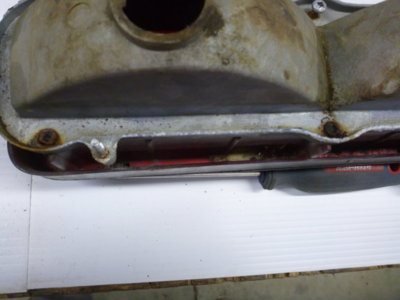
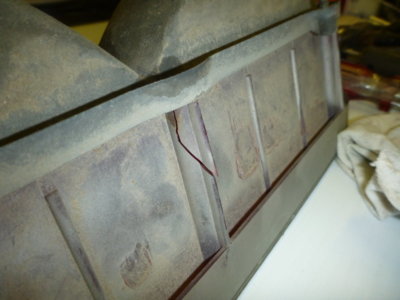
If you don't... this happens on the initial screw "crack"!

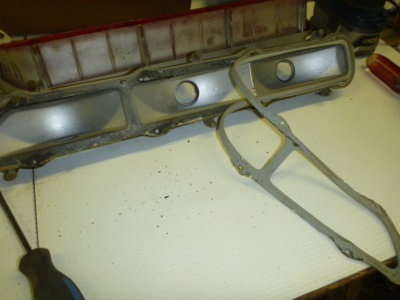
OE's apart. Housing reflector surfaces are very good so I'm not going to repaint and possibly mess them up.

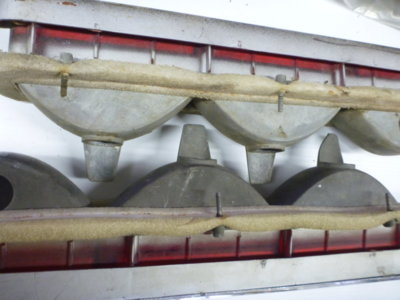
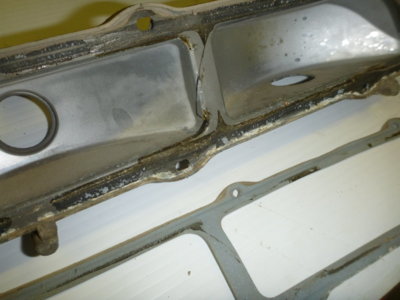
Shot to show Dodge used some sealer/glue on the housing to lense gaskets.

Glue dribble across the face. Also note that the signal/brake housing pocket is fully painted argent/silver and the reverse light is only painted in the dish and not top/bottom.

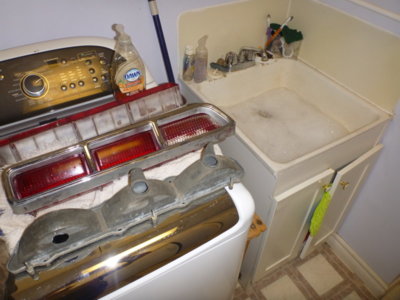
Quick wash in the laundry sink.

Not sure how to proceed on the housings. Don't want to lose the blackish finish by media blasting but have a few corrosion spots to treat. Might just wipe them down with Krown.

Always amazed at how "pot metal" seems to get bent over time, but you don't dare try to bend it back!

beerestorationfall2018 1002.JPG beerestorationfall2018 1005.JPG beerestorationfall2018 1008.JPG beerestorationfall2018 1007.JPG beerestorationfall2018 1009.JPG beerestorationfall2018 1015.JPG beerestorationfall2018 1023.JPG beerestorationfall2018 1038.JPG beerestorationfall2018 1045.JPG beerestorationfall2018 1039.JPG
 
Last edited:
I saw a guy on YouTube suggest using a hammer drill to loosen stuck screws. His example was on a wing window of his El Camino. But he got the screws out without stripping the heads.

Good thing you always seem to have spares or are able to repair the broken parts.
 
I just decided not to waste anymore time on the spare set. Lots of dirt inside and figured I'd check my OE's to see what the reflector surfaces were like and made the correct decision.

Not sure the best solution to the stuck screws. Considering they are only stuck in plastic and I peeled the head off. Maybe some heat on the lens bosses, something to play with when I get this machine done!
 
Not sure the best solution to the stuck screws. Considering they are only stuck in plastic and I peeled the head off. Maybe some heat on the lens bosses, something to play with when I get this machine done!

This guy used a soldering iron to remove rusted screws from plastic lens. Works pretty well. Good tip on using flat blade screwdriver, too.

 
Funny part of what he's doing.. the screw isn't threaded into the plastic but into clip nuts. I think we'd lose the threads in the lens doing that, but a bit of warmth from a heat gun might work.
 
Funny part of what he's doing.. the screw isn't threaded into the plastic but into clip nuts. I think we'd lose the threads in the lens doing that, but a bit of warmth from a heat gun might work.
I didn't notice that. Good eye. I like the idea behind the tool specifically made for loosening larger nuts and bolts. It has an induction coil that goes over the nut/bolt that heats it up quick and there's no open flame or sparks. Wish I would have had one when working on my suspension.
 
Perhaps a bit of apple vinegar, lemon juice, marvelous mystery oil?
 
All good ideas Rebel.. I'll worry about them in the years to come. For now I carry forward on car assembly, or the furnace I picked up today for the shop.. LOL
 
Last edited:
I'm betting the furnace wins considering where you are and the time of year.

That heat will help keep you motivated to work on the car.
 
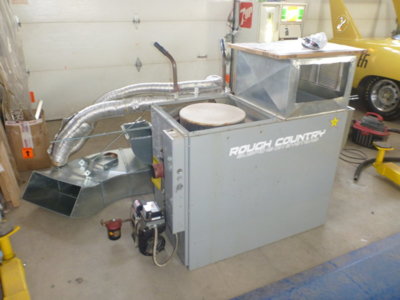
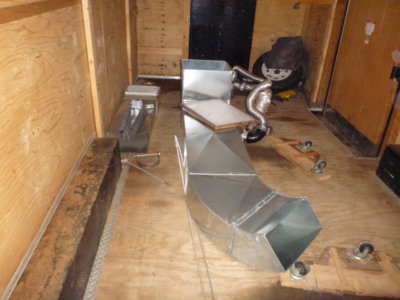
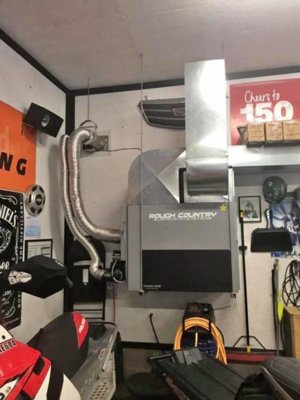
Couldn't resist. Saw this on Facebook Marketplace on Friday morning and it's prefect and already done right for a shop. My house oil tanks are in the shop and already have an extra outlet on the piping for hook up. I got all the ceiling hangar parts with it, for an easy install up out of any fumes, although I realized I can probably just set it on top of the three filing cabinets I have right where it's going. So tomorrow is a bit of shop cleaning, peg board removal from the wall where it goes and hopefully a quick install as Monday is also filled with distraction and I need to get back on the car! :steering:

oilfurnace.jpg oilfurnaceforshop 006.JPG oilfurnaceforshop 002.JPG
 
Couple of bolts in to hold it.

Shot to show attach hardware on one side. Three bolts into threaded holes and one bolt / nut combo.

First shot and I'm centered and it's looking great on the drivers side.

And this is where I just wanted to lie curled up on the floor with my thumb in my mouth and make baby sounds! %($$!!!***. I was asured that it was test fit, etc before being sent out for it's $1400 re-chrome job!

Pin profile off the drivers side that looks perfect.

F'd up Passenger side. Guess the bumper's coming back off! Just shoot me now...
View attachment 689787 View attachment 689788 View attachment 689789 View attachment 689790 View attachment 689791 View attachment 689792
If that bumper was never damaged or chromed again in its past....That is probably how it was.....You can't look at both sides at the same time....From the rear and the curve you wouldn't notice...
However, I am right there with you on what you paid and what it should be.....

I would have been a nervous wreck bending that end while on the car....Great tool you made!
 
Stood out like a sore thumb looking at it from the passenger door. Top bent in at a 20* angle and no where close to the profile of the quarter panel, unlike the driver side that was perfectly parallel. Pretty sure that's where it was cracked and instead of filing it they pushed it together and welded it up. Just letting it slide for now.. until I get my roof rails seam sealed, painted and the car cut and polished, then I'll stir the pot!
 
Auto Transport Service
Back
Top