• When you click on links to various merchants on this site and make a purchase, this can result in this site earning a commission. Affiliate programs and affiliations include, but are not limited to, the eBay Partner Network.

1969 Dodge Super Bee Coupe Restoration

I enjoy and appreciate your tips and tricks. You and others should start a problem solving thread if there isn't one already.
 
I enjoy and appreciate your tips and tricks. You and others should start a problem solving thread if there isn't one already.
wayne, are you painting the headlight buckets car color or leaving them natural color? thanks
 
wayne, are you painting the headlight buckets car color or leaving them natural color? thanks
You talking the fender "buckets" that are currently body colour and need to be at least partially blacked out ... or the bulb holders themselves that are originally galvanized? Mine have been plated in clear zinc.
 
When you think it's clean.. clean some more. Straight back and forth rub with cleaner and you can feel it glide or drag when removing some hazy spots.

As good as it's going to get, or that my arms are going to give!

Two recent acquisitions cleaned.

And now 4 originals and 1 AMD to choose from. Enie, meany, minny, Moe.......

beerestorationfall2018 1337.JPG beerestorationfall2018 1339.JPG beerestorationfall2018 1341.JPG beerestorationfall2018 1342.JPG
 
Great work Wayne. The drive time and arm pain are really paying off. Look at the bright side ... The new to you splash shields only need a quick prep and spray :lol:
 
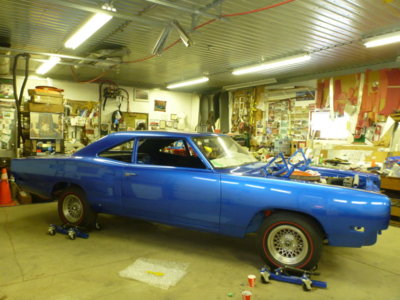
Was originally pissed my paint man couldn't work to MY schedule for front clip install, but I'm now ecstatic that I got to spend 4 hours taking my time and setting the fenders and doors perfect vs "wam bam thank you man.. I gotta go"!

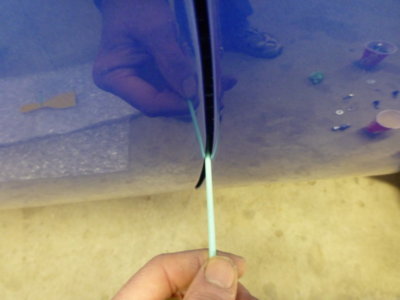
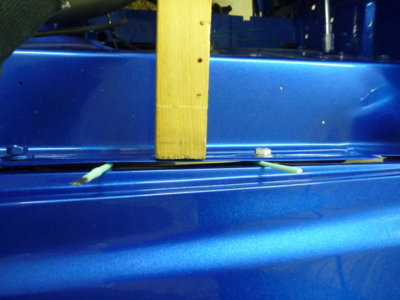
Plastic paint brush handle for a "gap feeler". Notice the "mirror". Maybe I should skip cut and buff! lol

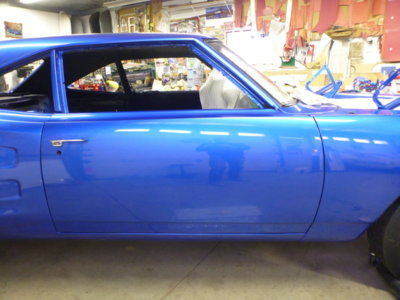
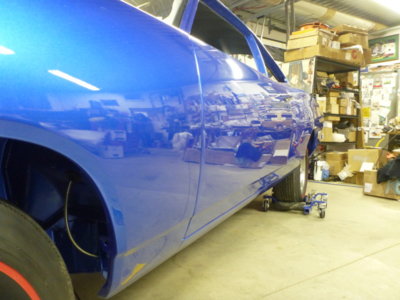
Door to fender gaps set up perfect. Rear of door just slightly high in anticipation of glass, vent frame and interior panel weight.

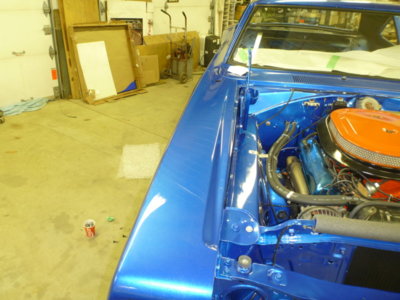
Passenger inner fender had a small wow in it that didn't sit flat against the fender. I have the fix for that.

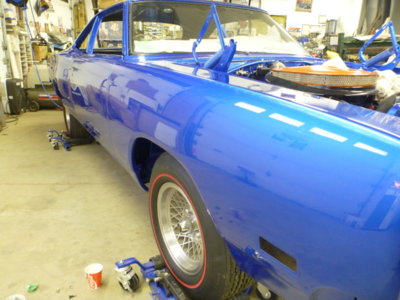
Passenger side body line is amazing.

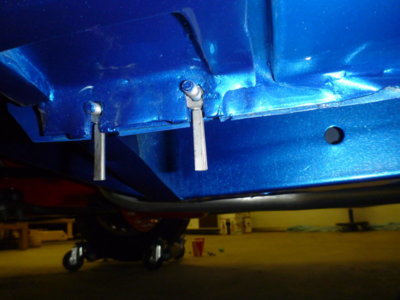
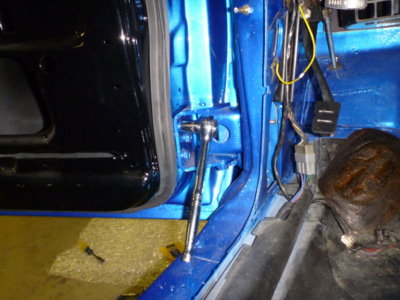
My drivers side was never as nice and crisp for body line as the passenger. Body shop had it better, but never really bolted stuff tight to get it right. They welded my spacers to the fender bottoms when they were fitting the car. To get things correct I had these nice stainless washers with ears on them that I use for hard to reach places on aircraft. Fender bottom spaced out another 3/16" was the ticket to fit properly to the sill plate contour.

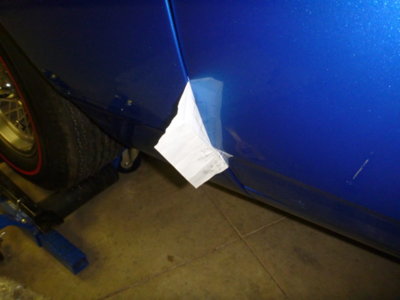
Gap perfect, but binding a piece of paper at the lower detail when the door is opened. Door needed to go in ever so slightly at the bottom and out at the top and that issue went away.

Adjustment so minor on the door side of the hinge I couldn't really see that I moved it, but bottom out.. top in and I got it spot on after 20 minutes.

beerestorationfall2018 1371.JPG beerestorationfall2018 1375.JPG beerestorationfall2018 1383.JPG beerestorationfall2018 1386.JPG beerestorationfall2018 1389.JPG beerestorationfall2018 1394.JPG beerestorationfall2018 1396.JPG beerestorationfall2018 1397.JPG
 
Last edited:
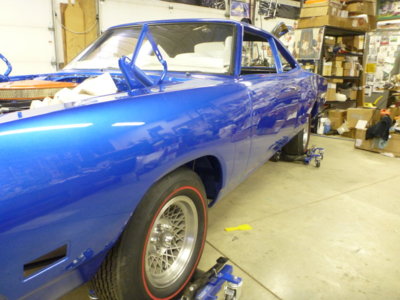
Drivers side body match has never looked this good in my memory.. back to 1978 anyhow when I was 16.

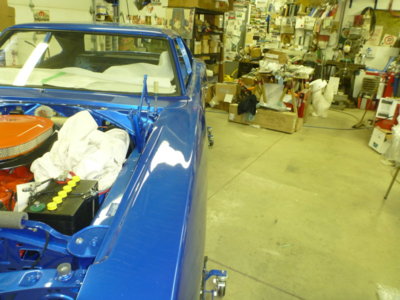
Something else I've never seen, a perfect upper body line front to back on the drivers side. :)

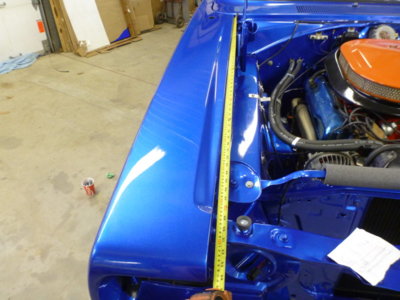
Everything done on the door to fender gap and making sure I have the same distance from cowl to fender nose on both sides for hood fit. Amazing that it's within 1/32" !

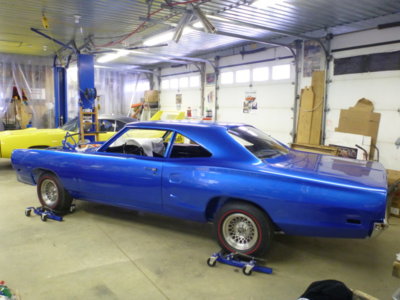
I could stare at this thing all day!

Drivers side as nice.

Just another shot..
1f609.png


All bolts tightened on fenders, inner fenders and grill support centered and tightened.

I'm a happy camper.

Hood time, if I can find a couple of helpers. Then the new POS x AMD glass gets removed and the recently acquired 50 year old back glass gets lined up and installed.

beerestorationfall2018 1406.JPG beerestorationfall2018 1408.JPG beerestorationfall2018 1415.JPG beerestorationfall2018 1418.JPG beerestorationfall2018 1419.JPG beerestorationfall2018 1422.JPG beerestorationfall2018 1437.JPG beerestorationfall2018 1452.JPG beerestorationfall2018 1453.JPG
 
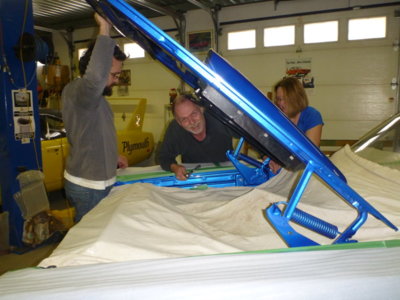
Car and hood both ready for hood installation.

Quick thread clean first, so not fighting with bolts.

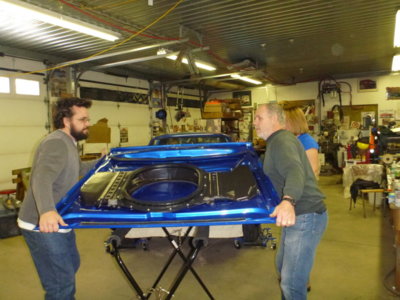
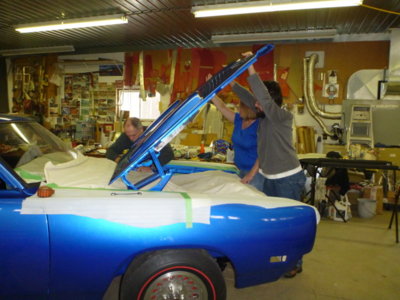
Daryl and I standing the hood up to flip.

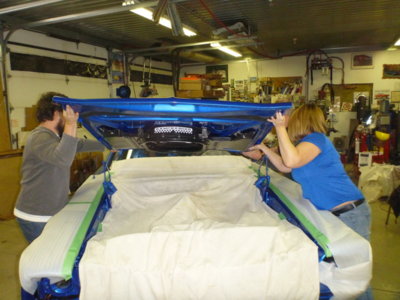
Daryl and Holly putting it in place while I get the "easy" job of installing bolts.

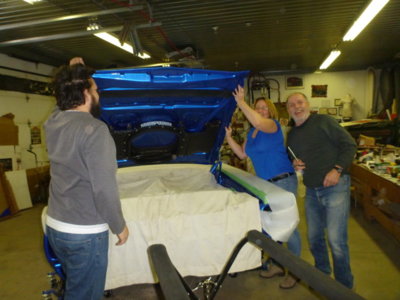
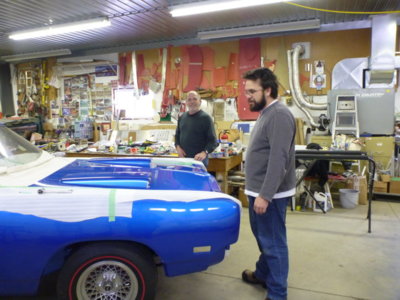
Hey... just stand there and hold that while I pose for a picture! lol

Drivers side went perfect on the second adjustment, passenger side a PITA.

A bit more playing.

What do you think Son??

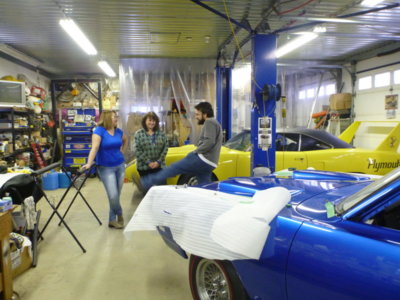
My helpers.

beerestorationfall2018 1465.JPG beerestorationfall2018 1463.JPG beerestorationfall2018 1469.JPG beerestorationfall2018 1472.JPG beerestorationfall2018 1474.JPG beerestorationfall2018 1478.JPG beerestorationfall2018 1484.JPG beerestorationfall2018 1489.JPG beerestorationfall2018 1490.JPG
 
I'd say I had the fenders darn close. Perfect passenger side gap.

Drivers side I of course had to re-play with the aft end of the fender at the cowl..... which of course lead to playing with the door again. 20 minutes and we're good and still have a nice crisp body line.

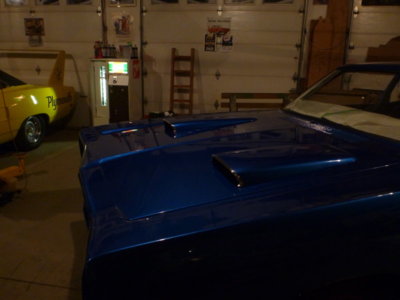
Filter assembly back in place to make sure the air box doesn't hold the hood up.

Yep, just another shot!

.. and another shot.

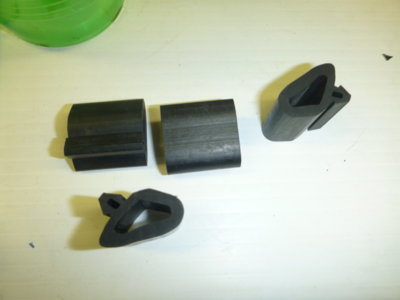
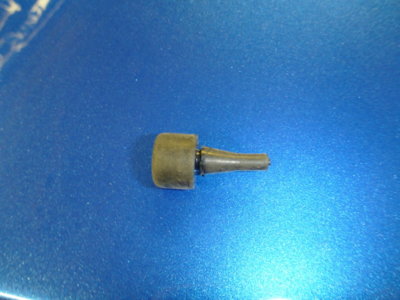
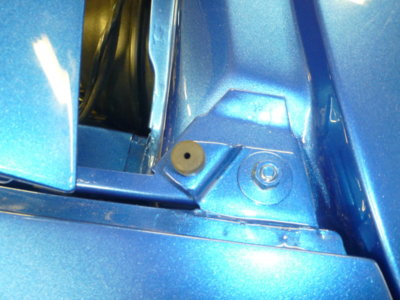
New rubber bumpers for the cowl bolt area.

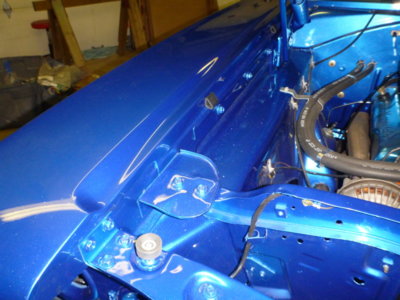
Bumper installed.

Bumpers for hood to fender.

Two bumpers each side and a new grill support hood stop / bumper on each side.

Back glass tomorrow!

beerestorationfall2018 1496.JPG beerestorationfall2018 1497.JPG beerestorationfall2018 1513.JPG beerestorationfall2018 1523.JPG beerestorationfall2018 1537.JPG beerestorationfall2018 1538.JPG beerestorationfall2018 1539.JPG beerestorationfall2018 1540.JPG beerestorationfall2018 1549.JPG beerestorationfall2018 1550.JPG
 
Beautiful, absolutely beautiful!
THANKS! Trying to get as much as I can together so I can be ready this week and then force my painter to set a date for me to take the car over to him this month to seam seal where they missed my drip rails, paint / clear them, and cut and buff the entire car.
 
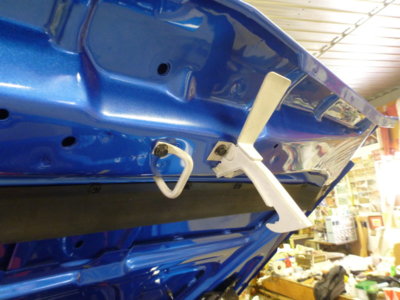
Hood catch and safety latch. Another paint shop error when they didn't listen to me. Catch should have been on the hood (like the trunks was) and painted with it (and then maybe my OE bolts wouldn't be AWOL as well!). Latch should have been plated Black phosphate AFAIK. Both got clear cad and will be corrected later.

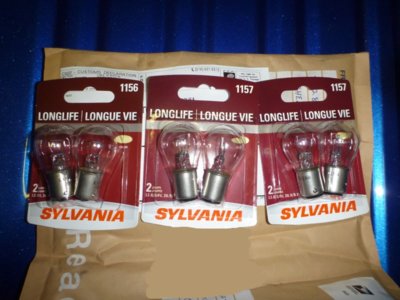
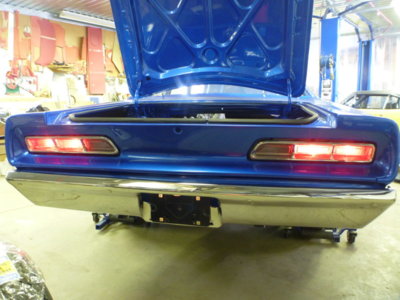
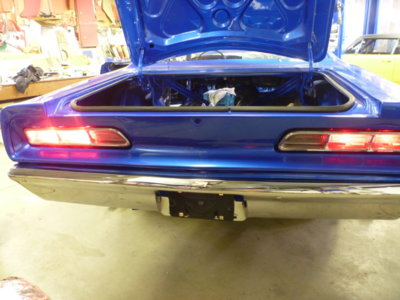
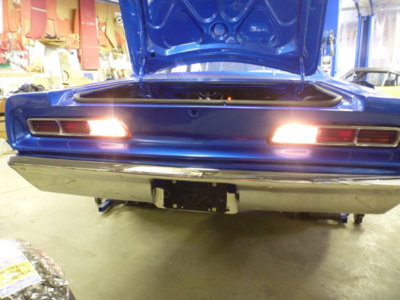
New 1157 bulbs for the tail lights and 1156 for reverse lights. It took three stores to get these + one more pack of 1157's for the front signals.

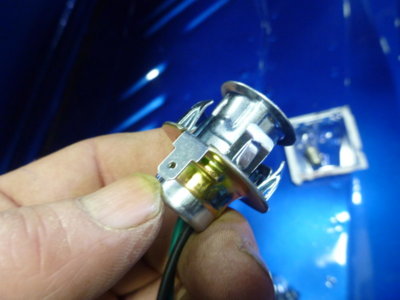
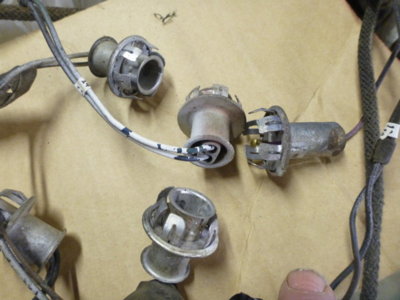
M & H reproduction harness sockets not quite correct with these extra ground tabs on them.

The OE harness to show they don't have the tab.

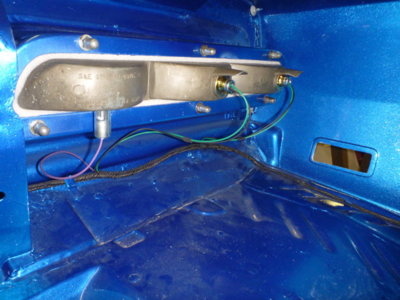
Installed the sockets so you can't see the incorrect tabs when looking in the trunk.

Running lights work!

Signal lights work!

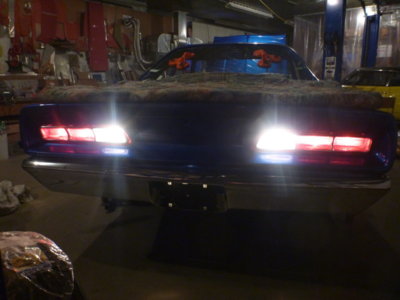
Reverse lights work... after an hour of trouble shooting as they were blowing the fuse. M & H left 2 strands of wire on the socket center connection and when the bulb was inserted it grounded out! $%*($! You can also see, through the trunk, that the orange dash reverse light is on!

Now I remember why I had these "spot lights" on a switch, so they didn't come on when backing out of a farmers laneway!:D

From the days of when style was in style !

beerestoration2019 003.JPG beerestoration2019 006.JPG beerestoration2019 007.JPG beerestoration2019 008.JPG beerestoration2019 009.JPG beerestoration2019 010.JPG beerestoration2019 013.JPG beerestoration2019 014.JPG beerestoration2019 046.JPG beerestoration2019 043.JPG
 
Last edited:
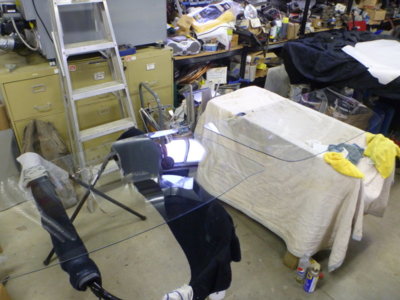
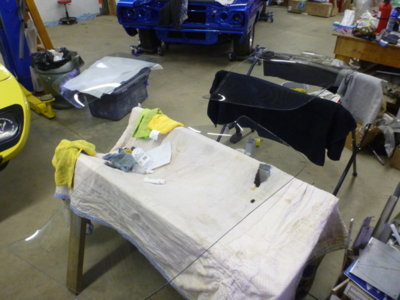
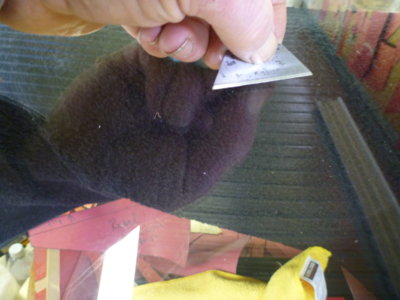
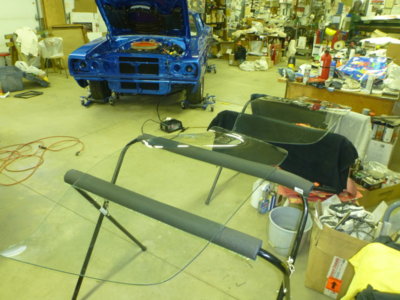
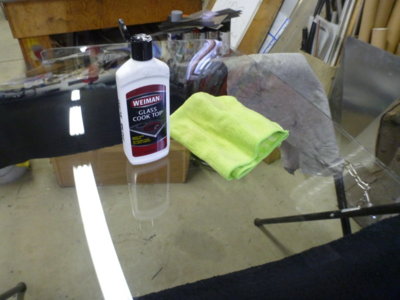
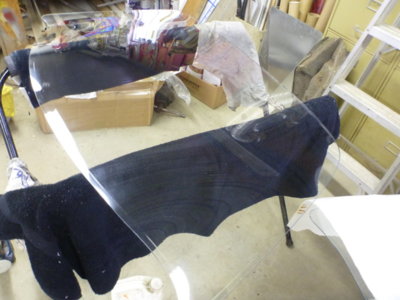
Starting to think 1/2 my restoration time has been spent cleaning glass. Carpet knife blade does a nice job of taking the burr off scratches making them less visible.

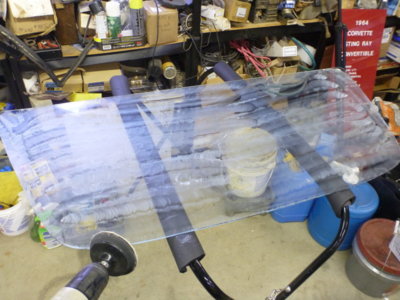
One more buff, on both back glasses.

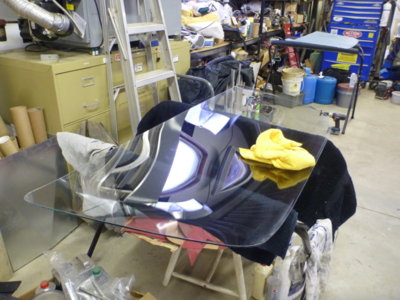
Now we're getting there and I hope to never clean a piece of glass again in my life!

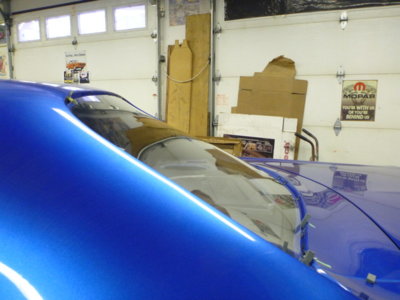
Neither are perfect and there's only one way to see which looks the best, put each one on the car and have a look.
A view of a correct back glass shape. Lifted the AMD out, put in another, lifted it out and then this one into place. Thankfully it's the one I'm using. Do yourself a favour, have a helper! lol
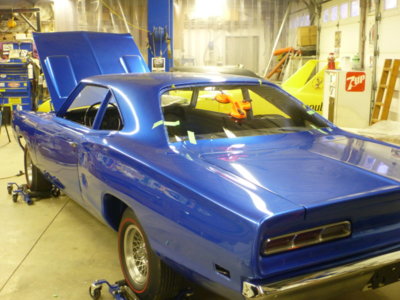
Best looking of the two back glass' in place and taped for location. Tomorrow my lovely assistant gets to help lift it out and then back in onto butyl.

beerestoration2019 015.JPG beerestoration2019 016.JPG beerestoration2019 018.JPG beerestoration2019 021.JPG beerestoration2019 029.JPG beerestoration2019 037.JPG
 
Looking great Wayne :thumbsup:

You know those gaps weren't anywhere perfect from factory. But when you can get them that way, it makes your efforts all worthwhile.

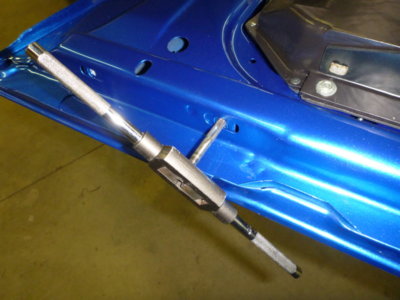
A little late but I noticed your tap handle that you were useing. I found these "tap sockets" years ago and it's all I'll use now. They accept all size taps and are 1/4"- 3/8" drive.
20190102_215016.jpg
20190102_214938.jpg
 
Starting to think 1/2 my restoration time has been spent cleaning glass. Carpet knife blade does a nice job of taking the burr off scratches making them less visible.

One more buff, on both back glasses.

Now we're getting there and I hope to never clean a piece of glass again in my life!

Neither are perfect and there's only one way to see which looks the best, put each one on the car and have a look.

A view of a correct back glass shape. Lifted the AMD out, put in another, lifted it out and then this one into place. Thankfully it's the one I'm using. Do yourself a favour, have a helper! lol

Best looking of the two back glass' in place and taped for location. Tomorrow my lovely assistant gets to help lift it out and then back in onto butyl.

View attachment 699548 View attachment 699549 View attachment 699550 View attachment 699551 View attachment 699552 View attachment 699553
Awesome job and progress over the last few weeks. Do you recall where you purchased your battery cables?
 
Awesome job and progress over the last few weeks. Do you recall where you purchased your battery cables?

Thanks! I'll have to dig through my paperwork for that as I've dealt with sooooo many vendors. I may have bought my Pos cable from Brewers and it has the wire to the starter solenoid the incorrect colour. Negative I think I bought elsewhere... I'll look when I get a chance.
 
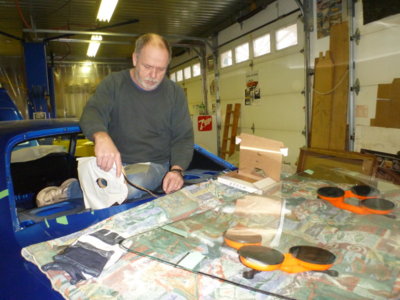
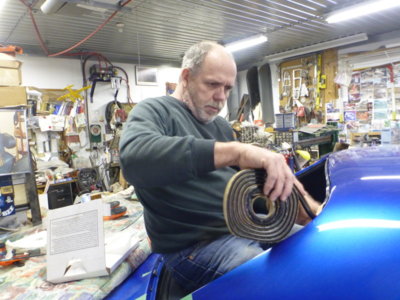
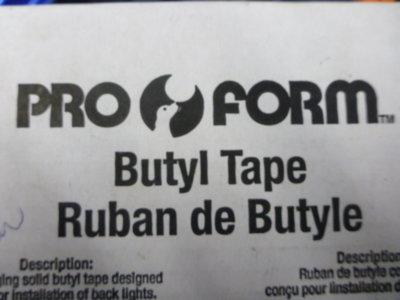
The assembly line used auto caulking guns with Butyl, but this is a nice clean answer for one off's to install the back glass.

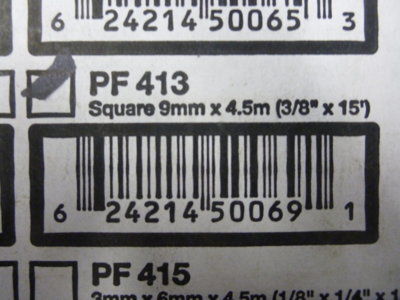
3/8" is the correct thickness for the Coronet / Bee.

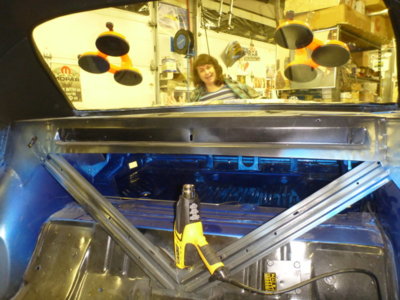
No point reaching in and scratching quarter panel paint when you can just sit on the package tray to install the butyl!

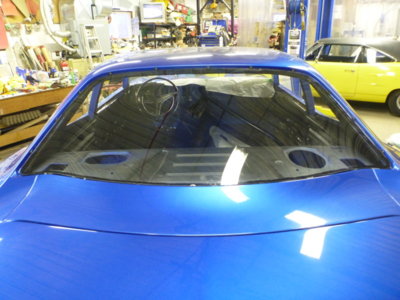
Almost all the way around.

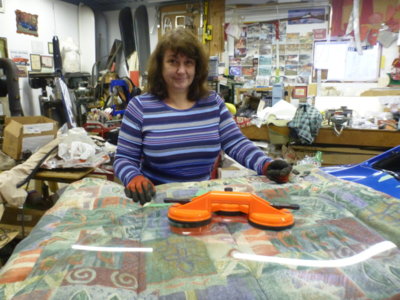
My lovely assistant of 36+ years. We took this car to the chapel and back!

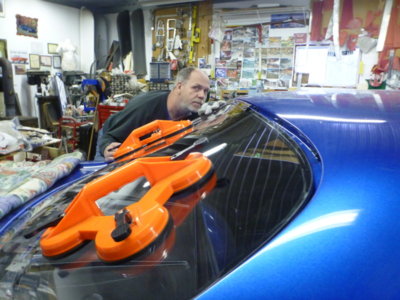
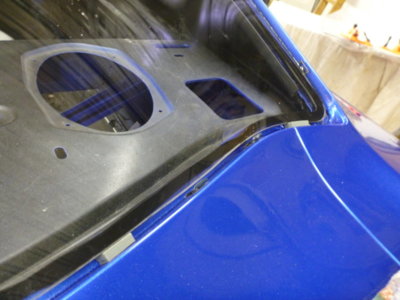
Checking trim depth / fit before I get too carried away seating the glass into the butyl.

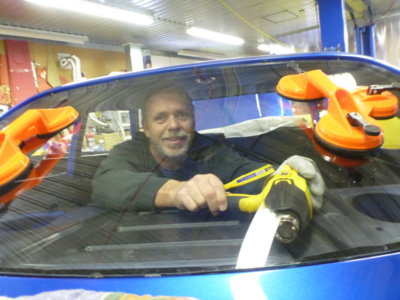
VERY light heat trying to soften up the butyl a tad so I can get it to come down a bit into the lower spots and seal.

Finally I just put the heat gun in the car and let it run until the car was up to 95F, then pushed the glass down. Still took a LOT of force, one arm hooked in the back window hole the other pushing down on the glass. No other way to get any leverage. Watch out for the hot brunette...

My last entry on back glass.. I promise!
1f642.png
. I wish it looked that perfect in person.

Don't forget your rubber spacer blocks so it doesn't slip down over time.

beerestoration2019 048.JPG beerestoration2019 049.JPG beerestoration2019 050.JPG beerestoration2019 055.JPG beerestoration2019 063.JPG beerestoration2019 066.JPG beerestoration2019 073.JPG beerestoration2019 076.JPG beerestoration2019 095.JPG beerestoration2019 089.JPG
 
The assembly line used auto caulking guns with Butyl, but this is a nice clean answer for one off's to install the back glass.

3/8" is the correct thickness for the Coronet / Bee.

No point reaching in and scratching quarter panel paint when you can just sit on the package tray to install the butyl!

Almost all the way around.

My lovely assistant of 36+ years. We took this car to the chapel and back!

Checking trim depth / fit before I get too carried away seating the glass into the butyl.

VERY light heat trying to soften up the butyl a tad so I can get it to come down a bit into the lower spots and seal.

Finally I just put the heat gun in the car and let it run until the car was up to 95F, then pushed the glass down. Still took a LOT of force, one arm hooked in the back window hole the other pushing down on the glass. No other way to get any leverage. Watch out for the hot brunette...

My last entry on back glass.. I promise!
1f642.png
. I wish it looked that perfect in person.

Don't forget your rubber spacer blocks so it doesn't slip down over time.

View attachment 699926 View attachment 699927 View attachment 699928 View attachment 699929 View attachment 699930 View attachment 699931 View attachment 699932 View attachment 699933 View attachment 699934 View attachment 699936
Nice. How long before you can check it for leaks?
 
Holy cow are you making some serious progress... and having fun doing it it would seam. Coming together beautifully too I might add:thumbsup:
 
Auto Transport Service
Back
Top