You are using an out of date browser. It may not display this or other websites correctly.
You should upgrade or use an alternative browser.
You should upgrade or use an alternative browser.
1969 Dodge Super Bee Coupe Restoration
- Thread starter dadsbee
- Start date
- Local time
- 5:04 AM
- Joined
- Jan 29, 2018
- Messages
- 21,866
- Reaction score
- 69,941
- Location
- Midland Ontario, Canada
White cleaned up good in the tub, so I'm not going to strip and paint. Just a spot to spray that's under the tach housings location and good to go.
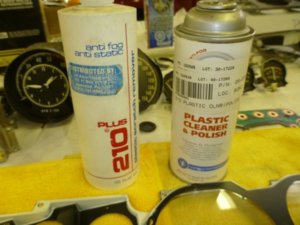
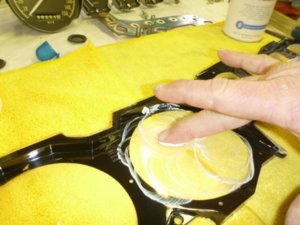
What I use on acrylic aircraft windshields, so giving it a whirl on 39 years of scratches.
I find the paste works best with your rough fingers vs just moping it up with a cloth. Won't work for office types.. lol
1 hours and 45 minutes, we'll call it good !
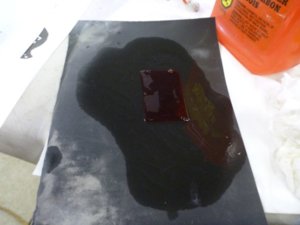
My FAVOURITE plastic cleaner. BBQ lighter fluid. Harms nothing, removes most everything.
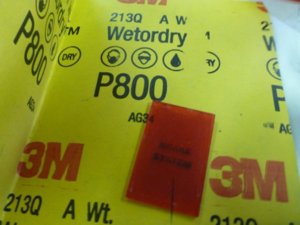
800 paper.
BBQ fluid and sanding the old Brake Failure off the lense.
Clean, washed with soapy water and ready for decal.


Last edited:
- Local time
- 5:04 AM
- Joined
- Jan 29, 2018
- Messages
- 21,866
- Reaction score
- 69,941
- Location
- Midland Ontario, Canada
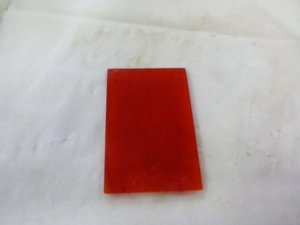
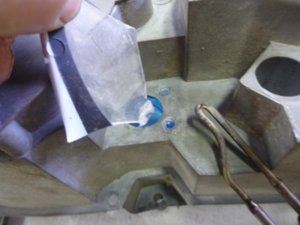
Melted in some old panel to put tabs on the bulb hood I swapped out.
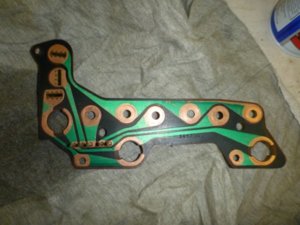
Cleaning the circuit board with cleaner and a BRASS brush.
Good for another 5 decades.
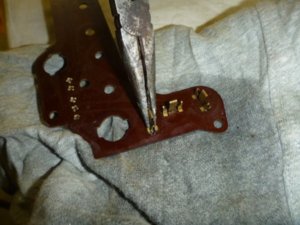
Squeezing the voltage regulator tabs together slightly so the regulator will have good connections.
Cleaned the lights / 4 way / wiper switches with BBQ fluid and then buffed up with rouge polishing compound and a buff wheel. Go light, it's only plastic.
EDIT: Before doing so I of course did a continuity check on them all after spraying contact cleaner into them anyway I could get it in. Some through gaps, some down the actuator shaft that the rocker pushes. This cleaned up any "scratchiness" or dead spots in all of them.
My dimmer roller has a chrome chip, so disassembled everything so I can reorient that spot to behind the housing over it's travel.
CAREFULLY twist the swagged in housing track so it's open.
Slide the terminal block out and clean everything up.
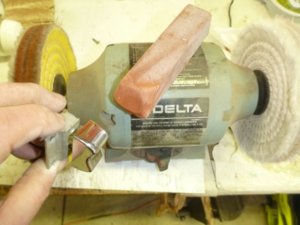
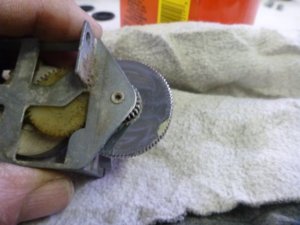
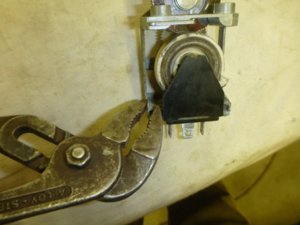
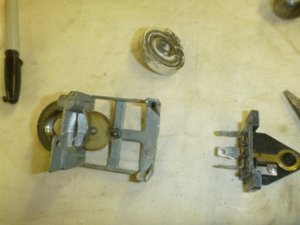


Last edited:
- Local time
- 5:04 AM
- Joined
- Jan 29, 2018
- Messages
- 21,866
- Reaction score
- 69,941
- Location
- Midland Ontario, Canada
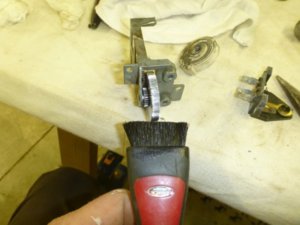
Detail brush soaked in BBQ lighter worked perfect to get 49 years of finger grub out of the ribs.
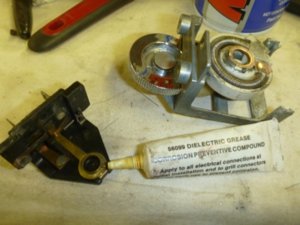
All clean and going back together with a bit of dielectric grease.
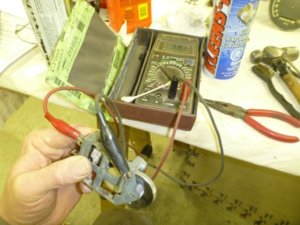
Verifying a linear ohm sweep on the dimmer and that when full on it switches the blade to ground for the dome light to work.
Decal back sprayed with Windex original and put in place
That worked great.. wiped out with a clean cloth to remove extra fluid and bubbles.
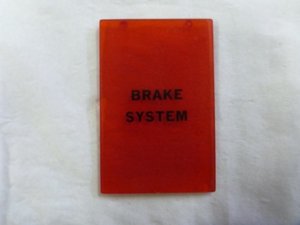
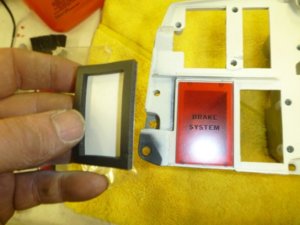
Melting the lense back into place.
Gasket for brake system lense.
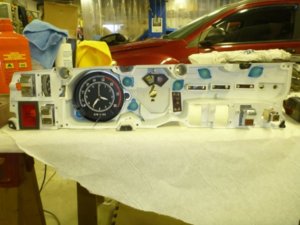
We're getting there! Stuff going back in and note that I remembered to paint the screw tab areas Black.


- Local time
- 5:04 AM
- Joined
- Jan 29, 2018
- Messages
- 21,866
- Reaction score
- 69,941
- Location
- Midland Ontario, Canada
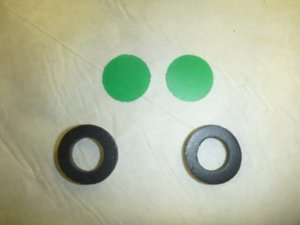
Signal light lenses and gaskets.
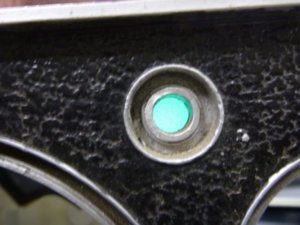
The left signal lense gasket needs to be pulled to the right a bit or you'll see it through the bezel. EDIT: I FOUND THE NEXT DAY.. that they fell off. Had to use Contact cement to put them back on. Not enough tack to the peel and stick gaskets.
Shine a light up through the signal light tube and make sure you can't see the black gasket.
Starting to look spiffy.
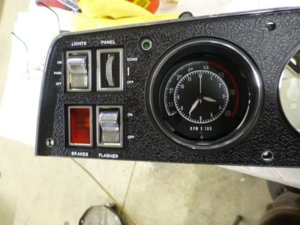


Last edited:
eddie102870
Well-Known Member
just finished the other thread and man, all I can say is outstanding.
- Local time
- 5:04 AM
- Joined
- Jan 29, 2018
- Messages
- 21,866
- Reaction score
- 69,941
- Location
- Midland Ontario, Canada
just finished the other thread and man, all I can say is outstanding.
Thanks! Just making it up as I go along!
eddie102870
Well-Known Member
I'm so close on mine, man this has re kindled this fire...lol
moparnation74
Well-Known Member
Wow! Since Friday you have had 27 replies and over 500 views......
Your other thread on jycharger has 869 replies and 31k views since 2016....lol
Numbers don't lie and the member base here is huge and in less than 6 months you will blow those numbers in no time.......
This is why I am so glad you brought your thread over here. I was not kidding when I relayed to you just how supportive and how the members here would love your build........
No other forum can compare to FBBO! Period WE are MOPAR and not some tiny clique....
Glenwood
Well-Known Member
- Local time
- 5:04 AM
- Joined
- Jun 19, 2015
- Messages
- 2,925
- Reaction score
- 2,851
- Location
- Kawartha Lakes, Ontario
Wow! Since Friday you have had 27 replies and over 500 views......
Your other thread on jycharger has 869 replies and 31k views since 2016....lol
Numbers don't lie and the member base here is huge and in less than 6 months you will blow those numbers in no time.......
This is why I am so glad you brought your thread over here. I was not kidding when I relayed to you just how supportive and how the members here would love your build........
No other forum can compare to FBBO! Period WE are MOPAR and not some tiny clique....
Your thread hasn't even been a year and over 66k views! A testament of the great work guys like you and @JimKueneman are doing!
moparnation74
Well-Known Member
Thanks my friend....Your thread hasn't even been a year and over 66k views! A testament of the great work guys like you and @JimKueneman are doing!
When you click on the members projects and restoration section. The first page with all the threads listed, just look at the support!
No other forum can compare......The people here support one another fully and that is a true brotherhood.....
Last edited:
- Local time
- 5:04 AM
- Joined
- Jan 29, 2018
- Messages
- 21,866
- Reaction score
- 69,941
- Location
- Midland Ontario, Canada
Thanks Justin !
Picked up the instrument circuit board lamp sockets today (and new #194 bulbs) that I ordered on Monday. They are the correct size and fit, but NOT OEM correct in some details... but they fit nice! Cost $5Cdn each because the box they come in would hold 50 of them!
My "Hen's Tooth" arrived today from New York State. Thanks Steven / @3white74 for selling it to me!!
Not in bad shape really, but going to see if they'll modify the tanks and do 3 cores instead of 2 when I drop it off tomorrow at the old school radiator shop.
2949053 seems to be one of Chryslers rarest (or maybe only because that's the one I was looking for!)
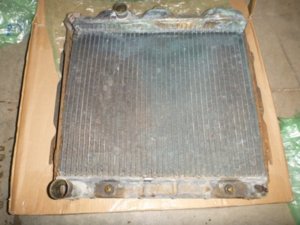
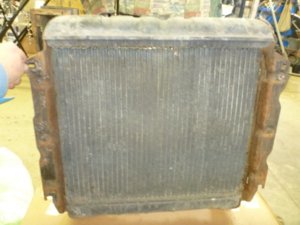
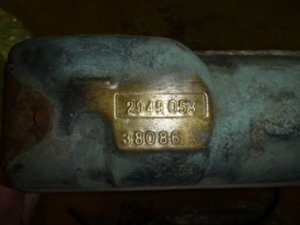


- Local time
- 5:04 AM
- Joined
- Jan 29, 2018
- Messages
- 21,866
- Reaction score
- 69,941
- Location
- Midland Ontario, Canada
Gotta question- BBQ fluid, can you substitute regular old lighter fluid? Jeff
Yep.. the stuff in the yellow bottle Ronson. What I use to use.. till I ran out. I think they're the same stuff. Neither hurt plastic.
Last edited:
- Local time
- 5:04 AM
- Joined
- Jan 29, 2018
- Messages
- 21,866
- Reaction score
- 69,941
- Location
- Midland Ontario, Canada
4 more Black's... I think I'm up to 13 total now looking for just the right shade. We'll see how these dry overnight, but one of the bunch is getting used tomorrow!
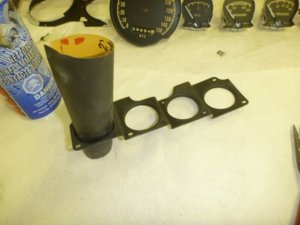
LIGHTLY sanding the gauge hoods with 800. Just enough for adhesion and making sure they're smooth. If they were rusty I would have glass media blasted them.
Gauges drilled apart and odometer (56694.1 miles) out of speedo, ready to lightly sand and then paint faces.
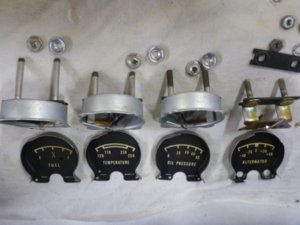
To show the difference in the gauge movements, in case you mix them up.
Also note the stud lengths.


moparnation74
Well-Known Member
Love the detailed posts with pics! Very nice work my friend!4 more Black's... I think I'm up to 13 total now looking for just the right shade. We'll see how these dry overnight, but one of the bunch is getting used tomorrow!
LIGHTLY sanding the gauge hoods with 800. Just enough for adhesion and making sure they're smooth. If they were rusty I would have glass media blasted them.
Gauges drilled apart and odometer (56694.1 miles) out of speedo, ready to lightly sand and then paint faces.
To show the difference in the gauge movements, in case you mix them up.
Also note the stud lengths.
View attachment 569357 View attachment 569358 View attachment 569359 View attachment 569360 View attachment 569361
- Local time
- 5:04 AM
- Joined
- Jan 29, 2018
- Messages
- 21,866
- Reaction score
- 69,941
- Location
- Midland Ontario, Canada
Winner Winner, chicken dinner! Last can I bought !
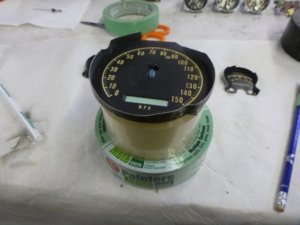
Tape rolls hold the speedo perfectly. Tape under odometer and high beam indicator holes. Be VERY careful putting the straw over the needle peg.. as the spring and bearing is under there.
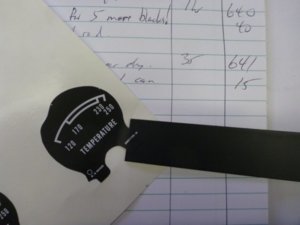
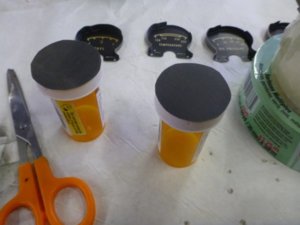
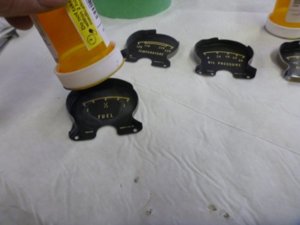
Glued some 800 to a couple of pill bottle lids.
Makes sanding idiot proof ! Make sure you also use a little piece of sand paper around the face rivets as that needs perfect paint as it'll be seen as decal is cut out there.
Just the right size for the gauge plates.


- Local time
- 5:04 AM
- Joined
- Jan 29, 2018
- Messages
- 21,866
- Reaction score
- 69,941
- Location
- Midland Ontario, Canada
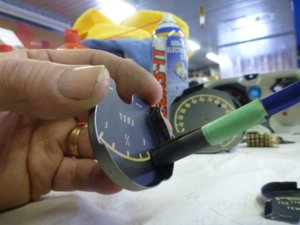
Pencil wrapped in 800 for the sides.
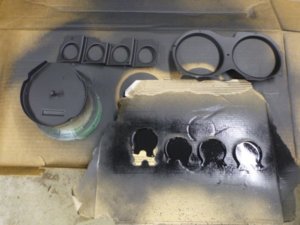
Note how Chrylser did this. Painted white first and then stencil painted with black.
Faces cleaned with reducer and then everything painted with 3 very light coats of paint.
All painted and on "bake" for a day or so.
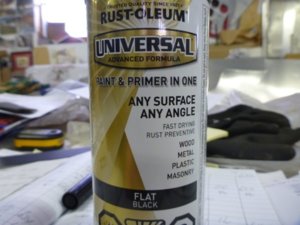
I'll save you from $150 worth of cans! Nice that it's the best one, as it's a paint and primer + a rust paint all in one! Sold at HomeDepot... don't run out just yet 'till I see how the decals look !


- Local time
- 5:04 AM
- Joined
- Jan 29, 2018
- Messages
- 21,866
- Reaction score
- 69,941
- Location
- Midland Ontario, Canada
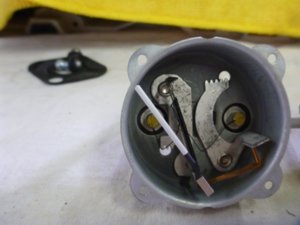
I have 6 gauges on the table, everyone one of them has it's needle pointing exactly at the corner between rim and bolt flange. Something to consider if yours are anything other..
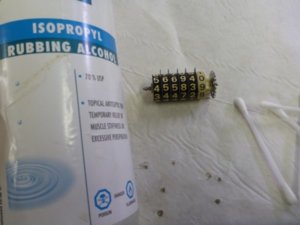
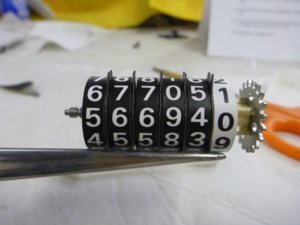
No point in watching paint dry, so we'll do the Odometer. Clean all the number wheels with Rubbing Alcohol and those cheap hard tipped Q tips you bought by accident, that hurt your ears if you use them. Not the nice fluffy original Q tip brand that would leave lint.
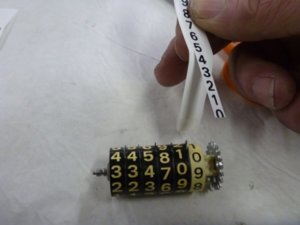
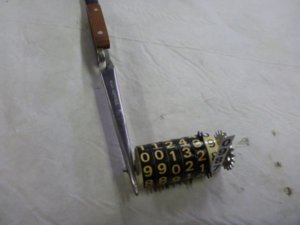
Peel the label backing part way back and use it as your handle DO NOT touch the label. Place the Zero below where it needs to be and gently slide it up until it matches the existing zero shape exactly and press into place.
Tweezers keep things from rolling as you start the label at zero. Then you'll need to remove, pick up spool and afix label. Do not use your fingers.. smooth it into place with the Q tip.
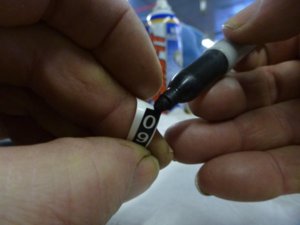
Notice the white line at the end of the wrap.. $*(%@$( !!
We'll fix that with some sharpy marker.
Didn't look like it was too faded when I started...
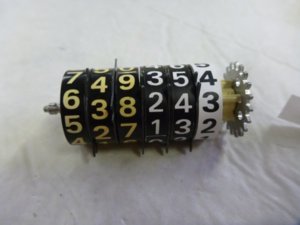
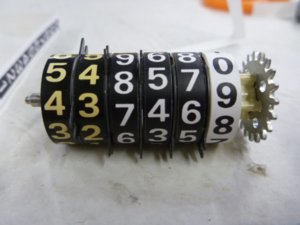
Kinda like a Rubick's cube, but I figured out how to get the mileage back to correct. Start at the left and get your number and "cog" wheel correct, then move to the right while holding the set wheel and cog and rotate until the next one is correct. Hold those 2 sets and rotate the 3rd.. etc. Or you can do like many and make it all Zero again.. not my cuppa tea.


moparnation74
Well-Known Member
Looks great! Let the viewers know how long that took?I have 6 gauges on the table, everyone one of them has it's needle pointing exactly at the corner between rim and bolt flange. Something to consider if yours are anything other..
No point in watching paint dry, so we'll do the Odometer. Clean all the number wheels with Rubbing Alcohol and those cheap hard tipped Q tips you bought by accident, that hurt your ears if you use them. Not the nice fluffy original Q tip brand that would leave lint.
Peel the label backing part way back and use it as your handle DO NOT touch the label. Place the Zero below where it needs to be and gently slide it up until it matches the existing zero shape exactly and press into place.
Tweezers keep things from rolling as you start the label at zero. Then you'll need to remove, pick up spool and afix label. Do not use your fingers.. smooth it into place with the Q tip.
Notice the white line at the end of the wrap.. $*(%@$( !!
We'll fix that with some sharpy marker.
Didn't look like it was too faded when I started...
Kinda like a Rubick's cube, but I figured out how to get the mileage back to correct. Start at the left and get your number and "cog" wheel correct, then move to the right while holding the set wheel and cog and rotate until the next one is correct. Hold those 2 sets and rotate the 3rd.. etc. Or you can do like many and make it all Zero again.. not my cuppa tea.
View attachment 569658 View attachment 569659 View attachment 569660 View attachment 569661 View attachment 569662 View attachment 569663 View attachment 569664 View attachment 569665
A tedious time consuming task....
Similar threads
- Replies
- 47
- Views
- 3K
- Replies
- 101
- Views
- 3K
- Replies
- 19
- Views
- 632
- Replies
- 17
- Views
- 387


