• When you click on links to various merchants on this site and make a purchase, this can result in this site earning a commission. Affiliate programs and affiliations include, but are not limited to, the eBay Partner Network.

1969 Dodge Super Bee Coupe Restoration

I'll add it up for the cluster when I'm done... all I can tell you if Patik is charging a couple grand you're getting a deal! LOL

The paint match shot shows how many WORKING hours I have into the car at this point. Probably double that in research and part ordering + the body shops 1166.5 hours.
 
I'll add it up for the cluster when I'm done... all I can tell you if Patik is charging a couple grand you're getting a deal! LOL

The paint match shot shows how many WORKING hours I have into the car at this point. Probably double that in research and part ordering + the body shops 1166.5 hours.
I have done about a dozen clusters and I had Instrument Specialties do my last:D....I know exactly how many hours you have put in the cluster alone. That I respect and appreciate all you have done so far...Looks great! You also provide some key tips that save folks time and $$ and information like that is priceless....

You are a true benefit to the viewers and members here!
 
What did I S cost you?? and did they do the front bezel or did you use a repop? My Repop 5 pc set cost me almost $800 Cdn.

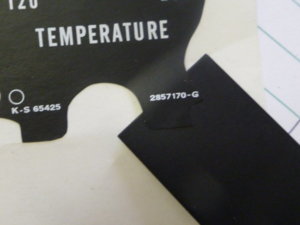
BTW.. I am considering making a round cutter to remove the white circle PG used to "locate" decals to the correct face plate as it makes it incorrect. You can see down in that far if you try through the bezel plate, so considering removing them so it's all black. Thoughts??
 
Last edited:
What did I S cost you?? and did they do the front bezel or did you use a repop? My Repop 5 pc set cost me almost $800 Cdn.
The front speedo bezel is the original and they polished it.....The radio bezel is NOS and the Hockey stick is an original and all 3 were polished by IS.....Going off memory, I think the overall cluster with speedo polished and with tach rebuild was around 1700.00. They are all around the same price these days....

I just pay the invoices and stopped looking at numbers, lol.....Stuffed away in a 5" binder and forgotten about:eek:.....
 
Thoughts on me cutting out the white rings on the PG decals?
I never had to do that.....all the decals I got for the rally clusters did not have the perimeter thin white ring...

Can you post a pic to make sure I am thinking of the same thing?...

Those are Dave P's decals?
 
No, it's a little white circle in the "adjustment" hole locations on the Temp and Oil P face plates. Was thinking of punching them out so they're all black like original faces. Yes David's..

beerestoration2018 1019.JPG
 
No, it's a little white circle in the "adjustment" hole locations on the Temp and Oil P face plates. Was thinking of punching them out so they're all black like original faces. Yes David's..

View attachment 569733
Apparently times have changed, my last decals didn't have those about 8 years ago.....Keep in mind that area is not visible once the bezel is installed....If you have a gasket punch you could try that but those decals can get damaged easily....
 
I can see down into there with cluster assembled on the bench, but I guess once it's in the dash you couldn't achieve that angle of view!
 
no way i couldve had it looking at nice as it came out.
 
no way i couldve had it looking at nice as it came out.
Not a button I can hit on that eddie.. I can't hit "like".. I can't hit "agree" because I'd be putting your work skill down! LOL I'm hoping that the work I'm doing will match what you paid for. Only time will tell !
 
Thanks Eddie!

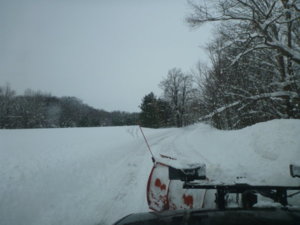
BTW, there won't be much happening today. I'm starting to think I live in Colorado and should move to Arizona! 45 CM / 18 inches of new white stuff last night is keeping me a tad busy.

The GOOD NEWS today, radiator shop just called and they were able to source a new core for my 053 rad and I should have it back by next Wednesday!

snowfeb92018 008.JPG
 
Thanks Eddie!

BTW, there won't be much happening today. I'm starting to think I live in Colorado and should move to Arizona! 45 CM / 18 inches of new white stuff last night is keeping me a tad busy.

The GOOD NEWS today, radiator shop just called and they were able to source a new core for my 053 rad and I should have it back by next Wednesday!

View attachment 569854


81 degrees in Tucson today.......
 
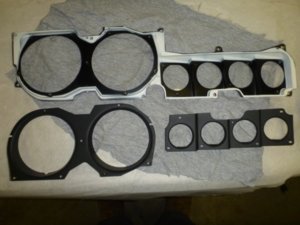
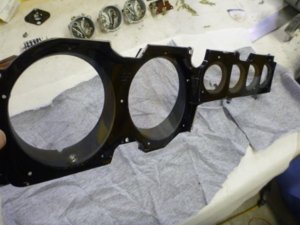
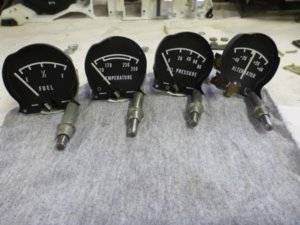
Clean plastic and repainted "hoods" ready to reassemble.

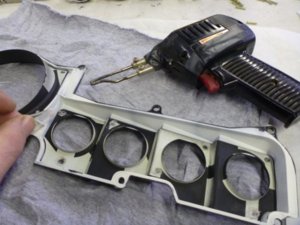
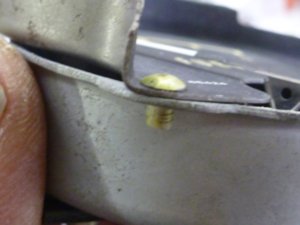
Melting some scrap and original location posts together.

All posts melted down tight and it's an assembly again.

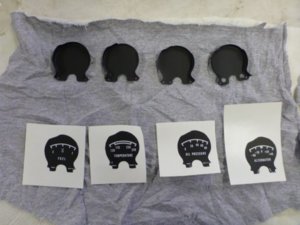
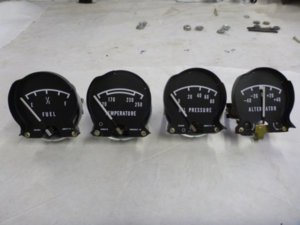
Gauge faces in paint and decals ready to install.

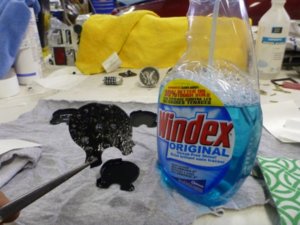
Face wiped with a windex wetted cloth and back of decal sprayed.

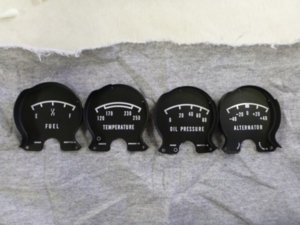
All decals in place after carefully placing with tweezers and then using both thumbs to slide into exact location. Be sure to trim your nails before you start. Once in place use a clean soft cloth (not paper towel) to wipe from center out to remove windex.

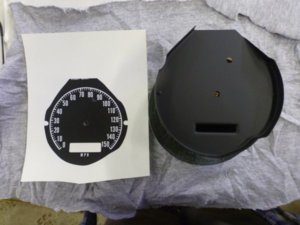
Ready to do speedometer
modify_inline.gif

feb1018a.jpg feb1018b.jpg feb1018c.jpg feb1018d.jpg feb1018e.jpg feb1018f.jpg feb1018g.jpg
 
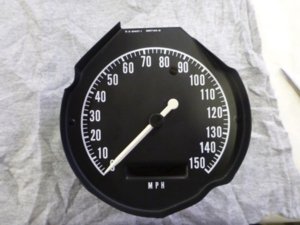
Decal on and needle back on. REMEMBER to hold that metal wheel from moving on the back. Install needle at ~20MPH and turn to 0.

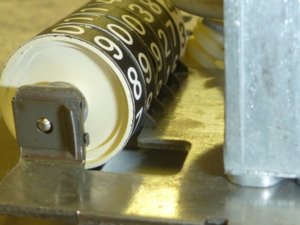
I took this picture to show where the odometer "cogs" lock in... but now that I have it on a computer monitor it also shows I'm opening up my finished work, as the center decal isn't down tight by the looks of things!

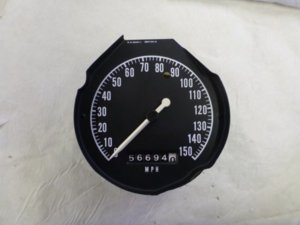
Odometer back in ready to install to housing.

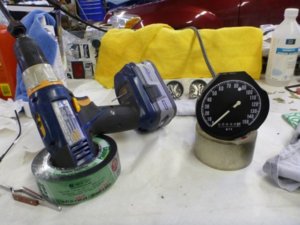
Took the speedo for a test drive, using the old cable and a drill IN REVERSE!!

Ready to rivet the faces back on. Be careful, if you bend a needle use tweezers to gently fix it.

Some perfect length AD3-3 rivets.

Face plates riveted back on.

feb1018h.jpg feb1018i.jpg feb1018j.jpg feb1018k.jpg feb1018l.jpg feb1018m.jpg feb1018n.jpg
 
Auto Transport Service
Back
Top