• When you click on links to various merchants on this site and make a purchase, this can result in this site earning a commission. Affiliate programs and affiliations include, but are not limited to, the eBay Partner Network.

1969 Dodge Super Bee Coupe Restoration

I'm very sorry about your loss. I lost my mom when I was 6 but I know I see her again someday. Your build is fantastic & I love all of the work you put into the cluster, looks amazing!
 
I'm very sorry about your loss. I lost my mom when I was 6 but I know I see her again someday. Your build is fantastic & I love all of the work you put into the cluster, looks amazing!

Thanks Rebel! Sorry for your early separation as well. If you missed the first post, there's 30+ pages to read on the first 2 years of my build over on DC.com
 
Already over there now reading away :thumbsup:

Thanks Rebel! Sorry for your early separation as well. If you missed the first post, there's 30+ pages to read on the first 2 years of my build over on DC.com
 
Went through Hemi Geno's entire thread as well.. found he had done crossed lines as does Jim's survivor hemi Daytona. Geno said his resto guy also had another survivor Daytona (with creative's paint overspray on hoses) that had parallel lines and with that said he was still going to "follow the masses" but can't find a completed final picture of his engine bay to see which he actually did. FSM says they cross... but we've discussed that before... :thumbsup:
 
Went through Hemi Geno's entire thread as well.. found he had done crossed lines as does Jim's survivor hemi Daytona. Geno said his resto guy also had another survivor Daytona (with creative's paint overspray on hoses) that had parallel lines and with that said he was still going to "follow the masses" but can't find a completed final picture of his engine bay to see which he actually did. FSM says they cross... but we've discussed that before... :thumbsup:
Yeah....that "group" create their own little world and always follows the masses.......Vance Cummings whom is the builder relayed there are variations....It ultimately falls into whom is really wrong? Neither IMHO Goes to show the line wasn't perfect and plants have variations........
 
I guess this is probably the reasoning behind 1970's having two different diameter hoses... so the line workers had to follow the FSM's wishes as to orientation, not what the mood of the day was telling them! :fool:
 
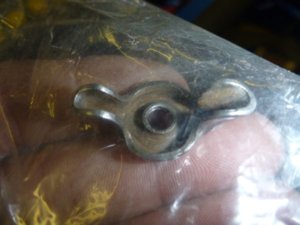
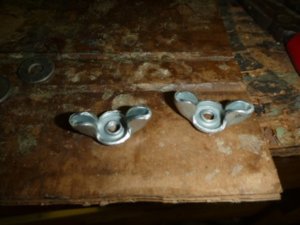
Repop wing nuts that came with the battery hold down kit. Close, but not exact.

I'm looking for someone that has some spare wing nuts! Would like two (or more) of these OEM ones for my oval cleaner if someone has some kicking around.

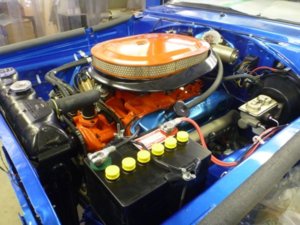
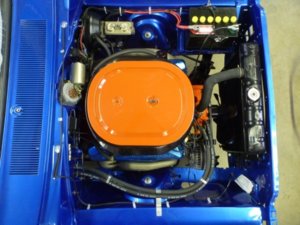
Orange has to be THE worst colour to try and get a true "as viewed" picture. Bought a "hen's tooth" last month, that being an ORIGINAL 1969 Fram CA-332 air filter.

Jen's view !

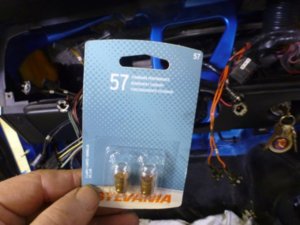
#57 bulbs for the instrument housing lights. Need 7.

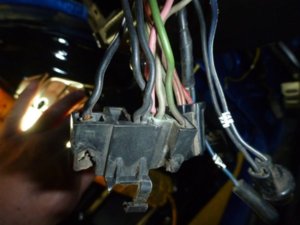
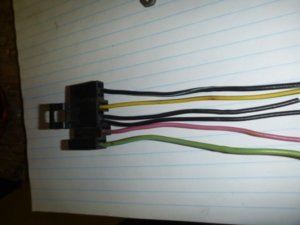
Headlight switch harness has run a BIT hot over the years!

Luckily Blk68RT (Wes) sold me (almost gave me) a beautiful replacement.

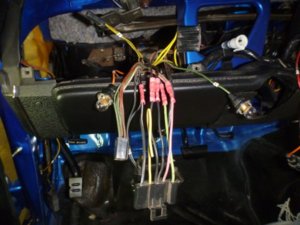
All spliced in ready to install the instrument cluster. Not like me, but I forgot the heat shrink tube. Oh well, it's not going to get wet.

mar418a.jpg mar418b.jpg mar418c.jpg mar418d.jpg mar418e.jpg mar418f.jpg mar418g.jpg mar418h.jpg
 
Last edited:
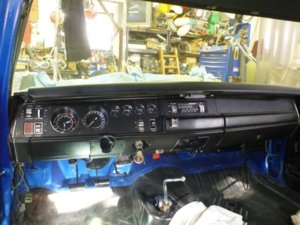
A LOT easier taking it out, than hooking up the short wires and getting it back in! Dash complete, just needs a steering column.

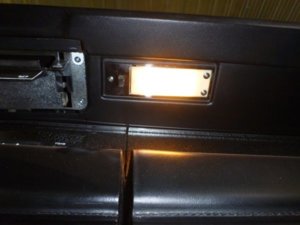
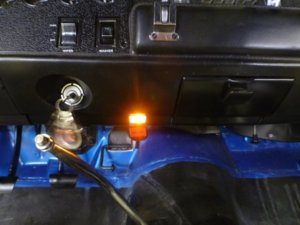
Hooked up the battery and everything seems to work. Glove box light on.

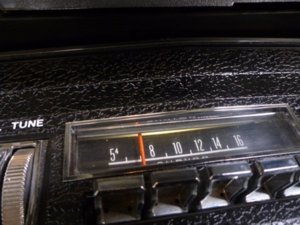
Radio light on

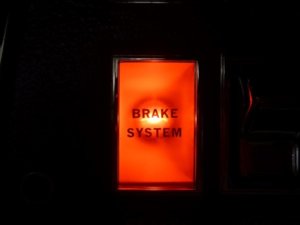
Hit the Ebrake and the warning light works.

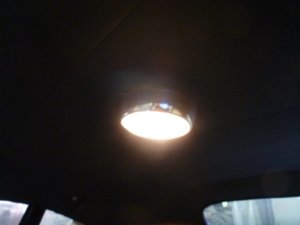
Dome light on.

Reverse light works!

More brand new junk... do manufactures even check that their **** works. Supposed to be variable resistance... shorted to ground! .. and a bitch to change out back there.
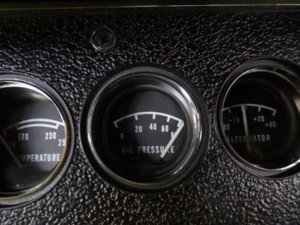
Sender shorted to ground makes the meter go full with engine off.

mar418i.jpg mar418j.jpg mar418k.jpg mar418l.jpg mar418m.jpg mar418n.jpg mar418o.jpg mar418p.jpg
 
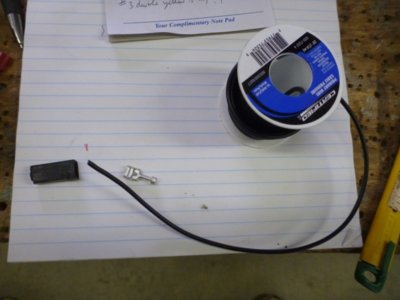
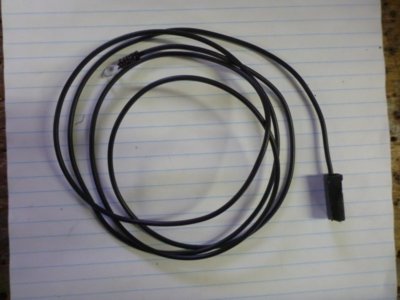
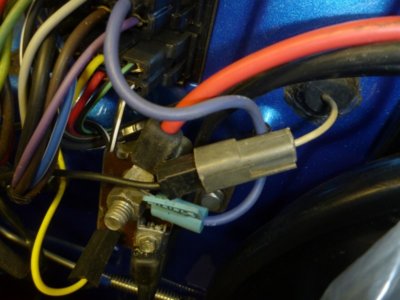
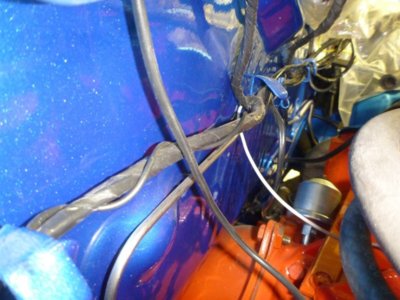
Needed the tach wire from the coil - to the firewall pigtail. Grabbed a plastic end from the old engine harness, a new connector and some black wire.

Finished tach wire.

Wire connects to the single firewall pigtail, that was an optional mod by the factory for the dash tach. Some cars only have a clock...some like my Bird have neither.

I imagine this is the way the factory added it to the engine harness.

Time to tackle the steering column restoration.

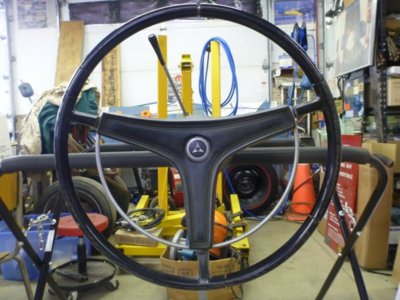
Horn pad and ring in good condition, steering wheel severely heat cracked. Marine container storage wasn't kind to it.

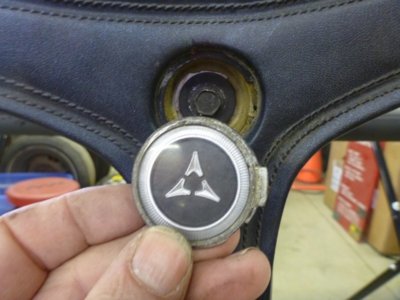
Note the tab at 3 o'clock when you go to pop the center plug so you don't break it. Pry it up from 9 o'clock. (I got lucky!)

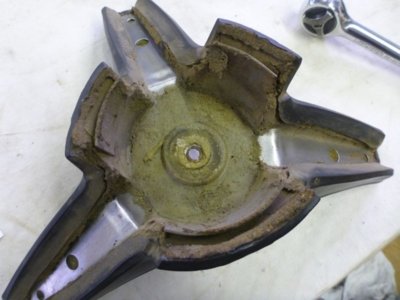
Horn pad while still in good condition needs some contact cement help.

mar518a.jpg mar518b.jpg mar518c.jpg mar518d.jpg mar518e.jpg mar518f.jpg mar518g.jpg mar518h.jpg
 
Last edited:
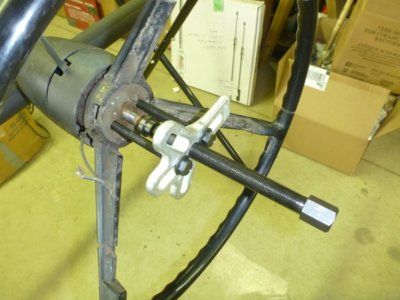
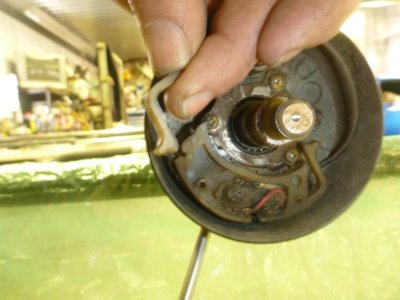
Pulled the old wheel.

Found why my signals didn't cancel after turning right. %(*@($

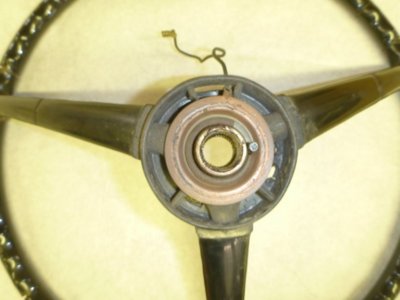
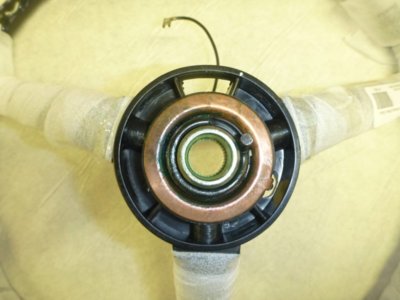
Note the retainer "spring" also has a stub sticking out. This is what cancels your turn signals, and this one is in the correct location on the old wheel..

Reproduction wheel came with the "stub" oriented wrong. A little tap with a hammer moved it into place.

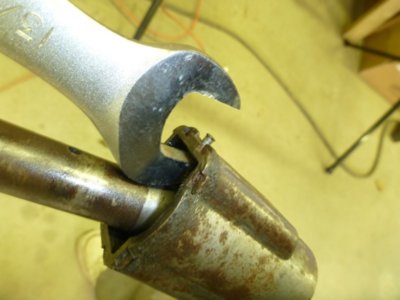
Simple way to remove the retainer pin on the steering knuckle. Wrench into place and pry it up.

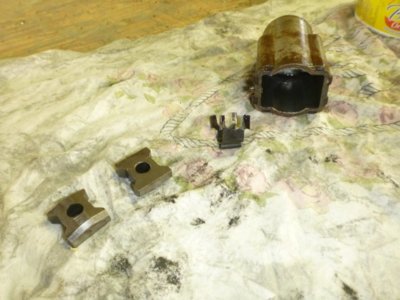
Knuckle apart. Minimal wear and a good thing, as the repro rebuild kit is CRAP !

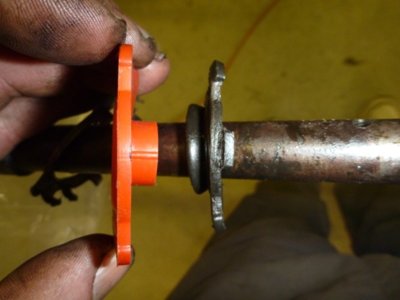
Repro rebuild kit gasket is wrong colour, wrong profile, missing the side tabs.. but I either have to use it or source a better one. (EDIT: Just ordered a new black one and good retainer from DMT)

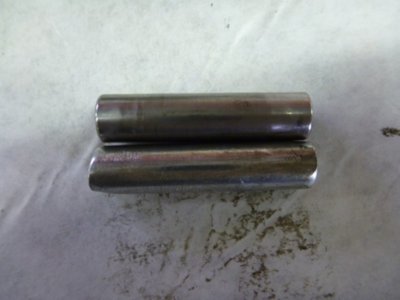
Original hardened, clean ground ends, press fit pin from the end of the steering shaft vs the repro CRAP that is machine chopped and undersize. I can throw it through the shaft hole. I'll be reusing the old.

mar518i.jpg mar518j.jpg mar518k.jpg mar518l.jpg mar518m.jpg mar518n.jpg mar518o.jpg mar518p.jpg

Video of what is supposed to be a hardened press fit pin..

 
Last edited:
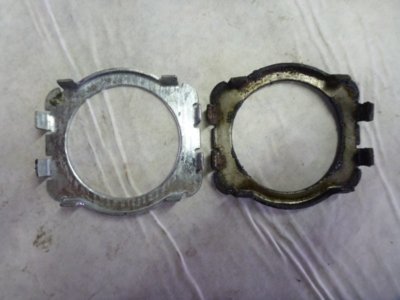
Repro knuckle retainer on the left, original on the right. Repro is about 75% the thickness of the original.

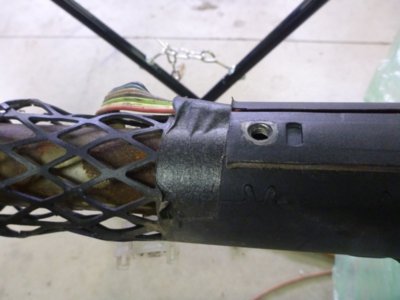
Picture to note the OEM black tape on the wiring harness coming out of the wheel.

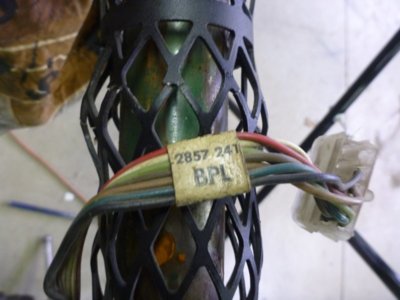
OEM part # label and noting the green Quality Control (I presume) paint on the inner tube

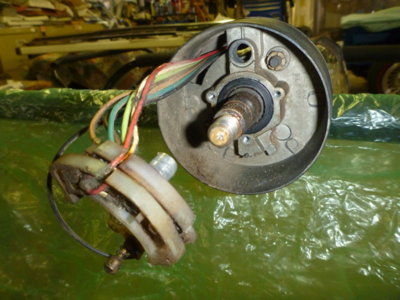
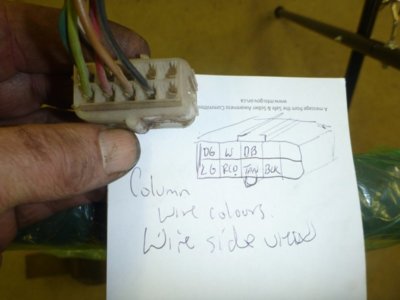
You have to remove the 7 wires from the connector to pull it through the steering collars.

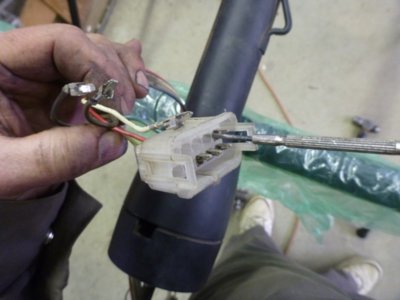
These have dual tabs.. one on each side.. of each connector. Pry one side while pulling lightly and then do the other and out they pop.

More mfg markings.

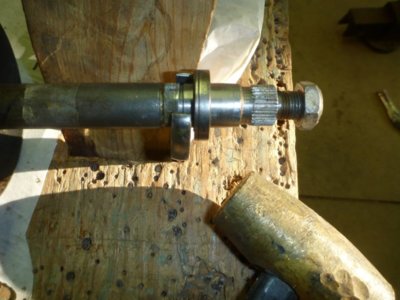
Outer and inner snap rings removed from the upper steering shaft bearing. Using a tight fitting wrench jammed in a hole in my bench and a brass hammer to remove the bearing. Thankfully both my bearings are still good and can be reused.

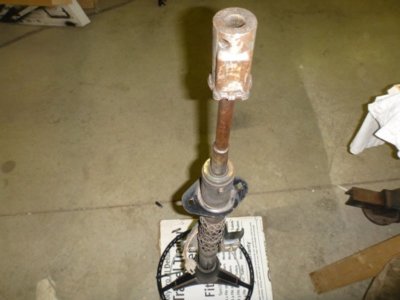
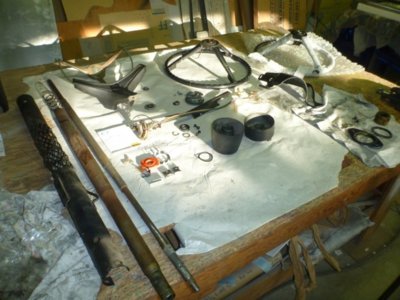
Steering column totally disassembled.

mar518q.jpg mar518r.jpg mar518s.jpg mar518t.jpg mar518u.jpg mar518v.jpg mar518w.jpg mar518x.jpg
 
Last edited:
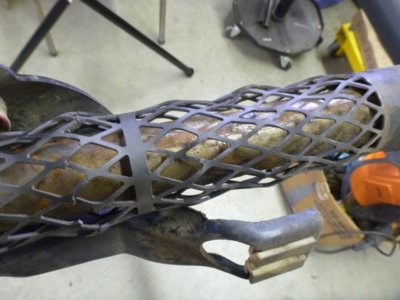
Guess when the old man ditched the car, way back in it's early life, he hit the wheel a BIT harder than he ever claimed! LOL Looks like a bit of stretch needs to happen and some TIG welding.

He also sheared the plastic "shear" pins in the main shaft as well, that I will have to reset into place and retain again by injecting epoxy or some soft rivets.

Thankfully the plastic shear pegs are still in the inner tube's slip joint.

mar518y.jpg mar518z.jpg mar518zz.jpg

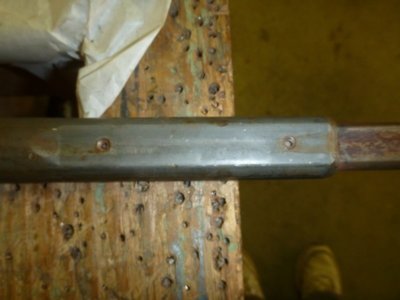
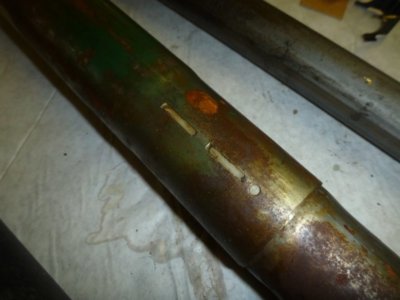
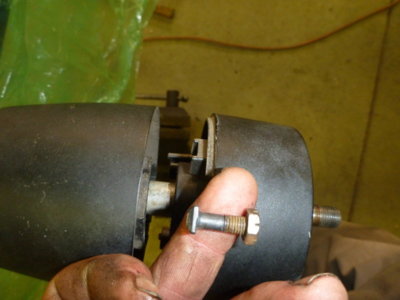
OH.. and what on earth are these square head bolts and nuts to nowhere for? They do nothing but occupy space ! EDIT: THE Square bolt heads catch the rectangular slots in the steering column tube and pull the outer collar, inner and tube together.
beerestoration2018 1389.JPG beerestoration2018 1379.JPG
 
Last edited:
I have also bought the red one for the column hope it will fit well. Bought from yearone.
That is the next part of my resto the steering column...
 
I have also bought the red one for the column hope it will fit well. Bought from yearone.
That is the next part of my resto the steering column...
Detroit Muscle Technology (DMT) has the correct black one for 8 bucks. Ordered it last night along with their stainless steel retainer. I forget whom I bought the CRAP rebuild kit from, but I need to dig my paperwork out so I buy NOTHING again from them!
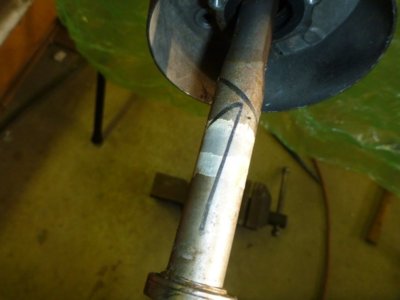
 
Guess when the old man ditched the car, way back in it's early life, he hit the wheel a BIT harder than he ever claimed! LOL Looks like a bit of stretch needs to happen and some TIG welding.

He also sheared the plastic "shear" pins in the main shaft as well, that I will have to reset into place and retain again by injecting epoxy or some soft rivets.

Thankfully the plastic shear pegs are still in the inner tube's slip joint.

View attachment 579208 View attachment 579209 View attachment 579210

OH.. and what on earth are these square head bolts and nuts to nowhere for? They do nothing but occupy space !
View attachment 579214 View attachment 579212
Those bolts and nuts are what hold the two pot metal collars together.....They are a joy to assemble btw.....

Coming along nicely Wayne.....First engine crank is icing on the cake.....congrats
 
Those bolts and nuts are what hold the two pot metal collars together.....They are a joy to assemble btw.....

Coming along nicely Wayne.....First engine crank is icing on the cake.....congrats

Thanks! The bolts just seem to be in the outer collar Square head fits in it square hole and nut on other side. Didn't seem to be attached to the bigger inner collar in any way. I'll have to study it again, but I just figured they were something line installed to work with a column shift or?

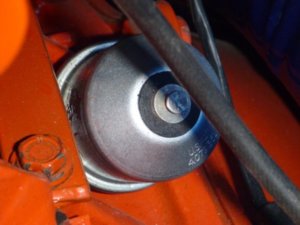
Picked up a new oil pressure sender this morning at NAPA and took my meter with me to check this one. Forgot to take my gas cans to pick up some Shell premium gas though. Can't just put 100LL Av gas in the tank by itself.. I have 500 gallons of that in the yard!
Trust me it attaches the 2 collars...I have only restored about 10-12 columns...Plus it is detailed in my thread....
 
Auto Transport Service
Back
Top