• When you click on links to various merchants on this site and make a purchase, this can result in this site earning a commission. Affiliate programs and affiliations include, but are not limited to, the eBay Partner Network.

1969 Dodge Super Bee Coupe Restoration

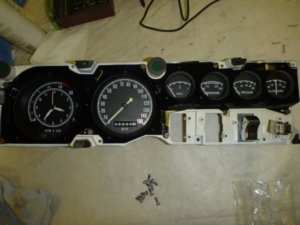
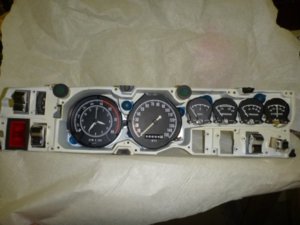
All gauges / instruments / switches back in housing.

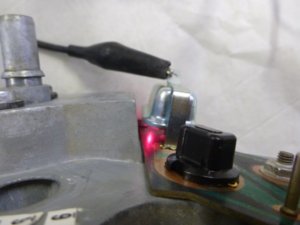
The new RTE- IVR4 regulator has a blinking Red light !

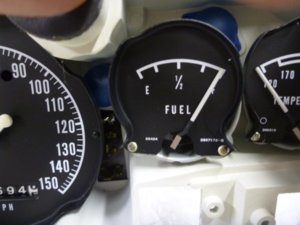
RTE was also nice enough to save me from digging through my electronics drawer. They included the correct resistor to use in the "sender" to ground line, FOR TEST PURPOSES, that should have your gauge show FULL. If not, adjust your gauge needle using the adjuster holes in the rear of the gauge.

All tested and plastic / hood cover in place with the original push pins.

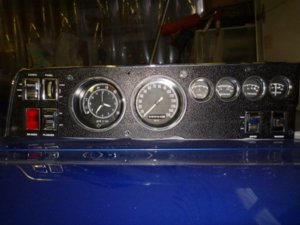
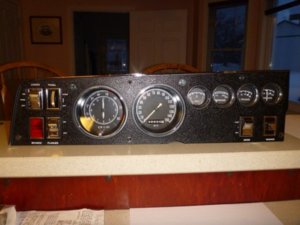
New bezel in place and impossible to get a good shot... I took at least 60 with different lighting. So here's a couple that don't show how nice it came out.

Another shot with different lighting. Still not great, you'll have to take my word for it. It looks brand new!
feb1018o.jpg feb1018p.jpg feb1018q.jpg feb1018r.jpg feb1018s.jpg feb1018t.jpg

And I took my electric car for a 0.4 mile test run as well before final assembly!

 
Last edited:
Decal on and needle back on. REMEMBER to hold that metal wheel from moving on the back. Install needle at ~20MPH and turn to 0.

I took this picture to show where the odometer "cogs" lock in... but now that I have it on a computer monitor it also shows I'm opening up my finished work, as the center decal isn't down tight by the looks of things!

Odometer back in ready to install to housing.

Took the speedo for a test drive, using the old cable and a drill IN REVERSE!!

Ready to rivet the faces back on. Be careful, if you bend a needle use tweezers to gently fix it.

Some perfect length AD3-3 rivets.

Face plates riveted back on.

View attachment 570262 View attachment 570263 View attachment 570264 View attachment 570265 View attachment 570266 View attachment 570267 View attachment 570268
Wayne

Great job on the cluster. It looks fantastic......I have never replaced the rivets and I appreciate you saying which ones you used. These little things save tons of time for someone considering to do that or deciding if it is possible....

AD3-3 rivets.:thumbsup:

Justin
 
Thanks, thought I was in a vacuum for a couple days! LOL

Rivets were just what I had on hand and I have the tools to set them correctly, the originals were hollow metal / brass coloured rivets similar to brake pad rivets for any that have used those. I didn't have the correct size to do it "OEM".
 
I've had a camera in my hand since I was 10 years old and the wife couldn't take a good picture if she tried, but it appears she bettered me this round! LOL Just glad she's part of the excitement in this car. It's part of her too, as it's the car I had when dating and we drove away from the Church in it as well when married in '82!
Bdash001.jpg
Bdash002.jpg
 
That's a great looking gauge cluster. Keep up the good work.
I wish I had a mopar to drive away in at our wedding. I had a 70 torino. I do still have that car though, and it still runs.
 
Torinos are Nice! My brother in laws dad has a 70 gt.. factory 4bbl cleveland, 4 spd,, shaker hood, hideaway headlights, rear window louvers.
 
This expense is TOTALLY Justin's fault !! I was perfectly happy with my Fram clean in a box and the dirty driver filters I've had since 1979, believing they were OEM correct and he had to go and bust that bubble ! Oh well, I'm sure Jim will find something to spend my hard earned money on! LOL

beerestoration2018 1148.JPG
 
This expense is TOTALLY Justin's fault !! I was perfectly happy with my Fram clean in a box and the dirty driver filters I've had since 1979, believing they were OEM correct and he had to go and bust that bubble ! Oh well, I'm sure Jim will find something to spend my hard earned money on! LOL

View attachment 571594
Wayne......my apologies, lol......I knew this day couldn't end without me getting blamed for something.....

If that's an NOS run your standard filter and pop this one on at shows.....They are very expensive and you won't find another........mine is in the box it came in behind the driver seat and I just chuckle when I see it there....an expensive ornament....
 
$350 Cdn in it to my door. NOS from hemi71x Jim. Stupid money, but in the grand scheme of where I'm at it's pocket change!
 
$350 Cdn in it to my door. NOS from hemi71x Jim. Stupid money, but in the grand scheme of where I'm at it's pocket change!
This is true....hard to believe it's pennies in relation to the build.....

Did it come in a fram box? Does it have the inner webbing?
 
No box, but yes to mesh on the inner side. I have a clean Fram box for it's new home, I don't even think they changed the part number when they changed the outer layer to mesh. Pretty sure my 1979 one is a CA332.

WOW.. I just googled CA322 and there's a guy on Ebay selling "original" for $499 US.. and they're mesh like my 1979's !
 
Last edited:
No box, but yes to mesh on the inner side. I have a clean Fram box for it's new home, I don't even think they changed the part number when they changed the outer layer to mesh. Pretty sure my 1979 one is a CA332.

WOW.. I just googled CA322 and there's a guy on Ebay selling "original" for $499 US.. and they're mesh like my 1979's !
Wait a minute- Now we gotta save carboard boxes? !! Now it’s getting to a firearms forum!
 
Was out playing real Canadian for 11 days!

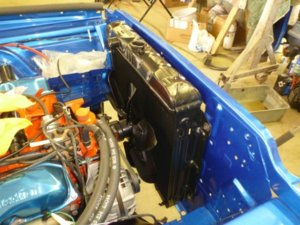
Came back from 10 full days of ice fishing and my 053 radiator was ready for pick up.

All the little dings removed and recored, looking like new. Not too shiny, not to dull, think it looks correct.

The 2 row core for the 2949 053 radiator if anyone is interested, to cut your search time. I've never had an issue with the Bee overheating with the stock radiator.

???? Overflow hose, are there supposed to be clips that go in the square holes down the side of the radiator to retain it?
EDIT: GOT THE CLIPS ordered from Jamie at Megaparts.

feb2818a.jpg
feb2618b.jpg
feb2618c.jpg
feb2618d.jpg
 
Last edited:
Today would have been my Daughter's 33rd Birthday, so just puttering in the shop. :(

Radiator bolted in place so it's safe and off the shop floor.

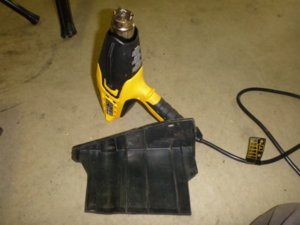
Using the heat gun to straighten out the 49 year old LCA strut shields.

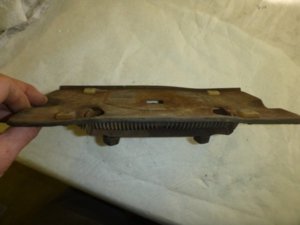
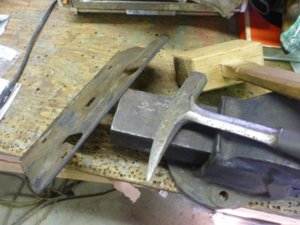
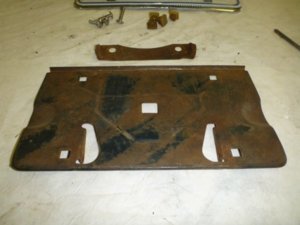
I think the rear licence plate holder needs a bit of work.

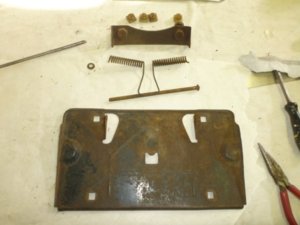
Disassembled for straightening and all hardware dropped in the Evaporust bucket.

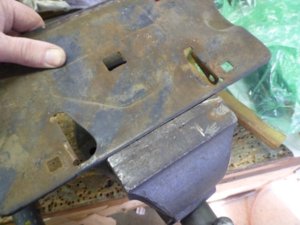
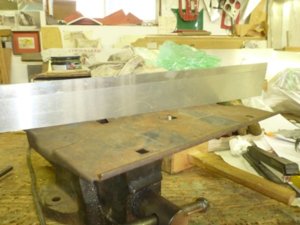
Looks like I can use the 6" vise as my anvil for this one.

Most of the "body" dollied flat and fixing the edges.

Close enough for me.

Ready for media blast, prime and paint in semi gloss black.

feb2718a.jpg feb2718b.jpg feb2718c.jpg feb2718d.jpg feb2718e.jpg feb2718f.jpg feb2718g.jpg feb2718h.jpg
 
Today would have been my Daughter's 33rd Birthday, so just puttering in the shop. :(

Radiator bolted in place so it's safe and off the shop floor.

Using the heat gun to straighten out the 49 year old LCA strut shields.

I think the rear licence plate holder needs a bit of work.

Disassembled for straightening and all hardware dropped in the Evaporust bucket.

Looks like I can use the 6" vise as my anvil for this one.

Most of the "body" dollied flat and fixing the edges.

Close enough for me.

Ready for media blast, prime and paint in semi gloss black.

View attachment 576651 View attachment 576652 View attachment 576653 View attachment 576654 View attachment 576655 View attachment 576656 View attachment 576657 View attachment 576658
D—- dad, lost my son-in-law last fall. Probably therapeutic for ya; we don’t want to outlive the kids!
 
More puttering..

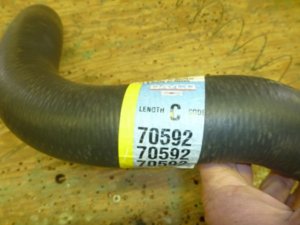
New lower radiator hose Dayco 70592

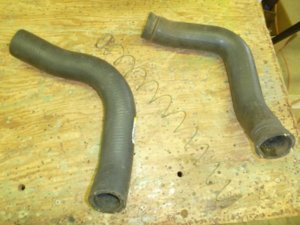
It didn't come with an anti collapse spring, so I carefully spun it out of the old one.

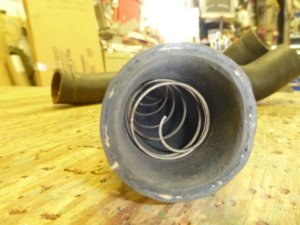
..and installed the spring into the new hose.

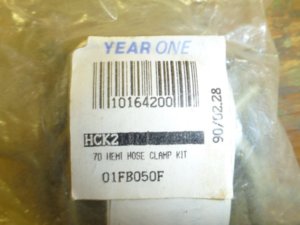
Hose clamp kits I've had since 1990.

The 1990 kits have the correct finish.

Current day kit I bought, forgetting I had some, is a bit dark to OEM standards.
modify_inline.gif

mar318a.jpg mar318b.jpg mar318c.jpg mar318d.jpg mar318e.jpg mar318f.jpg
 
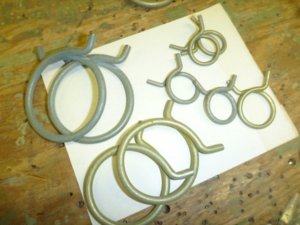
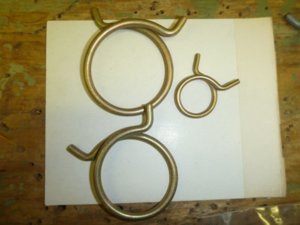
Hose clamps and licence plate parts RPM'd.

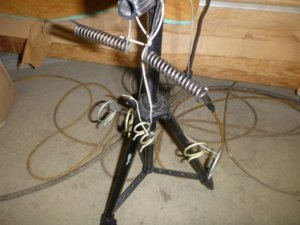
Easy way to measure for heater hose cutting, for a one shot no screw up deal!

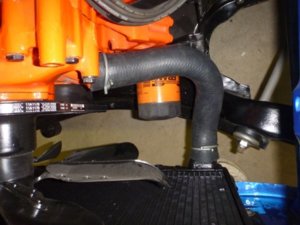
Lower radiator hose in place. I probably should have trimmed a bit off it's length, but it's on there now . Yep, it's a Fram oil filter.. get over it. (all I've run since this engine was rebuilt in 1979 and it runs perfect and is clean inside)

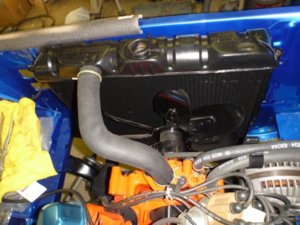
New upper hose. Dayco 70369. Would have fit my old incorrect radiator perfectly as the hose spout on it is closer to the cap. Took some twisting and massaging but I made it work for the correct 053 radiator.

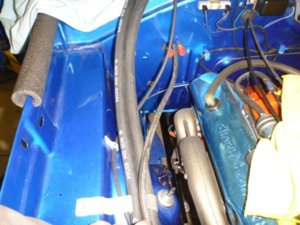
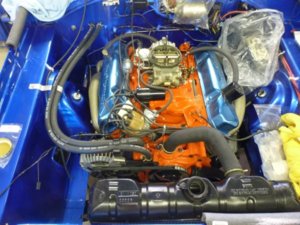
All ready to fill the radiator, once I'm closer to first start. Still need to install the heater hose "straps" to join the two hoses.

mar318g.jpg mar318h.jpg mar318i.jpg mar318j.jpg mar318k.jpg
 
Hose clamps and licence plate parts RPM'd.

Easy way to measure for heater hose cutting, for a one shot no screw up deal!

Lower radiator hose in place. I probably should have trimmed a bit off it's length, but it's on there now . Yep, it's a Fram oil filter.. get over it. (all I've run since this engine was rebuilt in 1979 and it runs perfect and is clean inside)

New upper hose. Dayco 70369. Would have fit my old incorrect radiator perfectly as the hose spout on it is closer to the cap. Took some twisting and massaging but I made it work for the correct 053 radiator.

All ready to fill the radiator, once I'm closer to first start. Still need to install the heater hose "straps" to join the two hoses.

View attachment 578142 View attachment 578143 View attachment 578144 View attachment 578145 View attachment 578146
:thumbsup:I commend you on the routing:D
 
Auto Transport Service
Back
Top