• When you click on links to various merchants on this site and make a purchase, this can result in this site earning a commission. Affiliate programs and affiliations include, but are not limited to, the eBay Partner Network.

1969 Dodge Super Bee Coupe Restoration

You bring up an excellent point. I will be using the OEM existing wiring, so I'd probably need to get a NOS so that I'm not overloading the electrical system.

You want BRIGHT, NOS probably aren't the ticket and you'd want Halogens but make sure you wire them via relay if you do and not directly through the dash switch.

Dates, I didn't really care... getting new matched pairs of bulbs was my priority.

View attachment 722490 View attachment 722491 View attachment 722492 View attachment 722493
 
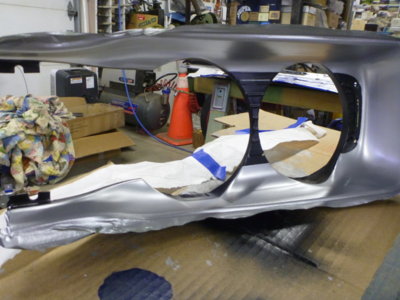
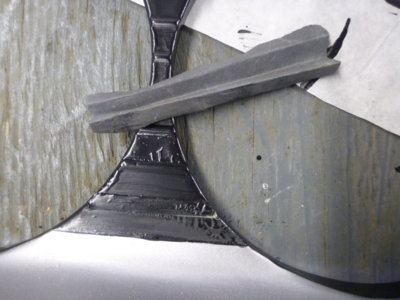
wayne,what silver paint is used i see a number but what brand name. thanks

You are looking at the pretty pictures, correct Johnny?! :thumbsup: That said, I spent $100 bucks to find something close to the dirty silver of the OE. I won't say the CBVW2039 Reflex Silver Metalic is exact, but it's purdy close. Your mileage may vary... and you'll be looking for BVW at your end, the C is for Canuck!
beerestoration2019-865-jpg.jpg
 
You are looking at the pretty pictures, correct Johnny?! :thumbsup: That said, I spent $100 bucks to find something close to the dirty silver of the OE. I won't say the CBVW2039 Reflex Silver Metalic is exact, but it's purdy close. Your mileage may vary... and you'll be looking for BVW at your end, the C is for Canuck!
View attachment 722559
wayne, what size wood did you use to build your dash holder with?thanks for the muffler hanger nice and also the kind jesture you made.thanks
 
Anything you have Johnny, I just used some scrap 2 x 4's and a 2 x 2 cross board + two long bolts.
beerestoration2015-2016 981.JPG
 
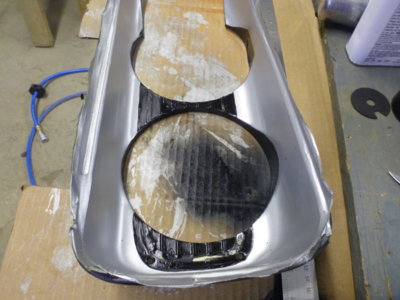
Trying to hand paint the Black. Went on not bad, but just can't get a flow out that would look as clean as spray.

And then it curdled. Fun place to sand.

Gave it another coat and the bastards can sit in the corner for awhile. Time to move on.......

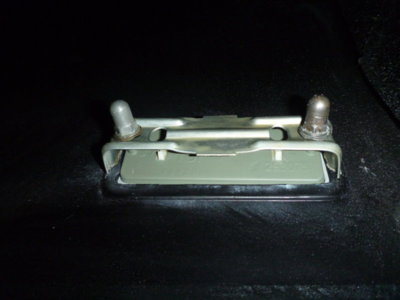
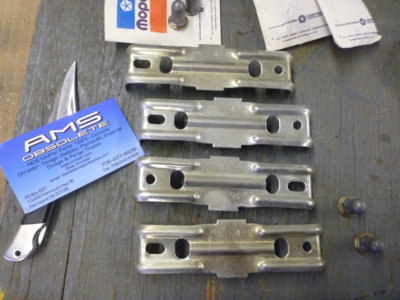
New side marker retainers. One missed the stamper!

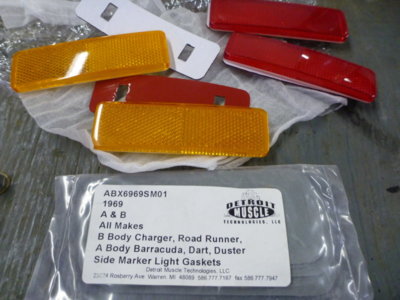
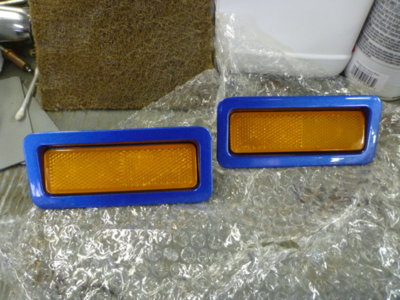
New reflectors and gaskets.

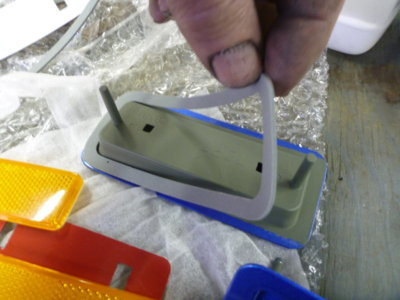
Gasket placement before install.

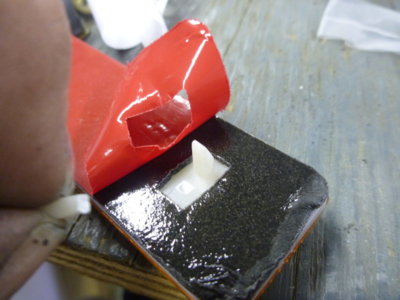
Tried a test fit before peeling the two face tape, thankfully. Snapped the locators off.

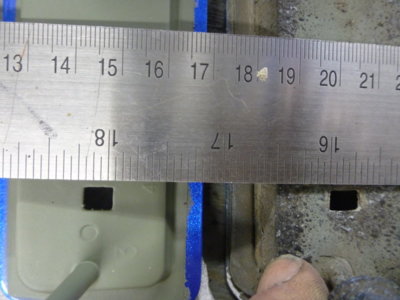
Reproduction bezels from PG Classics only have a 1/4" long slot and the OE's are 5/16.

Filed out the holes an equal amount in each direction.

Corrected left, as received right.


beerestoration2019 1355.JPG beerestoration2019 1370.JPG beerestoration2019 1375.JPG beerestoration2019 1376.JPG beerestoration2019 1377.JPG beerestoration2019 1378.JPG beerestoration2019 1383.JPG beerestoration2019 1385.JPG beerestoration2019 1390.JPG beerestoration2019 1391.JPG
 
Didn't break the second one.

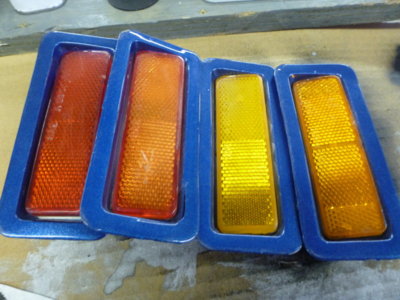
Here's a shot for the "that's not the correct colour" crowd. These are my four OE's

Reproduction bezels and reflectors ready to install.

Rear install view of side marker.

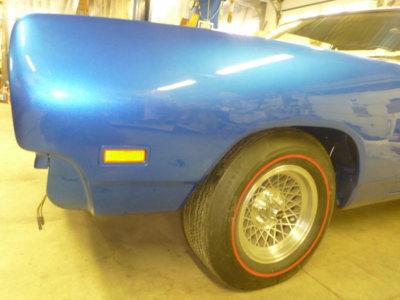
Front marker bezels/reflectors installed.

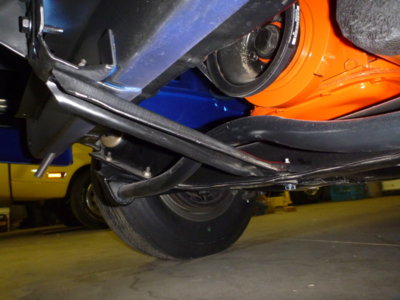
K frame to radiator brace being installed. Note clip nut on K frame end.

K frame to radiator support brace installed.

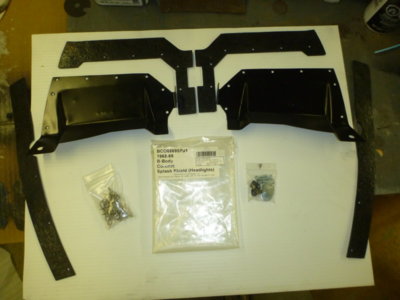
Getting headlight water shields ready to install.

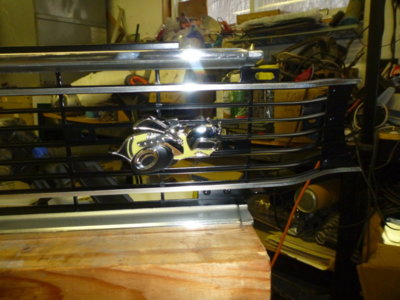
New grill Bee installed.

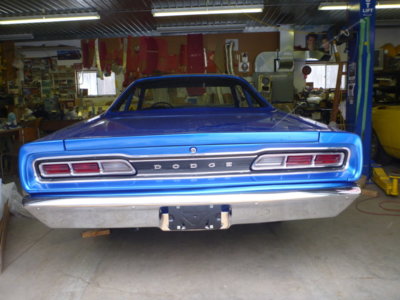
Tail panel installed.

beerestoration2019 1392.JPG beerestoration2019 1394.JPG beerestoration2019 1397.JPG beerestoration2019 1408.JPG beerestoration2019 1411.JPG beerestoration2019 1413.JPG beerestoration2019 1421.JPG beerestoration2019 1422.JPG beerestoration2019 1429.JPG beerestoration2019 1389.JPG
 
Colors look close enough for me. Last time I checked we can't see both sides at the same time. Been awhile since I have checked out this amazing car. Great progress. I know it's prolly been said. But I looked thru the thread. Didn't see it or I missed it. I assuming it's B5 blue. But who was the paint manufacture you used for your base coat.
 
Colors look close enough for me. Last time I checked we can't see both sides at the same time. Been awhile since I have checked out this amazing car. Great progress. I know it's prolly been said. But I looked thru the thread. Didn't see it or I missed it. I assuming it's B5 blue. But who was the paint manufacture you used for your base coat.
The point was many complain that reproduced ones aren't the correct colour.. well what was the "correct" colour. One of my red ones almost looks yellowish and my two yellow ones are different all together. I'd say it was colour fade from one side being parked towards the sun, if not for the fact the "off" red one and the lighter yellow one where on opposite sides of the car.

Yes it's been stated many times, it's slightly darker than B5.. House of Kolors HOK403 Shimmrin. Gray base, 4 coats of Blue, a coat of Klear that was interfaced and then two more coats of Klear. Now cut and buffed with probably 1.25 coats of Klear left on the car.

I'm trying to get my color picked out. The B5 just ain't quite doing it for me. Needs something.
 
I couldn't do lifeless OE x B5 either.. and why I'm where I am. Just make sure to clear the purchase of HOK with the Finance Officer first, it ain't cheap.

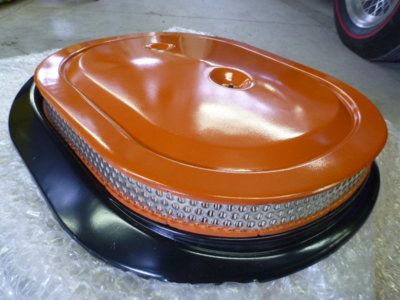
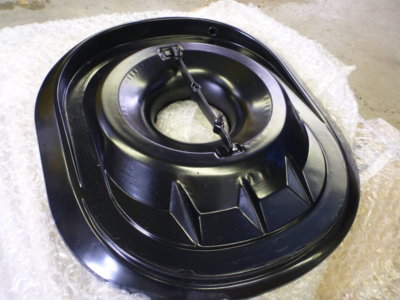
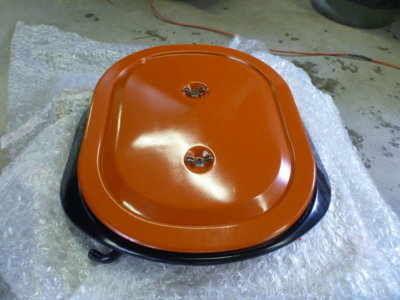
Todays OE score for spares, thanks @crank Kent.. it's perfect! Even a correct filter.. :D Wing nuts are obviously wrong... but who cares! LOL

ramcharger-airgrabberparts 011.JPG ramcharger-airgrabberparts 006.JPG ramcharger-airgrabberparts 004.JPG
 
Last edited:
I got a quart of PPG DBC line. That's the base I use on all the paying jobs. SPI products for everything esle. The PPG was 575 a gallon in the B5. I'm prepared for the high base cost.
 
Work looks great. Those grill parts seems to be the toughest to detail for some reason. I think I re-did my tail panel on the 67 three times over.

Regarding the headlights, you can go to halogen without the relay. I’ve done it on every old car I’ve owned without issue. Again, if you have wiring issues those would need addressed either way. Here’s a catalog for Wagner, has amp draw for every bulb they make. Sealed beam to halogen in the same part is usually within a couple tenths of an amp. I think the need for a relay was really old cars that ran a generator. With all 4 lights on you’ll be around 20amps with either style of bulb from what I can tell.

https://www.fme-cat.com/digipubZ/Wa...C04/Wagner Lighting Spec Guide - digipubZ.pdf
 
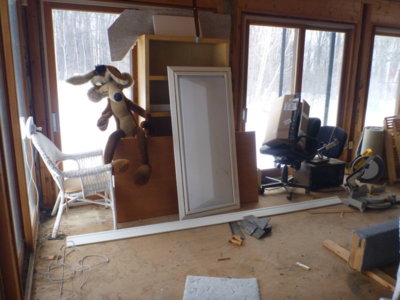
My Buddy Wile E and I got all the trim work done today! Oh ****.. wrong forum! :D

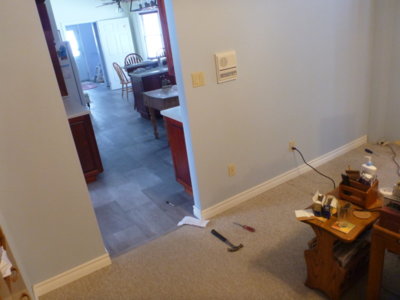
That said, wife's been waiting 22 years for those two family room door frames to be trimmed and her reno'd kitchen is all re-baseboarded. Another couple of days rebuilding her laundry room, that was torn out to do her new floor, and I'm back to the shop to carry on with my other girlfriend Therapy!

Happy Spouse... Happy House !! :bananadance:

kitchenrenos2019 215.JPG kitchenrenos2019 211.JPG kitchenrenos2019 217.JPG kitchenrenos2019 195.JPG
 
Last edited:
My Buddy and I got all the trim work done today! Oh ****.. wrong forum! :D

That said, wife's been waiting 22 years for those two family room door frames to be trimmed and her reno'd kitchen is all re-baseboarded. Another couple of days rebuilding her laundry room, that was torn out to do her new floor, and I'm back to the shop to carry on with my other girlfriend Therapy!

Happy Spouse... Happy House !! :bananadance:

View attachment 724769 View attachment 724770 View attachment 724771 View attachment 724774
you are one working man,another great job on car parts,where did you find those headlight water shields the whole group and fastners. thanks
 
Scored the mint metal shields off Ebay thanks to a member here PM'ng me the link. :thumbsup:

Rubber I think I bought via DixieResto, but as you can see they come from DMT
beerestoration2019 1423.JPG
 
I believe it was bare steel with a heat treat finish. With no way to really simulate that after media blast it got a flattish black paint.
The were all semi gloss black from the factory...they were dipped.....
 
I thought they were one of the heat treat finish items Justin.. I stand corrected but at least I have it right on the car!! LOL
beerestoration2018 2177.JPG
 
Headlight pots painted as per assembly line spec for easy ident without trying to read the position stamps. Passenger side Hi/Low = Black, Pass Hi = Blue, Driver Hi = Orange and Driver Hi/Low = Red.

New headlight adjuster kit. You need two kits to do a car.

They come assembled backwards, don't let that confuse you.

The plastic snaps into metal housing.

Push into hole and give a good smack to lock in place.

Adjuster in place.

Wish they'd taken my old ones out before paint and body work, but this or similar is what you need.

In through the hole beside the adjuster socket and use the hole as a pivot point to pop the old ones out.

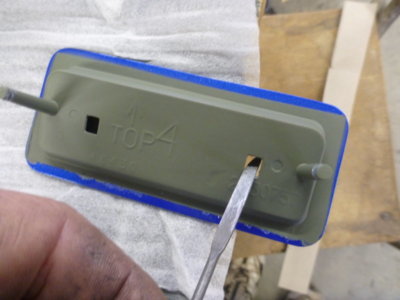
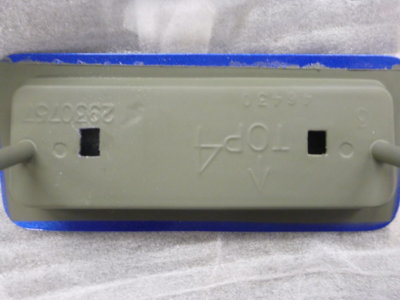
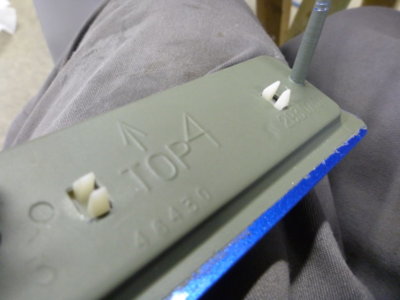
Marker reflector bezel backs painted with etch primer to simulate factory colour for final assembly.

View attachment 721958 View attachment 721959 View attachment 721960 View attachment 721961 View attachment 721962 View attachment 721963 View attachment 721964 View attachment 721965 View attachment 721966
Where did you learn about that "etch" primer.....:D

Did your housings have those colored markings? lol....
 
I thought they were one of the heat treat finish items Justin.. I stand corrected but at least I have it right on the car!! LOL
View attachment 724848
Phew...I am glad you painted it correctly!

A lot of people spun the idea they were natural steel because they got beat to snot by the elements and the cheap dipping process the black finish wore of......

These have been fully documented and the finish was semi gloss and they were dipped.....

They ONLY heat treated suspension parts were the centerlink and the strut rods.....all other naturals finishes were cast.....
 
Auto Transport Service
Back
Top