• When you click on links to various merchants on this site and make a purchase, this can result in this site earning a commission. Affiliate programs and affiliations include, but are not limited to, the eBay Partner Network.

1969 Dodge Super Bee Coupe Restoration

Frank has the correct wing nuts......Looks great!
I have two spares left for it if needed. Bought 3 off a member here when I needed one for mine. Filter was a great score.. take that out of the price and the cleaner was almost free!!
:lol:
 
You bring up an excellent point. I will be using the OEM existing wiring, so I'd probably need to get a NOS so that I'm not overloading the electrical system.
The exact originals were GE 4001 and 4002's wide flutes....Some say Westinghouse made it on some cars in 68/69 but I have never seen that personally....

You can find the later 4000 and 4001 "narrow flute" bulbs on Ebay.......

Also, keep in mind never pass up used bulbs.....You can find them at shows or yards with the buckets for good prices........Original bulbs very rarely are bad...When I come across them I buy them......That way you can get the correct 4001 and 4002 wide flutes, clean them up and polish the glass.....Dates is a whole different matter but once on the car no one know except for you......
 
What would have been Jennifer's 34th Birthday today. I'm still on house renos, but soon to be released on good behaviour so I can get back on the Bee and finish it up in Jen's honour.

Picture of Jennifer heading out for the last Birthday she got to celebrate, her 30th. Was gone 5 months later.
jen30bdapartment.jpg
 
Wayne

Sorry about your loss....just cant compile words nor could imagine.....The Bee is a perfect testament to a wonderful daughter of your! Perfection for perfection!

Justin
 
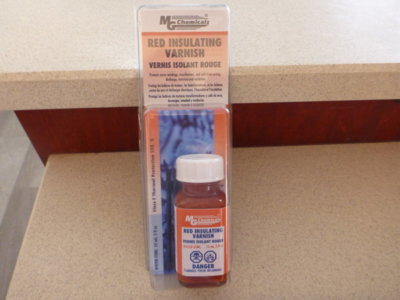
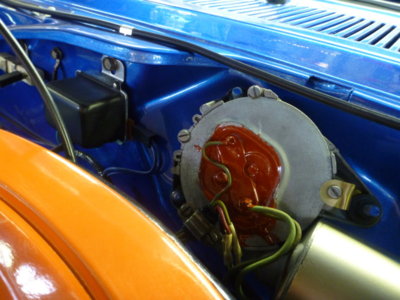
Never even dawned on me what the wiper motor covers redish/orange "smear" was until someone asked about it here on the forum.

Recoated including touching up the factory drips and blobs. I have enough left to do another 1000 wiper motors!

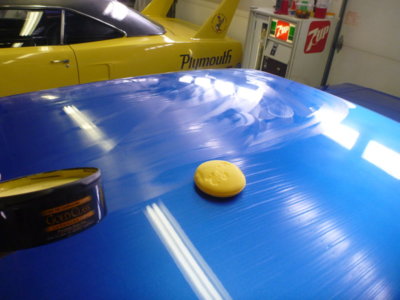
Something I haven't done to a car in 31 years, this one to be exact. Practicing for a part in The Karate Kid.

My painter told me to get some wax on it, so I'm listening.

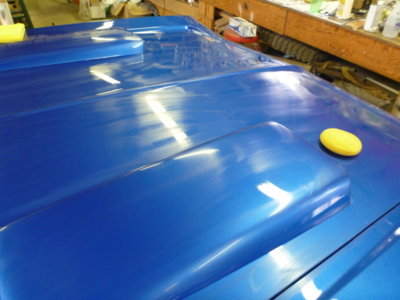
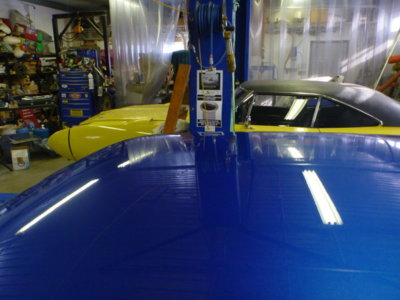
Wax on.. wax off. Hand rubbed out. Next time I might get brave with a buffer.

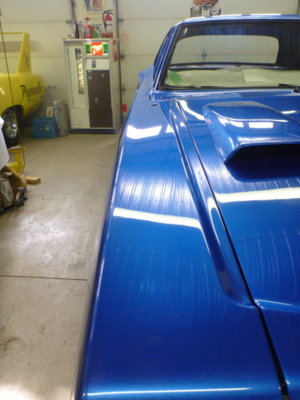
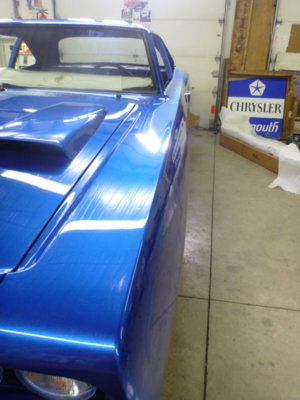
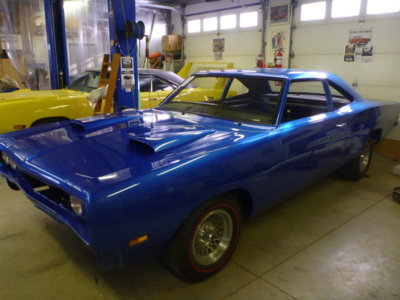
I'd say we've got the panels lined up pretty good.

Drivers side..

It never gets old..

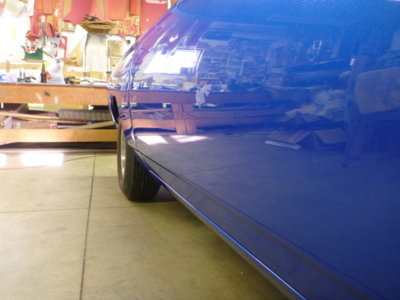
Drivers quarter panel.

Time to put some bling on this thing.

beerestoration2019 1441.JPG beerestoration2019 1450.JPG beerestoration2019 1482.JPG beerestoration2019 1483.JPG beerestoration2019 1488.JPG beerestoration2019 1498.JPG beerestoration2019 1503.JPG beerestoration2019 1511.JPG beerestoration2019 1513.JPG beerestoration2019 1515.JPG
 
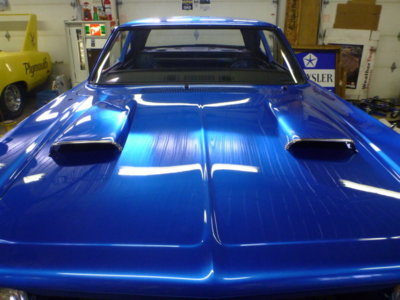
Hood scoop bezels back on.

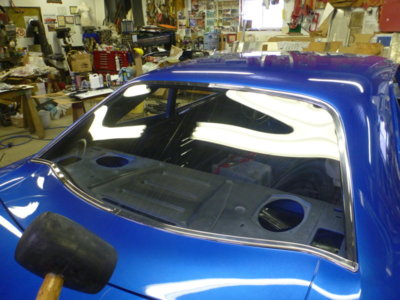
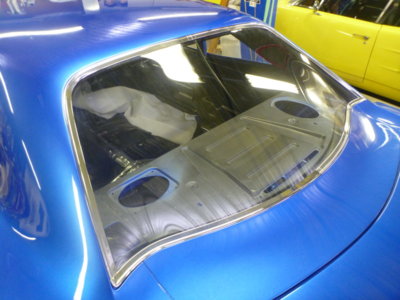
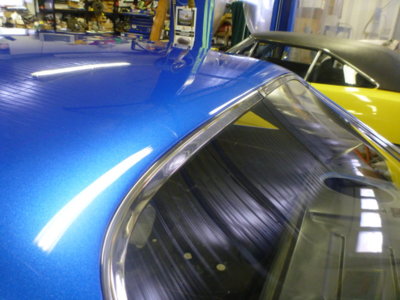
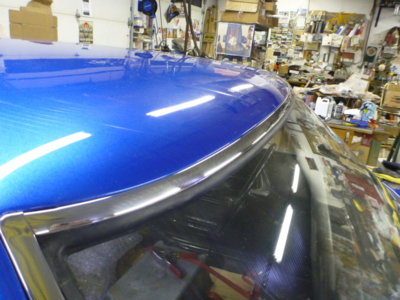
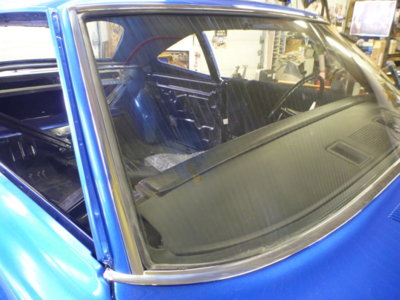
One of my bigger fears taken care of. The back glass trim went on perfect! The last "pro" I had install my back glass had to drill and put a screw through each lower corner to hold it down.

Looking good...

3/8" butyl tape was the perfect thickness for the back glass install and the stainless trim sits beautiful .

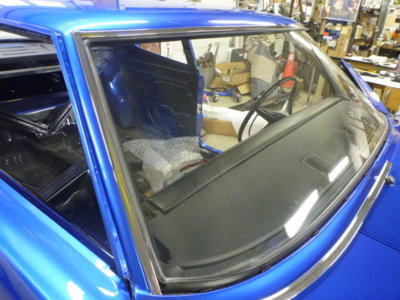
Windshield top stainless in place. Sits on rubber PERFECT !

Passenger side stainless on and sits perfect.

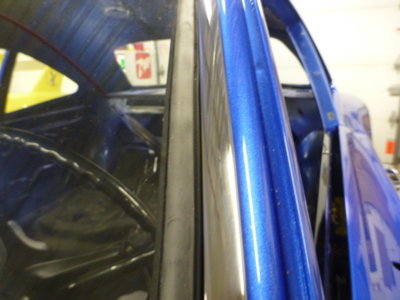
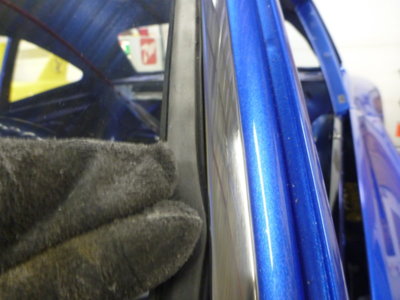
Driver's side adds another reason not to seal the rubber to the glass during windshield install. 3/16" gap to where it needs to be.

That's where it needs to be.

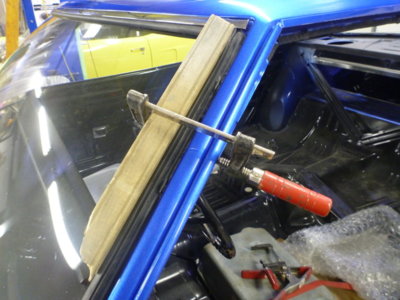
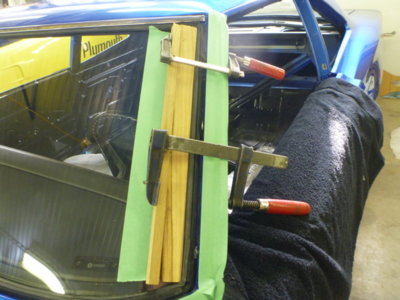
2 x 2 and a clamp to pull the rubber over without popping the lock strip.

Trim in place but still not happy with the drivers side. I walked away before I did something stupid! Need to remove the trim again and try to get the drivers side of the rubber seal to move over on the metal opening. I must have got the windshield about 3/32" off center on install.

beerestoration2019 1531.JPG beerestoration2019 1532.JPG beerestoration2019 1539.JPG beerestoration2019 1541.JPG beerestoration2019 1547.JPG beerestoration2019 1562.JPG beerestoration2019 1550.JPG beerestoration2019 1549.JPG beerestoration2019 1555.JPG beerestoration2019 1560.JPG
 
Nice ride. Jenn would be proud.
I lost my oldest nov 6 2017. She was 22.
My cars is what keeps my mind occupied. Wake up thanking of her go to sleep thanking of her . It never gets easier.
 
What would have been Jennifer's 34th Birthday today. I'm still on house renos, but soon to be released on good behaviour so I can get back on the Bee and finish it up in Jen's honour.

Picture of Jennifer heading out for the last Birthday she got to celebrate, her 30th. Was gone 5 months later.
View attachment 726082
Never thought that I would cry on a B Body Mopar forum. God bless you and your family Wayne.
 
Back window came out great especially after all of the hard work you put into finding the correct glass...etc. Bet your glad that is now all done. I too had to buy a bottle of the Red varnish and had a ton left over so I sold it on ebay to I could buy more parts for my car, lol!
 
Wayne, thank you for leading me to your page. I sifted through some of it and will go back and take the time to read each and every page just as I have Justin’s. This page ( like Justin’s) has a VERY personal effect as we read of your loss of which I am very sorry! That’s my biggest fear to loose my girls or my wife! God bless you and your family for your perseverance to build your car in honor of your daughter! Can’t wait to see more.
 
sorry for your loss. very sad. car looks fantastic!
 
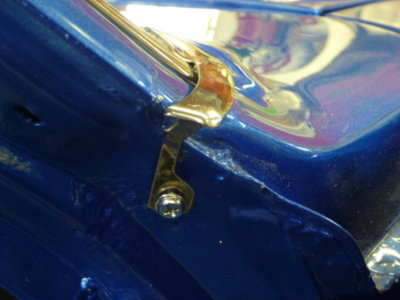
Lower windshield trims retainer "tab" slid into place and then screwed to the A pillar. Screw hole is slotted so you can pull the trim down tighter and then tighten screw.

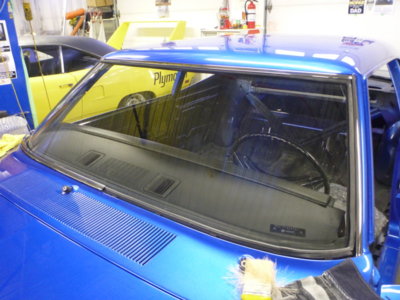
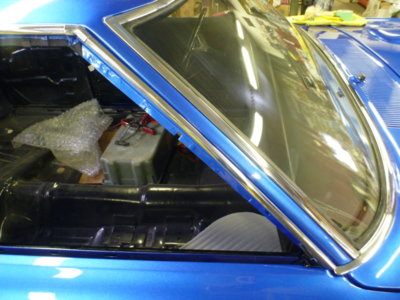
Windshield trim installed and sitting nice on the passenger side.

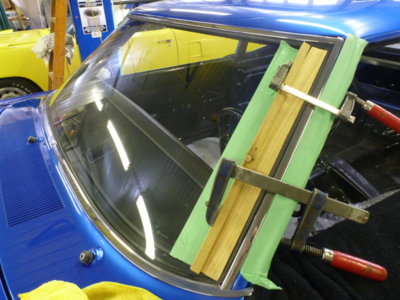
Drivers side, still a work in progress. Cut a board the exact length to pull the rubber over even and not pop the lock strip.

Trim slid into place and snapped down. I've left it clamped for now to hopefully take a set.

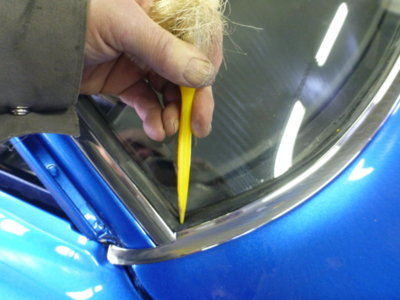
A bit of manual manipulation with a plastic handle to get the rubber seals corners all nicely into place.

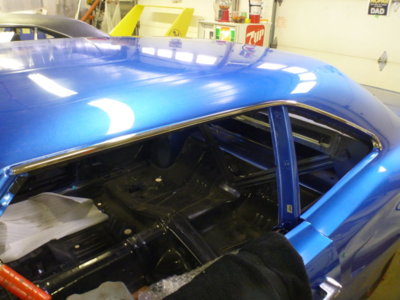
Drip rail trim going on. The rear window "curl" has to be in place BEFORE the rear swing out window frame goes in. Then the rail trim is hooked over the metal drip rail and starting at the front snapped over the metal rail and into place. Went easier than I expected, body shop told me it was a three person job.

Front drip rail trim installed and joiner angle piece in place.

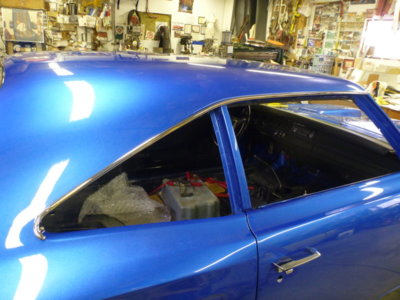
Drivers side drip rail trim in place, other than the A pillar.

Stainless adding to the bedtime "pop" !


beerestoration2019 1572.JPG beerestoration2019 1573.JPG beerestoration2019 1569.JPG beerestoration2019 1576.JPG beerestoration2019 1577.JPG beerestoration2019 1583.JPG beerestoration2019 1585.JPG beerestoration2019 1589.JPG beerestoration2019 1596.JPG
 
Lower windshield trims retainer "tab" slid into place and then screwed to the A pillar. Screw hole is slotted so you can pull the trim down tighter and then tighten screw.

Windshield trim installed and sitting nice on the passenger side.

Drivers side, still a work in progress. Cut a board the exact length to pull the rubber over even and not pop the lock strip.

Trim slid into place and snapped down. I've left it clamped for now to hopefully take a set.

A bit of manual manipulation with a plastic handle to get the rubber seals corners all nicely into place.

Drip rail trim going on. The rear window "curl" has to be in place BEFORE the rear swing out window frame goes in. Then the rail trim is hooked over the metal drip rail and starting at the front snapped over the metal rail and into place. Went easier than I expected, body shop told me it was a three person job.

Front drip rail trim installed and joiner angle piece in place.

Drivers side drip rail trim in place, other than the A pillar.

Stainless adding to the bedtime "pop" !


View attachment 730256 View attachment 730257 View attachment 730258 View attachment 730259 View attachment 730260 View attachment 730261 View attachment 730262 View attachment 730263 View attachment 730264
Wayne did you purchase the trim retainer tab in the first pic? If so where to? Great progress, looks awesome
 
Auto Transport Service
Back
Top