• When you click on links to various merchants on this site and make a purchase, this can result in this site earning a commission. Affiliate programs and affiliations include, but are not limited to, the eBay Partner Network.

1969 Dodge Super Bee Coupe Restoration

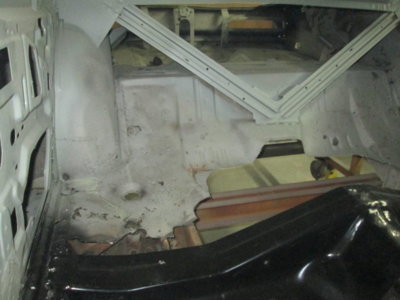
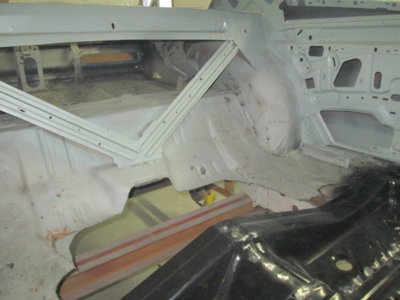
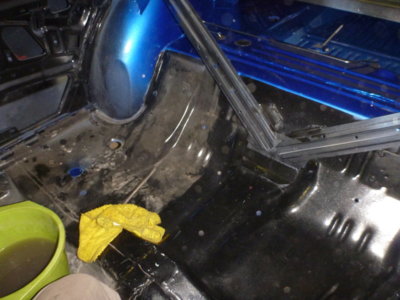
I am getting ready to weld in the rear seat cross braces on my 69 charger and was wondering if you could get me a couple of pictures of the floor bracket, that the cross braces attach to? I can not find mine and may have to fab one up. Thank you
 
I am getting ready to weld in the rear seat cross braces on my 69 charger and was wondering if you could get me a couple of pictures of the floor bracket, that the cross braces attach to? I can not find mine and may have to fab one up. Thank you
This what you're after Don?? We never took mine out, we just cut the floor away from it, put the new floor back in and welded it back on.

beeresto2016bodyshop 290.JPG beeresto2016bodyshop 848.JPG

Also this picture was in the thread above, do you need something more than that?? beerestoration2019 2072.JPG
 
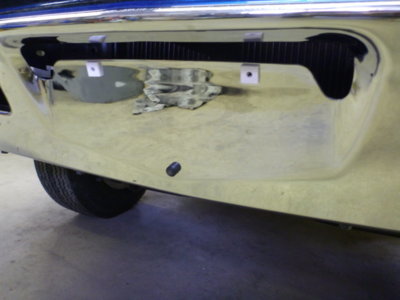
I now know why AMD stamps bigger licence plate holes in their bumpers... it matches current day repair kits. Wish they weren't beige colour, but they'll have to do.

They snapped in nice and tight, unlike the "proper" sized reproductions of the original equipment. You can also see the rubber bumper that holds the plate off the steel bumper.

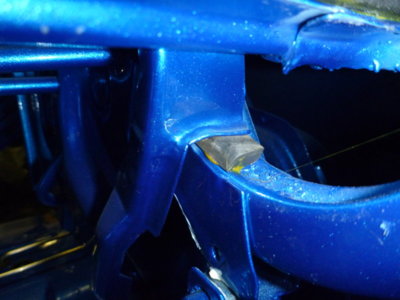
Always hated the trunk arms hitting steel on steel. Fixed that today by gluing in a rubber spacer or each arm while I still had the weatherstrip adhesive out

Taking rebuilding every piece of this car way too far....

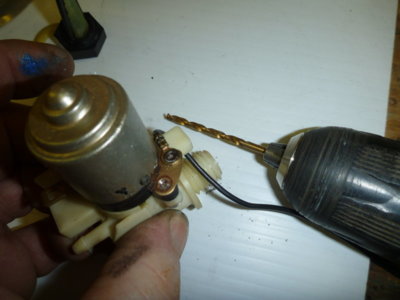
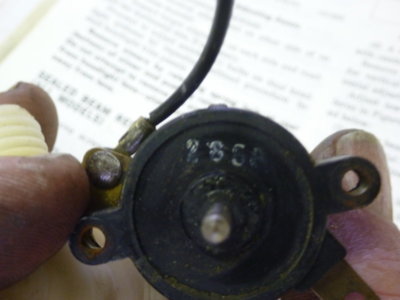
If you've been looking for the date code on a windshield washer pump, it's on the end of the motor.... between it and the pump housing. 285th day of 1968

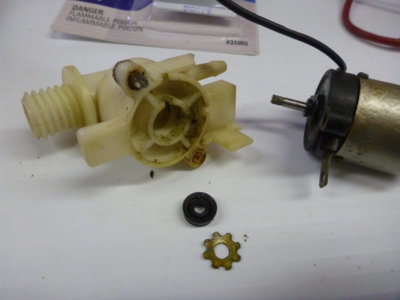
I've changed a few impellor seals in my life, but none this small ! Looks like a water tap washer.

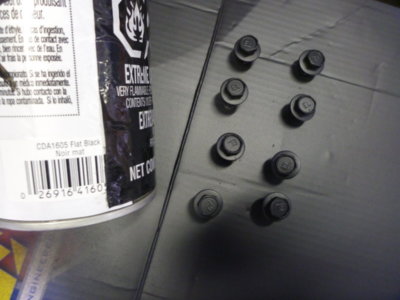
When you can't get the correct Black zinc phosphate bolts you make the shiny ones you have look like so. Quick dusting of flat black so they are different than the semi gloss black grill. That way it doesn't look like I painted everything in place.

beerestoration2019 2089.JPG beerestoration2019 2090.JPG beerestoration2019 2095.JPG beerestoration2019 2096.JPG beerestoration2019 2103.JPG beerestoration2019 2104.JPG beerestoration2019 2097.JPG
 
Last edited:
Coming along great! If there is anything to be thankful for is you discovered the electrical issue before everything was all buttoned up, that would have been a bitch!
 
Coming along great! If there is anything to be thankful for is you discovered the electrical issue before everything was all buttoned up, that would have been a bitch!
I just can't believe the chances that a screw would go directly into the harness.. when the harness was free to move and not jammed there. I also went out and bought a lottery ticket.....

But YES... @oldbee Jeff possibly saved me a lot of misery there as if the grill had been in I wouldn't have located it that easily.
 
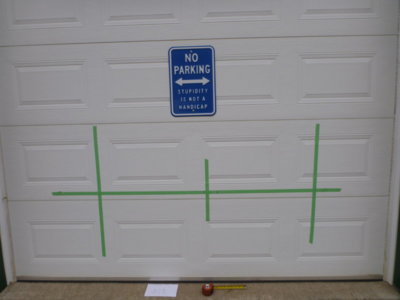
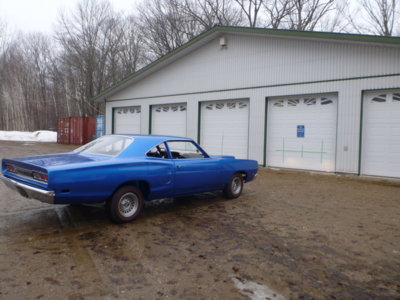
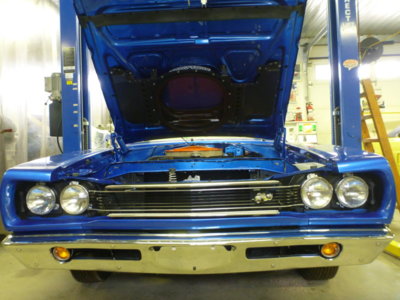
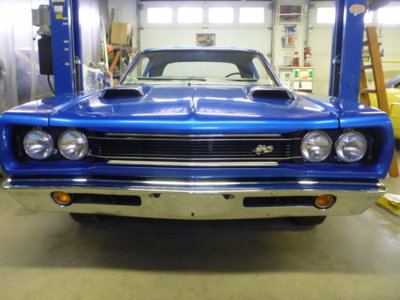
Gray day so thought perfect to align my headlights. Tape height a bit optomistic, not thinking how far the car was going to sink in the mud.

Still gave me the correct verticals to get them close enough to put the grill in, as once I put the interior in and the spare tire in the trunk the *** end will come down a bit.,, I hope.

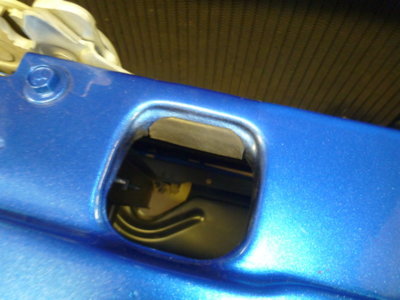
Thought I should get rid of the masking tape in the safety catch hole. Replaced it by bonding in some rubber edging. No point in chipping the paint..

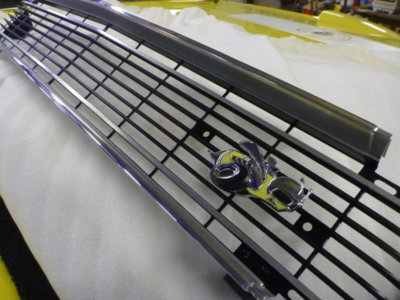
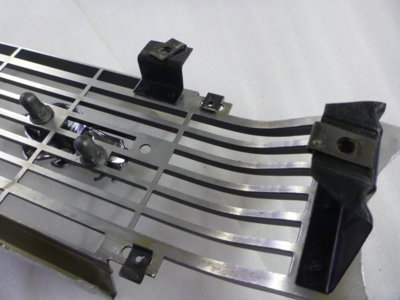
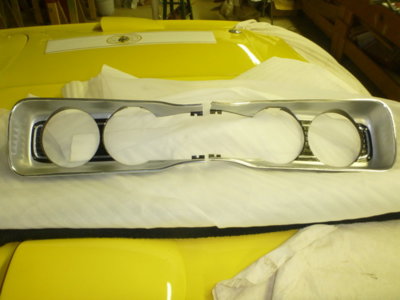
Center grill section all ready to go into place.

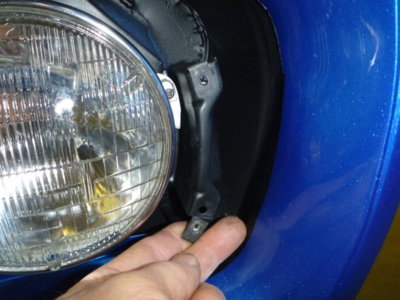
Both ends the same, the two small clips with the screw thread side in / aft, two large clips threads out / forward.

Two small clips on each headlight bucket stand off.

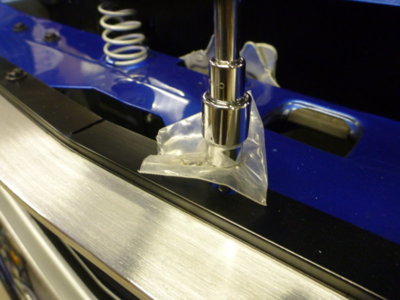
How not to peel the paint on the screws and washers. Plastic between bolt head and a SIX point socket.

Center section in..

A bit of adjustments and a bit of grill twisting to get perfectly even gaps top and bottom.

Contrast between grill and bolts to give it that factory look.

beerestoration2019 2106.JPG beerestoration2019 2108.JPG beerestoration2019 2112.JPG beerestoration2019 2127.JPG beerestoration2019 2132.JPG beerestoration2019 2133.JPG beerestoration2019 2136.JPG beerestoration2019 2137.JPG beerestoration2019 2145.JPG beerestoration2019 2147.JPG
 
Last edited:
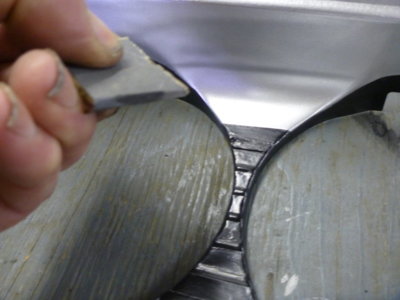
Time to revisit the headlight eyebrows that I set to one side a few weeks ago. First I used some 320 around a ruler end to sand out the ridgy hand painted black that I just couldn't get to lay down smooth.

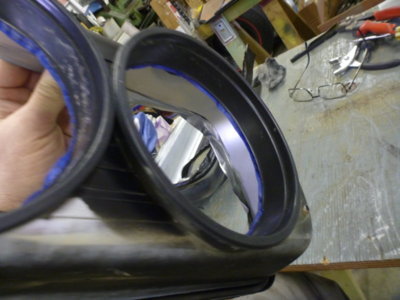
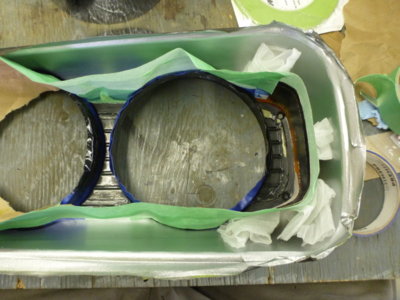
Going with my first idea, build a mask. Two flower pot tops and a few rounds of tape, slid in from the back with a tight fit.

Carefully taped off the argent edges by basically standing masking tape on it's edge. For the end "horseshoe" I formed a piece of cardboard so it sat right on the edge of the black / argent transition and propped it into place.

Everything taped off, without really sticking tape to any paint, and resprayed with CDA1603 Semi-Gloss Black.

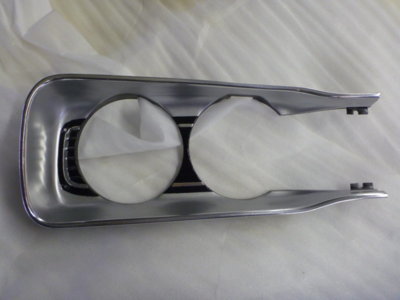
Quickly removed the tape and also the tape I had covering the lone "chrome" detail rib, along with the tape that had been protecting the outer "chrome" ring.

Not perfect, but I'm finally happy with them. Still have to take an exacto knife and clean off a bit of black on the detail ribs but I'll be able to install them tomorrow. Excuse the workbench... it's a bad habit with flat surfaces!

beerestoration2019 2148.JPG beerestoration2019 2149.JPG beerestoration2019 2162.JPG beerestoration2019 2168.JPG beerestoration2019 2173.JPG beerestoration2019 2176.JPG
 
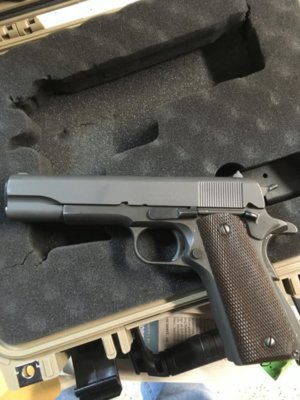
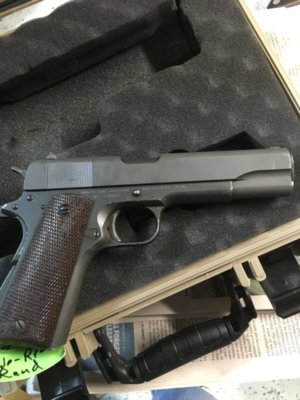
Wayne, sorry bout not being here on Monday,lol. Yup, it happens all the time; but I was kinda waylaid. Got a new(?) toy; 1945 1911A1 from my gov’t kinda. Glad the turns got worked out.

2300A71B-B424-47A8-ABA2-4FA09546E72E.jpeg FA9B71AE-1D46-4CBC-9D2B-FFC774250A01.jpeg
 
Wayne, sorry bout not being here on Monday,lol. Yup, it happens all the time; but I was kinda waylaid. Got a new(?) toy; 1945 1911A1 from my gov’t kinda. Glad the turns got worked out.
Monday.. hell I posted you a video on Friday!!! I could have used that gun about then....
 
Monday.. hell I posted you a video on Friday!!! I could have used that gun about then....
Lol, that’s the day the credit card info was sent. Might have been too many beers after that happened!
 
I'm just not sure if I would have shot you or myself !!! Oh well I've taken it out on a couple racoons with distemper instead..
 
I now know why AMD stamps bigger licence plate holes in their bumpers... it matches current day repair kits. Wish they weren't beige colour, but they'll have to do.

They snapped in nice and tight, unlike the "proper" sized reproductions of the original equipment. You can also see the rubber bumper that holds the plate off the steel bumper.

Always hated the trunk arms hitting steel on steel. Fixed that today by gluing in a rubber spacer or each arm while I still had the weatherstrip adhesive out

Taking rebuilding every piece of this car way too far....

If you've been looking for the date code on a windshield washer pump, it's on the end of the motor.... between it and the pump housing. 285th day of 1968

I've changed a few impellor seals in my life, but none this small ! Looks like a water tap washer.

When you can't get the correct Black zinc phosphate bolts you make the shiny ones you have look like so. Quick dusting of flat black so they are different than the semi gloss black grill. That way it doesn't look like I painted everything in place.

View attachment 736856 View attachment 736857 View attachment 736858 View attachment 736860 View attachment 736861 View attachment 736862 View attachment 736863
Wayne

Have you assembled your pump yet? When you do can you describe the rivers you used......

Looking great!
 
Wayne

Have you assembled your pump yet? When you do can you describe the rivers you used......

Looking great!
Still need to go visit the plumbing department and find a seal if I can. The rivets are the same style of semi-tubular ones like the air grabber hood box uses. I'll have to measure them. I quickly checked the ones I had for the air box, as I'd bought some 3/8" long but they're too short. Looks like I need about 1/2" but I'll get proper measurements for you.
 
Last edited:
Still need to go visit the plumbing department and find a seal if I can. The rivets are the same style of semi-tubular ones like the air grabber hood box uses. I'll have to measure them. I quickly checked the ones I had for the air box, as I'd bought some 3/8" long but they're too short. Looks like I need about 1/2" but I'll get proper measurements for you.
That would be great Wayne....your the first I know of to do this and I am interested to do the same to the one I found......

Good stuff here
 
Lets just say it's another experiment.. LOL... I saw ZERO OEM pumps for sale anywhere (as that was my first idea to get this done). All I found for sale are all replacements with crimped on motor housings and not screwed on. I do have another one here if I F' this one up...
 
Lets just say it's another experiment.. LOL... I saw ZERO OEM pumps for sale anywhere (as that was my first idea to get this done). All I found for sale are all replacements with crimped on motor housings and not screwed on. I do have another one here if I F' this one up...
That’s all correct.....the nos ones that are close of course have the superceeded part number and wrong date.......

Even if and I say if you find a correct one the chances the date fits are slim to none.....I never say never but if these can be repaired it increases the chances greatly to find or fix the right unit....
 
Justin the required rivets, to be correct, will be 1/8" diameter x 1/2" Semi-tubular Truss Heads.. Steel/CR6 Zinc or similar material.
 
Auto Transport Service
Back
Top