• When you click on links to various merchants on this site and make a purchase, this can result in this site earning a commission. Affiliate programs and affiliations include, but are not limited to, the eBay Partner Network.

1969 Dodge Super Bee Coupe Restoration

dadsbee

FBBO Gold Member
FBBO Gold Member
Local time
11:38 PM
Joined
Jan 29, 2018
Messages
20,849
Reaction score
72,450
Location
Midland Ontario, Canada
Justin (moparnation74) suggested that I should share my restoration thread here on FBBO. There is just no way that I can find the time to recreate/type/post the past 2 years of work so far, so my only real option to get it started off is to share my thread via link over on DC.com and then update the progress "live" here as the restoration goes on.

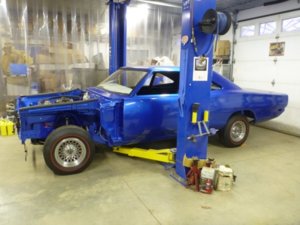
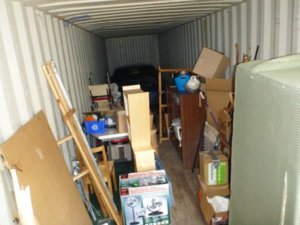
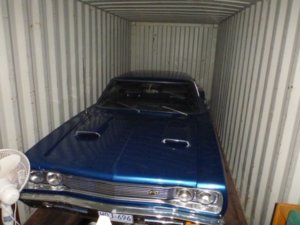
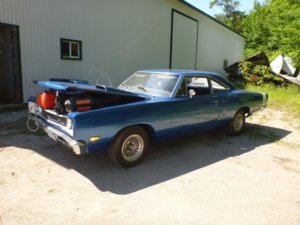
The back story on this car of mine is my father bought it as our family car and I bought it from him when I was 18 for $3600 @ 10% over 3 years. That was way back in 1980, probably before many of you were even born ! I put 45,000 miles on it during the 3 summers I was going to College (wasn't allowed to take the car off to school) and then put it away after getting married in it in August 1982. I got it back out in 1988 and had some body work done and re-painted and spent a few years doing car shows with it and my Super Bird that I purchased in Feb 1990. In 2004 I put them both away in marine containers, and then pulled the 'Bee back out to restore the Fall of 2014 to use as a distraction with one of my daughters fighting a 6 year Ewing's Sarcoma battle.. with us losing her in Aug / 15 at 30 years old. Is what drives me to finish this car and every component on it, in her memory. Paint is solvent based House of Kolor HOK-403, which is just a bit darker than B5. 4 coats of blue, one clear.. interfaced and then two more coats of clear to cut and buff once I have her all back together.

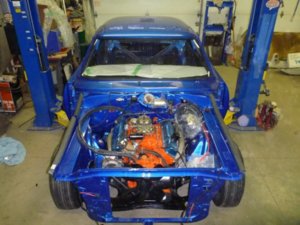
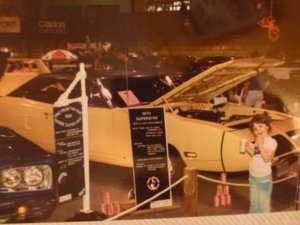
I've added a picture or three of where I started and two of where I'm at as of today. Also a picture of my Daughter Jennifer when she was 5 years old at World of Wheels Oshawa in 1990. If you've got 3 hours to browse the following link you can get caught up on the first 35 pages of "my story" ! Thanks guys for letting me in here... Wayne

http://www.dodgecharger.com/forum/index.php/topic,121731.0.html
beeincontainer004.jpg beeincontainer006sm.jpg beerunning.jpg jan3018m.jpg jan3018n.jpg showsigndec12b.jpg
 
Last edited:
Wayne

So glad to see this here...It deserves to be here and we are privileged to have you with us!

Your story always breaks my heart and I am so sorry for your loss...I just cannot fathom and have no more words too add...other than you will be reunited with her in the new world and she will be that beautiful vibrant lady you remembered. You will also relay to her your story about what drove you to build this fine machine.....

I have a question that may relate to both of us....at times when you work or try to work on the car do you get in a haze of memories/tears? Just want to make sure it is not just me....Memories, mental images and dreams can be overwhelming when it comes to a loss...

Keep up the good work the Bee looks amazing....

Justin
 
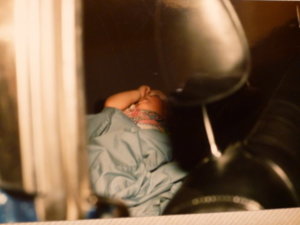
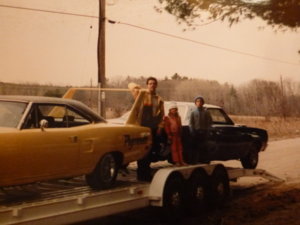
I have SO many memories in this car Justin and flash backs come every day I work on her, from the back seat to running the cops. Speaking of young girls in the back seat, here's the youngest at the same 1990 World of Wheels having a nap @ 2 years old and me, Jen and son (then 7) loading up to head for the show. Still have the 35' deck trailer. (and YES I have a Kleenex box in the shop!)

beepics 017.JPG beepics 016.JPG
 
Last edited:
I have SO many memories in this car Justin and flash backs come every day I work on her, from the back seat to running the cops. Speaking of young girls in the back seat, here's the youngest at the same 1990 World of Wheels having a nap @ 2 years old and me, Jen and son (then 7) loading up to head for the show. Still have the 35' deck trailer. (and YES I have a Kleenex box in the shop!)

View attachment 567367 View attachment 567371
I remember seeing your second pic.....Very very nice and thanks for sharing something so personal...

Love the story and your car!

Justin
 
Realized you can link and view video here...

My 15 year old nephew, that's taking auto shop in high school, helping me put the heart back into the car last Spring. Ecstatic that I asked him to help.


And how to put the front drum harmonic / noise dampning spring in place without struggle or scratching your clear coat.


And the typical reproduction junk you can buy on Ebay..

 
Last edited:
Thanks for sharing your story Wayne. I am so sorry for your loss. You are a good man for being able to open up and share your feelings as most of us men can't. I think that we are raised to be tough and not cry or show emotion, leaving things to build up over time. Its no wonder that an old car can unlock these emotions with all of the history that they have been a part of. You and your car are creating great memories right now with people like your nephew.
Glad to see you here at FBBO.
Jamie
 
Thanks guys and if you happened to miss it, the first 2 years and 35 pages are over here.. http://www.dodgecharger.com/forum/index.php/topic,121731.0.html
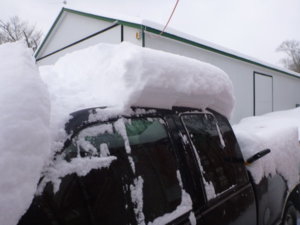
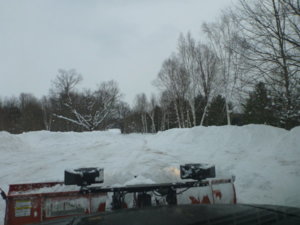
Hopefully tomorrow I can dig into my instrument cluster restoration and get some new pics up. I'm a glutten for punishment, the only thing I've sent out to a pro was my body! Today I got side tracked by 15" of snow and a 1200 foot laneway....

snowfeb32018 006.JPG snowfeb32018 011.JPG
 
It's great to have you here on board at FBBO Wayne. Quite a back story you have, and like the others have said, I too am sorry for your loss. However, like Justin, you will do justice to this restoration and make your loved one proud.
Looking forward to many more posts of your progress. :thumbsup:
 
Thanks for sharing your story, and so sorry for your loss . . . Keep up the posts on your project so we can also enjoy your tribute to your daughter . . .

may she rest in peace . . .
 
Thanks guys and if you happened to miss it, the first 2 years and 35 pages are over here.. http://www.dodgecharger.com/forum/index.php/topic,121731.0.html
Hopefully tomorrow I can dig into my instrument cluster restoration and get some new pics up. I'm a glutten for punishment, the only thing I've sent out to a pro was my body! Today I got side tracked by 15" of snow and a 1200 foot laneway....

View attachment 567765 View attachment 567766

Wow you got dumped on! We only got about 3 inches. Where in Ontrio are you?
 
3500 feet South of Georgian Bay on the highest point of land... peninsula between Penetang and Midland Harbours.
 
Well the snow still hasn't quit.. but I managed to get in 2 hours today. I'm going to make one "back" post to get going here and then continue on from there. To see the first 2 years of work hit the link in post #1 or #9.
...................................................................................................
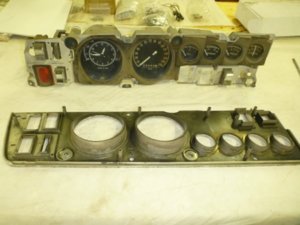
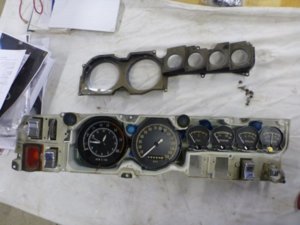
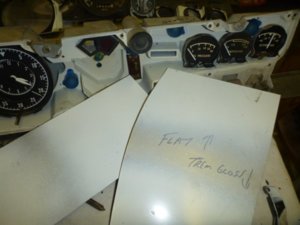
49 years of dirt !

Wishing I'd just sent this down to David Patik at PG Graphics, but I've come this far I can restore this.. sure I can, what can go wrong?! LOL

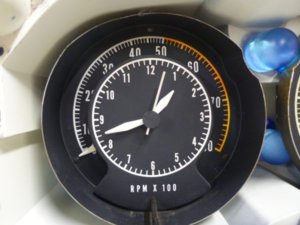
Original tach in dash is orange above 5000, hoping that's just faded Red. More to investigate.

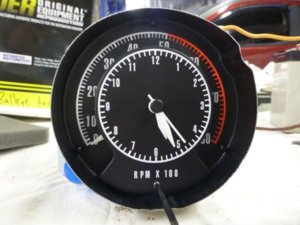
New "OEM" tach has Red above 5000.

feb0118g.jpg feb0118h.jpg feb0118i.jpg feb0118j.jpg
 
Last edited:
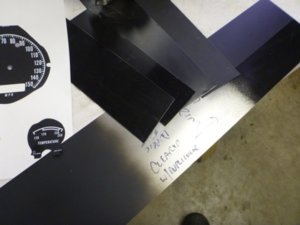
Well those 7 "Blacks" don't match the face decals... off to find some more variations of paint.

Also need to match colour to the slight shine of the "OEM" replacement tic tock clock / tach so it all looks the same.

Great to have an old broken panel to practice on.. melting the plastic tabs for disassembly. Very little heat and you can push the metal off and keep the posts.

Enough playing.. time for the real deal.

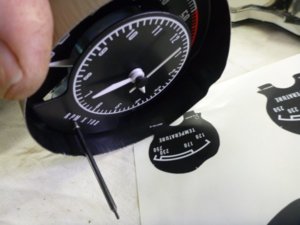
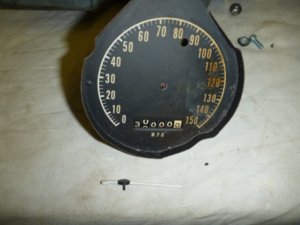
When you take your speedometer needle off, make sure you hold the metal wheel back or you'll destroy the needle shaft bearing and be looking for a new speedo or lots more work.

While holding the metal wheel, pull the needle's CENTER and twist below Zero and it comes off. Again practicing on my spare.

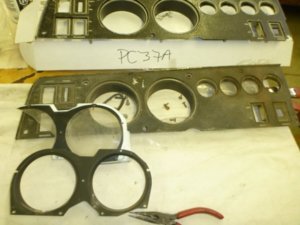
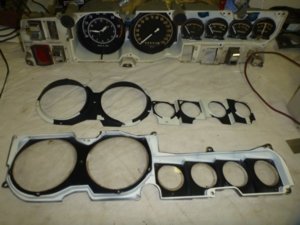
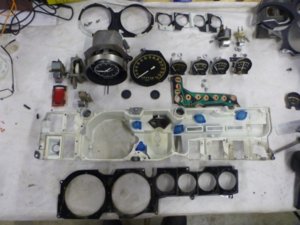
Car's original metal "hoods" to plastic faceplate apart and not looking too bad.

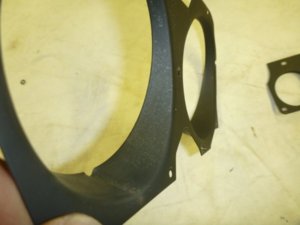
Thought I was going to get away without painting these, but then noticed the mold / corrosion on the tach hood.

feb518a.jpg feb518b.jpg feb518c.jpg feb518d.jpg feb518e.jpg feb518f.jpg feb518g.jpg feb518h.jpg
 
Last edited:
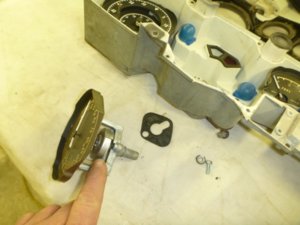
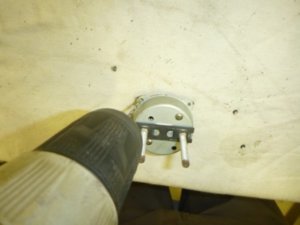
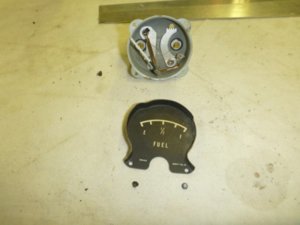
Don't want to fart around with trying to paint and decal around a delicate needle, so I'm drilling the rivets out so the faces come off the fuel / oil pressure / temp and amp gauges.

Practiced on a spare and all is fine. This also lets you see the adjustment arms for calibrating the needle.

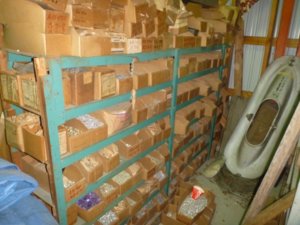
I have no shortage of rivets to put things back together. (anyone looking for an NOS.. never installed.. 1952 penetration tail ski for an Otter??!!.. or a metal cable cargo net for a C-47?? )

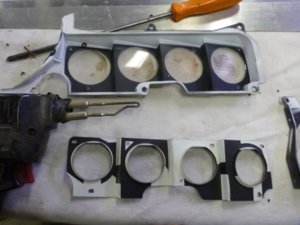
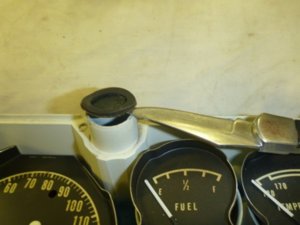
One of my dash light hoods melted after 49 years. Removed it and pulled the matching good one from my spare.

Good and melted.

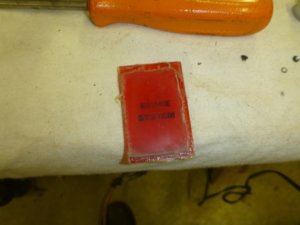
Heated the tabs and removed the brake failure lens.

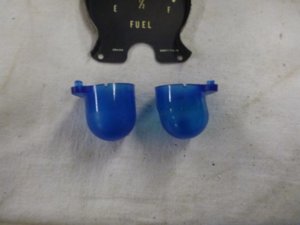
Popping the signal lenses off.

Haven't busted anything yet..

feb518i.jpg feb518j.jpg feb518k.jpg feb518l.jpg feb518m.jpg feb518n.jpg feb518o.jpg feb518p.jpg
 
Last edited:
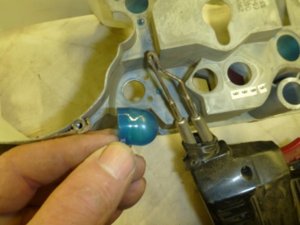
Finding a White that works for the housing interior, almost as fun as the Black.

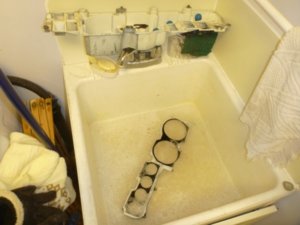
Thrown in the sink for a soak to get 49 years of crude off of it.

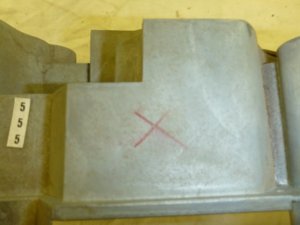
Factory markings... Red X.

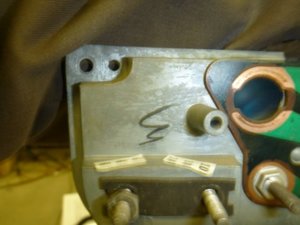
I think it's a fancy 3 in Black.

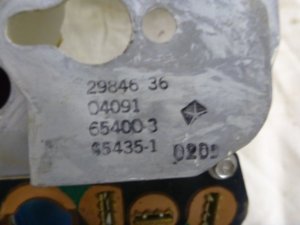
Factory part numbers and date code, for my Feb 25th, 1969 car.

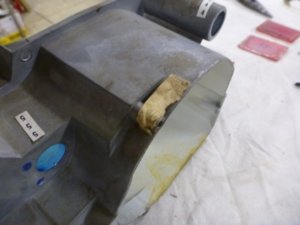
Paper tape on the tach housing area

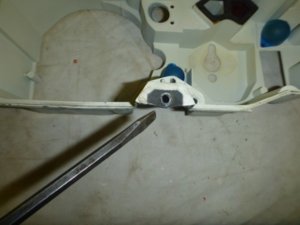
Don't forget to paint the mounting screw areas black or the white ring will show through on final install.

feb518q.jpg feb518r.jpg feb518s.jpg feb518t.jpg feb518u.jpg feb518v.jpg feb518w.jpg
 
Auto Transport Service
Back
Top