You are using an out of date browser. It may not display this or other websites correctly.
You should upgrade or use an alternative browser.
You should upgrade or use an alternative browser.
1970 Plymouth Sport Satellite from Junk to......
- Thread starter Moparfiend
- Start date
- Local time
- 6:37 AM
- Joined
- Apr 13, 2012
- Messages
- 39,554
- Reaction score
- 145,554
- Location
- Granite Bay CA
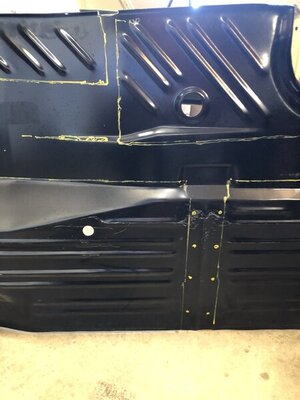
I noticed that a month ago when I did mine.Looks like there is a small difference from the original pan and the new one. Can you see it?
View attachment 966148
MoparLeo
NRA BENEFACTOR LEVEL LIFE MEMBER
- Local time
- 6:37 AM
- Joined
- Nov 24, 2015
- Messages
- 2,436
- Reaction score
- 2,627
- Location
- Moreno Valley, So California
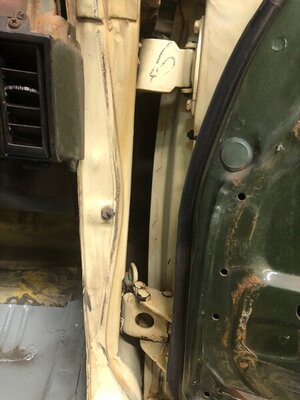
First thing is to get a friend to help you. Put a floor jack with some type of padding, old carpet, folded towel etc... on top of the jack head and support the door. Remove the bolts on the door first. They are right out in the open and when you reinstall the door will be the last bolts you put back on. After the door is off, you can access the body side bolts through the kick panel. Passenger side might require the glove box be removed first. Then take good close-up pictures of the areas that you will see in a few pictures that I will send to you to make sure they are reusable. I will also send you the page from a service manual on removal/installation. My email address to send pictures and correspond with is : [email protected] .
Thanks
Leo
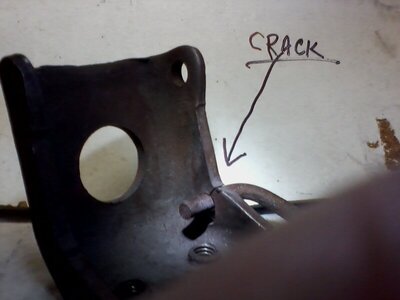
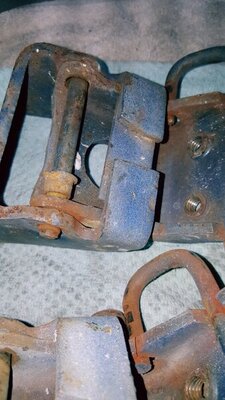
Thanks
Leo


Attachments
Thanks for replying back to me Leo! Thanks also for the info ~ look forward to working with you!First thing is to get a friend to help you. Put a floor jack with some type of padding, old carpet, folded towel etc... on top of the jack head and support the door. Remove the bolts on the door first. They are right out in the open and when you reinstall the door will be the last bolts you put back on. After the door is off, you can access the body side bolts through the kick panel. Passenger side might require the glove box be removed first. Then take good close-up pictures of the areas that you will see in a few pictures that I will send to you to make sure they are reusable. I will also send you the page from a service manual on removal/installation. My email address to send pictures and correspond with is : [email protected] .
Thanks
Leo
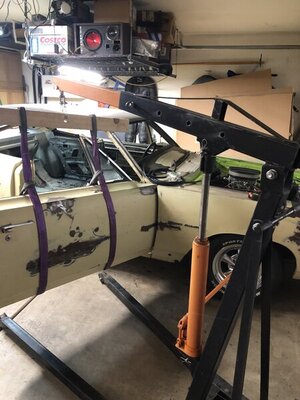
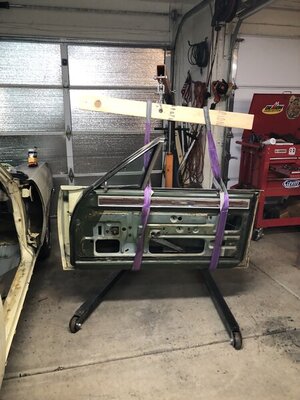
View attachment 968694 View attachment 968695 View attachment 968699
Basket case
Well-Known Member
I always scrounged A Body or four door hinges. Same hinge, on a smaller (lighter door) so usually like new.
Basket case
Well-Known Member
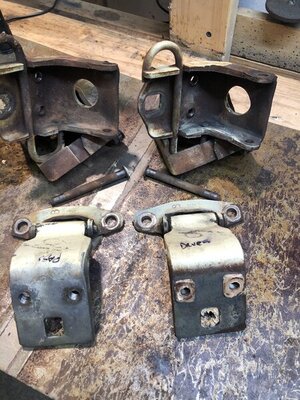
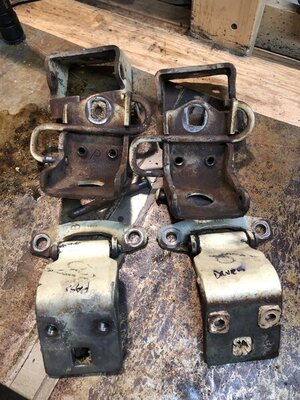
When you only have two hands.....hinges are out and look good on the passenger side.
View attachment 968900 View attachment 968901
good idea, I didn't have a hoist when I did mine, so I used a milk crate and some cribbing.
MoparLeo
NRA BENEFACTOR LEVEL LIFE MEMBER
- Local time
- 6:37 AM
- Joined
- Nov 24, 2015
- Messages
- 2,436
- Reaction score
- 2,627
- Location
- Moreno Valley, So California
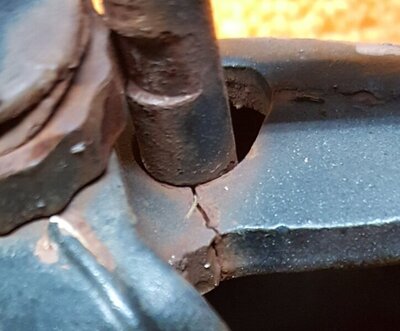
The rear hinges on the four doors are different from the fronts. And the A-body hinges that I see are cracked just as much as the B-body. Its not the weight that breaks them but they lack a door check/stop to keep them from overextending when opened hard. They cured it on the A-body in 73 with the same door stop as the E-body. With the lack of proper or any maintenance on the door hinges on all A, B & E-body cars I keep quite busy with all models. More A & B's because they made so many over the years from 1967-1976 A-body and 1967-1970 B-body.
Your hinges should be done tomorrow and shipped end of day or Tuesday. Thanks for your business and keep up the good work there. I had no son either. Made my interests a little one sided. 2 daughters that gave me 4 grandsons though.
Your hinges should be done tomorrow and shipped end of day or Tuesday. Thanks for your business and keep up the good work there. I had no son either. Made my interests a little one sided. 2 daughters that gave me 4 grandsons though.
Last edited:
Thanks Leo!The rear hinges on the four doors are different from the fronts. And the A-body hinges that I see are cracked just as much as the B-body. Its not the weight that breaks them but they lack a door check/stop to keep them from overextending when opened hard. They cured it on the A-body in 73 with the same door stop as the E-body. With the lack of proper or any maintenance on the door hinges on all A, B & E-body cars I keep quite busy with all models. More A & B's because they made so many over the years from 1967-1976 A-body and 1967-1970 B-body.
Your hinges should be done tomorrow and shipped end of day or Tuesday. Thanks for your business and keep up the good work there. I had no son either. Made my interests a little one sided. 2 daughters that gave me 4 grandsons though.
Well I pulled back the dash to remove the dash pad. I know some think its not so bad removing them with the dash in but I really don’t think I would go that way, especially if I have the windshield out already. Thanks Jim K for the direction on that one!
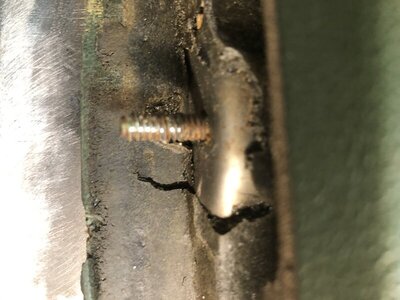
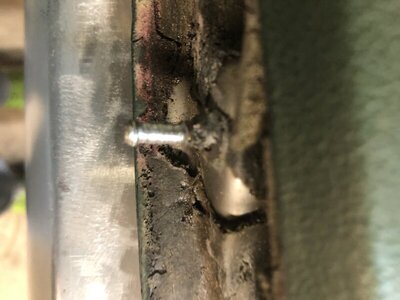
I got at all 6 stamped nuts but one got stripped and just spun. It was a real bugger getting off. Must have taken me 30 minutes for that one nut. I had to keep pulling the dash pad away from the dash simultaneously pulling up on the dash while spinning the socket. I spun and spun and spun. A few choice words were heard by my neighbors as they hung in the hot air. This is whats left of that stud.
Looks like I need another dash pad........

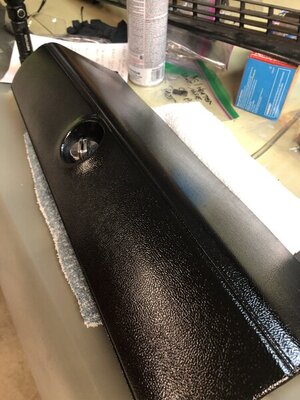
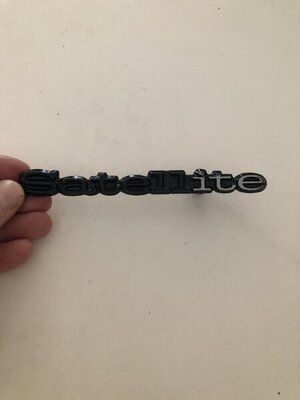
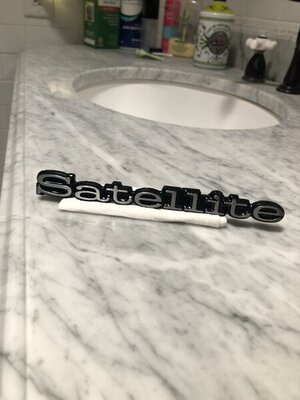
Little details. The monikers were really messed up by the previous owners kids who had tried repairing the car but had no idea what they were doing. I was able to remove bondo from this and repaint it. I used rubber cement to mask the silver letters. Never used it before for this but thought it might work well. Works great I used two coats of rubber cement and used primer first for the painted background.


Last edited:
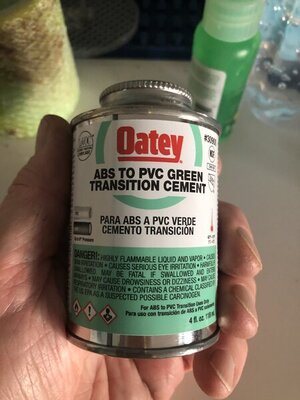
Had a broken are rest bezel. Not sure what type of plastic they used on this faux chrome part but I had the piece that broke off. In search of a better glue I wanted to try something that would fuse the two parts and not met or deform the part. Bingo this type of bonding agent works great. Stronger bond line than anything I found so far! Parts get fixed fast as well and should hold up over time and over temps cycles.
