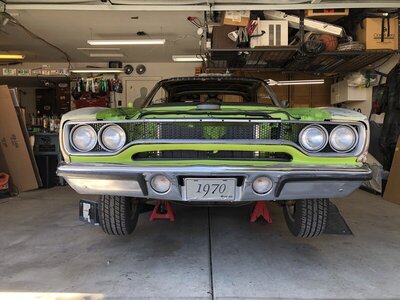
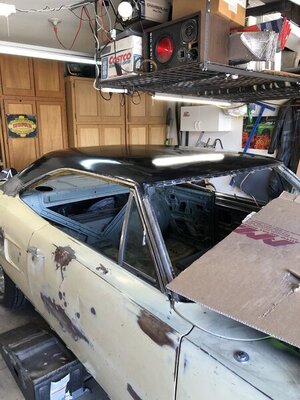
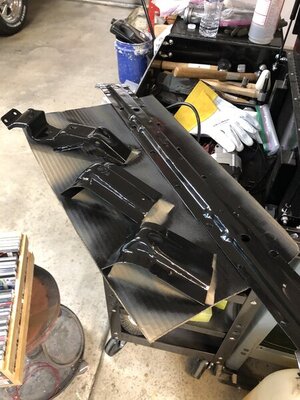
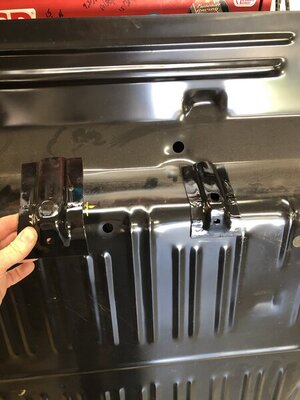
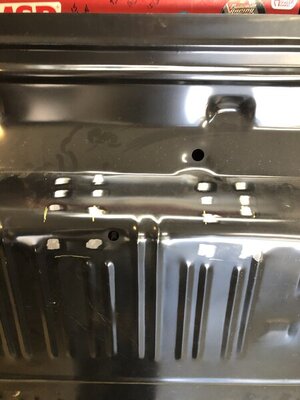
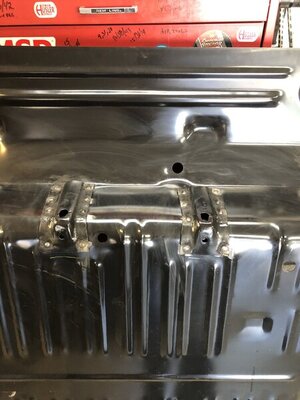
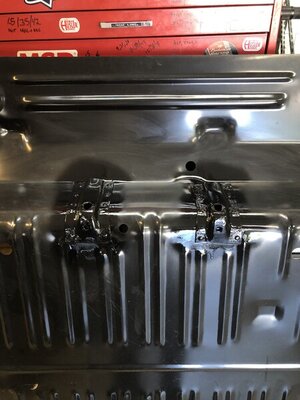
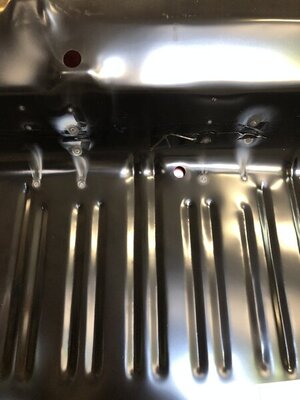
Thanks there is so much information here on the forum which really helps and seeing others tackle this is greatly encouraging. I also consider this very therapeutic.Coming along nicely. Sure looks like this isn't your first rodeo. Thankfully I have never had to replace a roof skin, and don't care to. You are making it look easy.
You are using an out of date browser. It may not display this or other websites correctly.
You should upgrade or use an alternative browser.
You should upgrade or use an alternative browser.
1970 Plymouth Sport Satellite from Junk to......
- Thread starter Moparfiend
- Start date
That's some great work Ron! And a big step forward on the build. The punch worked great too. Remember the seam seal on the two roof supports before you lay the roof in for welding.
Also, once you are ready to seam seal the roof rails check out the self leveling seam sealer like this...
https://www.amazon.com/SEM-39387-SELF-Leveling-Sealer-7/dp/B000JIM8B2
I still have the special gun if you want it...
Also, once you are ready to seam seal the roof rails check out the self leveling seam sealer like this...
https://www.amazon.com/SEM-39387-SELF-Leveling-Sealer-7/dp/B000JIM8B2
I still have the special gun if you want it...
Thanks Mark, yeah I have some good automotive flexible adhesive for the two rails. I am going to rough up the paint on the underside of the skin and make sure the rails are clean, need to level the car etc lots of prep work before I break out the MIG gun!!That's some great work Ron! And a big step forward on the build. The punch worked great too. Remember the seam seal on the two roof supports before you lay the roof in for welding.
Also, once you are ready to seam seal the roof rails check out the self leveling seam sealer like this...
https://www.amazon.com/SEM-39387-SELF-Leveling-Sealer-7/dp/B000JIM8B2
I still have the special gun if you want it...
Last edited:
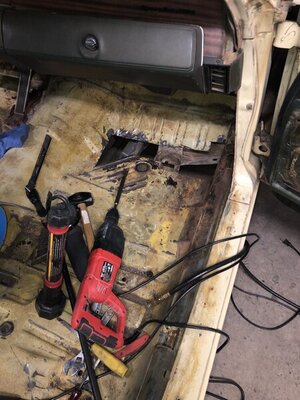
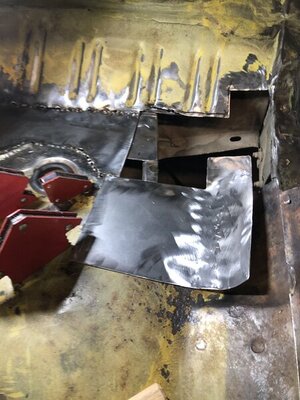
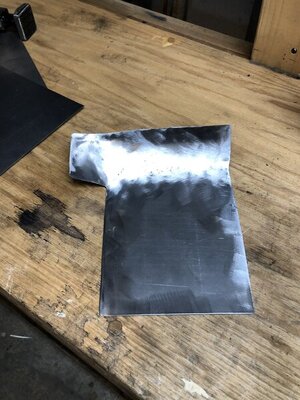
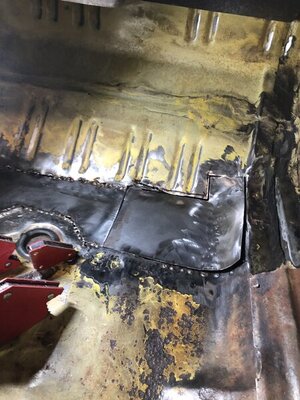
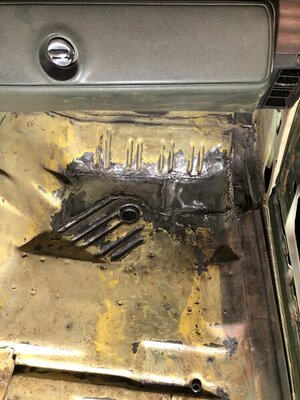
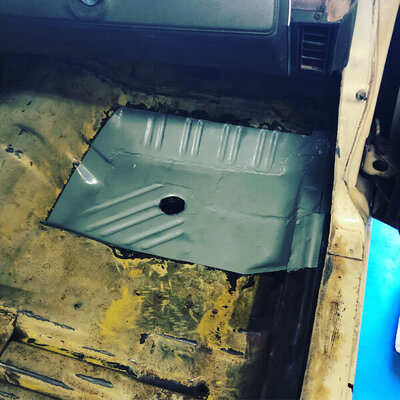
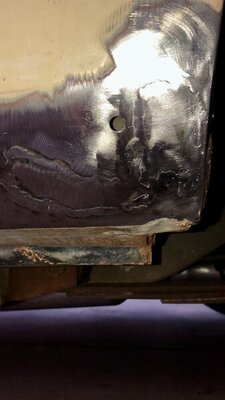
Well I found a very small pin hole of rust in the driver rear rocker area. That pin hole was a bit more extensive but I had to do surgery to find where the good metal was to weld to lol. Found another spot did the same. Its all solid now but very time consuming and I hate working and welding on the floor....

- Local time
- 8:18 AM
- Joined
- Apr 13, 2012
- Messages
- 39,975
- Reaction score
- 148,078
- Location
- Granite Bay CA
No.
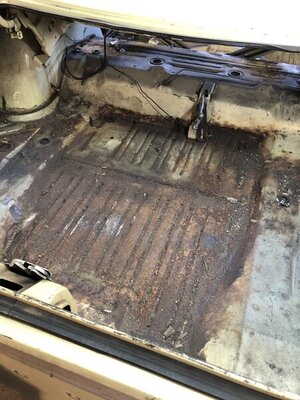
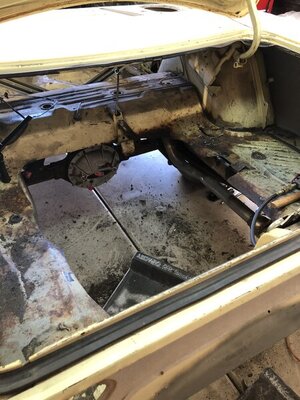
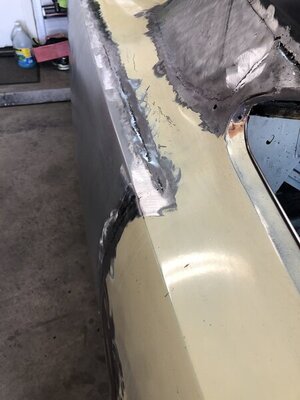
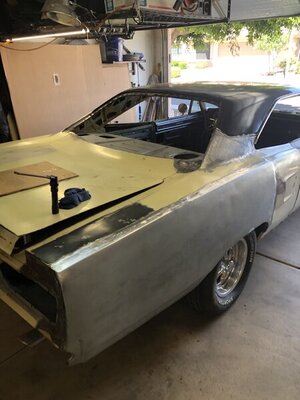
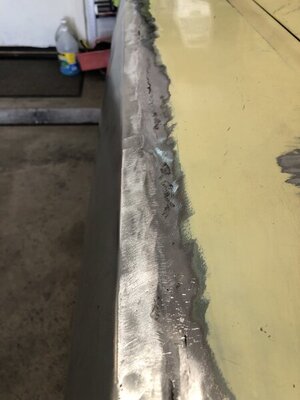
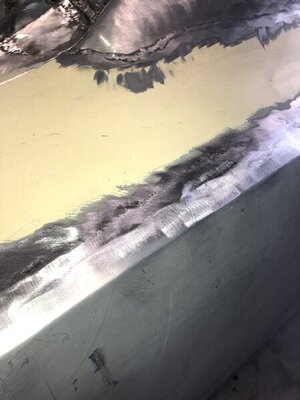
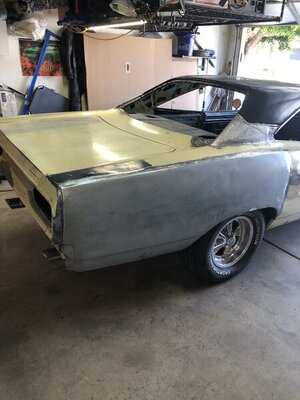
So one thing always leads to another when working on old cars. I realized that the small Sherman quarter panel was not made correctly. The section above the panel line was flat but the body is radius. It didn’t look right and there was just no way fix that easily in metal. I tried holding to the principal of metal fabrication restoration and only replace what needs to be replaced and keep as much original metal as possible. But after removing the Sherman panel my patch requirement grew. So I did this. A rather difficult surgery to get correctly but it came out as good as it possibly could. Fitment and alignment is great but its going to need some glaze to get some of the ripple out. Other than some hammer and dolly work the welding is complete.


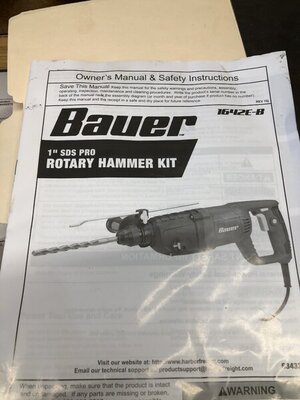
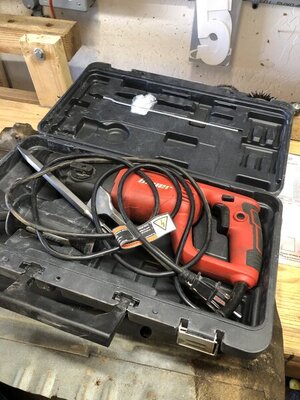
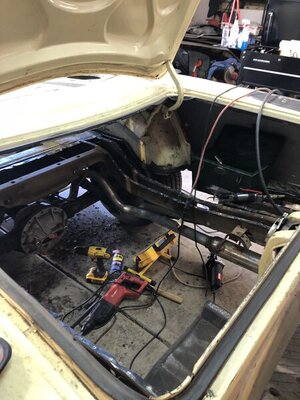
Got the pan all removed. Was a lot faster than I had anticipated. Lessons learned here. First if you plan to reuse the fuel tank mounting tabs and cross bar stop watch where you cut they are longer than you think. Second use a rotary hammer after you drill out the spot welds. A pneumatic body saw is very useful for opening up area to work in. Use a good spot weld cutter.

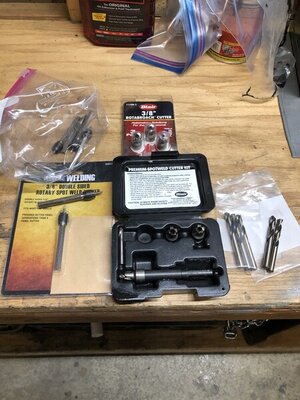
OK so I’ve tried all three of the spot weld cutters. The first ones from the left are from Harbor freight they’re weak point is their center drill is not a drill but a pointed stud and it’s soft so it fails quickly. The Blairs in the center are better but both of these two types of spot weld cutters are not very efficient . I strongly recommend the HSS spot weld cutters on the right. They don’t require a pre-drilling or center punch and have a lot of control both in depth and centering. This makes them quick. Either way always use cutting oil and low speed for cutting out the spot welds.


- Local time
- 8:18 AM
- Joined
- Apr 13, 2012
- Messages
- 39,975
- Reaction score
- 148,078
- Location
- Granite Bay CA
Not sure what you mean by a "Rotary Hammer".Second use a rotary hammer after you drill out the spot welds.
- Local time
- 8:18 AM
- Joined
- Apr 13, 2012
- Messages
- 39,975
- Reaction score
- 148,078
- Location
- Granite Bay CA
I have used them for construction. I never thought of using one on a car. Thanks.
The metal separates real nice easy and fast with that rotary hammer. It will also cut sheet metal like butter albeit not accurately but for demo work perfect.I have used them for construction. I never thought of using one on a car. Thanks.
- Local time
- 8:18 AM
- Joined
- Apr 13, 2012
- Messages
- 39,975
- Reaction score
- 148,078
- Location
- Granite Bay CA
Okay. I have used stuff like that but for cars that I intend to save, I don't trust something capable of such rapid destruction!
Getting thing
sure helped me get the old trunk pan out efficiently. But yes I would not use it for removal of my roof skin. Did that by hand.Okay. I have used stuff like that but for cars that I intend to save, I don't trust something capable of such rapid destruction!
Similar threads
- Replies
- 7
- Views
- 501
- Replies
- 0
- Views
- 184

