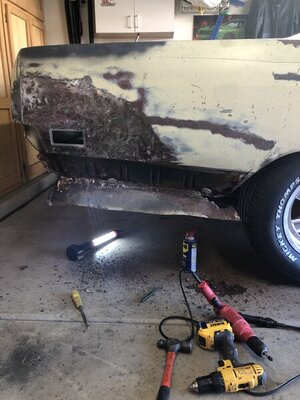
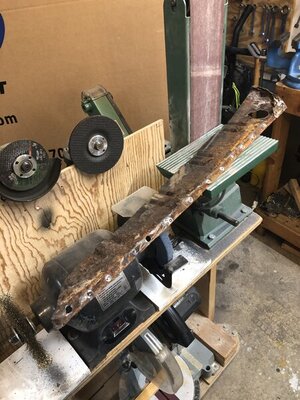
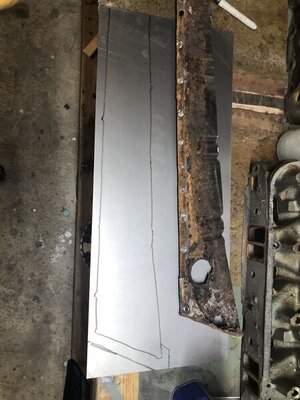
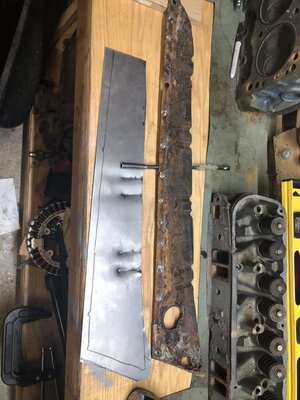
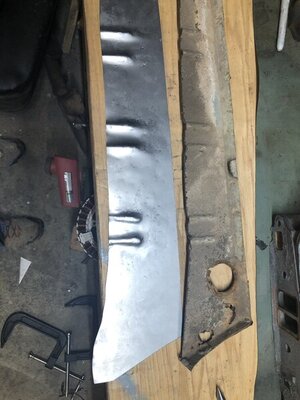
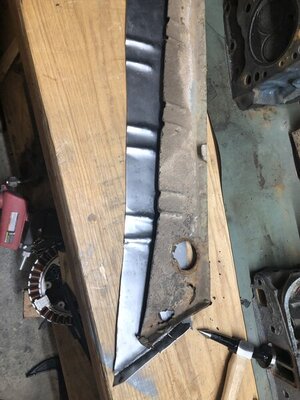
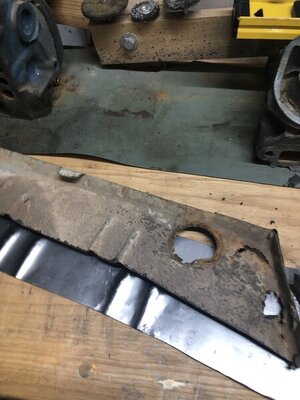
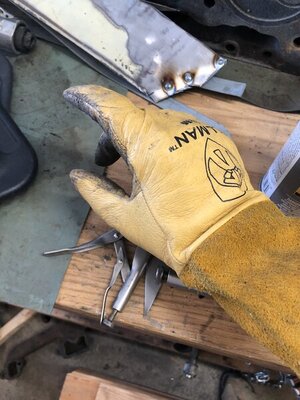
My car never budged when I removed my roof skin. My car was on jackstands at the time. The subframe is pretty good support. See how the new skin lays on the frame.
You are using an out of date browser. It may not display this or other websites correctly.
You should upgrade or use an alternative browser.
You should upgrade or use an alternative browser.
1970 Plymouth Sport Satellite from Junk to......
- Thread starter Moparfiend
- Start date
- Local time
- 12:22 PM
- Joined
- Mar 28, 2016
- Messages
- 1,723
- Reaction score
- 2,640
- Location
- Green Valley, Arizona
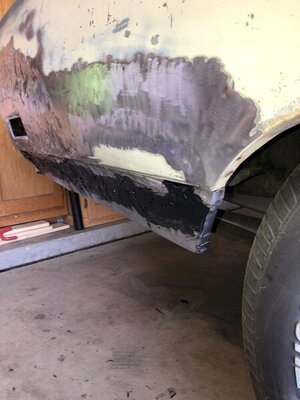
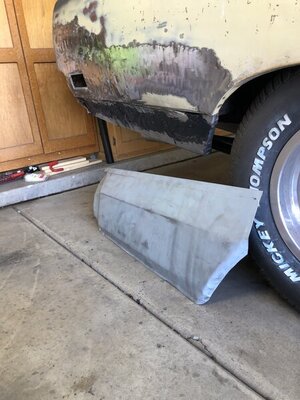
Looking good Ron! Glad to see the project moving forward! I am enjoying the pics of your car!!!Getting ready to repair the passenger rear quarter panel as the original owner hit something and snagged the bumper. This requires a 3/8 tweak on the passenger bumper bracket. Reading seams and finding spot welds is definitely getting easier. Going through a lot of Blair cutting bits.
View attachment 944458 View attachment 944459 View attachment 944460
Thanks Bart!Looking good Ron! Glad to see the project moving forward! I am enjoying the pics of your car!!!
Inner structure of the quarter panel is welded in. I skimmed the panel with fiberglass duraglas to ensure a leak proof seal. Since this sits between the outer body and inside it will never be seen once welded up to the outer body patch seen below.
and yes I welded it all up I just showed the initial tack welds.


and yes I welded it all up I just showed the initial tack welds.
Last edited:
This Sherman panel is requiring much more fitment work than it should and what they charge for this piece. I could have saved $130 and did it myself for all the hassle.
Working on ideas on the for the marker light which Sherman didn’t put in the panel. Just another detail that has to be contended with here.
I am planing on a butt weld using a technique that overlays the new panel then tack it in. Then use a grinder with a thin cut-off at a 45° and cut out and weld up as I go. The panel falls into place with minimal gap in a controlled manor.
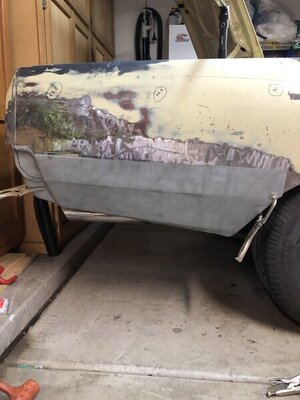

whayden2003
Well-Known Member
Get some more advise to your #1 task. I have in the past used the 3M panel bond to bond a roof skin to the roof cross members. I was told that wasn't the correct product to use at these locations. 3M makes several types of flexible foam products that are designed for roof braces.
After I bonded the roof to the cross members in the direct sun light it would cause a ghosting effect and the roof would look wavy.
After I bonded the roof to the cross members in the direct sun light it would cause a ghosting effect and the roof would look wavy.
A little more prep work like:
1. Removing the primer where the 3M panel adhesive will bond the skin to the crossmembers.
2. Punch holes in the periphery of the skin and remove some of the paint near each weld point.
3. Make some MIG welding ground strap openings in the paint on the skin.
4. Finish passenger sail panel and deck areas.
5. Test fit skin and window.
What else am I missing hum......?
View attachment 943696
Thanks man I will look into this. When I scraped off the old adhesive it was like a rock. Sounds like I might need something more flexible.....Get some more advise to your #1 task. I have in the past used the 3M panel bond to bond a roof skin to the roof cross members. I was told that wasn't the correct product to use at these locations. 3M makes several types of flexible foam products that are designed for roof braces.
After I bonded the roof to the cross members in the direct sun light it would cause a ghosting effect and the roof would look wavy.
barbee6043
Well-Known Member
- Local time
- 1:22 PM
- Joined
- Sep 28, 2008
- Messages
- 2,600
- Reaction score
- 2,577
- Location
- S E Texas. Shepherd, texas
Youare making progress!! Yes I agree Sherman panels are pretty much JUNK!! I can be a total f*****p but I make better panels by hand than they do. I guess they make theirs by hand also!!!! Make a 7 yr old hands!!
- Local time
- 12:22 PM
- Joined
- Mar 28, 2016
- Messages
- 1,723
- Reaction score
- 2,640
- Location
- Green Valley, Arizona
Lookin' good Ron! Pain in the *** now, but you will be very happy later!!!This Sherman panel is requiring much more fitment work than it should and what they charge for this piece. I could have saved $130 and did it myself for all the hassle.
Working on ideas on the for the marker light which Sherman didn’t put in the panel. Just another detail that has to be contended with here.
I am planing on a butt weld using a technique that overlays the new panel then tack it in. Then use a grinder with a thin cut-off at a 45° and cut out and weld up as I go. The panel falls into place with minimal gap in a controlled manor.
View attachment 945181
Rear driver quarter panel patch fitment preparation took more time than I thought it would but I wanted to make sure it was right before the final cut in and weld.
The cut in and weld went really well. I used the technique of using the new panel as my stencil for cutting and cut at that seam at 45° to have the panel lay in with minimal gap. Worked like a charm! Its also perfectly flush.
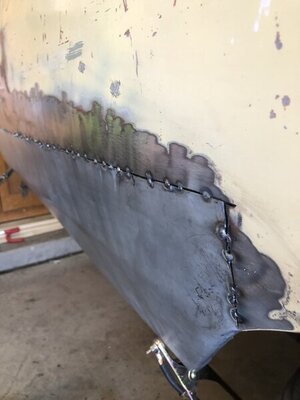
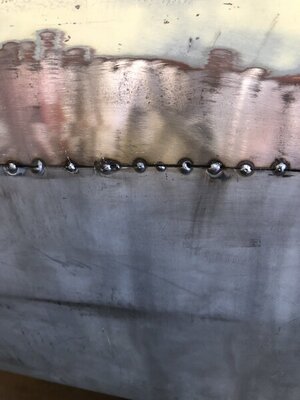
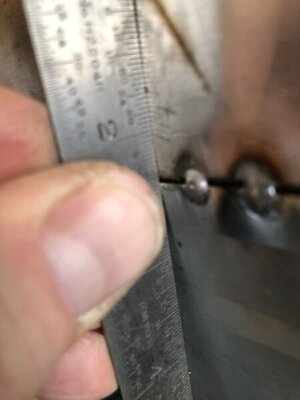
The cut in and weld went really well. I used the technique of using the new panel as my stencil for cutting and cut at that seam at 45° to have the panel lay in with minimal gap. Worked like a charm! Its also perfectly flush.


Last edited:
whayden2003
Well-Known Member
Nice.Rear driver quarter panel patch fitment preparation took more time than I thought it would but I wanted to make sure it was right before the final cut in and weld.
The cut in and weld went really well. I used the technique of using the panel as my stencil for cutting and cut at a 45° to have the panel lay in with minimal gap. Worked like a charm!
View attachment 946078 View attachment 946079
- Local time
- 12:22 PM
- Joined
- Mar 28, 2016
- Messages
- 1,723
- Reaction score
- 2,640
- Location
- Green Valley, Arizona
Nice work Ron!!!Rear driver quarter panel patch fitment preparation took more time than I thought it would but I wanted to make sure it was right before the final cut in and weld.
The cut in and weld went really well. I used the technique of using the panel as my stencil for cutting and cut at a 45° to have the panel lay in with minimal gap. Worked like a charm!
View attachment 946078 View attachment 946079
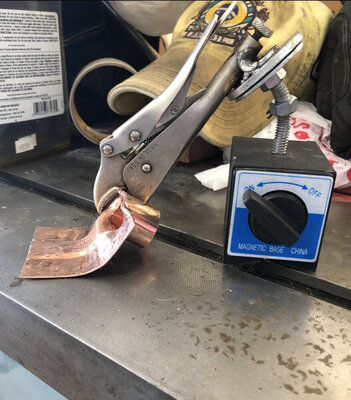
Sometimes you have to improvise. I find that I am blowing through the body metal when patching. It might not be 18ga (like my new panels) or it just might be less heat tolerant after 50 years or something else I don’t know. Maybe some one here can explain this and if this is common. Anyway some copper backing will help me weld the seam up here....

Last edited:
- Local time
- 12:22 PM
- Joined
- Mar 28, 2016
- Messages
- 1,723
- Reaction score
- 2,640
- Location
- Green Valley, Arizona
Woot Woot!!! Ron finally got the trunk pan from me! It was a pleasure to meet Ron and his lovely wife Maria! Good luck on the project Ron, I will be following this thread!!!

Thanks Bart for than pan! Never new how much sheet metal can make a guys week! It was a pleasure meeting you and seeing your great looking car and house!
More to follow!!
More to follow!!
Ron, I'm having the same issue on my floor pan ... keep blowing through the new pan cuz it's so thin. I turned my heat and speed way down and it seemed to help. Using a piece of copper is a good idea. PS ,,, I am jealous of your progress ... keep up the good work.
Similar threads
- Replies
- 7
- Views
- 501
- Replies
- 0
- Views
- 185

