• When you click on links to various merchants on this site and make a purchase, this can result in this site earning a commission. Affiliate programs and affiliations include, but are not limited to, the eBay Partner Network.

1970 Plymouth Sport Satellite from Junk to......

This is very inspiring! Great workmanship! I really like your car, I'm thinking a Sport Satellite is now at the top of my want list.....if only I could find one! Keep it up, this is brilliant stuff!
 
Thanks Mark. Yup some of the under structure is not holding up to the welds. So I am fabricating as I go. I can see why people buy panels and just slap them on. I like this work because its half art half structural half process ur 1/3 1/3 1/3 lol

Yup Yup, to do metal fab you have to be part artist. Add in sweeping curves and flared pieces to a project and you better be able to SEE the final result or your screwed big time. If it was easy everyone would do it. One needs an eye like yours to do this type of work. Keep on trucking and may it all work out for you. Looks good!!
 
Should have been "you are" instead of "your" for the teachers out there. Sorry :(
 
A couple of tips for those working on these big b bodies. I didn't have a rotisserie, so I grabbed six adjustable jacks, and used a 6' level to get the car level side to side. from front to back I just measured from the center of wheel to floor. The reason I used 6 jacks is to support the car as much as possible. With these unibody cars, you have to support as much as possible before cutting major panels, and especially floor/trunk. I've heard stories of guys who cut the floor out while the car sat on half flat tires on uneven ground. Welded the new floor in and couldn't shut the doors. They would never line up. There are a lot of things I would do differently if I could go back. It's all part of learning.
 
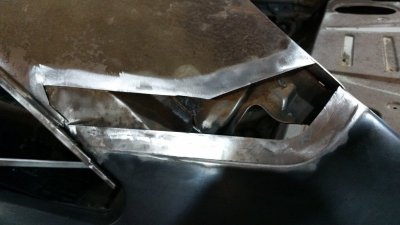
Just shot I took early in the process of the sail panel repair.
A couple of tips for those working on these big b bodies. I didn't have a rotisserie, so I grabbed six adjustable jacks, and used a 6' level to get the car level side to side. from front to back I just measured from the center of wheel to floor. The reason I used 6 jacks is to support the car as much as possible. With these unibody cars, you have to support as much as possible before cutting major panels, and especially floor/trunk. I've heard stories of guys who cut the floor out while the car sat on half flat tires on uneven ground. Welded the new floor in and couldn't shut the doors. They would never line up. There are a lot of things I would do differently if I could go back. It's all part of learning.
Thanks yeah the trunk pan is going to happen after the roof skin is on. So I will look at leveling prior to welding the roof skin and do the same for the trunk pan.
 
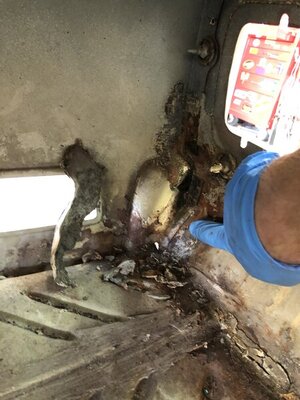
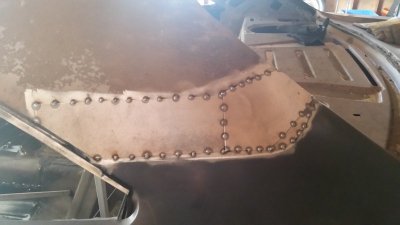
My sail panels were rotten for 3 inches above where the vinyl sat. I guess it trapped water. Both sides were identical. After fitting the new quarters, I removed all the bad metal to where it was still solid enough to weld, and made the patches. The photo only shows tack welds, but it was welded solid before applying fibreglass.

20160717_131843.jpg 20160730_115615-1.jpg
 
My sail panels were rotten for 3 inches above where the vinyl sat. I guess it trapped water. Both sides were identical. After fitting the new quarters, I removed all the bad metal to where it was still solid enough to weld, and made the patches. The photo only shows tack welds, but it was welded solid before applying fibreglass.

View attachment 943483 View attachment 943485
Pretty much the same here. It’s interesting seeing similar damage AND repair techniques. Thanks for sharing I bet you remember that repair well lol.
 
Christmas in April. At times like this I wish I had a son but like everything in my life I get **** done myself...... If there is one thing I don’t like to do is ask for help.

F48F41C3-15A8-4CB0-B5F2-A1D943BACCA6.jpeg 5BDB0AE2-9179-49A9-BC2B-1528EE9BF38B.jpeg 86A0A705-95A2-4E60-92E4-AE728D41BE00.jpeg
 
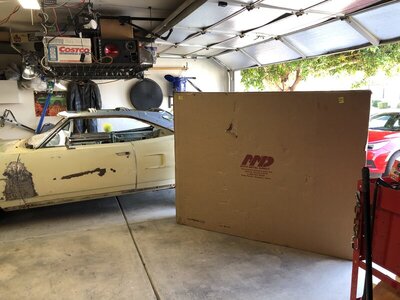
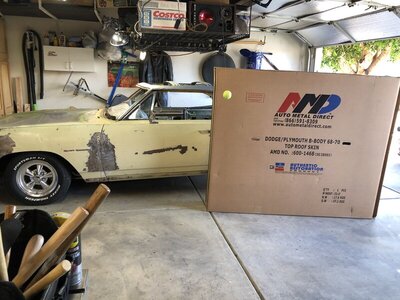
A little more prep work like:
1. Removing the primer where the 3M panel adhesive will bond the skin to the crossmembers.
2. Punch holes in the periphery of the skin and remove some of the paint near each weld point.
3. Make some MIG welding ground strap openings in the paint on the skin.
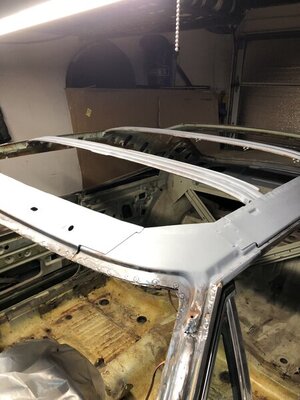
4. Finish passenger sail panel and deck areas.
5. Test fit skin and window.

What else am I missing hum......?

437FFCD8-711E-476D-A35E-972C0476F349.jpeg
 
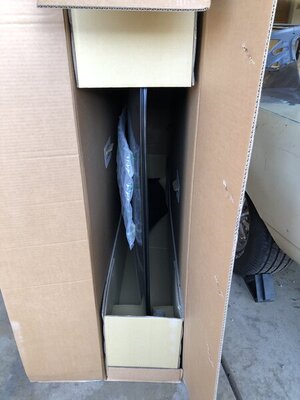
Actually I am renting a pickemup and getting it next week!!!!
Well under normal circumstances I'd say lets meet for lunch, but eating in a parking lot on a 104 degree day just isn't in me...........
 
Well under normal circumstances I'd say lets meet for lunch, but eating in a parking lot on a 104 degree day just isn't in me...........
Yeah next time Bill! Hopefully this CV19 will be a bad memory. I can’t eat out and been home except for hospital stuff. So I am really looking forward to a little drive.
 
Yeah next time Bill! Hopefully this CV19 will be a bad memory. I can’t eat out and been home except for hospital stuff. So I am really looking forward to a little drive.
And I am looking forward to meeting Ron in person! The trunk pan is free as advertised, but wait till Ron sees my bill for storage fees! ;-)
 
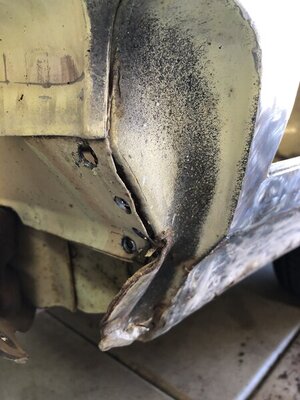
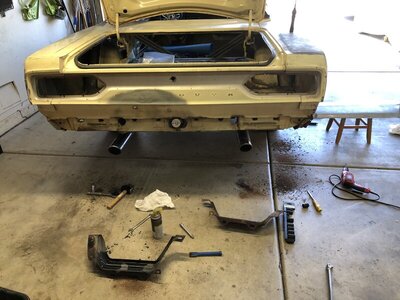
Getting ready to repair the passenger rear quarter panel as the original owner hit something and snagged the bumper. This requires a 3/8 tweak on the passenger bumper bracket. Reading seams and finding spot welds is definitely getting easier. Going through a lot of Blair cutting bits.

EC227C07-B9D6-4F14-A8D9-3DD7D2845646.jpeg 2C73BF64-67FB-41AA-B783-EC152088585A.jpeg 647F78CE-F348-4841-AA95-3D4CE8A0432A.jpeg
 
A couple of tips for those working on these big b bodies. I didn't have a rotisserie, so I grabbed six adjustable jacks, and used a 6' level to get the car level side to side. from front to back I just measured from the center of wheel to floor. The reason I used 6 jacks is to support the car as much as possible. With these unibody cars, you have to support as much as possible before cutting major panels, and especially floor/trunk. I've heard stories of guys who cut the floor out while the car sat on half flat tires on uneven ground. Welded the new floor in and couldn't shut the doors. They would never line up. There are a lot of things I would do differently if I could go back. It's all part of learning.
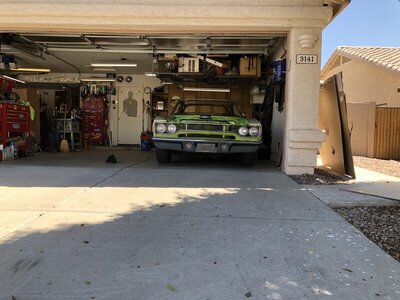
So I noticed today after moving the car out of the garage to turn it around that the car is no longer the same height in the front. The driver side is like an inch and a half lower. I had previously adjusted the torsion bars so it was level prior to removing the roof skin.

The question is was it under stress previously from the factory with the roof skin?

I plan to level the care prior to welding the roof skin as you suggested but was surprised to visually see it not level after removing the roof skin.

E26E923C-47F8-4750-86DF-10FB5720F070.jpeg
 
If this is the first time the car has moved since adjusting torsion bars, then the suspension has been able to roll out and relax to its new setting. It is just like if you jack up front end with tires off the ground and then lower it back down, the car would need to be driven around a little for the suspension to find its normal setting.

Another possibility is a weak torsion bar. If one side is sagging and you crank that side up a little and the next day it is sagging again. You would notice that by how many turns on the adjuster screw. Compare how far the screw is turned on left bar verses the right bar.

I had bought my 70 sport satellite back in '85 with a broken torsion bar for $225. Was an easy fix for my young 17 year old self.
 
Having never done the roof on my car, I can't confirm how much rigidity the roof lends to the whole car, but I would assume it's substantial. Either way, you are on the right track Make sure your front suspension is under no tension at all before you level and weld anything. Then you can do the 6' level across the fenders and the quarters to make sure there is no twist front to back. Also, just make sure your torsion bars are installed properly. There is a left and right. I made that mistake and my driver side dropped quite a bit when I lowered it off the jack.
 
If this is the first time the car has moved since adjusting torsion bars, then the suspension has been able to roll out and relax to its new setting. It is just like if you jack up front end with tires off the ground and then lower it back down, the car would need to be driven around a little for the suspension to find its normal setting.

Another possibility is a weak torsion bar. If one side is sagging and you crank that side up a little and the next day it is sagging again. You would notice that by how many turns on the adjuster screw. Compare how far the screw is turned on left bar verses the right bar.

I had bought my 70 sport satellite back in '85 with a broken torsion bar for $225. Was an easy fix for my young 17 year old self.
The adjustment was made a year ago or more. No issues until roof skin was removed and car moved. Can only surmise that the roof skin adds rigidity and by removing it things moved. So I guess I will reset the torsion bars to have it sit correctly and then when its time to weld the skin on do as Mark suggested and level the body with jacks prior to the fitment and welding of the skin. Will be interesting and to see how it sits after welding.......
 
Auto Transport Service
Back
Top