• When you click on links to various merchants on this site and make a purchase, this can result in this site earning a commission. Affiliate programs and affiliations include, but are not limited to, the eBay Partner Network.

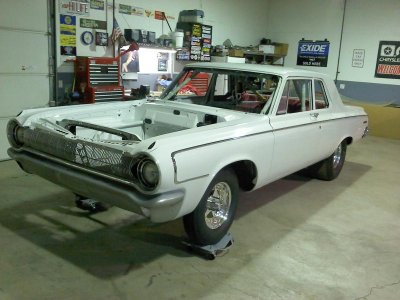
'64 330 Street Hemi build

Wow!!! Havn't seen this in a while. Simply Awesome!! I like that its a different color than the usual

Thanks Chicken.

BTW congrats on your invite...

- - - Updated - - -

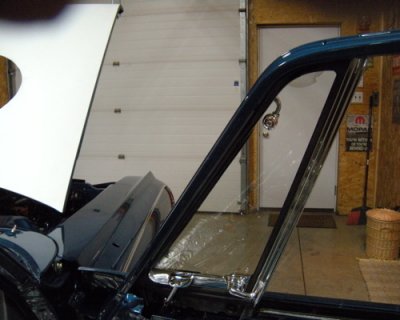
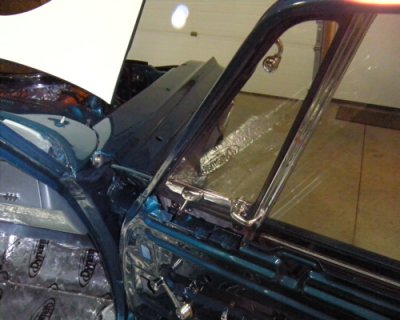
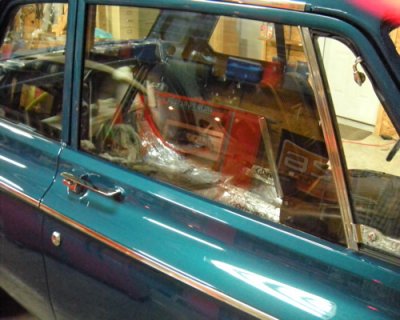
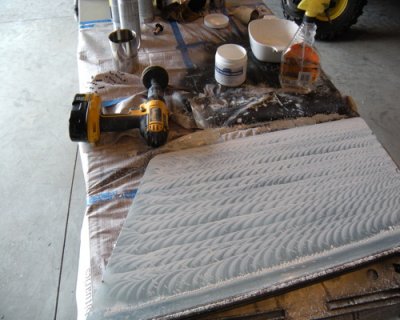
Todays progress. Side glass, polished them with eastwood glass polish. does't remove the deep scratches but it takes care of the seal marks and such. door handles and locks. aux. door seal on the top of the doors. Apologize for the bad photo quality. Dropped the camera a while back and now the screen is half dead. you might say I'm "shootin' in the dark" until the new camera gets here...
 

Attachments

  • final windows605.jpg
    final windows605.jpg
    73.6 KB · Views: 779
  • final windows606.jpg
    final windows606.jpg
    82.7 KB · Views: 768
  • final windows608.jpg
    final windows608.jpg
    98.2 KB · Views: 787
  • final windows611.jpg
    final windows611.jpg
    100.3 KB · Views: 791
Looks great!
Did the painter save some paint for the hood?
 
Looks great!
Did the painter save some paint for the hood?

Ya, he did. Getting to a point where I'll have to move on and get a scoop from someone else. Can't get Joey Cole to pick up or return my calls or txt's. Sent him the check in november and still nothing. Don't wish him ill, just want the scoop or my money... Will give it a couple more weeks then gotta move on to someone else and pester/get him to refund my cash. I'm pretty patient, but... too bad really, would have like to use his stuff on this project.. oh well...
 
DW had a girls night out, so I dumped 5 gal. of 93 in the tank and went for a drive. Short, but longer than the first. Ran about 6 miles around the block on county roads. Got into it a little (still no front or rear glass) didn't open up the secondaries. Ya, I know.... but I gotta get used to how it moves and how it sounds. The tranny feels "dry" and shifts a little hard for that long of a handle. Tomorrow morning I'll get under and check fluid, and linkage. I'm getting some whine and can't tell if it's from the trans or the
Tru-Trac. My guess is it's the the Tru-Trac it's kind of hard to tell as the car has no interior and everything is open from front to back. The Challenger rearend sounds the same even with a full interior.

Also took care of some of the silly stuff today too. Split the keys and put one set on a keychain my daughter gave me which has a picture of her and I when she was a baby, the other set went in the safe. Took out the die cast model of the car I've had for a year and put it on a shelf in the shop. stuff like that...

Funny story; I had the Sheriff's dept. stop out to verify the VIN on the title, so I could get it registered, and a couple of young Deputies (both named Ryan) pulled up. As they were getting out of their cruiser I waved and ran in to the house to grab the title. When I was walking back to the shop I hear Ryan say "What is this??" then Ryan II replied; "Don't know, But it sure is Bad ***!" I had to laugh. They stayed for about a half hour talking and asking questions. When we were done I asked if I owed them anything; they said, "No, Just a ride when it's done." Good guys.
 
just wondering how much of a pain it was to install the drip rail moldings? i still have not tried to put mine on yet.
 

Attachments

  • 1218111802c.jpg
    1218111802c.jpg
    56.8 KB · Views: 741
WOW, Nice '64! Always wondered what mine would have looked like in a lighter color... More picts would be good.

It is a pain in the butt to get them on. When I took them off, I went from the front to the back, using a hard plastic stick to pop the bottom off first, then "lift" them upward. The lower lip did bend a little in a few places which I reformed before sending them to the polisher. When Installing I went in the reverse order using my palm to snap them on. There may be an easier way, but this worked.

BTW what are the rear tires you have on?
 
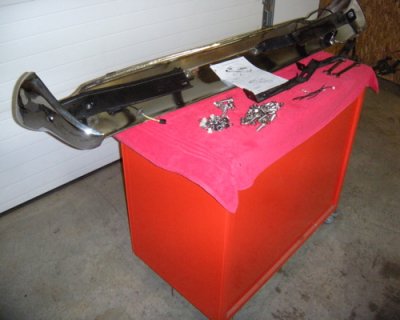
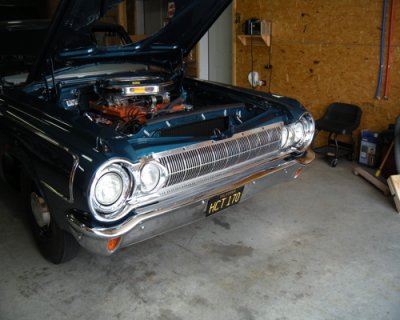
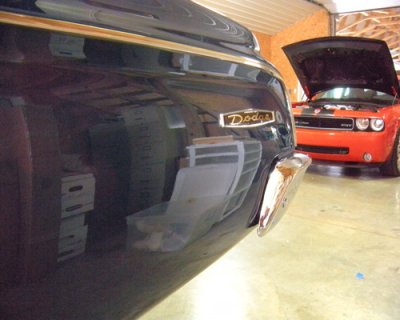
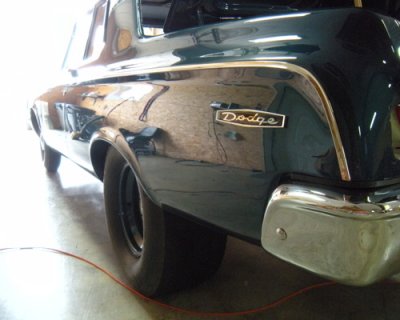
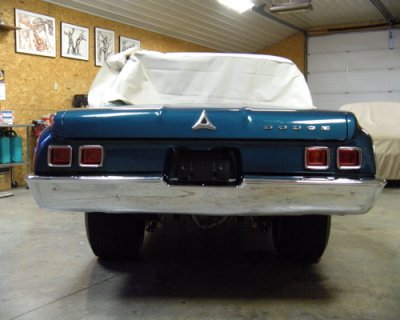
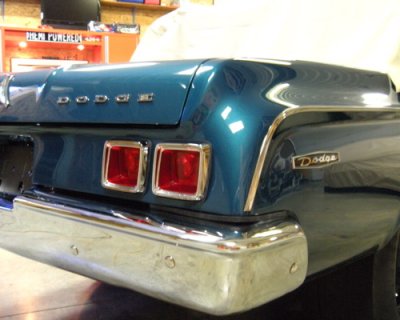
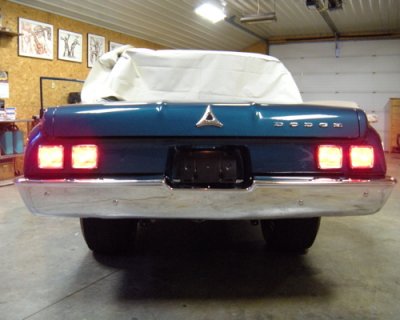
today. bumpers. first is the "crash cart" then the front bumper. it doesn't hang quite right yet passenger side is perfect, might need to do some work with the brackets. looks to be twisted a bit on the drivers side. third shot is just for fun. (you can tell where we keep our file cabinets) the rear bumper looks great but I want to get a better shot outside after I get the tail lights in. lenses should be here in a couple days. overlooked them, bonehead move...

- - - Updated - - -

Beautiful car 2059 and great bulld

thanks Tallhair. getting last of the parts to fit right can be a pain but relaxing at the same time. It will be interesting to see how the interior comes together in a couple weeks.
 

Attachments

  • bumpers final613.jpg
    bumpers final613.jpg
    74.9 KB · Views: 749
  • bumpers final614.jpg
    bumpers final614.jpg
    91.4 KB · Views: 756
  • bumpers final617.jpg
    bumpers final617.jpg
    85.9 KB · Views: 739
  • bumpers final618.jpg
    bumpers final618.jpg
    73.9 KB · Views: 697
What a great looking car you have there. I really like the paint/trim, looks great. I hope to see it in person some day. I'm looking forward to the next pics.
 
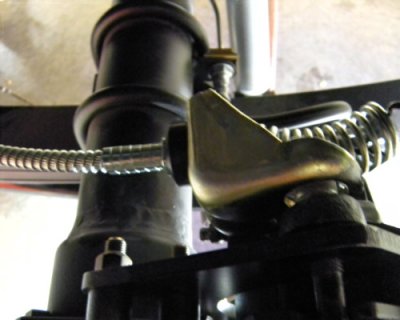
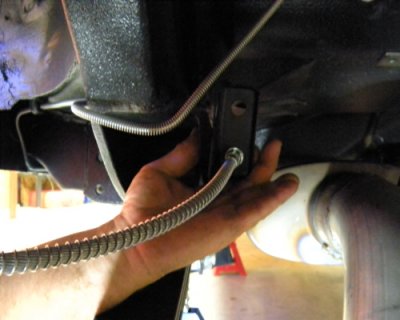
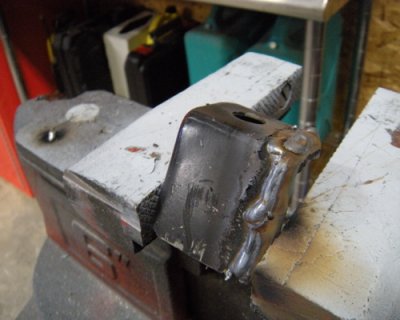
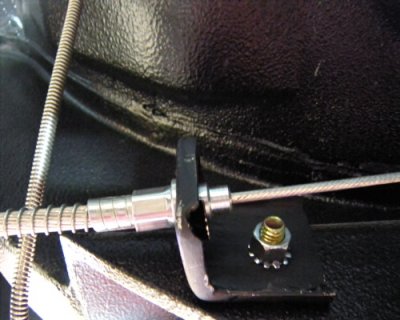
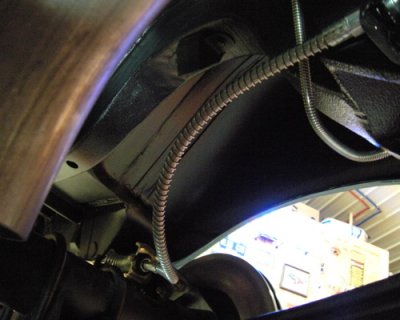
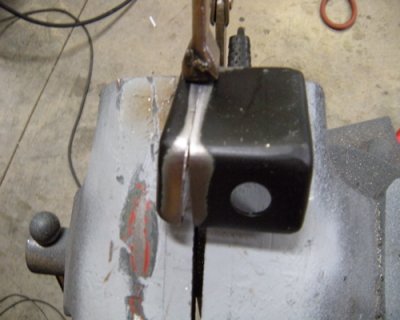
Today was e-brake and tail lights. The e-brake cable set was from "right stuff detailing". It's an all SS kit; from pedal to rear calipers. Because the kit is for a stock drum brake set up I had to remove the springs on each of the cable assy's at the caliper attachment point. The actuators on the calipers have their own return springs. All of the cable lengths were correct and after a little fiddling with it, got it to work well. The stock '64 e-brake bracket needed to be cut in half and I replaced the return for strength and appearance. The new thing here was the Moser Eng. rear disk e-brake actuator. The stock e-brake pedal stroke is not enough to fully engage the pistons when you leave a loose cable set up past the yoke. Therefore I had to crank down on the adjustment yoke quite a bit, which pulled the actuator lever about 1/3 of the total stoke. The axles were still "free wheeling" at this point and after cycling the brake several times it seemed to be OK and it does lock the rear wheels when the e-brake is fully set.

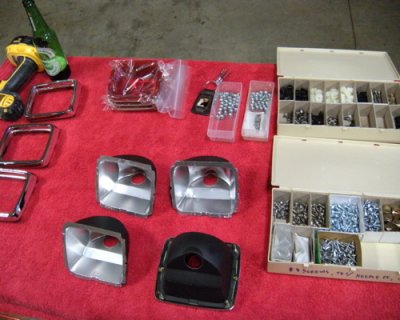
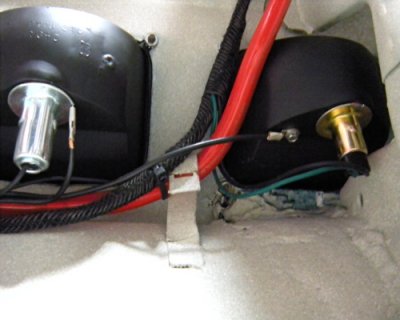
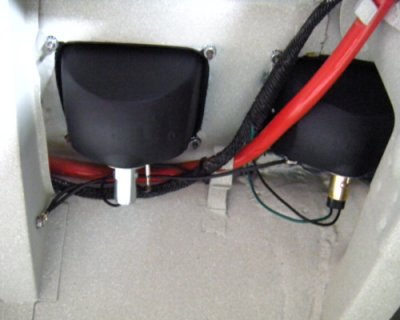
After that the tail lights went in. I rec'd the lenses in the mail today. Reproduction pieces. No P/N's or year on them but they do look good and they fit well. We'll see how they hold up. Nothing really tricky here other than I noticed one of the lamp sockets on each side had a spade for a ground wire and I thought; if it's good for one, then why not the other. Was going to rivet the other ground to the housing but I couldn't get the rivet clincher or mandril positioned right so I used #8 SS tek screws. Everything seems to work well except, I have no directional indicator lights at the dash. I'll check the bulbs first and see where that takes me. BTW; I think the chrome paint on the inside of the housings helps with the "brightness" of the tail lights. std. 1156 & 1157 bulbs...
 

Attachments

  • ebrake623.jpg
    ebrake623.jpg
    60.5 KB · Views: 711
  • ebrake625.jpg
    ebrake625.jpg
    67.5 KB · Views: 691
  • ebrake626.jpg
    ebrake626.jpg
    75.4 KB · Views: 713
  • ebrake629.jpg
    ebrake629.jpg
    83.8 KB · Views: 680
  • ebrake630.jpg
    ebrake630.jpg
    80.5 KB · Views: 701
  • ebrake631.jpg
    ebrake631.jpg
    69.7 KB · Views: 705
  • ebrake634.jpg
    ebrake634.jpg
    98 KB · Views: 701
  • ebrake636.jpg
    ebrake636.jpg
    75.9 KB · Views: 710
  • ebrake638.jpg
    ebrake638.jpg
    77.4 KB · Views: 717
  • ebrake639.jpg
    ebrake639.jpg
    75.7 KB · Views: 676
  • ebrake640.jpg
    ebrake640.jpg
    69 KB · Views: 727
  • ebrake641.jpg
    ebrake641.jpg
    63.3 KB · Views: 705
very nice. I was trying to figure out where I wanted to route my e brake lines. I am so stealing that idea.
 
Killer Job ! you have something Special there

Thanks Bill, appreciate it.

- - - Updated - - -

very nice. I was trying to figure out where I wanted to route my e brake lines. I am so stealing that idea.

LOL! Have at it!!! The only thing I would have done differently is have the E-brake cable ran before we did the exhaust. The top of the cutout flange interferes with the cable. We will probably have to "tip" the cutouts downward about 30* to clear. which is fine I'd rather have them pointing toward the ground somewhat as opposed to parallel.
 
Got a couple really good txt's yesterday afternoon. (cell reception is non-existant in the shop, but txt's come through) anyway; The first one was from Joe Cole, he's finishing up the scoop next week and, I would assume, ship it. That will be awesome!!

The second txt was from the upholstery guy, the seats are done! I've already seen the door panels. Hemi style. He will have; front and rear seats, package tray cover, sun visors and door panels. I have the headliner and the carpet along with all the interior garnishes, arm rests, door handles, etc...

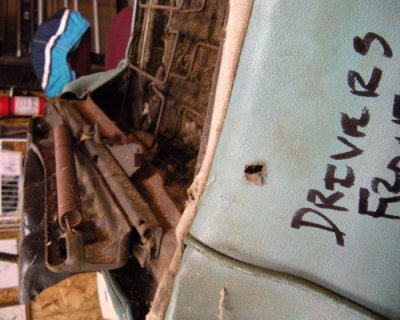
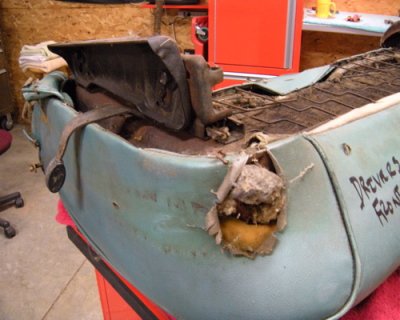
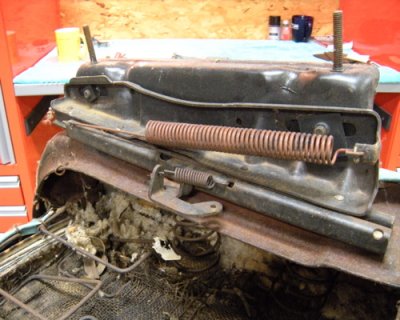
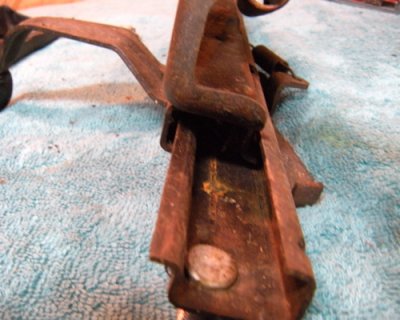
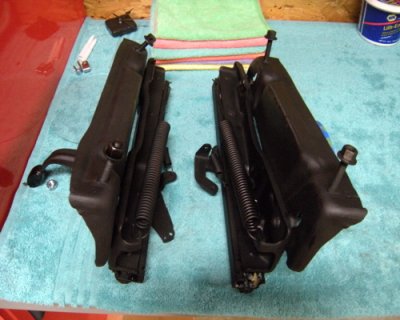
Since I pick up the seats on monday, thought I'd better get the bases ready. These came off the old bench seat that was in the donor. There was very little heavy rust and when disassembled, it was easily removed with a wire wheel. Had to replace one stud as it was snapped off. But other than that they cleaned up nicely and worked great when washed, dried and greased. Purposely waited until now to redo them as they would just be sitting around redone and collecting dust...
 

Attachments

  • seat brkts644.jpg
    seat brkts644.jpg
    99.2 KB · Views: 669
  • seat brkts645.jpg
    seat brkts645.jpg
    91.6 KB · Views: 643
  • seat brkts646.jpg
    seat brkts646.jpg
    105.6 KB · Views: 642
  • seat brkts649.jpg
    seat brkts649.jpg
    91.8 KB · Views: 655
  • seat brkts655.jpg
    seat brkts655.jpg
    93.1 KB · Views: 639
WOW, Nice '64! Always wondered what mine would have looked like in a lighter color... More picts would be good.

It is a pain in the butt to get them on. When I took them off, I went from the front to the back, using a hard plastic stick to pop the bottom off first, then "lift" them upward. The lower lip did bend a little in a few places which I reformed before sending them to the polisher. When Installing I went in the reverse order using my palm to snap them on. There may be an easier way, but this worked.

BTW what are the rear tires you have on?
thanks for the info on the drip rails trim.my car is backhalfed and four linked.

31x10.5w-15 mickey thompson dragrace slicks.
 

Attachments

  • 1218111803a.jpg
    1218111803a.jpg
    66.4 KB · Views: 583
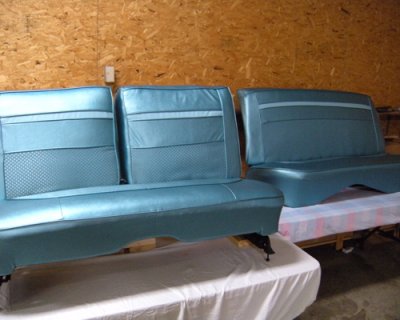
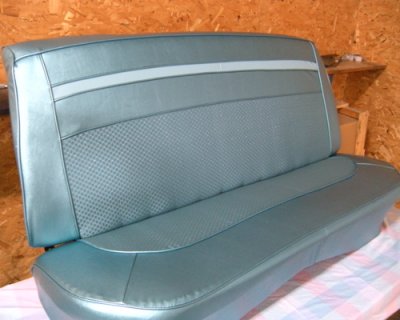
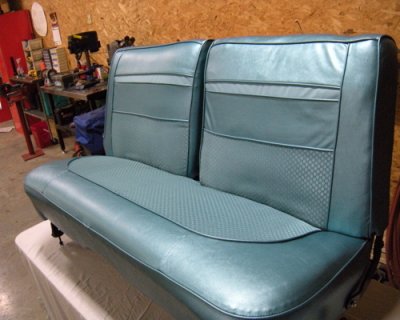
couple of the seats. I have the hinge covers coming. I am not all that happy with the drivers seat back, it is not stretched correctly/aligned correctly and some of the seams are wavy. I'll give the guy a chance to correct it. This pattern was modeled (roughly) from a 64 330 sales brochure, which kind of surprises me because you don't see it in 330's however; it is shown in the interior section of the parts manual. other than the obvious (driveline), there are a couple things in the car are not stock 330 parts; one is the steering wheel (Polara).
 

Attachments

  • seats671.jpg
    seats671.jpg
    80.2 KB · Views: 549
  • seats667.jpg
    seats667.jpg
    75.2 KB · Views: 507
  • seats665.jpg
    seats665.jpg
    86.3 KB · Views: 510
Auto Transport Service
Back
Top