• When you click on links to various merchants on this site and make a purchase, this can result in this site earning a commission. Affiliate programs and affiliations include, but are not limited to, the eBay Partner Network.

68 Super Bee project

cold concrete indoors still beats a slag driveway out doors.
nice job.
 
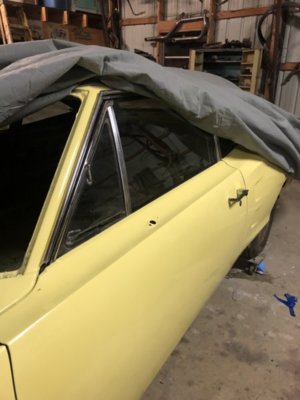
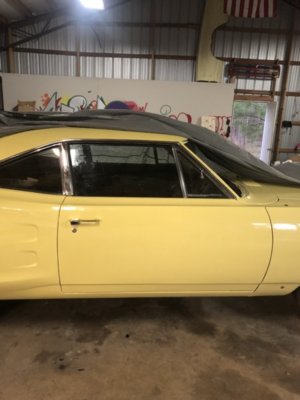
Haven’t been able to do much on the Bee lately. I’ve been finishing up my wife’s pottery studio and no side work(which pays for the car), has made things a bit slow. But I was able to get all my felts which allowed to finally get my door glass in.
The slide felts are hard to find so I did what most people do and use the ones from DMT that are for the rear pop out windows. I had two good plastic sliders and the other 2 were trashed. Did all the trimming mods and unfortunately on my first one didn’t sand the slider down enough which binded then ripped the felt . Another $80 later and all is well and I have an extra felt to keep up with now lol. All adjusted and I’m pumped to see them finally back in the car. I was dreading the job but with my wife’s help it wasn’t to bad.

42A6D991-27CB-4E2C-A242-96E772EC0E89.jpeg DE45DD3A-13AA-4932-BEF6-8028F4B24408.jpeg EA9993A2-3FBA-4554-B579-32BBD5E52790.jpeg
 
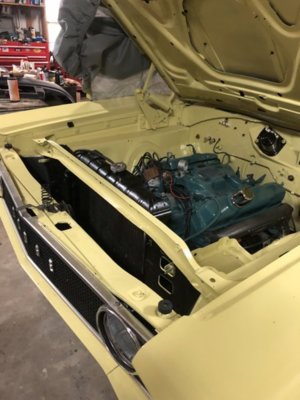
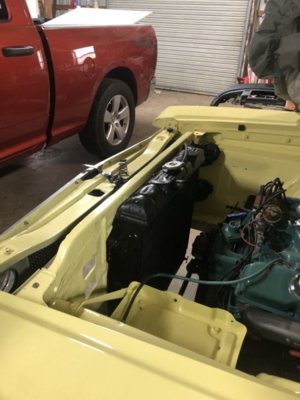
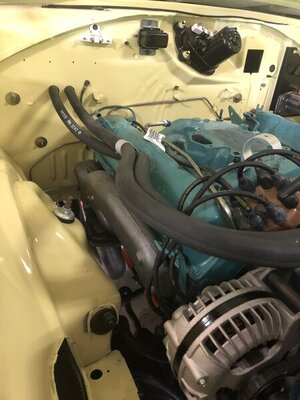
Radiator is in!! It had a new core put in a while back and still looked good. I stripped it down and gave it a pressure test which uncovered one tiny little pinhole in the upper tank which i was easily able to fix with a little solder. Painted it up and now on to the alternator. I’m not sure what to do here. It was charging when I started the project 6 years ago but I’d like to have it gone through and cleaned up. I’m not familiar with pulling one apart and not sure if I want to spend the $ to have it restored to showroom condition. Either way hopefully it’ll get done soon and it won’t be long till I can fire it up!

41C538F6-6754-4170-80A5-230CDDE8C6B3.jpeg 326E90D3-5352-45E1-A38D-919850CAB73C.jpeg
 
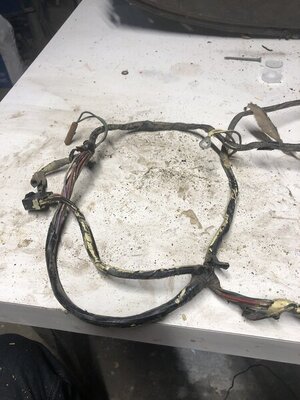
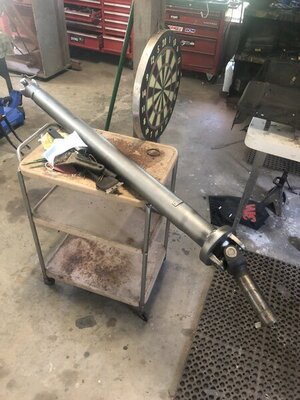
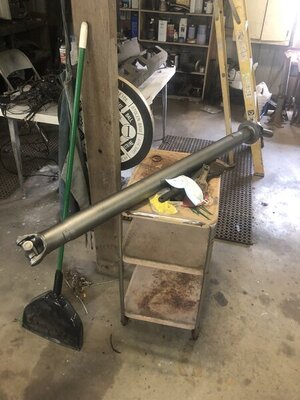
Finished up my driveshaft this weekend. Blasted it the epoxy prime and paint. Ujoints came in today and the wife lended a hand to help me press them in. Driveshaft is installed now. Tried to get a good pick under the car but failed haha. Heater hoses are in, as well as alternator, belts, radiator hoses, and fuel lines. Sent all my dash plastic and cluster off to be redone last week. Headliner is on the way and will be the next husband and wife project haha. I also started cleaning up my wiring harness. Cleaning off overspray from previous paint jobs and years of grime. This is the first car I’ve had that the harness isn’t hacked to pieces! It’s coming together slowly but surely.

28A4E910-7105-4CE3-A916-1C100208B445.jpeg F079EE71-3880-45A1-87E1-EB1BD6977C38.jpeg 61C66056-B3BF-45E7-A158-9C1F299C7E40.jpeg C5782195-9063-445A-B026-33ED854A413F.jpeg B2B670BA-2BDC-465D-9990-835B54858D87.jpeg
 
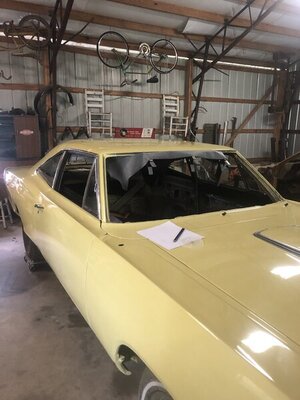
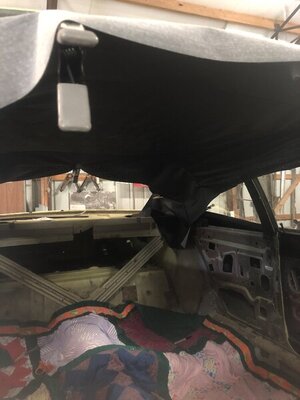
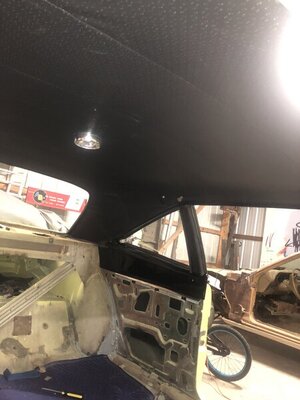
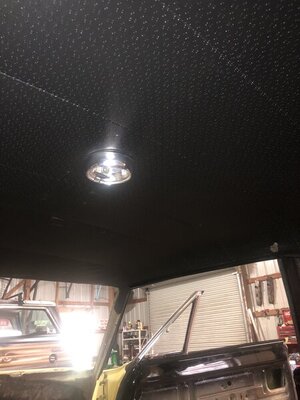
Happy 4th of July! Last week my lovely wife led the way and we got the headliner in! We still have to put some heat to it to get a few minor wrinkles out but all in all it looks great. Sorry for the crappy pics. Got out this morning and got my trim installed as well as the back panel. I also got a call that my dash plastics are on there way back! So now I’m waiting on my cluster to get back and I can start getting the dash back in.

0298A612-4286-4E50-8172-748B55860E1D.jpeg 894F1206-82F0-4E9D-A054-5FEA772069F9.jpeg 0A2F01FB-1867-4C14-A5DA-CCA9FADA88C0.jpeg 7D5B9F7A-64DD-4930-9E03-3870E5F19A65.jpeg
 
Professional looking job. Congratulations. And it's cool that the wife is part of it. My wife has had to help me out plenty of times, especially working in tight spaces.
 
Professional looking job. Congratulations. And it's cool that the wife is part of it. My wife has had to help me out plenty of times, especially working in tight spaces.
great job on bee keep the good work coming and you will be driving soon.
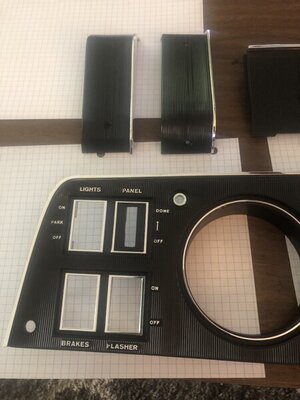
 
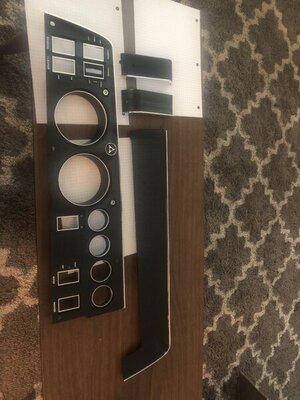
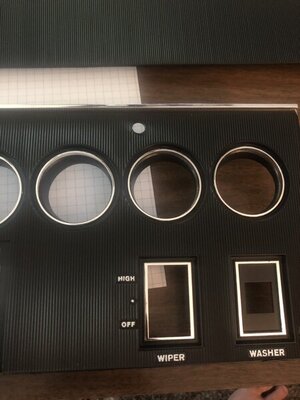
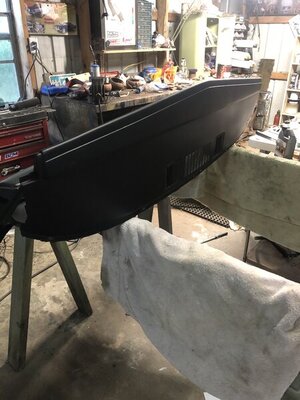
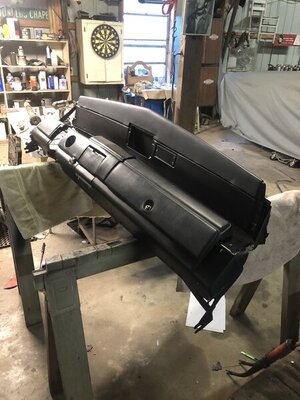
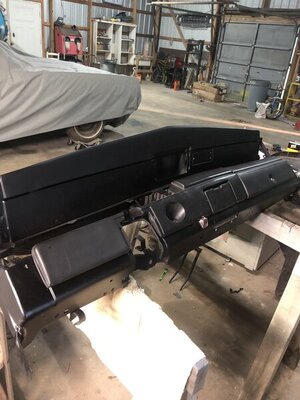
Today was a somewhat productive day. My plastics came back and man was a amazed at how good they looked! Thanks to Frank at vacuum ornamental for the quick turn around and super reasonable price. They look awesome! I also was able to spray my dash. It wasn’t in bad shape at all so a good bath and scotch brite session was all the prep she needed. The black is a little smoother and slightly glossier than original from what I can tell. I tried to spray it “dry” but it still laid smooth. I’m happy with it though. I used Custom shops Hot Rod Black satin finish. Man I love seeing new stuff coming together!

063817C1-14BF-4FB5-AFE9-2D13B9E966B0.jpeg A405B935-3E83-4F78-8A83-5F412ED58839.jpeg FA9F2735-763B-4774-84C5-69DE45DF9623.jpeg 48F4FC58-9788-4758-8152-864119FF2FF8.jpeg 567C7028-C371-4F2A-B563-8145656B941C.jpeg FC5FDC67-FFA7-48F1-A34E-6C6C15261A9D.jpeg 9F7CE2D5-6D16-418A-85CF-0869E126879E.jpeg
 
Wonderful Work!!! Beautiful car and love the family participation. My wife is always willing to lend a hand and I appreciate that. Best,B.
 
Looks fantastic! Do you have a link to Frank's website?
 
Wes, i just read your whole story and you are doing fantastic, you should be very proud of yourself and your helpers. i really enjoyed seeing all your hard work come together, i do have a question about the 100 that was factory painted on your tranny, do you know what it means? im only asking because im detailing my 883 four speed now and wondering what the factory stamped on mine, it was so rusty and crusty i could not make out any numbers..
 
Wes, i just read your whole story and you are doing fantastic, you should be very proud of yourself and your helpers. i really enjoyed seeing all your hard work come together, i do have a question about the 100 that was factory painted on your tranny, do you know what it means? im only asking because im detailing my 883 four speed now and wondering what the factory stamped on mine, it was so rusty and crusty i could not make out any numbers..
Man I wish I knew but I don’t really know what it means. There was a few paint marks I could find info on but not that one unfortunately. Thanks for the encouragement though. If I come across any info I’ll be sure to pass it along to ya!
 
Got a helping hand yesterday afternoon so we stripped the suspension. Hoping to put it on the rotisserie in a few days. Found a tip on here to remove torsion bars with a couple 2x4's. I must say it works very well. 5 licks and they came out with no scratches! Thanks FBBO

View attachment 516548 View attachment 516549 View attachment 516550 View attachment 516551 View attachment 516552 View attachment 516553 View attachment 516557


Can you expand on the way the torsion bars come out? My mechanic friend helping me noticed that situation and he's not real familiar with those.
Great job, by the way! Thanks for posting your progress. It's inspiring!
 
Can you expand on the way the torsion bars come out? My mechanic friend helping me noticed that situation and he's not real familiar with those.
Great job, by the way! Thanks for posting your progress. It's inspiring!
Get all the load off them first by having the front of the car off the ground and the adjuster screws backed out till you can tell the tension is gone. Where the bars go in toward the back of the car on the backside of the sub frame you’ll see little c clips keeping the cars from coming out the back, remove those. Then I took two pieces of 2x4 and made the clamp that you see in the pic. Once that has a good grip, take a hammer and hit the 2x4 till the bar comes out. Sometimes they’re a pain and sometimes they come right out, just depends. They’ll come out the hole the c clips are in. It’s real simple once you see it. The big thing to remember is mark them as soon as they come out because they are directional. They are made for a specific side and direction. If you have any issues let me know.
 
I was able to get my dad to come up from Louisiana and lend a hand on the engine/trans/front suspension install.

Ok, just wondering when the torsion bars go in. We're trying to reverse engineer how it goes back in.
 
They’re pretty self explanatory once you get down to it. The biggest thing is keeping them in the same order they came out. They always go back in easier than the come out. I put my engine and trans in from the bottom as you seen. Once the k member was bolted in I installed mine then sat the car down. They have to be in before you sit the car on the wheels.
 
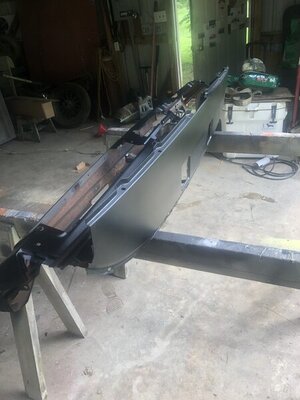
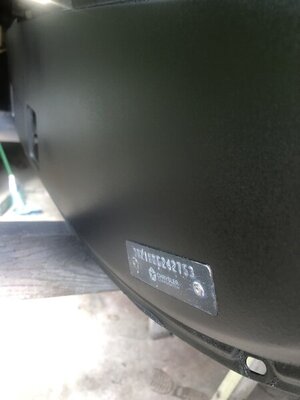
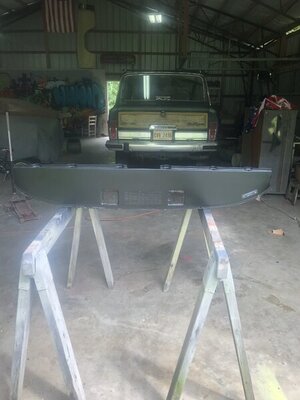
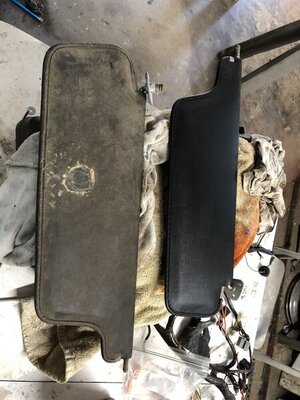
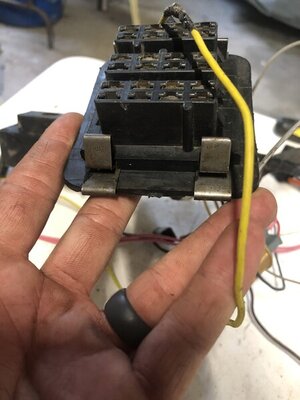
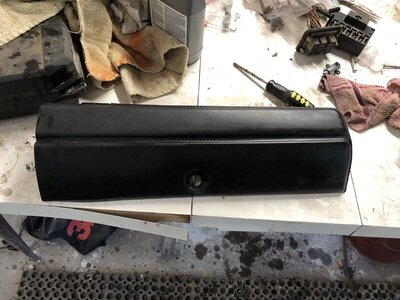
Been slowly getting my dash together. I got all my pads cleaned up and my dash pad came in today, and looks awesome! Took the ash tray apart and gave it a good cleaning. Still waiting for my gauges to get back. Now I’m at the point of deciding on a dash speaker. Looking at turnkeys dual speaker, or making my own version of that. Also got my dash harness cleaned up. The bulkhead had a couple layers of overspray from a paint job way back in the day. It cleaned up nice. Also installed the speedo cable from Mopar. Hopefully gauges will get here soon and the dash can go in!

579D974E-509A-431F-95F2-692A115EAC1E.jpeg 86034DA5-4E39-4933-9098-A20D2C690EBD.jpeg D75EEFFA-FD07-40FA-9D81-CD9F8EC87478.jpeg C63464C0-DF98-43A5-814A-067A6724C481.jpeg 79EBFF63-EC4A-4E61-928E-5BFB29464E52.jpeg 70A32015-B04E-4282-BC77-18DCA91B3601.jpeg 5AFCE01A-43AB-4F9E-A9DD-9ADDB29C2279.jpeg
 
Auto Transport Service
Back
Top