• When you click on links to various merchants on this site and make a purchase, this can result in this site earning a commission. Affiliate programs and affiliations include, but are not limited to, the eBay Partner Network.

68 Super Bee project

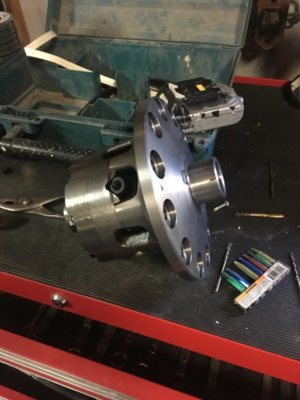
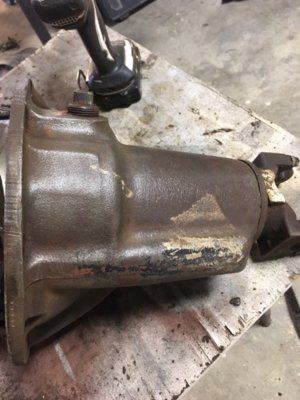
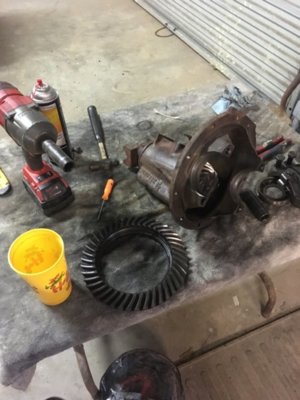
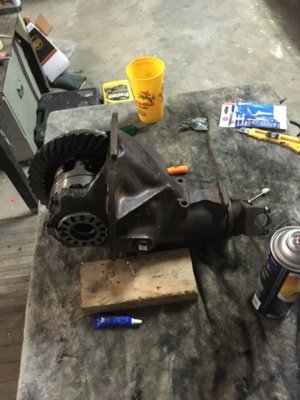
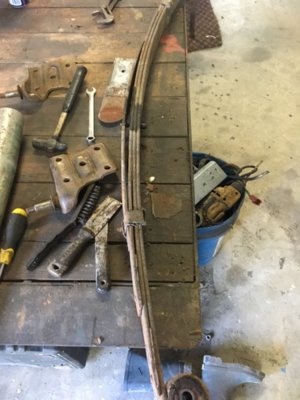
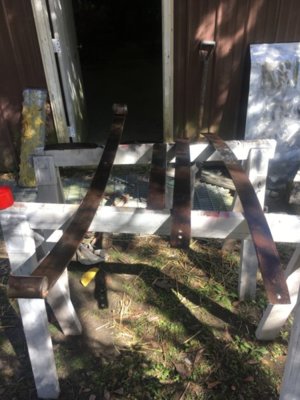
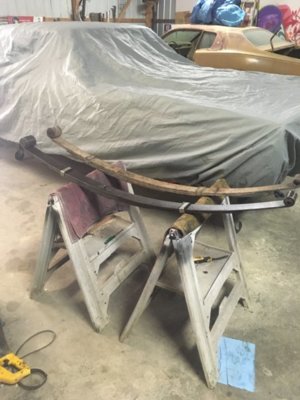
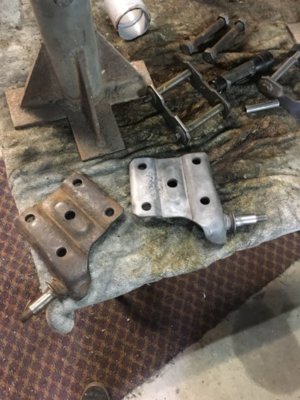
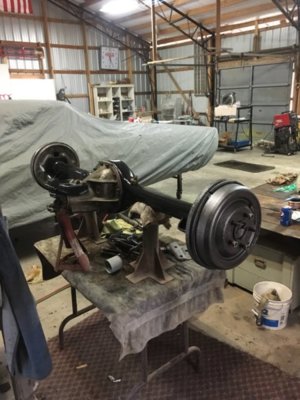
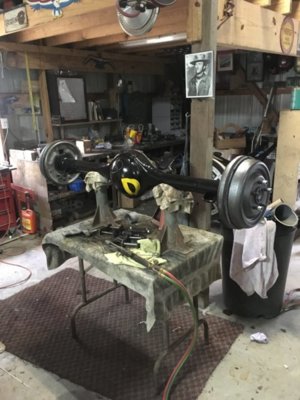
Been making a little progress over the winter. I’ve got my rear end almost complete. Still gotta blast my front spring perch’s and I’m waiting on my new u bolts to come in and it’ll go back under the car. I ended up installing a dr diff sure grip while it was out, and green bearings. Other than that everything I was cleaned repainted or sealed with RPM. For the leafs I wire wheeled them, and oiled with fluid film and installed rebuild kit and bushings.i like the look of the brownish black leafs. I really enjoyed doing the factory inspection marks, I added the orange marks of the center section since it has a sure grip now . Hopefully it’ll be back under the car this week!

05447A2A-DE51-43E7-B09B-E1AE895922BB.jpeg D2FE070E-3272-4862-84CC-7614D74D6BC8.jpeg 5C95081B-930D-4E74-BB8A-6F7C0ABF789B.jpeg 02C57A64-84AB-46D2-8481-06E0C4A4011B.jpeg BEA5563D-7D72-42D0-A890-0EAB75648BBB.jpeg 3C2E8063-4AD2-4345-8CF0-FE96E3B366B5.jpeg 0002DE81-C98B-45B1-B299-CD505DF1A907.jpeg B7C75A15-D503-4190-B2EC-A454B8514456.jpeg 159E9CB0-19FD-4811-9E24-B1071185AC5D.jpeg 0C80D5AE-28E6-484A-8AD9-656CF589A0D7.jpeg
 
Finally got the rear end in!! Spent Saturday blasting and coating my spring perches and hangers. It’s nice to see wheels back under it.

A7E48A12-0267-4F61-A49C-93174729BE4F.jpeg 3708F06E-0D7A-41B1-9991-75A49C87098F.jpeg D268B4A0-83F5-4484-B822-661DF1E9A431.jpeg 21F9B55E-859C-4BC6-ACC4-F534BA226B82.jpeg 59CDBF97-D202-40EF-9B94-0CE31F00817E.jpeg 34D6C63A-E2F9-4CAF-B841-C1F2650BFD09.jpeg 8E164323-5954-4584-BE2D-C353ACAD0D7D.jpeg 7333AD71-B890-4F08-A5D1-E7276460B38D.jpeg
 
Slapped on one of my favorite details that Mopar did. I always liked how it was only on one side and didn’t really make any sense. It’s weird how excited I was to see it on haha

53F7ED4A-7EC8-44FB-A74B-7B94FC58F9A9.jpeg 4DD73016-D1ED-427E-AE91-5D239D453798.jpeg
 
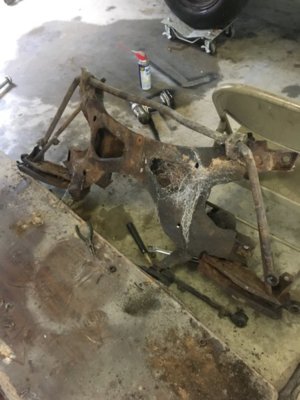
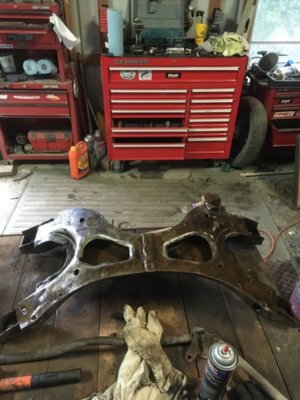
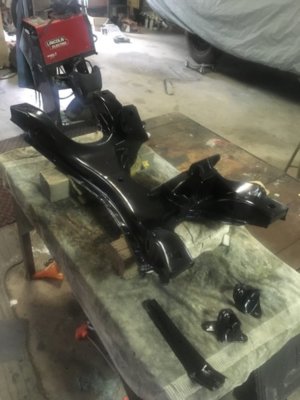
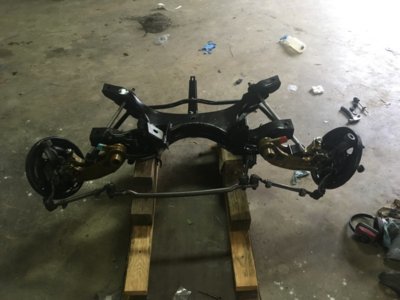
Been tearing down my front suspension. Got it all apart, cleaned my k member, sway bar, and brackets up and painted with por15 semi gloss black. I’m really liking this paint. I did my rear axle in it as well. Anyway I got everything that’s supposed to be black painted black. Now saving pennies for my suspension kit.

DEAA446A-AADE-44E7-948C-A382CFB334D8.jpeg E48CFEF9-6C6A-4BCC-B7E4-B3C80F74A324.jpeg 590F2997-B3B3-43DB-9D79-31BD4274E44B.jpeg 78520213-3178-4145-8F98-DE2A65434F17.jpeg
 
Well I’ve been busy lately on the Bee some movement forward some back haha. I got my stripe on today thanks to my wife for the help.

5CC5036C-B96F-4166-A6AB-F5DA08BADFBA.jpeg A383CB49-24EB-4B90-A6B0-C0C978B56404.jpeg 600A0766-288E-4662-982B-89BAAB36E77E.jpeg C9D6EE92-44A0-4B46-901D-B49BEBE39F19.jpeg
 
I’ve been working on suspension as well. My upper control arms were stripped where the ball joint screws in, and discovered my lower control arm was bent. Thankful to a few guys on here I found the parts I needed to replace them. So I’ll post once I get all that together.

AC0140E6-5F5C-4EAA-A8EF-90992ED40DC2.jpeg
 
Looking GOOD! What process did you use for stripe install??? Still hesitant on doing mine...
It’s not to bad just be patient, and have somebody to help. Don’t do like I did and get antsy and get in a bind haha. I started with the tail panel blackout which I thought would be easiest...it wasn’t. Then moved to the stripe thinking the trunk lid would be the easiest....it wasn’t. The sides fell right in place and I thought they’d be hardest. Spend time pre measuring and marking with tape where your stripe is gonna lay. I even taped mine on just to make sure. Clean it all real good with wax/grease remover, then rubbing alcohol. Mix soapy water 1 tsp to a gallon of water. I use a little more soap than that but that ratio works pretty good. Soak the car then spray the back of the decal as you separate it from the bottom wax like paper. You can’t use to much soapy water imo. Place decal and line it up with your marks. This is where I can be tricky. Just don’t rush and panic haha keep lifting the decal and applying more water if it starts to fell like it’s sticking. Once you got it where you want it from the center out start gently squeegeeing out the water. I would check back every 15min or so and work a few more air bubbles out. 3 hours min(according to Phoenix graphix) you can peel the cover sheet off. Take a needle and gently pop and air bubbles remaining. Most will dry and lay out over time.
 
Thanks for the details Wesley, much appreciated how you "laid" it out for me. A special thanks for the "3 hour min" before peeling the carrier. PG's only instruction after squeegeeing the air out is "carrier can be removed soon".
 
Thanks for the details Wesley, much appreciated how you "laid" it out for me. A special thanks for the "3 hour min" before peeling the carrier. PG's only instruction after squeegeeing the air out is "carrier can be removed soon".
Yeah, min temp of 70 degrees as well, I forgot to mention that. Temps in the 70-80 range are perfect to help the vinyl relax and lay, as well as adhesive drying out. Im not the best typer but if i can help any any way with more details let me know.
 
No temp info either.. guess not thought of from a Southern supplier!! Guess I'll crank the furnace the day before! Thanks!
 
I wish now I had done a detailed write up on it with pics along the way.
 
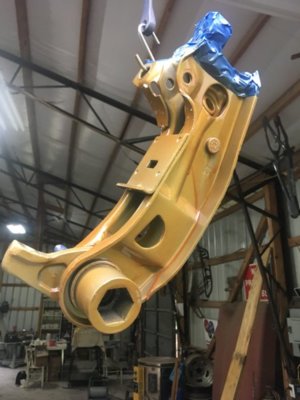
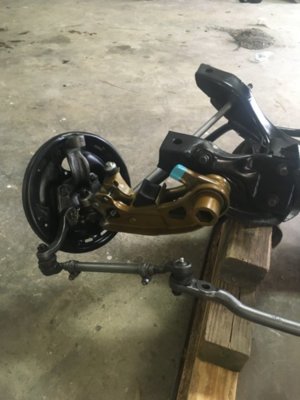
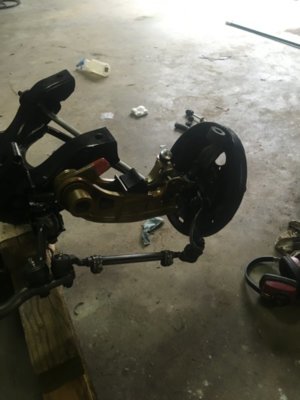
Finally got my front suspension together. Decided to paint most pieces since the I plan on driving the car a lot. Resto ricks quasmoline is some awesome stuff! Every thing was soaked in evaporated and cleaned. Then a couple light coats of epoxy then either Seymour’s stainless steel or vht cast iron on the raw stuff except the tie rod ends and sleeves which I just hit with fluid film. I think it turned out nice. Sorry for the not so great pics.

87DBE0D1-5A93-4DFB-8907-E7E68B1ACAA1.jpeg A22EFB1D-2173-4151-AF6A-869B51AC8286.jpeg 9ABFA0C3-CAC6-4730-A695-E426A8D7A561.jpeg 85404DC1-EA48-4899-936D-C30DCDC853FB.jpeg
 
Last edited:
A few before pics of the years of grease and dirt haha. Found paint marks on the tips of my adjusters as well.

7B180C07-829C-4271-BABD-7F83180384C6.jpeg B6301B06-6CDC-497D-8A14-227EAF530176.jpeg D370614C-59EF-401E-B114-1B5248201810.jpeg 3885C9E5-86E4-4E39-B263-045F89932095.jpeg 6A12545D-0E8C-42FB-8AC0-5AB8EEAD12BB.jpeg
 
Spent the day yesterday rebuilding my steering box. Details on that are in the tech section. Today’s been a lazy day sorta. Polished my trim and put it on the back panel. And finally rolled my engine out of the corner and up to my work area!

3A8221DF-35BC-4A2C-9FB6-F783BB0C3C03.jpeg 1FA3CBD4-CC8F-4DCE-B90B-EAC9DB6C6A35.jpeg BA0DD49E-0817-43F9-B7AF-E24B4B0515F7.jpeg 52DFAA68-2015-403A-B123-D1779F2E44F1.jpeg
 
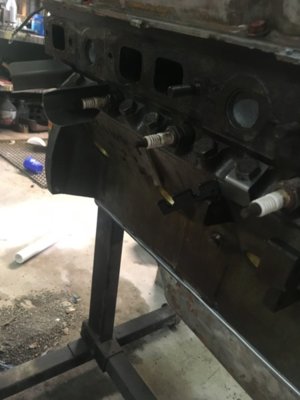
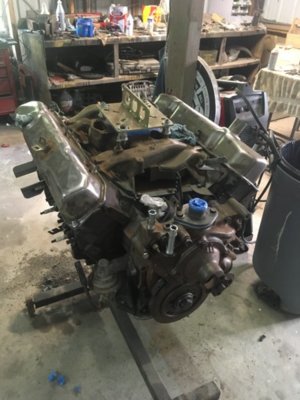
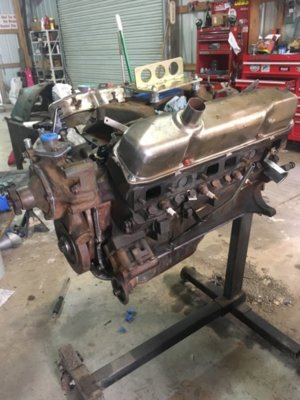
Well It’s been alwhile since I’ve updated as usual. Been plugging away and my engine. It was rebuilt prior to me buying the car and ran fantastic so I decided if it ain’t broke... I did want to replace the gasket due to the motor setting up. Also wanted to replace the few hardware store bolts with the correct factory ones. And finally got to remove the super cool rusty chrome oil pan and put the correct 402 on. Thanks to some great members here for bolts, and parts mix and vans auto for plug wire shields, wire brackets and heater hose tubes. Hopefully I’ll get my clutch and bell housing bolted up within the next week and my favorite part PAINT! This isn’t my original motor unfortunately, the long block was replaced do to the original owmer and a heavy foot lol. The trans, intake, etc are original to the car. So I still want to stay as factory correct as possible.

46377133-FBF3-4E46-AA1B-7FC4CF76CC62.jpeg 285C4F22-EC91-47F4-88E1-04620D0BFBA8.jpeg 5F24A08D-C0B1-4118-88F1-D9054AB53B71.jpeg
 
Auto Transport Service
Back
Top