New photos of project
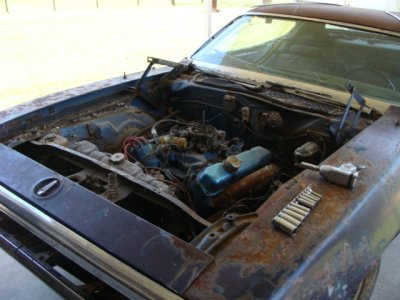
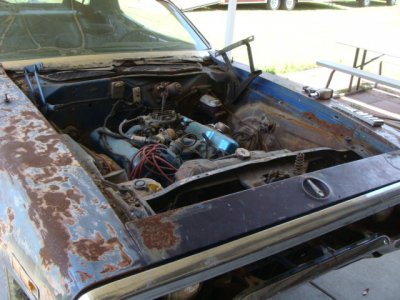
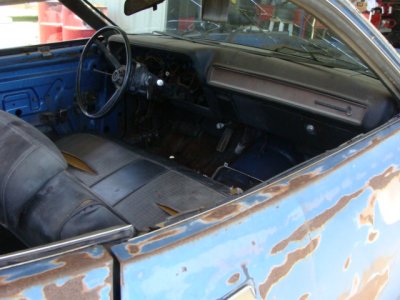
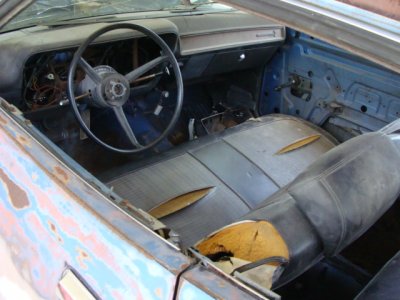
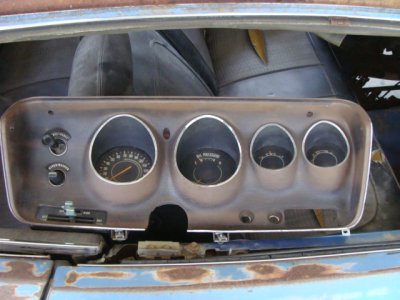
Here are some pictures that were requested by you guys yesterday.
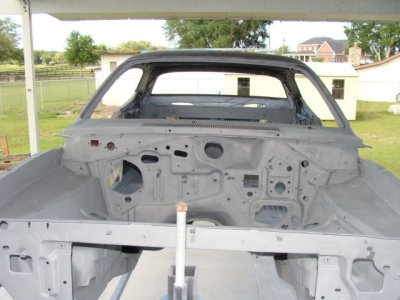
They show the engine compartment and the interior after I removed the hood, carpet, and head liner. The last photo shows the good / uncut rally dash bezel and frame that I scored locally. The original parts were hacked to allow for an aftermarket radio. I want the interior to look bone stock, and will be installing an aftermarket radio that looks stock, but cranks out tunes pretty decent. My favorite music is made by the firing order 1-8-4-3-6-5-7-2......
I transferred my original gauges over to the new frame and added the new bezel. I reassembled everything on the gauge cluster because in a year or so from now it will not be so easy to do. (hence the pictures)
I also have a lot less of a chance loosing anything if its all reassembled. When I restore the dash assembly, that's when I will take care of the instruments.
When I start a project like this, I always photograph everything in it's original state. It makes life a whole lot easier down the road with reassembly, and documents what the car was like for originality. (plus it's cool to look at how much progress you have made...)
- - - Updated - - -
The picture of the passenger side inner fender well shows the location of where the vacuum canister for the air grabber is located. It's amazing at how sloppy the seam sealer was from the factory....It must have been 5 O'clock LOL. You can see it in the top left corner of the picture.
It is supposed to be in between the fender and inner well. Half of it missed the mark and ended up on top of the inner fender. It was then painted over in B-5 blue. These little things like this are what to look for if your going for a 100 point car.
- - - Updated - - -
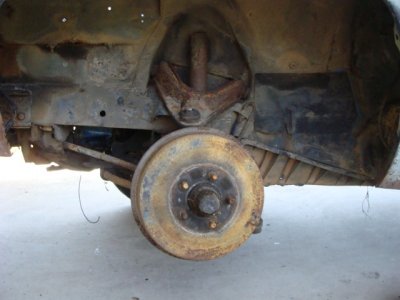
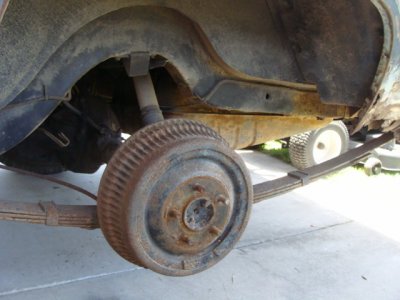
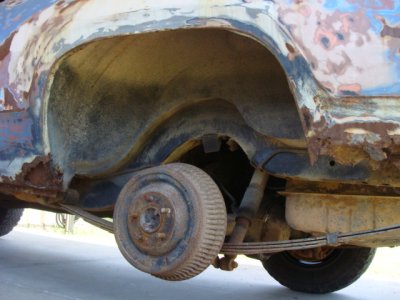
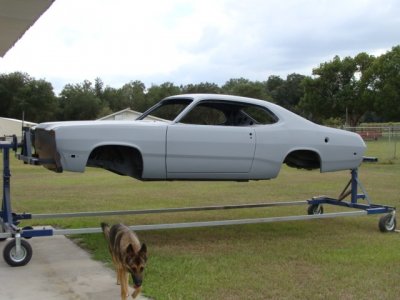
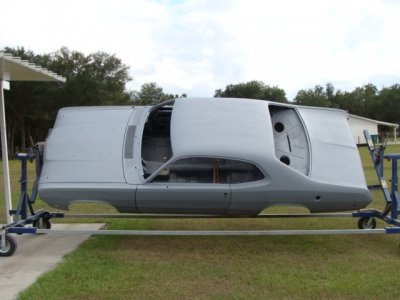
These pictures show the condition of the frame rails and wheel wells. You can see the car came with drum brakes on all 4 wheels.
Like tallhair said. "go to at least discs up front, to make it whoa and go, use the 440,".
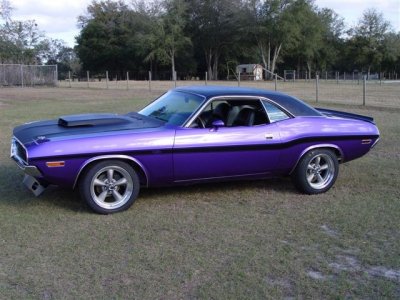
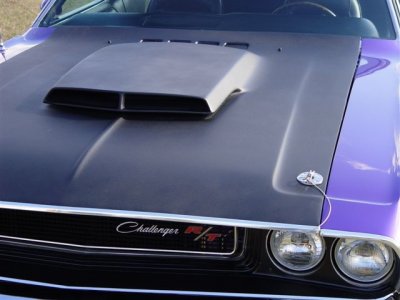
I plan on driving her, so she needs to stop when needed. It's a manual brake 4 drum car. In the interest of safety, that will change. On the plum crazy Challenger, I went with a Wilwood 4 wheel disc set. I'm not 100% sure what route this one will be just yet, but it will have at least 2 discs up front.
You can see the lower quarters are pretty sad. I plan on replacing them with a set from AMD.
Check out the "old school" air shocks !!!!! Ah...... back in the day!!!!!
- - - Updated - - -
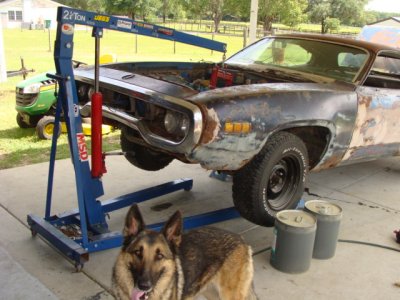
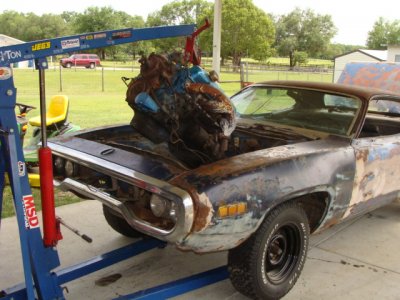
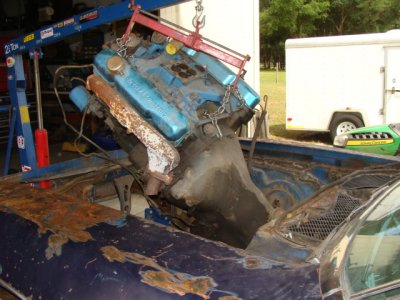
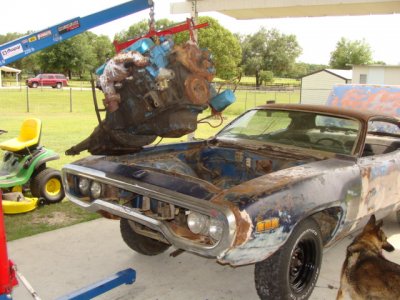
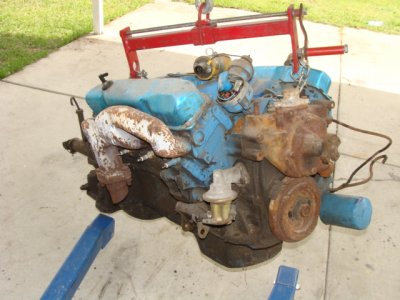
Here the cast crank 400 and 727 transmission are coming out. My German Shepard likes to help !!!!
I sold the long block engine along with another 400 I had to a local racer, who will be using it as a replacement stroker engine and spare. He has a nice Dart that runs in the 9's on throttle alone, until a rod decided to ventilate the block......
I pulled all of the accessories like the distributor, motor mount brackets, intake and exhaust manifolds, etc. and stored them for later. I plan on using a 440 source or Mancini Racing aluminum water pump and housing up front to shed a few pounds. I have a new set of aluminum 440 source Stealth heads that will help the weight diet too. Once everything is painted Hemi Orange, you will never know. (Especially the blue oval and bow tie boys....)

Any weight taken from the front of our old Mopars always helps with handling and stopping.
- - - Updated - - -
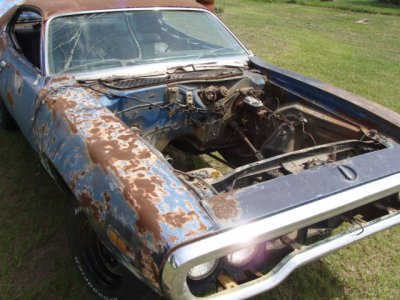
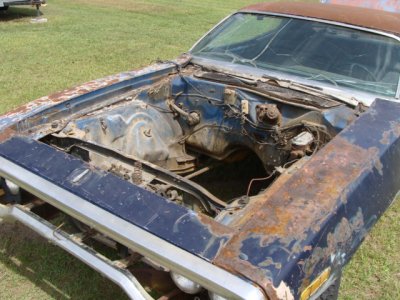
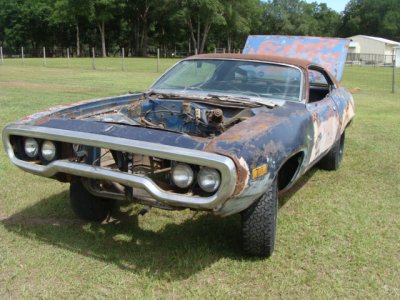
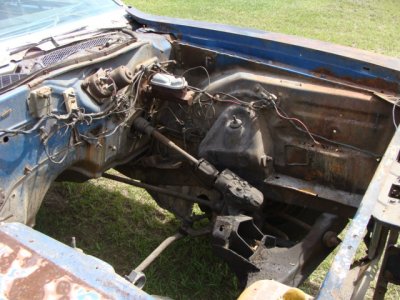
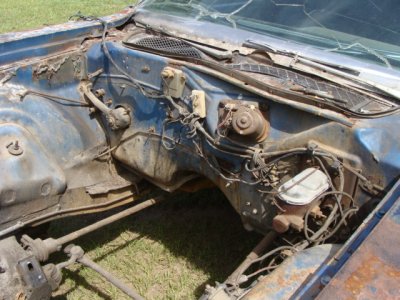
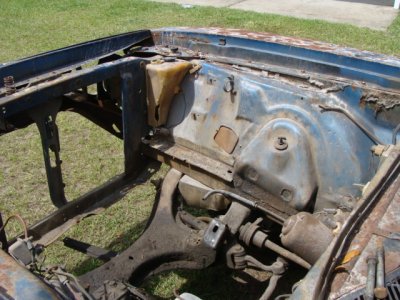
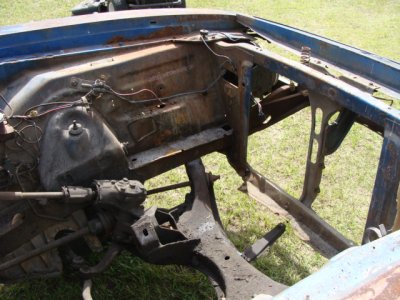
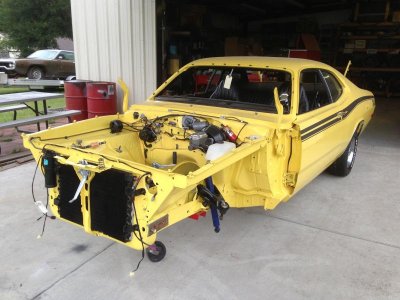
Here is the end result. A big empty hole.......... Some would say a money pit......No wait, that was my first wife !!!! LOL
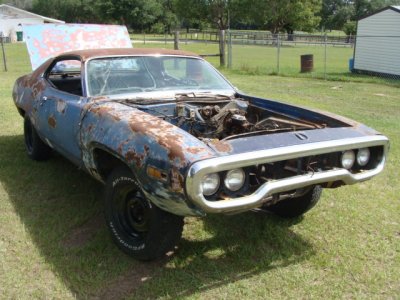
I took these photos to show how everything was installed originally in the engine compartment. I know the fenders, doors, trunk lid and windshield all look horrible, but I have some very nice replacement panels, and I always install a new windshield in my restorations. She has potential, and another bird will be saved from going to China as scrap metal......
The real truth will come out after the body shell has been blasted. That is when it gets scary !!!!!
Dig the BFG all terrains, and the NOS washer bottle.............Not too far away you can see the misplaced seam sealer on the passenger side inner fender well, that I was talking about earlier.
The BFG's were take off from our 2001 Durango and I had a set of 15 inch steel wheels laying around that I had glass beaded and painted black. I needed some "rollers" so I had them mounted. Hey, it serves the purpose......
- - - Updated - - -
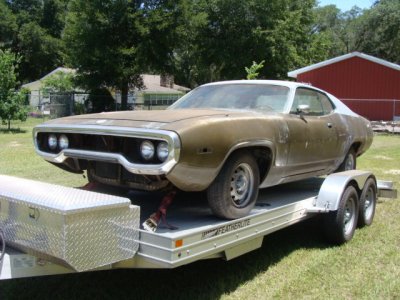
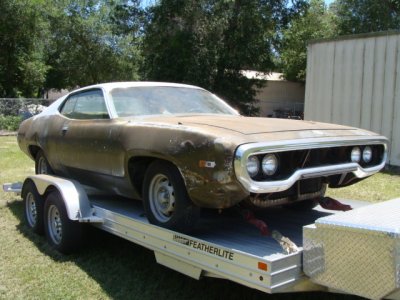
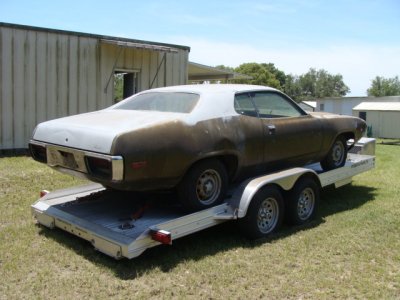
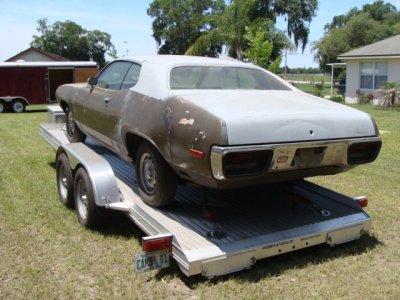
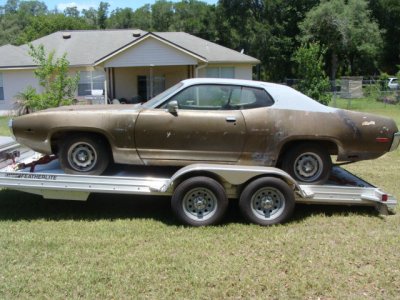
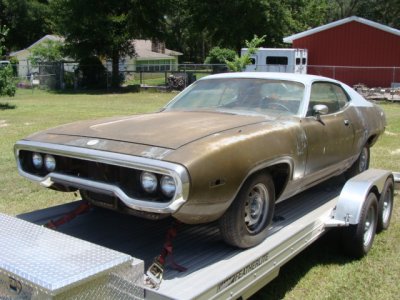
Here is where most of the bolt on sheet metal parts for the RR will come from. :headbang:
I have a very nice 71 passenger side fender that is not pictured. I will only have to use the driver side fender, doors and trunk lid from this car. ( It will not be too hard to modify the 72 fender to accept the side clearance light from a 71).
The sunlight caught the trunk lid just right to show the small crease that is in it. It is very hard to notice up close and should be an easy fix. I can cut out the spoiler holes for a 71 car on the bottom of this trunk without too much hassle.
This car is actually in pretty good shape, and I have decided not to cut anything out from it. It may end up as a future restoration...
This body shell has some rust in the lower quarter panels, and a small amount by the top of the driver side "A" post, but everything else is perfect. And it has A/C, P/S and Power Disc brakes. The 318 in it runs great. We drove it on the trailer.
- - - Updated - - -
Hopefully tomorrow I can add some pictures of some other new parts that I have been collecting. Complete Six Barrel set up, tail light and side markers, emblems and decals, 440 source heads etc.
It's getting late, and I'm not getting any younger.:laughing7:
Stay tuned and thanks for looking !!!! Good night.


