• When you click on links to various merchants on this site and make a purchase, this can result in this site earning a commission. Affiliate programs and affiliations include, but are not limited to, the eBay Partner Network.

73 Roadrunner 340 Auto

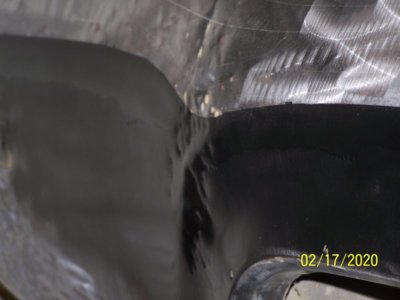
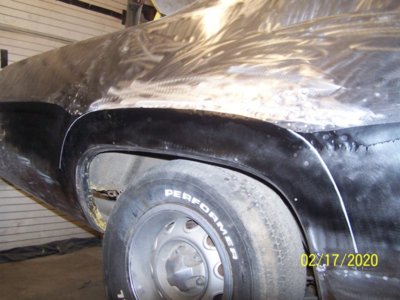
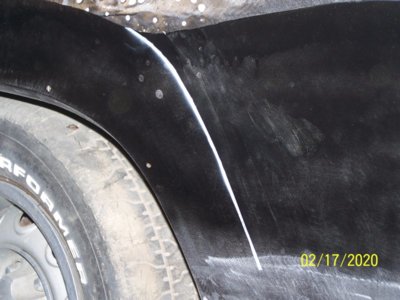
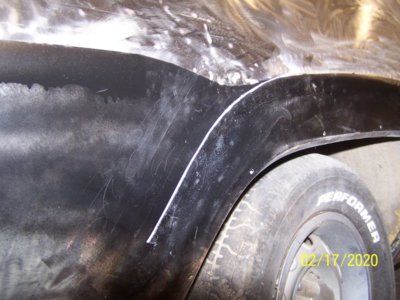
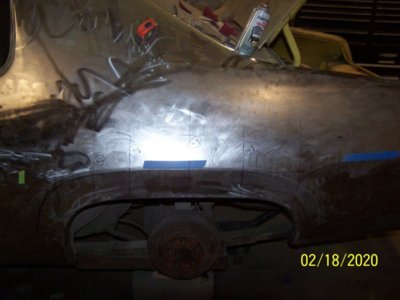
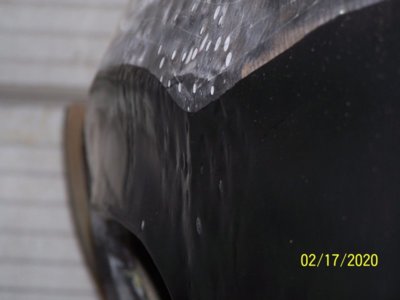
Back at it again. Transferred the main body line to the right side and outlined it in black. Then I went back to the left side and patterned the secondary body lines fore and aft of the wheel arch. Highlighted these in light grey. Once highlighted I can see how far off the PO left the bodywork. I originally thought this would only take about 3 hours to bend but now it is looking to be closer to 6 hours or so as I don't think the stud welder/puller will do it all. Probably have to pull the interior panel off and start smacking it from the inside while my assistant (wife) holds the dolly on the outside. This should make for some entertainment. I would have taken off the inner panel anyway as when the all the holes are welded in I would want to make sure nothing got set on fire. I always use the 1/2 hour rule but a lot of damage can happen by the time you see smoke.
100_8209.JPG 100_8212.JPG 100_8211.JPG 100_8213.JPG 100_8214.JPG 100_8215.JPG
 
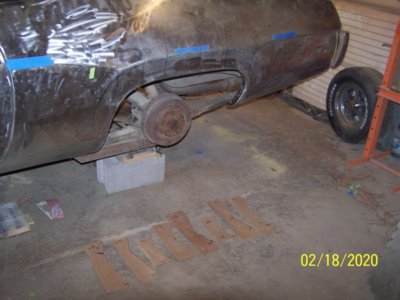
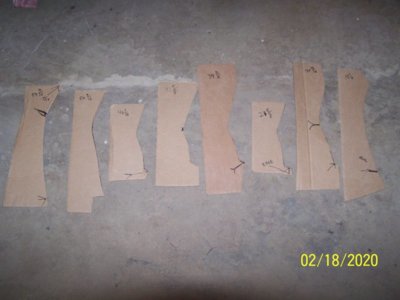
Made eight pattern blocks (about every 8" or so) from the good side to use as guides for the damaged side. My eye is good but a pattern is much better. I marked the plumb guide lines the same on the right side using the rear marker light for a reference. Get the metal as close to the guides as I can and skim the details.

100_8216.JPG 100_8217.JPG 100_8218.JPG
 
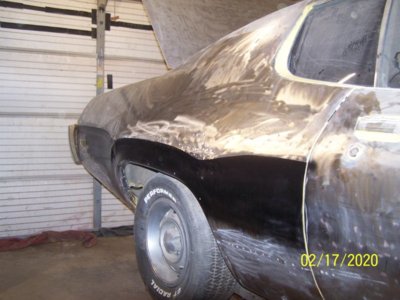
What a huge pain in the *** those body lines turned out to be. Remember when I thought is was going to take 3 hours to get this side done, then it jumped to 6 hours, well the final total was closer to 16 hours of metal and filler work. A donor panel would have been much easier but it also would have cost more. I don't figure my time in any of my own work since I do it for fun and to challenge myself. If I did figure it in I could never come out ahead. I just price the car at current market value and let the $$$$ fall where they will. Sometimes I make lot, sometimes a little, and a couple of times, very little. I have never lost money on a project, only time. But never say never, right! Anyway this is the status right now.
100_8222.JPG
100_8223.JPG


Next thing to repair was the rust behind the rear wheel on the passenger side. Marked out the edge of the good metal and then cut out the bad. A whole bunch of crap came out when I opened it up, even an old emblem and a 3/8" extension.
100_8232.JPG


Held up to the light it even looks worse.
100_8233.JPG


Made a new piece and then fit checked it.

100_8235.JPG
100_8236.JPG


Then tacked it in place, full weld on Monday, maybe.
100_8237.JPG
 
Great work - I wish I had those skills. Hope to start learning in July after I retire!

Hawk
 
Front valance took a few hits (covered by bad bodywork) over time.
100_8252.JPG

100_8251.JPG

100_8250.JPG

100_8246.JPG

100_8244.JPG


More rust repair needed on the right drop down


100_8243.JPG
100_8239.JPG
 
Great job! Thanks for posting all the pics. Like the Road Runner hoods. The 71-74 b bodies have nice interiors when they're restored too.
 
Demonic, Thank you. The interior (bench seat) is really nice. I will take some photos next time.
 
A couple of interior shots: Plain Jane with a little 340 Auto, no tach or air but it is starting to grow on me.

100_8253.JPG
100_8255.JPG
100_8256.JPG


Almost done with the truck drop down. For the back half of this I was welding in a mirror so it kinda looks like a chicken
took a dump instead of a nice, clean, brand new metal weld. Left a little wire poking thru a hole too. I guess I need more
practice at this. I did go back and fill the holes using a little less power. LOL

100_8257.JPG
100_8258.JPG
100_8261.JPG
 
Working on making this piece next as I can't find one anywhere. It is one piece about 55" long.
The curve is the tricky part.

100_8263.JPG
 
Nice work so far, I will be going threw the same process with my 73, keep up the good work n keep posting pics, I will do the same soon. Yes your car does look solid, mine never saw a winter, always was stored.
 
Sparky, let us trade :) I would a lot of things for a car that never saw a winter!
 
I can't, it was my first car I ever owned at 18 and still have it, 39 years later. Too many memories in that old girl, I grew up in it, and almost grown up now. lol
 
The roof to quarter seam is just about ready for epoxy primer. Yes I know that some people like to do epoxy first then body work but I like my filler on bare metal. Just the way I was raised plus humidity is pretty low so I don't worry much about rust under the filler. Just about the whole car is bare metal and no rust on any panel.
100_8270.JPG
100_8273.JPG


The trunk drop down has been primed and is ready for sealer and undercoating when I get that far.

100_8278.JPG
100_8279.JPG


How about these old school tips???

100_8276.JPG
100_8277.JPG


And I have finally cut away all the urethane from the back glass. Might just be able to save it.

100_8275.JPG
 
awesome job. Are you keeping it the same color? That would make a great Daisey car. My first mopar was a '73 dark green road runner 340 4 speed.
PTDC0003.JPG
 
Basket case
Yes sir, color it was born with. Same with the stripes. Was going to jump up the wheel size to 15", but decided to use those on another project so it will retain the original 14" rallye wheels. I could use a rear bumper as the one I have was pushed in and I am not sure that I can push it back out without cracking the chrome.
 
I can match the car, I wonder if my wife would be willing to put some Daisy Dukes on to complete the photo. She would probably say her legs aren't that long so it wouldn't look right.
 
Back at it again. Remember the tear in the front valance?
100_8244.JPG
100_8252.JPG
100_8299.JPG
100_8298.JPG


And what is left of the mirror I used when welding (dropping molten metal onto random places) the trunk drop.
100_8293.JPG


Now I have a week of "Working from Home" so lets see how much gets done.
 
Auto Transport Service
Back
Top