• When you click on links to various merchants on this site and make a purchase, this can result in this site earning a commission. Affiliate programs and affiliations include, but are not limited to, the eBay Partner Network.

Dad's 69RR Driver Project(I'm doing the work)

Need a little help

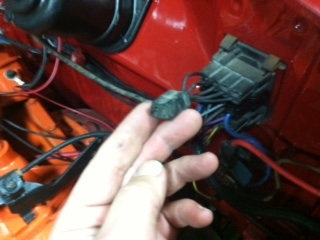
Hit a minor snag installing new engine harness. Can you guys help, I have pics of the plug that comes off of the top firewall bulkhead being connected to spliced wires that go to Alt relay. I purchased a new engine Harness and there is not a branch that connects to this plug? Should there be a separate harness for this?? Here are a couple pics showing the plug I am talking about. I cannot find the cobbled harness that I took off and just want to make sure I get connected properly. Thanks for the help.
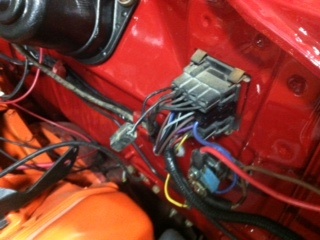
image.jpgimage.jpg
 
Without digging out a schematic, I think that goes to the transmission.
 
Without digging out a schematic, I think that goes to the transmission.

Yup! Joel is right!

That connect's to the harness that plugs into your neutral safety switch.

Here's a link that has a downloadable Factory Service Manual for your car. Just look for 1969 Plymouth. Has all kind's of helpful info for you (including wiring schematics).

http://www.mymopar.com/index.php?pid=109

Hope it helps!
 
Thanks Prop! My problem is that there is what I believe to be a 70's Hemi 4-speed in the car. So would I get a 69 harness and adapt it to the tranny or get a Hemi harness and adapt to the bulkhead? Do not know which way to go!
 
Cool Beans.....Hemi 4 Speed! Being you'll have a back up switch, and not a neutral safety switch like an auto, you'll still have the same 2 pin harness. Looking at the wiring diagram's, you should be good to go with the wire positions in the bulkhead as well as the rest of the wire routing.
 
Thanks Hawk! There are 2 back up harnesses that Classic has and guess I need the one for B-body built after November 15, 1968. Thanks again.
 
Back on track

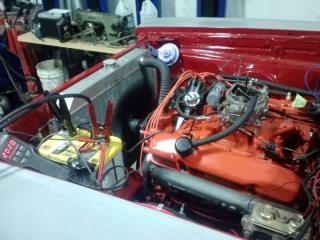
Finally it's Alive again! 10 minutes into break-in:2000 rpm, coolant at 178, and oil pressure @65psi. Everything looking good feels good to get the driver back on track. Thanks for everyone's help through the process, still have long way to go but at least it is somewhat drivable. Hope to be in the paint shop within couple of weeks.
image.jpg
 
Great progress! You are moving right along - I hope to be able to start mine in a month or so...
 
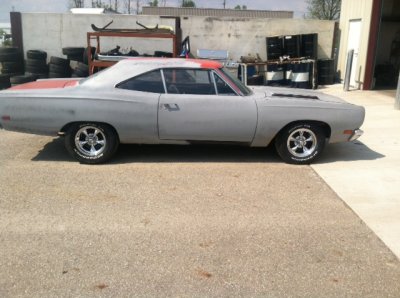
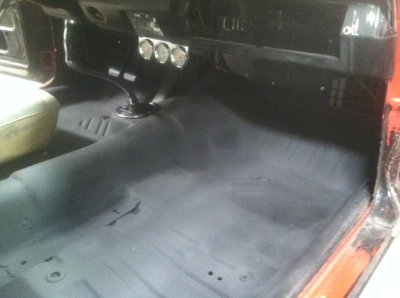
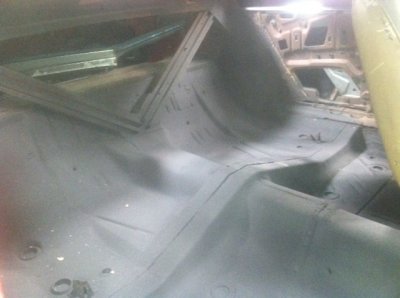
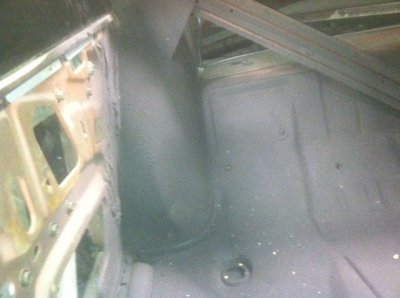
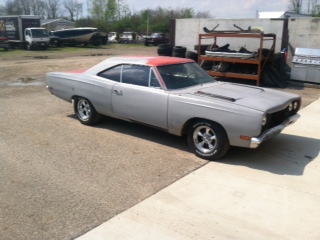
Here is the latest progress, the bird is running awesome just need to put a new exhaust to eliminate exhaust leaks. I put a new set of wheels and tires, new bearings, seals and universal in rear end. Still has a very minor whine I really want to get rid of, open to suggestions, and yes I did put in the friction modifier! Dug out interior seam seal and re-seamed then sprayed Lizard Skin in the interior. Here are the latest pics.

New wheels.JPGLizard Skin.JPGLizard Skin Rear.JPGSeam Seal interior.JPG
 
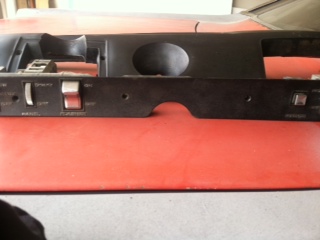
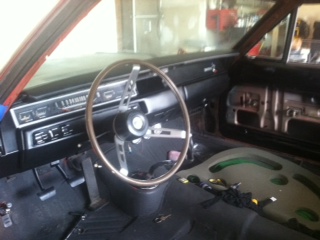
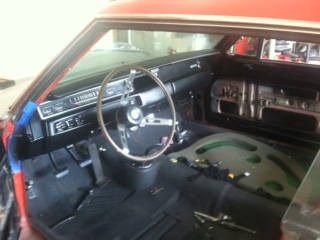
Removed the lower dash pad today hoping to finish the dash and get the car to paint.
 
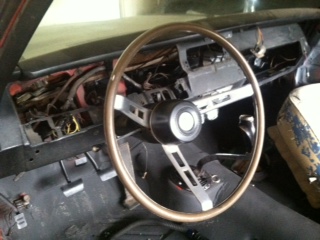
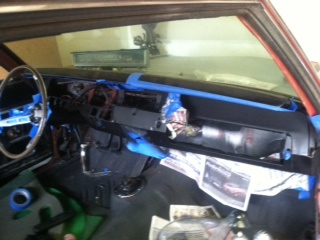
Dash is finally 95% complete! Just have to decide what to do with the radio? I want to send off original to have upgraded but Dad wants a new one so guess he wins. Here are some of the latest pics.
Dash frame before.JPGDash in Progres1.JPGSwitch Panel dash Pad before.JPGDash 95 complete.JPGDash 95 complete1.JPG
 
Put the stock radio in the hole and a modern radio in the glove box with a hookup for ipod tucked in somewhere. Good lookin ride!
 
Nothing like a father son project to do some major bonding. In this case being a son father project maybe makes it more special. Would like to have done that with my dad. BTW nice work on the car ytd!
 
Well this is the last time you will see the RR in this state! Feel like I have been saying this for months but I dropped the bird off at Paint and seats to upholstery shops yesterday!! Now long wait and much anticipation to get the car back to Dad.
RR New Wheels1.JPG
 
Well it's been a long haul as all of you who restore these cars know! I am just making my Dad's into a nice driver and seems like I cannot stop finding things I cannot let go. Since my last post the car has been in a good friend's garage getting prepped for paint. Since the budget is extremely tight I have been slowly trying to do all of the prep before he paints it. With his direction I am learning a lot about what it takes to get one ready for paint!
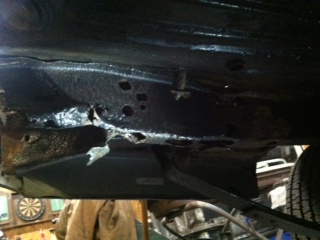
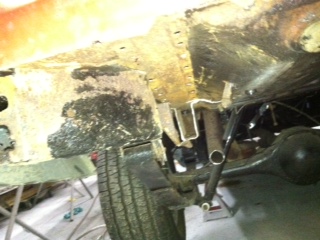
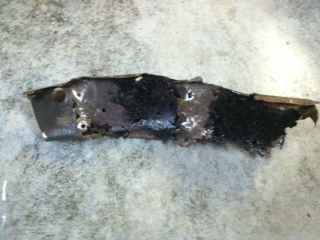
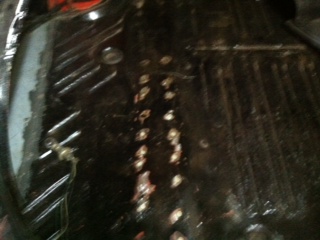
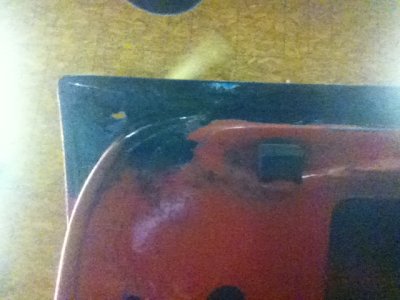
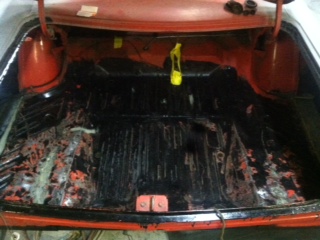
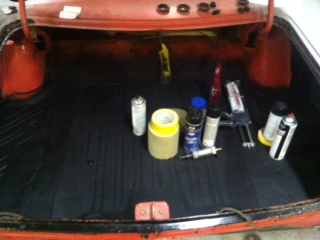
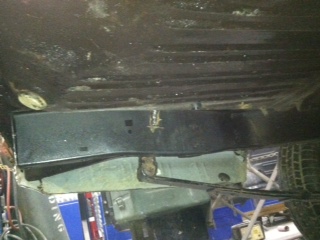
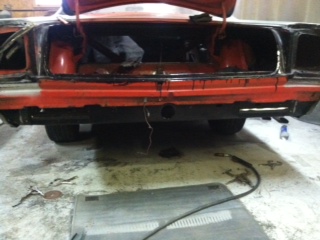
Along the way I had to cut and replace about 20" of the rear frame rails where it meets the rear cross member, just couldn't stand letting it stay in that condition. I also have been tracking an electrical issue down but I think I have it licked. Biggest hurdle now is how to repair the rear deck lid. It is in decent shape other the bottom pinch weld is about gone and about 2 1/2" up on the outer surface is very thin. I don't have the budget to buy another one and still would have to probably do a lot of work to repair. Anyway just concerned if I cut outer skin off the inner structure will be toast and just don't know what can of worms I am getting into. Here are some pics of the process. There is some trunk work fixing what previous owner cobbled up so also took a considerable amount of time fixing his F-Up's.
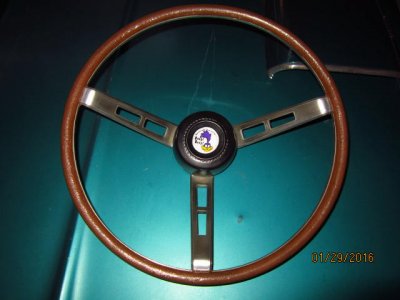
Driverside Frame1.JPGDriverside Rear Frame removed.JPGDriverside Rear Frame cut out.JPGFrame spots cut out of trunk.JPGRust rear trunk lid.JPGTrunk sealed up.JPGSteering Wheel done.JPGWheel DoneTrunk sealed up.JPGtrunk finished.JPGTrunk finished
New Frame section.JPG
 

Attachments

  • New crossmember.JPG
    New crossmember.JPG
    37.1 KB · Views: 190
Auto Transport Service
Back
Top