Rear window refurb
What took me forever was refurbishing the rear window regulators. What a PITA!!! Even before the resto the rear window mechanism was a little troublesome - the windows were aligned just fine but the crank was sticky in places enough that you had to torque the handle to raise or lower the window. During disassembly I only removed the driver's side mechanism to keep the other side as a reference. To any of you contemplating refurbing the rear windows, take out one side at a time if possible. If you have to take both sides out then take out the one, reassemble outside the car using the other one as a reference, then remove and reassemble the second side. Then put them away someplace where they won't be disturbed until you're ready to tackle them.
Before turning a wrench, soak all attaching bolts/nuts with penetrating oil. Then come back the next day. I used WD-40 and still broke off one of the bolts securing the window to the frame. Drilling out the bolt and re-tapping the hole is two hours of my life I'll never get back.
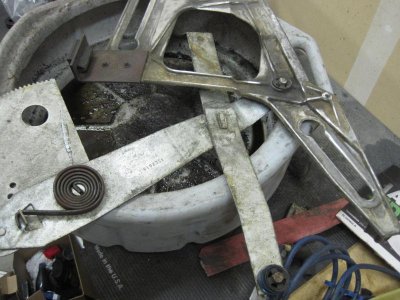
I sprayed all the attachment nuts and bolts with rattle can paint to create witness marks. The rear window mechanism has 5 tracks with 5 rollers and an almost infinitesimal number of adjustments. Creating the witness marks allows the window to be reinstalled in almost the exact place it started.
View attachment 263028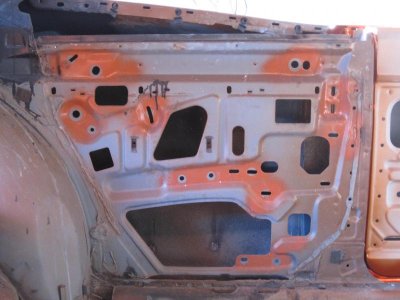
There's only two main parts - the window regulator and the frame. Four of the rollers each have their own track in the frame, and in turn two of them ride up and down on the front track, one more is attached to the end of the regulator arm, and there are two more tracks towards the rear - one more vertical and one horizontal. Yeah, it's a bit like Tetris meets the Rubiks cube.
I bought the rear window roller rebuild kit; you can find the kit at most of the large parts houses, I got mine at YO with a 30% off discount. The frame will be dirty and caked with OEM grease that has the consistency of petrified peanut butter. If you have access to a blasting cabinet maybe you want to clean it up. I don't have one so I used a rice cake, wire wheel and sandpaper to clean it up. And once I reinstalled it, it looked exactly like the other one! In other words, you can't see 'em once they're inside the body. It all boils down to replacing the worn out, cracked rollers with fresh ones and cleaning up the tracks to smooth out the ride.
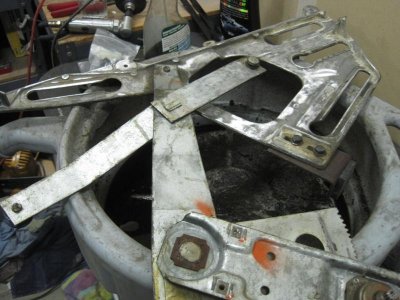
The frame tracks were stripped of ancient grease, lightly sanded if needed and final dressed with steel wool. Same for the three adjustment tracks.
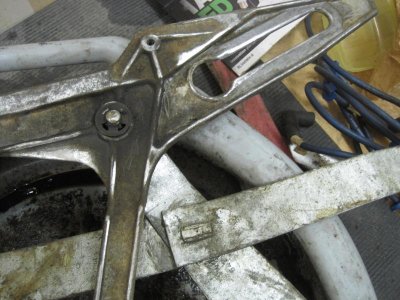
This picture just illustrates the difference between the dressed side (left of the roller) vs. original. Also notice the stress cracks radiating out from the center of the roller - it will be replaced.

A few pics of the frame - the tracks are shiny after being polished with steel wool
This is a new roller, the rear-most one, compared to the two originals (one for each window). The top wobble is supposed to rotate on the ball axis. The original ones barely moved. The flat roller on the bottom rides inside a vertical track while the wobble glides horizontally inside the frame track. This is probably the most important roller of the 5. Who came up with this design?

Here's one of the front rollers with a new roller in place. All four original rollers had stress cracks in them.
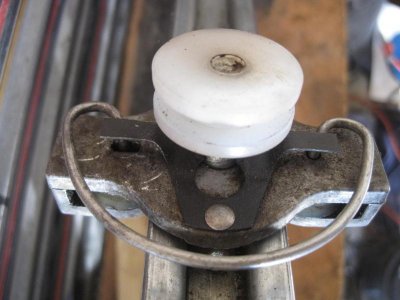
There are also two smaller rollers inside the body. They rode on the front vertical track, the main roller went in the frame. Even though the two smaller rollers are not included in the rebuild kit, I pulled off the torsion spring and removed, cleaned and reinstalled them. It didn't make a difference, they're in bedded really tight so they don't roll as much as glide. I didn't take apart the other three.
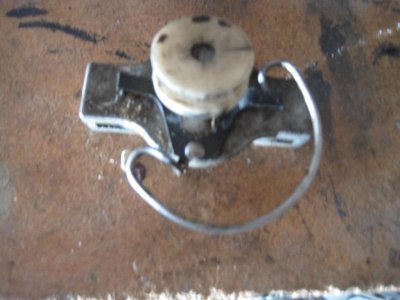

As for the regulator arm, it's assembled with rivets so I just scraped off all the old grease, polished the reciprocating teeth with steel wool, douched the inside with WD-40 and called it good.
As for reinstalling the mechanism back in the car, there's no easy way to do it. In fact it took me twice as long to install the passenger side as the drivers, so experience didn't play a part. One roller kept jumping the frame so I had to call it an evening and finish it the next day.
Once installed the nuts and bolts are back in their original position.
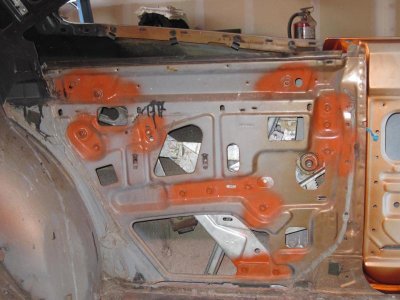
Now each window crank rotates smoothly and easily. In retrospect, like most other things I've tackled on the car, the rebuild wasn't extremely difficult or complicated. I wouldn't recommend it if you don't have to, but if you decide to go for it plan ahead and it will go fine.


