• When you click on links to various merchants on this site and make a purchase, this can result in this site earning a commission. Affiliate programs and affiliations include, but are not limited to, the eBay Partner Network.

My GY8 '71 Road Runner

good luck on both projects it's hard to juggle projects like that, I can relate... keep up the great work
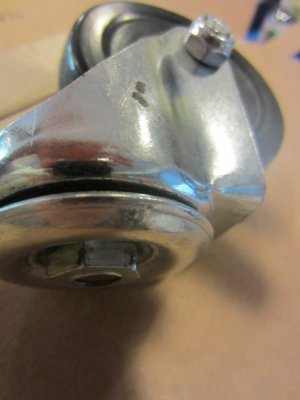
 
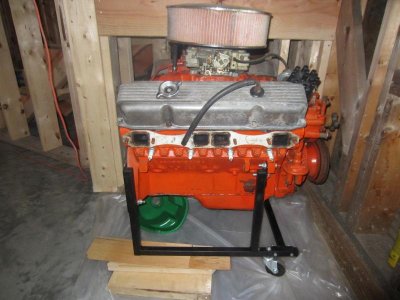
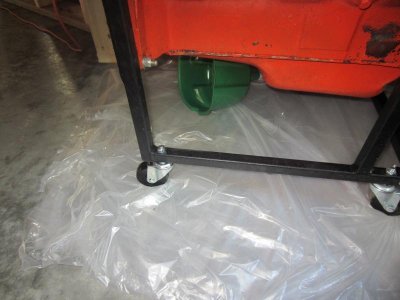
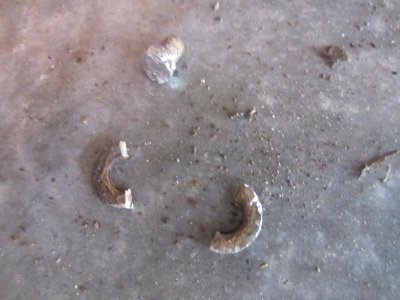
I'm still plugging away on the bird. I got the engine on the cradle and when I rolled it out of the way, one of the caster bolt sheared off.
006.jpg008.jpg
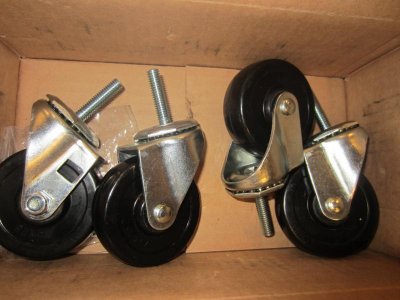
A quick call to Summit and they replaced the bad caster with 4 new ones:
007.jpg009.jpg

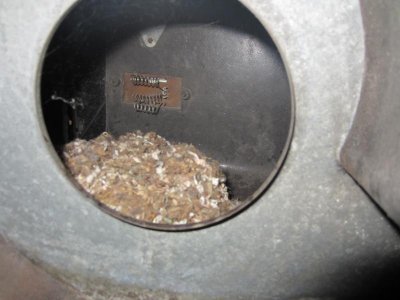
I started to take parts off of the firewall and found a giant nest:

005.jpg

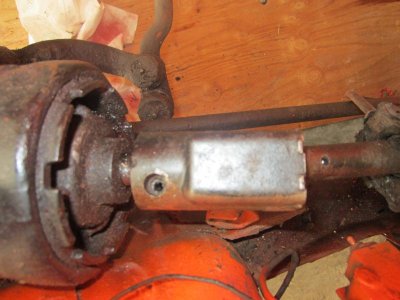
I've run into a small problem, how do I get the steering shaft out/off of the coupling? There's a pin in there, right?? Do I just push it out with a hammer and punch?
001.jpg
 
Glad to hear your making progress!

On the steering coupler you can see the small detent at the front edge near the roll pin in your photo. This is an alignment mark and you use it to get the splines lined up when you reinstall the column. This mark indicates a missing spline on the inside of the coupler. On the input shaft of the steering gear box there is also a missing spline. Once the gear box is "clocked" simply turn the front wheels straight ahead. This should put the missing spline on the input shaft of the gear box on top where it can be easily seen. Then its a matter of connecting the dots..........
Hope this helps.

- - - Updated - - -

Summit Racing always has great service. I like them and Mancini's too.

- - - Updated - - -

Keep up the great work !!!!!
 
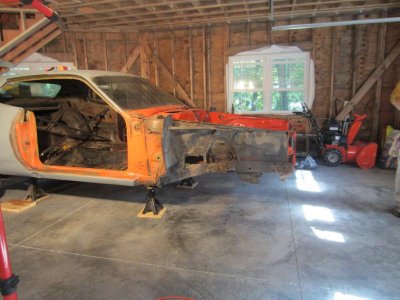
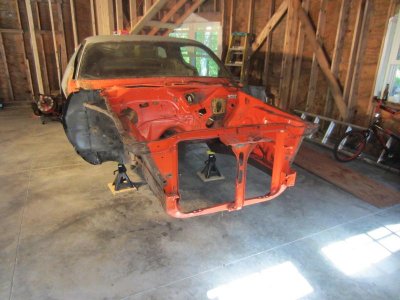
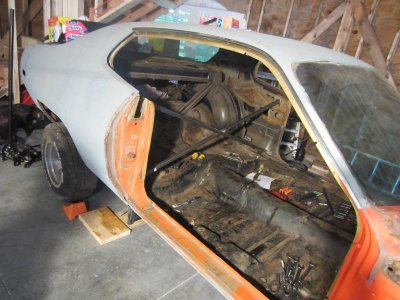
Made some progress today. I hope to have the car on the rotisserie this week so I can clean it up.

007.jpg009.jpg011.jpg021.jpg022.jpg

A little half-assery:
008.jpg017.jpg

And a nice pile of debris that smelled of mice urine:
019.jpg

Thanks again for the help Louis, I think the power booster was painted on.
 
The rotisserie will make it easier, Looks like its in pretty good shape!
 
Some more progress this morning.

K Member out:
001.jpg002.jpg004.jpg

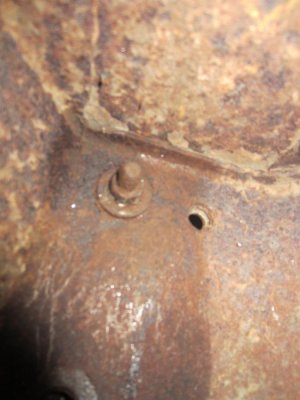
Thanks for the step-by-step instructions Louis (71airgrabberRR). The torsion bars and K Member came out relatively easily. The hardest part for me was the two upper control arm bolts that are toward the firewall. They took me about an hour to get out. The two forward facing ones popped right out:

005.jpg

And, I added some internal bracing:

003.jpg
 
looks like good progress...
 
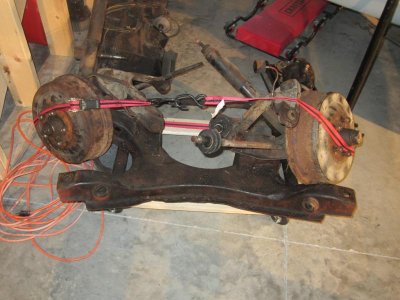
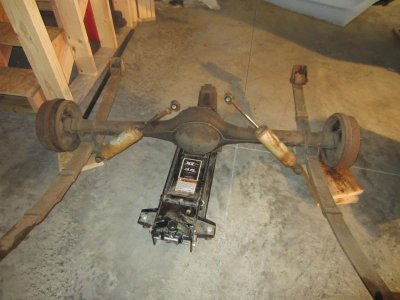
Thanks Budnicks! A little more progress the past two days. I got the rear end out but, had a little trouble. One of the bolts stripped pretty bad:
001.jpg

No problem for my Dremel:
002.jpg

010.jpg

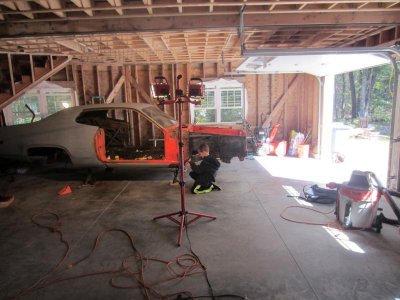
I also put the boy to work:
009.jpg

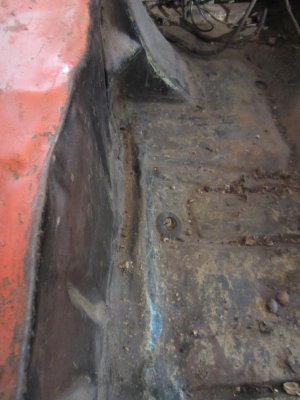
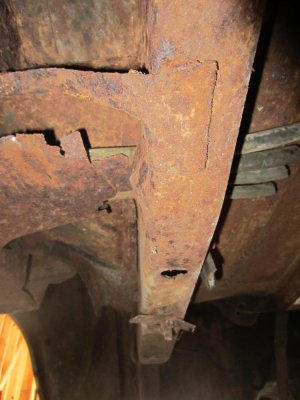
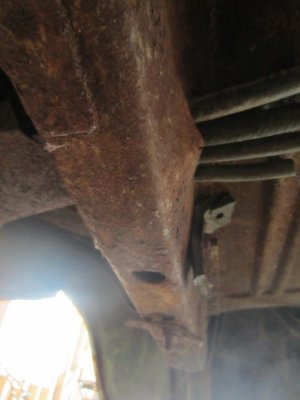
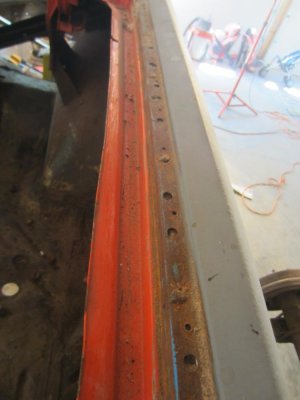
And I also found some unseen damage to the rear. It looks like the car may have been struck in the rear. The left side trunk pan is crumpled a little and the frame rail looks a little bent. I also measured the trunk opening and the left side is about 1/2" shorter than the right side:

004.jpg007.jpg008.jpg

Any recommendations on how to fix this???

Also, some more halfassery:

003.jpg
 
Looks like you've got a pretty decent buckle in that rail...

I know its not the DIY approach.... but I'd look for a good frame shop in your area. It doesn't take much of a hit to get movement in all sorts of areas on a uni-body car. I have the same problem with my 71', a light tap on the RT rear corner has got the rail, qtr panel and rear body panel buckled. The damage to the rear body has the qtr pulled in enough to cause poor trunk lid fit.

I've read through lots of resto threads in the last 15 years on various websites.... and you almost never hear anybody talking about checking to make sure a car is square before doing any heavy panel work. Sadly I believe that this at least contributes to the numerous "these parts don't fit threads"....
 
I'll agree with what chase383 said. You definitely don't want to use a BFH to fix those buckles.
 
WOW, you have really made some great progress.

I'm glad I was able to help you. Somewhere I have the factory dimensions for the frame. I'll have to look and when I find them I will post them for you.


I am probably going to build a jig fixture for my car to keep things straight as I start replacing panels. As stated above, check to make sure the car is straight before any panel replacement begins. This is especially true if you have evidence of a prior collision, no mater how slight the damage appears.


If your car is straight, and it's braced properly, you should have no problems as long as you try to replace only one panel at a time on the trunk, floor and firewall areas.

On all other areas such as the quarter and dutchman panels, test fit the trunk lid, rear lower valance, and doors prior to welding anything in position. With the cowling, test fit your windshield as well.

Your car is looking good!!!!

Keep up the progress and the great pictures coming......
 
Thanks for the info guys. I'm going to talk to a body guy today to see if he can pull it out with his frame machine. I'm going to make sure everything is where it should be before I start cutting things out/off. I started putting my rotisserie together today. I bought it several years ago from Accessible Systems. Looks like I'm missing a few holes in some parts. I emailed them today to see if I'm right. I also had to order a bracket from them to mount the front of the car to the rotisserie. It should be here next week.
 
Last edited:
Good luck with the frame work! The progress you've made already is outstanding..
 
Thanks Ron 73. I spoke with the body man yesterday. He's going to try to come by next Saturday to look at the damage. Hopefully it wont cost too much to fix :eusa_pray:!
 
Good luck with the frame work! The progress you've made already is outstanding..

X2

Money spent on checking out / getting the car straight now will save you a lot in time in labor and will be cheaper in the long run. I'll try to find those frame dimensions for you...........
 
X2

Money spent on checking out / getting the car straight now will save you a lot in time in labor and will be cheaper in the long run. I'll try to find those frame dimensions for you...........

I think I have them. The ones in the Body Service Manual? Thanks for looking for me!

Louis, any special way to remove the chrome trim above the front windows? I don't want to start tugging on them and break them.
 
I think I have them. The ones in the Body Service Manual? Thanks for looking for me!

Louis, any special way to remove the chrome trim above the front windows? I don't want to start tugging on them and break them.

Yes they make a special chrome removal tool. It's available for around $10 or less. The working end is shaped like an arrow head. You slide the "arrow head" under your chrome to engage against the back side of the chrome clip.

I'll go take some pictures of it in use for you and post them on your thread.......... It's easier than trying to describe it. LOL

Yes the frame dimensions were from the factory chassis / body service manual. I looked and have a manual for Dodge and I'm not sure if the wheel bases are different between Dodge and Plymouth B Bodies.

I know they are between Cuda's and Challengers by 2 inches.
 
Auto Transport Service
Back
Top