• When you click on links to various merchants on this site and make a purchase, this can result in this site earning a commission. Affiliate programs and affiliations include, but are not limited to, the eBay Partner Network.

Rebirth of my 1970 GTX!

Test fit of the crank. It spins beautifully! Cam a bit tight...​

View attachment 1220392
I did get the cam to spin better. I oiled up some 2000 grit and lightly polished the bearings. The machinist said the cam would feel tight but should be ok. He's had 40 years of experience and this is my first motor build but I got it to spin better anyways...
 
Test fit of the radiator. It almost fit perfect! I ran a tap in though the front and it cut the mounting flange on the radiator enough to get a bolt through. Probably a 1/64 th off. I'll take it!!!
20220330_205406.jpg
 
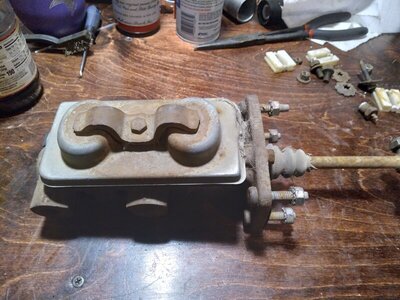
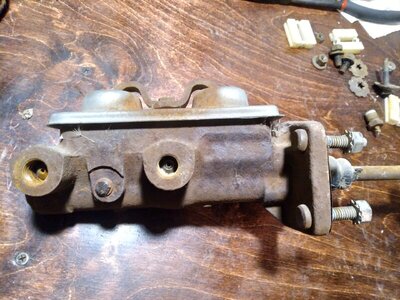
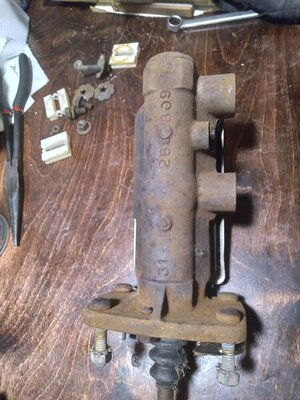
Scored at the salvage yard today! $17 for an original 1970 master cylinder!!! My car had an aftermarket one on and that just won't work for me.

20220402_153015.jpg 20220402_153053.jpg 20220402_153320.jpg
 
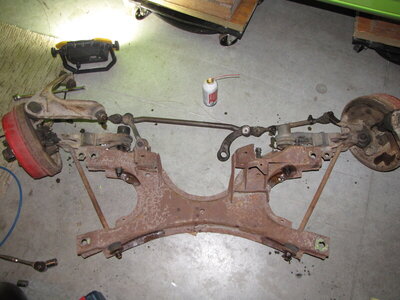
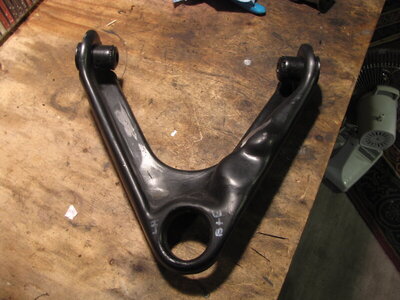
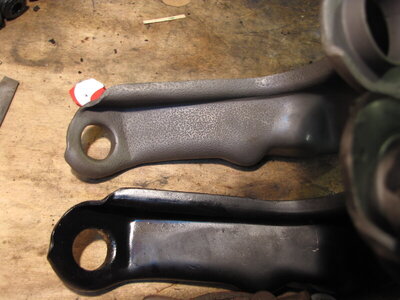
Here is some front suspension work I have gotten done. I thought these pieces had a good chance of getting bent in the crash so I bought some other parts. After buying one pair of upper control arms I found another pair with pretty much zero pitting on them!

IMG_5352.JPG IMG_4737.JPG IMG_4746.JPG
 
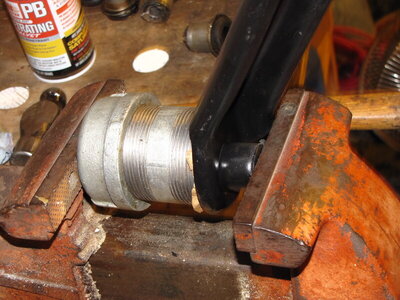
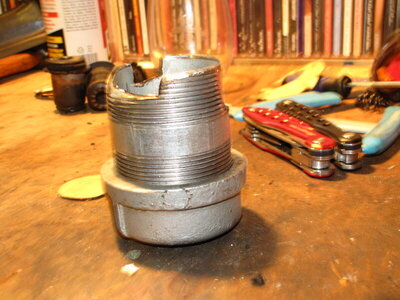
I made this piece to get the bushing pressed out. It worked pretty slick! Previously, I used a threaded rod to make some kind of jackshaft to get it out but this works much better!!

IMG_4740.JPG IMG_4741.JPG
 
There is the final product! I blasted them with aluminum oxide and smoothed out some rough areas with a dremel and file. They got treated with RPM and a few months later I gave them a coat of Boeshield as well. I didn't know if the 2 products should be used together but gave it a try anyways. I think they look great! The plates on the ends of the bushings came with the new bushings. I think I'll put the original ones back on when I install these. The smooth ones just don't look right! The last photo is a jig I made to hold the arm in place while I impacted the ball joints on.
 
On to the lower control arms... Again, I bought different ones thinking that mine would be bent but when I got my car back from the body shop they were in better shape than the ones I bought! So, I got to get the bushings out twice! Actually only once. I did the first ones with a cut off tool and caved them in. The second pair I gave to my step-dad And he took a torch to them. Only one had the spacer plate under the bumper.
IMG_5383.JPG
IMG_5386.JPG
IMG_5390.JPG
IMG_5421.JPG
 
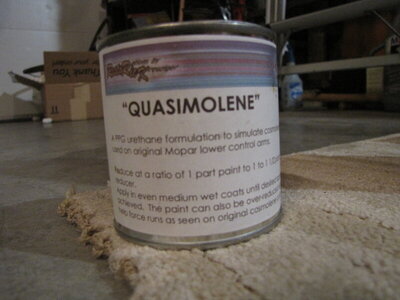
I had to build a paint booth in my garage that worked really good! They first got a coat of epoxy primer, then a coat of stainless steel paint from Seymoures. The final coat was 'quasimoline' from Resto Rick's. I'm really happy how they turned out, runs and all!!
IMG_5555.JPG
IMG_5558.JPG
IMG_5560.JPG
IMG_5562.JPG
IMG_5570.JPG
 
To get the bushing pressed in, I picked up a short piece of pipe from the hardware store and it fit perfectly on the lip
IMG_5582.JPG
IMG_5584.JPG
IMG_5596.JPG
IMG_5597.JPG
of the bushing!
 
Looking good, keep it up...

Chuck (snook)
Thank you, very much! There's no stopping me, now! Those lower control arms are a hard part to get right and I'm so glad they are done!
 
If you haven't already done so...

...before you get too far putting those carbs back together, make sure the body of the carb is absolutely flat. Over many years of people overtightening the bowls, the carb pulls out of shape. This leads to finicky operation and inability to tune the carb due to leaks. If not flat, take a large flat file and file the body flat.

Edit: I found a picture of one I did a while back. You can see the dark spots are the low areas. You can see how it was high around the screws.
View attachment 1250637
20220308_193329.jpg
After some filing, here is how they look. Kinda funny how they all have the exact same low spots!
 
A few more before pictures... The battery pretty much exploded in the crash so I think the acid got sprayed on the carbs and discolored them.
IMG_5539.JPG
IMG_5541.JPG
20220304_210306.jpg
 
Everything is back together! Except the choke rod, that is. It was on there when I sent them out because I couldn't get it off. The carb shop can't find it anywhere, either. Oh, well...
IMG_5653.JPG
IMG_5656.JPG
IMG_5658.JPG
IMG_5659.JPG
IMG_5660.JPG
 
Auto Transport Service
Back
Top