ricks_RR
Well-Known Member
hooking up the wiring and hoses and going to fire it up after 4 years on the stand put new hears on and a good cleaning

So have I! What I need is a laser 3D imager and a 3D printer. It would work out all of the contours and angles and print the solution. Guess I will just have to use the 3D imager in my head and the 3D printer of my hands instead! lol. AS it is, I am stuck with a few elements. The dash end face shape/angle and the door handle/lock/speaker unit curving out towards the dash end from the door. Oh, and another thing is the door inside face angle of plane relative to the dash end and the swing arc of the door and how that intersects with the plane angle of the dash end. In plain English, the door face slopes down and away from the dash end. The dash end faces out and away from the door face. The dash end also slopes down and towards the door face. The door seal lip is also sloped down and way as well as curving up and towards the rear as it rises past the top hinge level. The lip is also forwards of the end face of the dash. Add in the hole left by the missing Audi A pillar molding and there you have it. lol.@Ghostrider 67
even manufacturers have a hard time dealing with dash end to door panel transition
I've seen some terrible ones!
Don't remember if you mentioned before what the MS was made of but even if it's aluminum, you would have to crank down on it pretty hard to distort it.I received the replacement brake master cylinder from Summit and installed it. I still need to bleed the brakes but the pedal is firm already, unlike before.
I read the directions this time and did not clamp the body of the MS in the vise to bench bleed it. Instead, I used the mounting flange, as directed. I think I distorted the bore on the first one.
It is aluminum. It may have been a bad new one. Summit did not want the bad one back; they're cheaply made.Don't remember if you mentioned before what the MS was made of but even if it's aluminum, you would have to crank down on it pretty hard to distort it.
The cost of shipping the old one back is probably more than what they pay for them lolIt is aluminum. It may have been a bad new one. Summit did not want the bad one back; they're cheaply made.
grab a hunk of wood and start shaping then you can incorporate the woodgrain or continue with the leather wrap or possibly make a mold out of it for a fiberglass piece, might be able to even mimic the dash texture. a hell of alot of work but just a thought.The other problem is the dash contours on both sides of the gauge housing. I need the space that the vent occupies to extend into the gauge space on both sides so it leaves a return surface for the Adobe Leather, and so it flows all the way across left to right, to the eye. So I'll cut the leather at the cut point, peel it back up and down, cut out the contour to continue into the gauge space on both sides and cut the leather and re glue it, leaving the 3 1/2" space that is then continuous. The top section and the bottom section are going to be two colors, black on the top and Adobe on the bottom with wood grain in-between..
View attachment 889393
Thanks. I've decided to leave it be. I'll only put the insert in the same spaces that already exist.grab a hunk of wood and start shaping then you can incorporate the woodgrain or continue with the leather wrap or possibly make a mold out of it for a fiberglass piece, might be able to even mimic the dash texture. a hell of alot of work but just a thought.
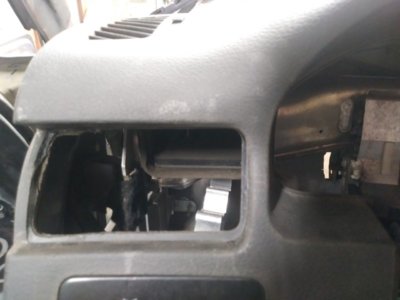
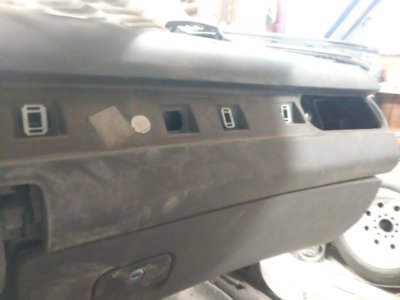
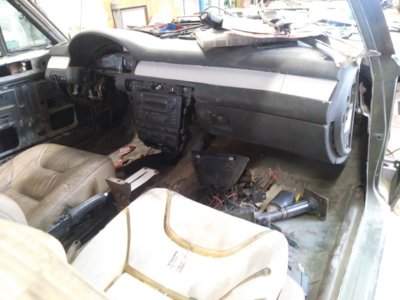
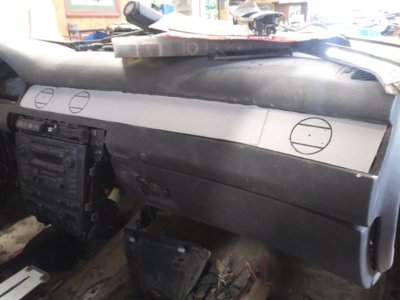
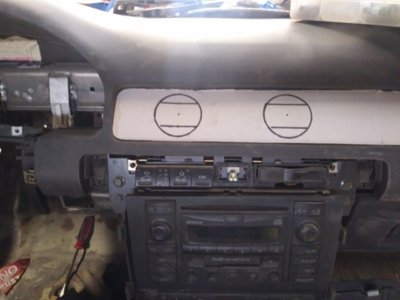
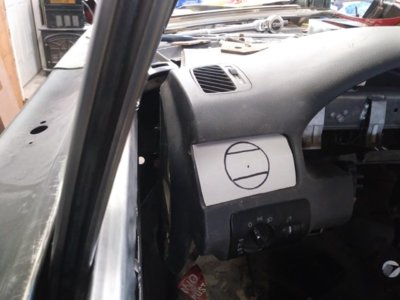
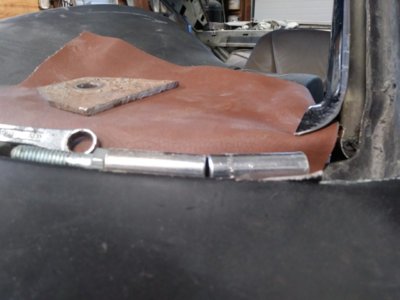
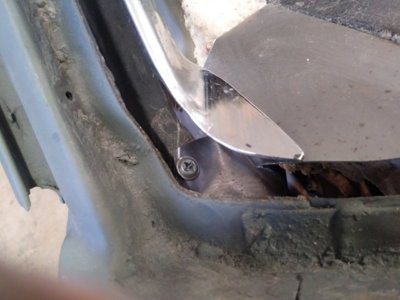
Well, THAT didn't work. There are just too many compound angles to that little dash to door transition. It's a complex little spot. Makes my head hurt trying to figure it out so i'm going to use the factory Audi door panels that they already figured out. lol. Oh well, it was worth a try. Only out about 20 bucks. Decided to buy new Audi door panels instead and try rotating the dash down so the panels will mount straight to the door. Will work out the many issues that arise from using those panels. Lots of modifications to come to those panels. Ought to have them in hand by the end of next week.Going to buy a light weight metal screen mesh tomorrow and form the piece that goes in between the dash and the closed door. Then when I have it tweaked just right i'll cover it in fiberglass. Easiest way forward I think. As far as fastening it to the door goes I guess I'll sink some small bolts into the door side of it and bolt it up. No worries about being overly smooth either since leather is going over it. Should work.
Going to buy a light weight metal screen mesh tomorrow and form the piece that goes in between the dash and the closed door. Then when I have it tweaked just right i'll cover it in fiberglass. Easiest way forward I think. As far as fastening it to the door goes I guess I'll sink some small bolts into the door side of it and bolt it up. No worries about being overly smooth either since leather is going over it. Should work.
