- Local time
- 5:37 AM
- Joined
- Oct 16, 2014
- Messages
- 29,605
- Reaction score
- 73,204
- Location
- Salisbury, Vermont
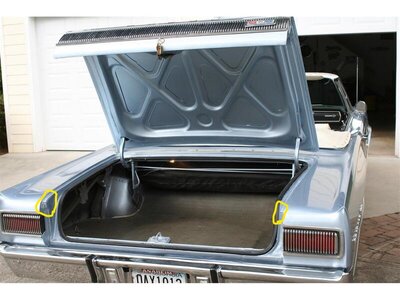
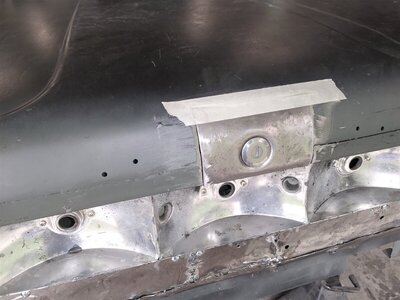
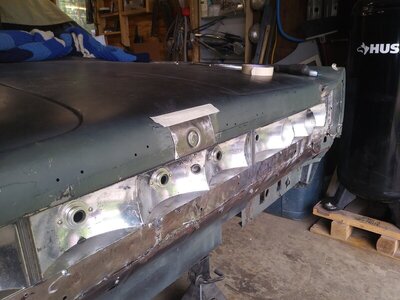
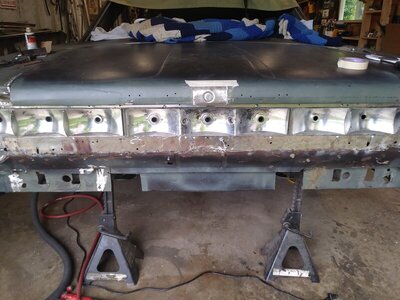
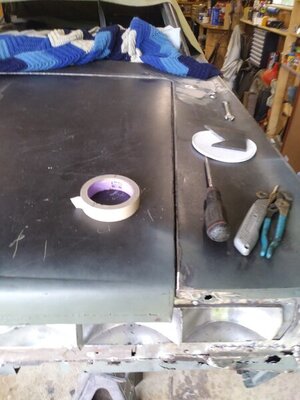
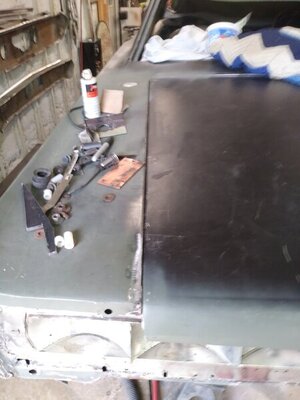
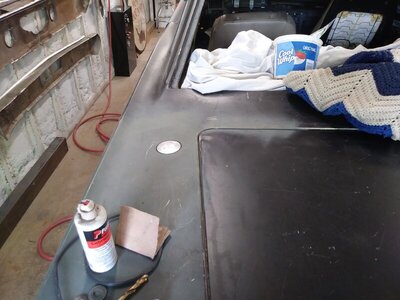
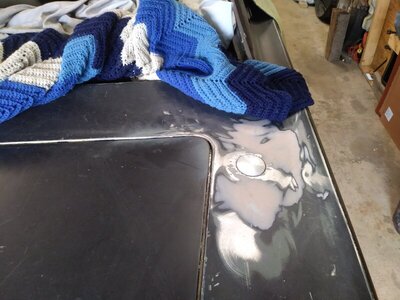
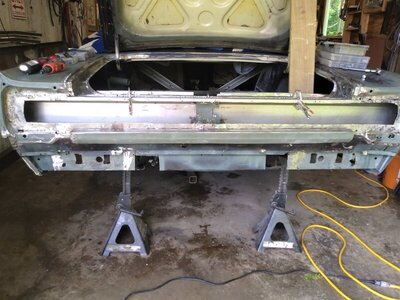
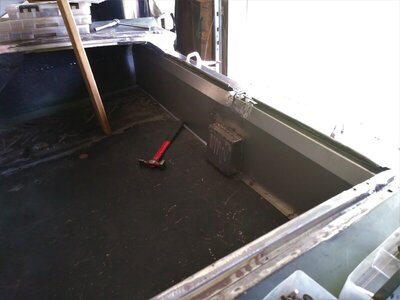
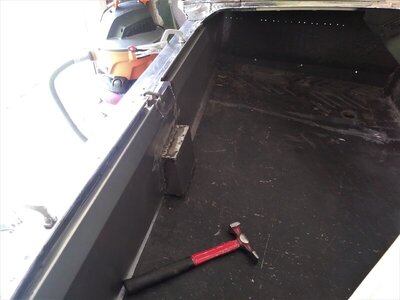
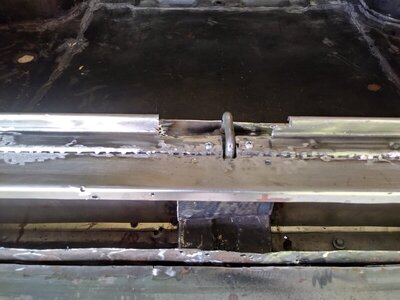
Got the trunk lid bowed correctly. Went to work on the latch issues. This also worked out after several false starts. Setting up the trunk latch release lever. Because I reimagined the entire rear face of the Coronet, the trunk latch was left sitting 8" too low and so was placed on a carefully angled plate that bolts to the original place. This brought the latch up to the right height/position to engage the trunk catch bar. After thinking about it for awhile I tried several times with different ideas to create a latch release that wouldn't get in the way of the 66 T Bird light panel that runs to the inside rear of the plate with very little room to spare or interfering with the close out panel that runs across the front of the plate. So it had to be out of the way within the 'sandwiched area' between plate & latch body, about 1/4" to 3/8" space.
It also had to be maintenance free and pretty much indestructible because I'm not taking this apart once it's all installed and done.
So I finally chose the right item to sacrifice for the lever axle. It's an adapter for the insert driver that has an Allen end and a 1/4" drive end. I found a tiny closed-open end wrench sitting in a drawer that just happened to fit the Allen end nice and snug. So that's the lever worked out. Then I needed to create a 'flat tip' on the 1/4" drive end that would fit snugly in the latch release slot on the back/inside side of the latch mechanism. So, vise grips and a grinder and wah-lah, done. Now it had to be the right length to leave the wrench not jammed up against the plate and scrapping as it swings. Done. Now I needed a pivot point for the other free end of the 'axle'. Drilled a hole in the correct spot of the plate and once the latch and the plate are married up with the axle end poked into that hole, it needed the right number and thicknesses of washers at each bolt to space it out right, so everything worked. I'll be cutting the open end wrench off and drilling a small hole in the stump for a return spring and for the cable pull to attach to. Added a bolt with an aluminum roller for the cable to ride around when pulled, and called it done except for final clean up and paint. Included a picture of the " MAd Scientist" workbench...lol.

