• When you click on links to various merchants on this site and make a purchase, this can result in this site earning a commission. Affiliate programs and affiliations include, but are not limited to, the eBay Partner Network.

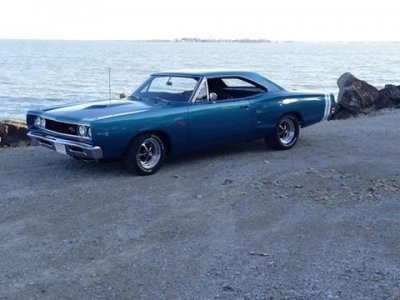
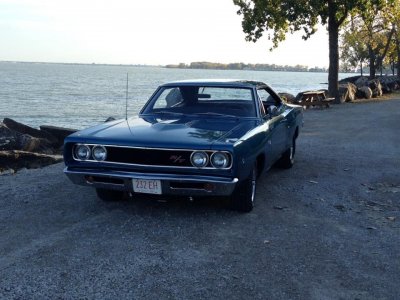
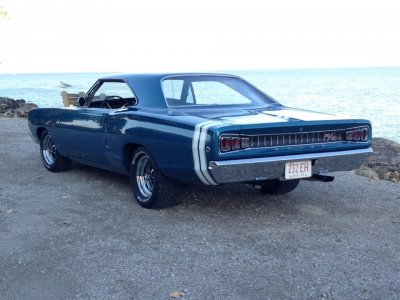
1968 Coronet 500 Project

Use a carpet knife to trim the excess and add more clips to hold it fast until the glue dries.

DSC_0047.jpg
DSC_0048.jpg


Move to the other side and do the same thing.

DSC_0049.jpg


DSC_0050.jpg


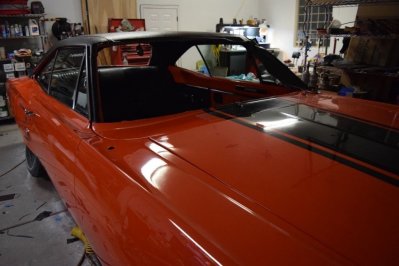
The rear sail panel area is the hardest. Use LOTS of clips to hold the liner on the tack strips (trying to get them to hold the material on the sides is impossible it will need to be glued. Then spray glue on the rear package shelf area and the back of the liner and pull the sail area tight and use a putty knife to tuck it in tight to the 90 degree area between the sail area and horizontal panel for the package shelf area. This was the trickiest area and I ended up not taking pictures as I was consumed working this area before the glue dried as it took a a few tries to get it right.

I will hit it with heat gun tomorrow to shrink it and get the few wrinkles out that are left.
 
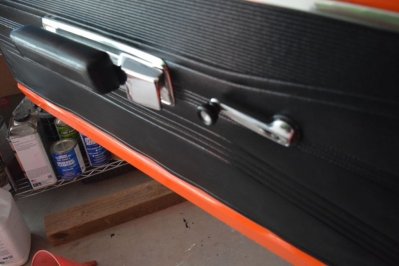
Once that was done I pulled out the original package shelf, rear seat and door panels. I cleaned and reconditioned the vinyl with conditioner and installed these parts. It is looking really good with the orange accents on the doors and quarter panel I think...

DSC_0059.jpg

DSC_0051.jpg
DSC_0052.jpg
DSC_0053.jpg
DSC_0054.jpg
DSC_0055.jpg
DSC_0056.jpg


The guy I bought the car from had taken it in trade for labor and left it outside for a few months after it had been carefully stored for the last 30 years. The plastic on the drivers door was gone and rain got on on the door panel. I will try to reglue the backer panel and put it under pressure tomorrow and see if I can get it looking better.

DSC_0057.jpg
DSC_0058.jpg
 
Just a note to myself to remember the rims and tires I want...

Jim Kueneman front 215/65/15 rear 295/50/15 front 15x7 rear 15x8 Yes Stock ride height; hotchkis Front/Rear Sway bars; QA1 Tubular Arms; Adjustable Gas Shocks; and Power Disc Brakes all 4 corners

14721582_1727120970945442_7897200416466229010_n.jpg 14724629_1727121010945438_1278688272612655984_n.jpg 14731164_1727120984278774_3622896052916515402_n.jpg

Actually I would take the whole car....
 
Last edited:
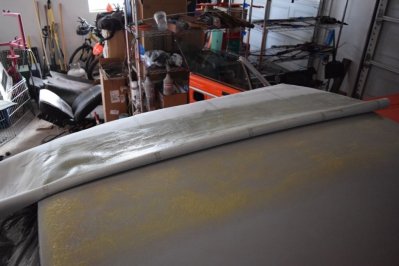
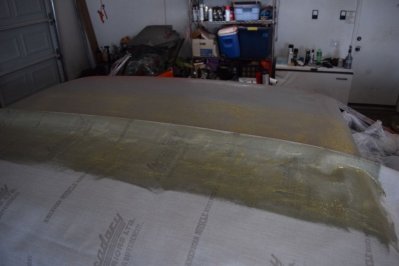
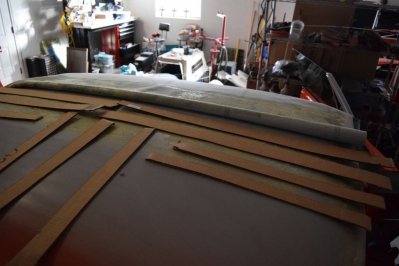
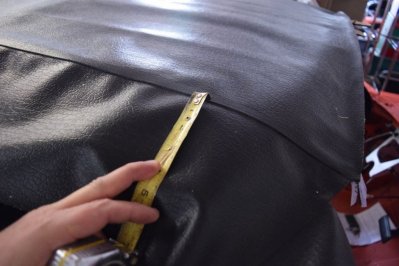
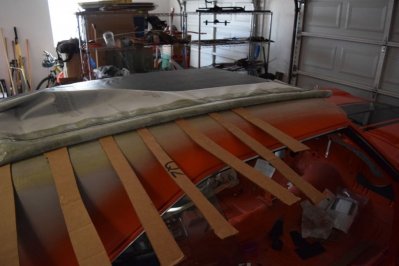
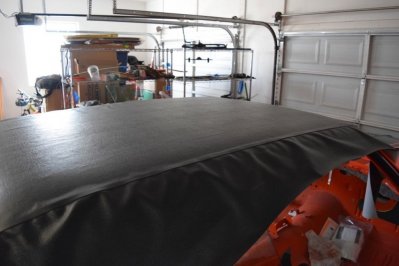
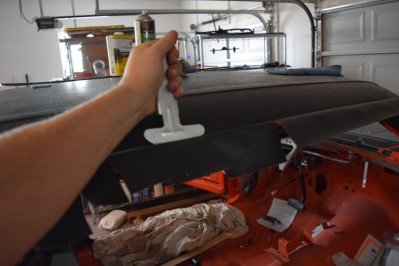
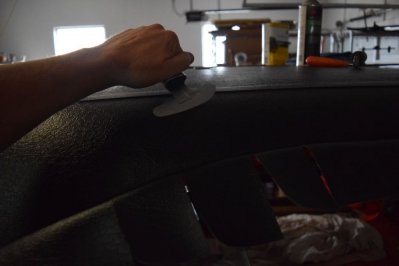
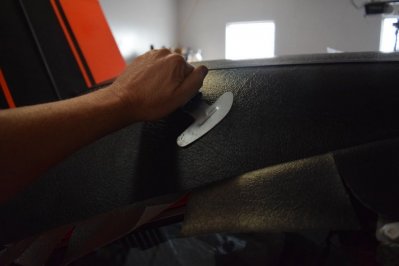
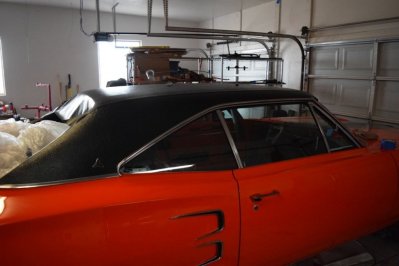
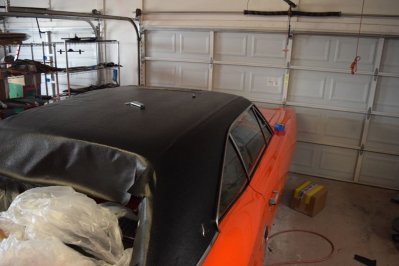
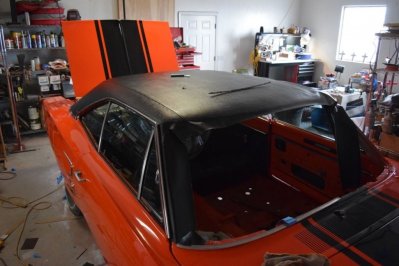
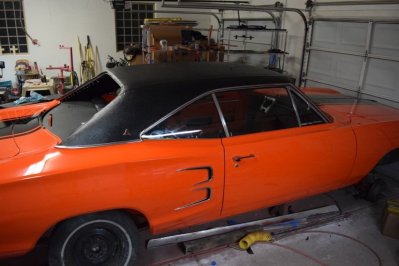
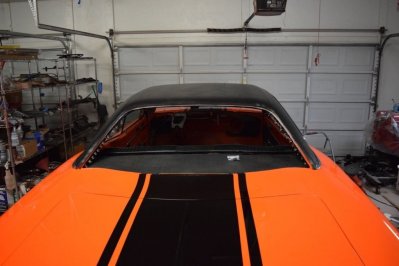
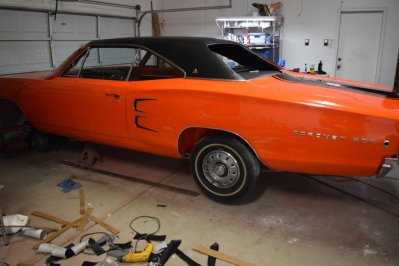
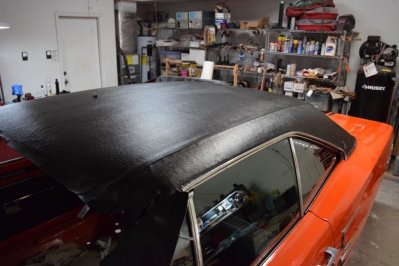
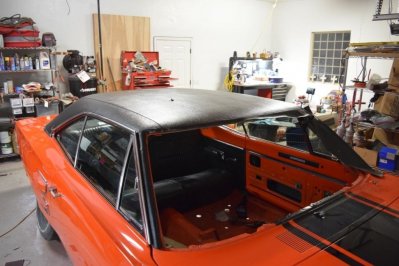
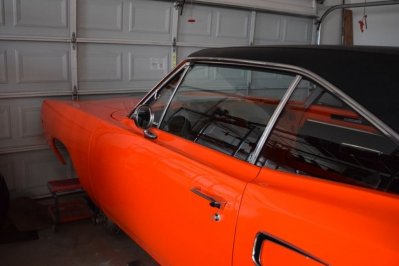
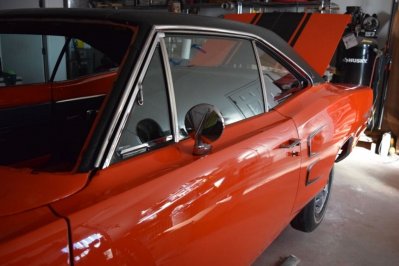
Another long day in the garage.... Vinyl top day.... Great for an experience but next time will let the experts do it :)

Few of the tricks and techniques to make this happen. There is a "perfect" time to wait for the adhesive to tack up. The right side I waited to long, the left side not long enough. Don't let it tack up to much or you will see the lumps of adhesive if you did not get a perfectly smooth application...

DSC_0061.jpg DSC_0063.jpg DSC_0064.jpg DSC_0065.jpg DSC_0066.jpg DSC_0067.jpg DSC_0068.jpg DSC_0069.jpg DSC_0070.jpg DSC_0071.jpg
 
Then time for the drivers side and a photo shoot.... Still have to do the drivers side windshield pillar and then glue the edges around the windshield and rear glass (while installing the new trim clips while I can still see the holes)

DSC_0072.jpg DSC_0073.jpg DSC_0074.jpg DSC_0075.jpg DSC_0076.jpg DSC_0077.jpg DSC_0078.jpg DSC_0079.jpg DSC_0080.jpg
 
Last edited:
Really nice! I'm impressed.

Just curious are you keeping a log of money spent to date?
 
Really nice! I'm impressed.

Just curious are you keeping a log of money spent to date?

NO FRIGGING WAY!

I have what I think it is and what I tell the wife :)

She sees it coming together and rubs it in how nice "the color she picked" looks. Tonight after she saw the top I got a "and you wanted to paint it boring white" so she is invested in getting it done too.

What I "think" I have is $6k in the car and about $8k-$9k in both parts and tools. Not sure how to count the tools. I committed to spend about $20k total as the car being a small block is barely worth that much when I get done.

Jim
 
Last edited:
What is interesting is Year One sent me a 25% off (after ordering $600 worth of harnesses) and Classic has a 30% off sale and I can't find anything I need from them! That is a good sign! All I think I now need is

1) Get my transmission back from Ray
2) Dual Exhaust from TTI
3) Edlebrock Carb (or fuel injection)
4) Rebuild the radiator
5) Wheels and Tires

Everything else is in the garage or in route. All that is left is a lot of elbow grease and time.

Edit: I lied, need a carpet but Classic is out of stock and Year One doesn't have one for a '68
 
Last edited:
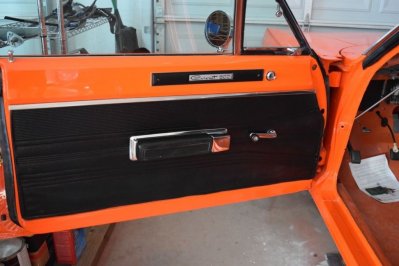
Glued up the water damaged driver door panel and left if over night under a piece of poplar and my Lincoln Welder. It came out better than expected. If you really stare at you can see a bit of a warp but I can easily live with it. Cleaned up the mirror and finished up the drivers door...
DSC_0081.jpg DSC_0082.jpg DSC_0083.jpg DSC_0085.jpg
 
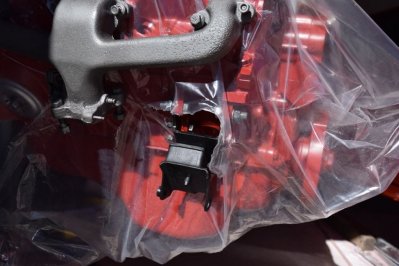
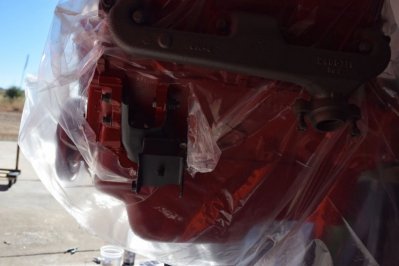
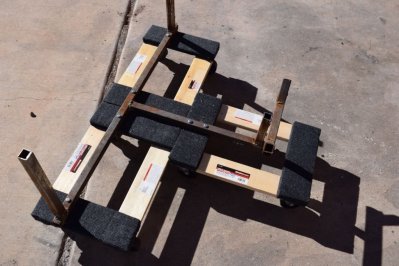
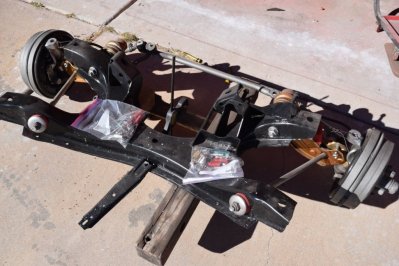
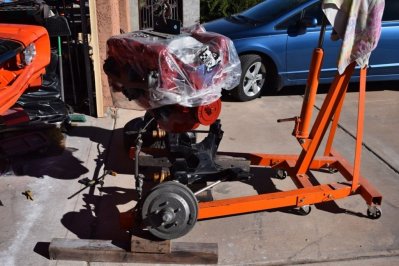
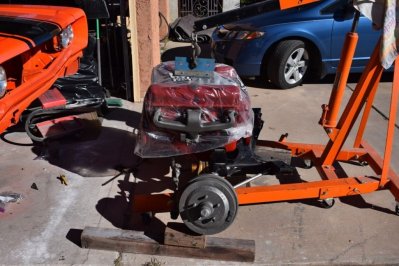
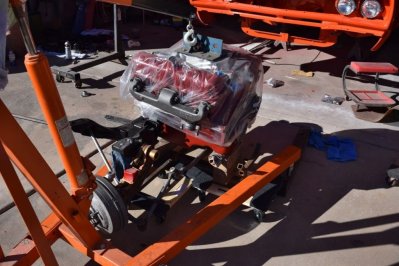
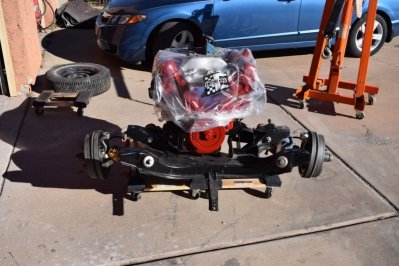
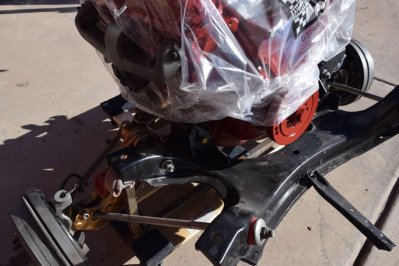
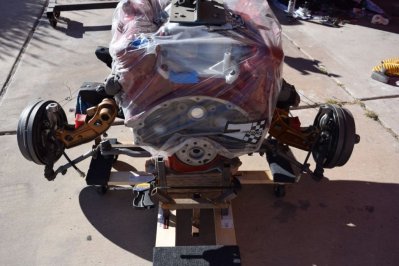
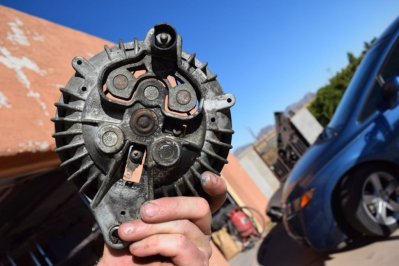
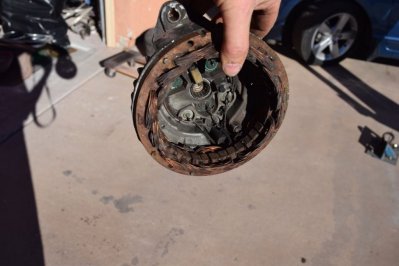
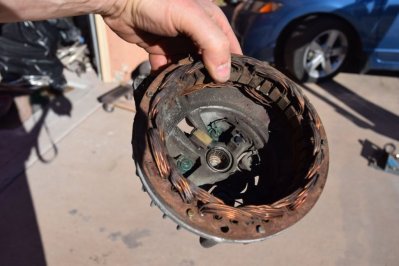
Pulled the alternator apart and took it to Dave at Precision Machine Services in Whetstone. He thought he had the tools to knock out the front bearing and I thought it was easier than it really was to get these alternator bearings/diodes changed out. We were both mistaken. He had to get a new tool to get the bearing off. I went home to get the motor mounted to the K-Frame so I could return his square bore lift plate. I bought some inexpensive Harbor Freight dollies and rethought my power train carrier. The photos show what I came up with.

UPS decided they did not want to deliver my FirmFeel gear today so they rescheduled it for Friday.

I took the rest of the alternator apart and took the lift plate and the rest of the parts down to Dave. He had received an inexpensive puller locally and was in the process of "customizing" it to work. He graciously stayed till 5:30 on the day before Thanksgiving to finish up my alternator. Can't recommend him enough for your Mopar needs!

I may have to let him drive the Great Pumpkin when I get it done :)

The transmission is almost done and I can pick it up on Monday.

DSC_0087.jpg DSC_0088.jpg DSC_0089.jpg DSC_0090.jpg DSC_0091.jpg DSC_0092.jpg DSC_0093.jpg DSC_0094.jpg DSC_0095.jpg DSC_0096.jpg
 
Last edited:
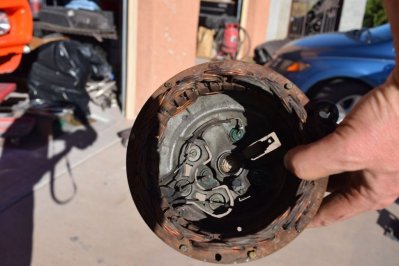
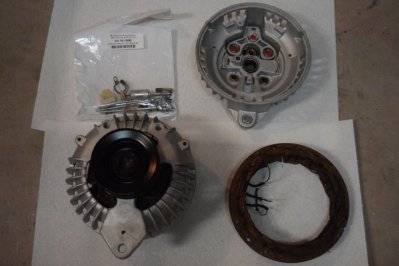
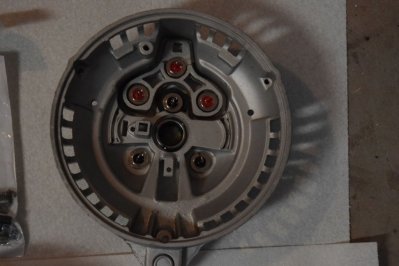
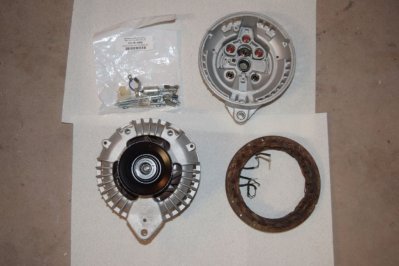
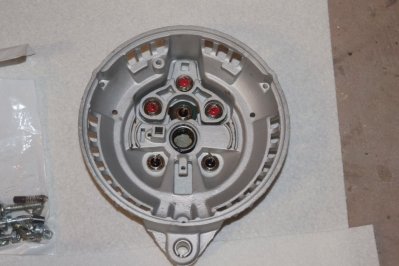
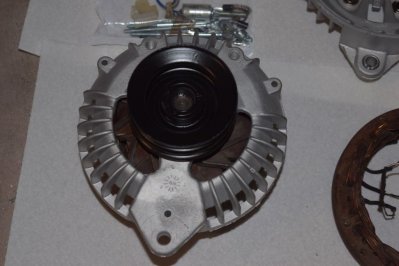
The before and after shots of the alternator. Another 30 minutes and I will have a good as factory alternator to install on the power train...

Oh and Dave included bead blasting the cases and painted the pulley for me.

DSC_0098.jpg DSC_0099.jpg DSC_0100.jpg DSC_0101.jpg DSC_0102.jpg DSC_0103.jpg DSC_0104.jpg DSC_0105.jpg DSC_0106.jpg DSC_0107.jpg
 
Last edited:
You can actually rebuild a alternator today? I thought those days were long gone. New diodes I assume? Don't remember if there is also a condenser (2.2uF cap) inside, or external?
Happy Thanksgiving!
 
You can actually rebuild a alternator today? I thought those days were long gone. New diodes I assume? Don't remember if there is also a condenser (2.2uF cap) inside, or external?
Happy Thanksgiving!
Hi Bill,

Yes, I always have even in the 90's when I was a GM mechanic. 2 reasons.

1) Aftermarket stuff is typically crap. It pains me to not to be able to buy Mopar parts (easily) but for what I bought it will be fine. I WILL buy a NOS starter drive for the starter. Aftermarket drives are crap.
2) These are number matching parts that I want to keep with the car.

Happy Thanksgiving.

BTW there is another Coronet on the Facebook page...
You may have seen this one before...
https://www.facebook.com/groups/dod...interesting_product&notif_id=1479947096165146
 
Back in Louisville, Kentucky we had a company called "JASCO". It was Jim's Alternator Starter Company. I have memories of standing in slush snow on a 35 degree day and changing the alternator on my 69 Coronet for the fifth time in one month. I finally took the alternator directly to JASCO's shop and complained (local mom and pop auto parts store refused to exchange again saying it was my battery, or a short). I asked them to replace ALL Diodes, not just the shorted one. That alternator lasted the rest of the life of the car (all the way to 287K miles).

There was a time that NAPA sold 're-manufactured', and 'rebuilt' alternators. The reman supposedly only reused the case with ALL NEW internals, and the rebuilt was just a repaired unit.

I'm impressed with your meticulous DIY resto. Makes me want to start turning a wrench on my own MOPAR someday!
 
Pulled the alternator apart and took it to Dave at Precision Machine Services in Whetstone. He thought he had the tools to knock out the front bearing and I thought it was easier than it really was to get these alternator bearings/diodes changed out. We were both mistaken. He had to get a new tool to get the bearing off. I took the rest of the alternator apart and took the lift plate and the rest of the parts down to Dave. He had received an inexpensive puller locally and was in the process of "customizing" it to work. He graciously stayed till 5:30 on the day before Thanksgiving to finish up my alternator. Can't recommend him enough for your Mopar needs!

I may have to let him drive the Great Pumpkin when I get it done :)

This Dave fella sounds like an AWSOME guy... :lol:

Happy Thanksgiving
 
Had a bit of time this morning before the family got up, and afterwards as the best place for me on Thanksgiving morning is as far away from the kitchen as possible....

Its clear what can make these old alternators fail. The cloth sleeving that keeps the stator wires from shorting on the case are 48 years old and starting to fail. I took heat shrink tubing and wrapped it around the cloth sleeving and shrunk it down. Now there is double layers of protection.
DSC_0108.jpg
DSC_0110.jpg
DSC_0111.jpg


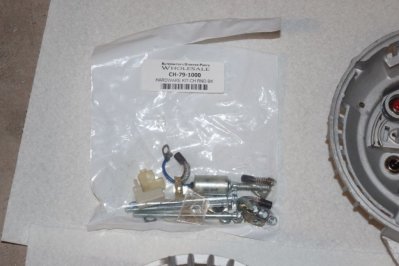
Next I installed the capacitor. Notice how I routed the ground wire, so it won't hit the rotor after it is installed.
DSC_0112.jpg


Solder up the top 4 diodes, keeping the wire tucked back in as close to the capacitor as possible. Never let them touch anything. Vibration is not your friend and it will eventually rub through as Murphy says you will leave it touching a sharp component. I again added heat shrink tubing over the cloth sleeving on the run arounds to the other 2 diodes and solder them in place.
The key to soldering is clean joints, clean HOT iron and flux. The joint should be shiny. Don't move the wire until the solder sets. If you do you will see the shiny turn to a dull grey. Reheat and reflow it so it cools shiny.
DSC_0113.jpg
DSC_0114.jpg


And a little glue to hold those longer wires from contacting the rotor. After assembling and looking it is obvious the risk of that happening is almost zero but it can't hurt.
DSC_0115.jpg


Don't forget the mica washer that goes between the small frame that holds the positive (red) diodes and the case. The bolt in the capacitor goes through it. Also make sure you have the bolt insulated from the case on the outside too. The kit I had (was for the later 3 wire alternators too) had an insulator washer that was not in the factory 1968 build.

lube up the shaft and slide the rotor half in and install the 3 bolts. I used the originals as the kit had later bolts with moulded in washer heads. The older ones, like mine, had bolts and lock washers.

Give it a spin and look down through the fins with a flashlight to make sure nothing it rubbing. DSC_0116.jpg
 
Last edited:
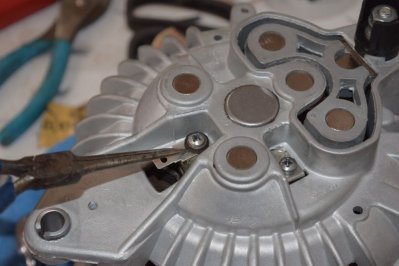
Now install the brushes (I polished up the copper slip rings with 1000 grit before installing the rotor). Note the one with the plastic holder must be insulated from the frame. There is a plastic washer where my needle nose pliers are.
DSC_0116.jpg


Make sure the brushes are in straight. It may take a bit of manipulation of the spring to get them centered. If not they will jamb up in the hole.

Now the moment of truth. Put your DVM on diode mode and put the positive lead on the terminal and the negative on the case. It should be an open circuit..
DSC_0117.jpg


Not swap the leads. You should see 2 diode drops to ground. Note if you hook the battery up backward the alternator would be toast!
DSC_0118.jpg


It then gave it a poor mans polish with a wire brush on my die grinder and hit it with a light coat of clear polyurethane spray paint to seal patina. Ready for install and will last another 48 years! Total cost about $100 including Super Dave's labor and I KNOW what was done to it.
DSC_0119.jpg
DSC_0120.jpg
 
Oh and you will have to talk to me at a car show somewhere to here the story of the $1xx "Hemi" 2095059 double pulley adventure....
 
I'm impressed with your meticulous DIY resto. Makes me want to start turning a wrench on my own MOPAR someday!

May be noticeable that I use to do this for a living in a lifetime far far away. I am still trying to figure out why I wanted to do it again.... :BangHead:
 
Auto Transport Service
Back
Top