• When you click on links to various merchants on this site and make a purchase, this can result in this site earning a commission. Affiliate programs and affiliations include, but are not limited to, the eBay Partner Network.

1969 Charger R/T resurrection

I think we all have to be by some amount to take on these projects lol we're all a bunch of loose nuts as far as that goes
:icon_eyes: :eek:ccasion14: :icon_eyes:
 
Sounds like fun Prop - but I think the wife would really think I lost it if she walked in the garage when that was happening.lol

Would be even better if she joined in..lol

Is that in there before or after sitting on a loose driver's seat pretending to drive the completely stripped car? lol
LOL
 
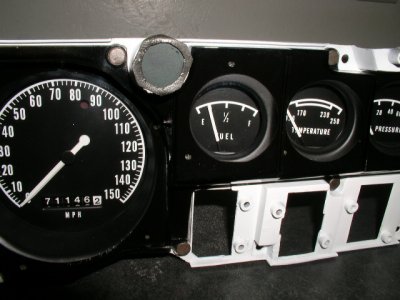
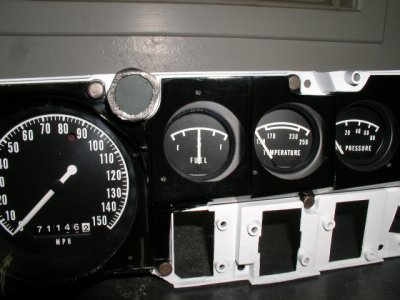
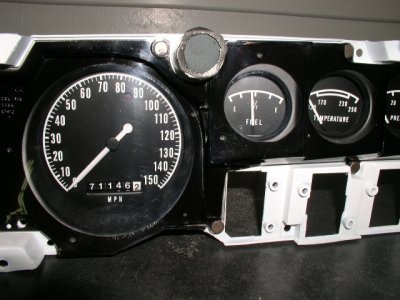
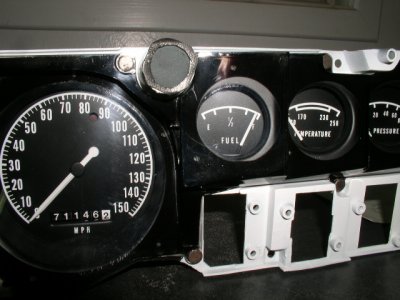
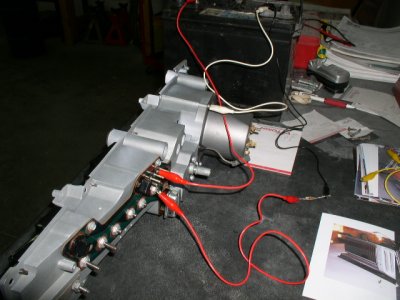
I dug out some jumper wires and checked the fuel, temp, and oil pressure gauge calibration. I made up 10.4, 21.1, 24.5, 33.2, and 73.3 ohm resisters to check them at various readings.
P7110086.JPG

- - - Updated - - -

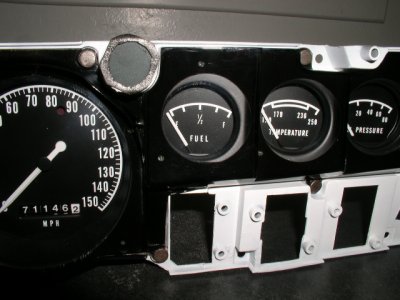
Here is how the fuel gauge reads with the resisters. This one and the oil pressure are good, but the temp. gauge is reading a little lower than I want. So I might take it apart and try to fiddle with it a little. Didn't get a chance to make the simulated car sounds as the wife popped in during this testing.

P7110093.JPGP7110091.JPGP7110094.JPGP7110087.JPGP7110085.JPG
 
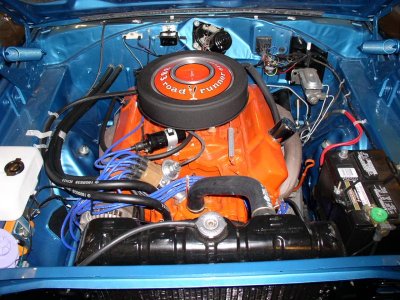
Not much getting done on the Charger, but at the last minute decided to take my blue beeper to the car show at the yearly fair today. Ended up coming home with a peoples choice trophy. Made my day especially after just selling my other RR convertible to fund the Charger.

P7140098.JPG
 
Congratulations. Let's celebrate with some pics. I don't think I've ever seen that one
 
Congratulations. Let's celebrate with some pics. I don't think I've ever seen that one
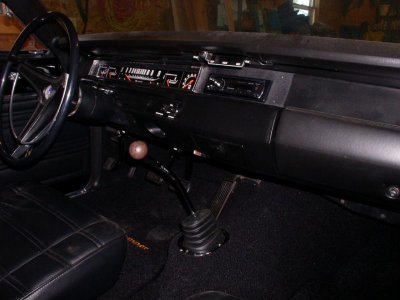

good for you. love to see pics of it. wish mine was done. haven't been able to drive it since September.
 
Congrats Joel! ill wager the one your working on will see a few of those as well!!
 
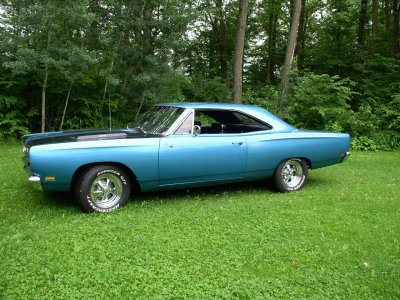
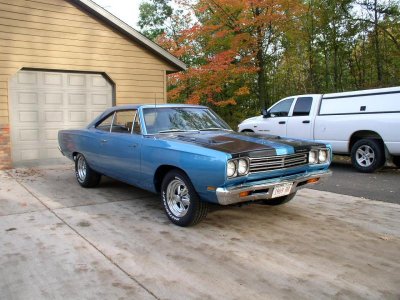
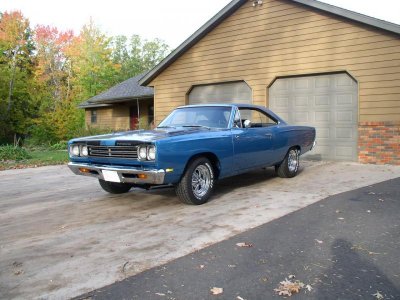
Here are some pics. of the B5 car I restored a few years ago. It was a cream puff compared to the Charger. The aftermarket stereo has been replaced with an original style am/fm reproduction since these were taken. Numbers matching and a Texas car to boot. I think this color really looks nice on B-bodies.

P2120184.jpgP2120188.jpgP3290027.jpgP4110114.jpgP6130004.jpgP8150160.jpgPA050173.jpgPA050175.jpg
 
Thanks for the pics H2E ! That's a beautiful car. Looking at those photo's reminds me what a fantastic styling cue those fender and quarter body accents are.
 
not bad for a blue car (if this was the road runner site I would insert a poking fun icon we have over there):laughing5:
beautiful runner! you have some sweet rides!
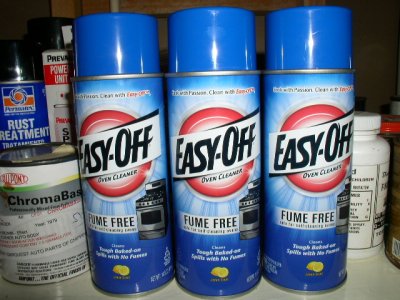
 
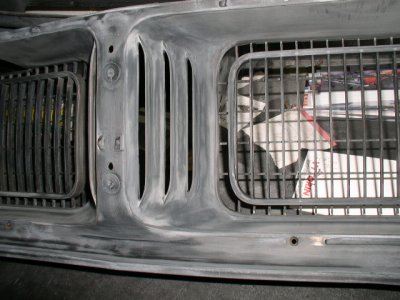
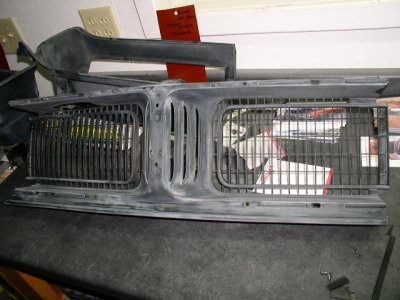
Decided to get going on my grill restoration. Somewhere along the line a po spray painted the entire thing black. So after cleaning the dirt and grime off I used Easy Off oven cleaner (thanks to recommendations from a couple of people on this site) to remove the paint. This was a very time consuming process because of all the little rectangles mostly on the headlight doors. It is very gentle to the plastic but takes a bunch of time and scraping to remove the paint. I tried a SEM product for removing paint from plastic bumpers, and luckily experimented on a junk Cuda grill I had laying around. This stuff is way to aggressive for these grills and would have ruined it for sure.

P7210118.JPGP7210116.JPGP7210117.JPG

- - - Updated - - -

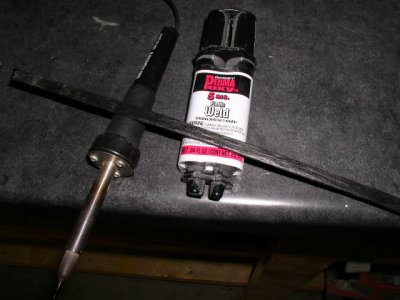
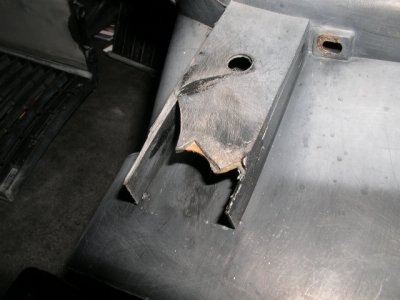
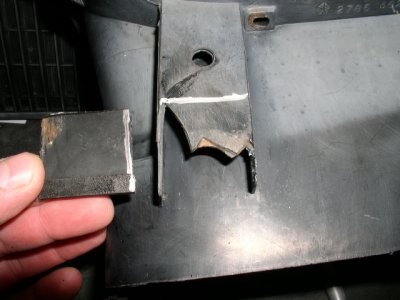
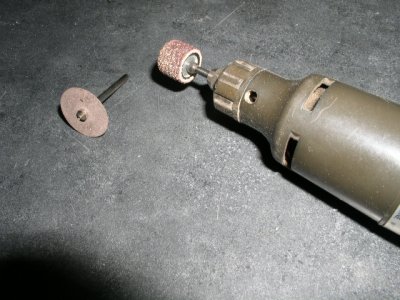
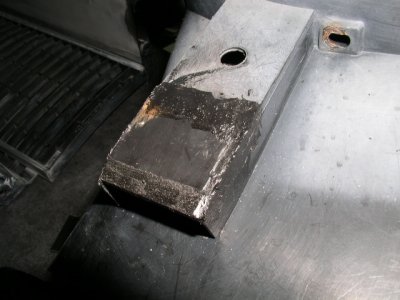
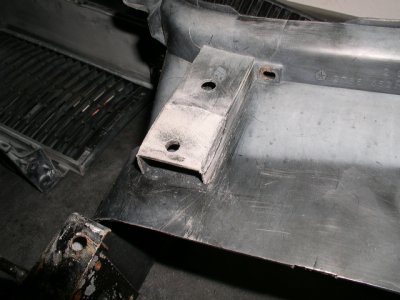
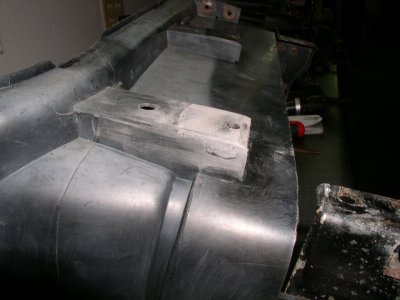
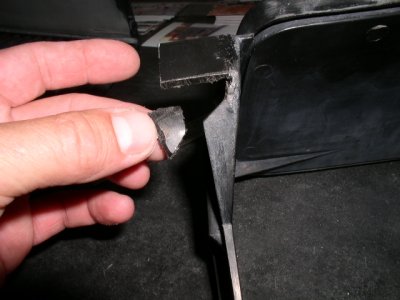
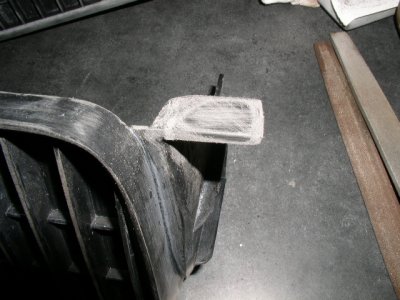
I had 2 bad areas that needed repairing. I was going to use a 2 part epoxy for plastic, but then found this stick with small fibers imbedded in it that you use like a stick of solder. It really works good for these types of repairs. I'm not even sure what it is called, but got it from my local body shop. I started with the easiest first. Cut out a new piece from a junk grill, welded it together, and ground, filed, and sanded it.

P7210102.JPGP7210100.JPGP7210103.JPGP7210104.JPGP7210106.JPGP7210108.JPGP7210109.JPG

- - - Updated - - -

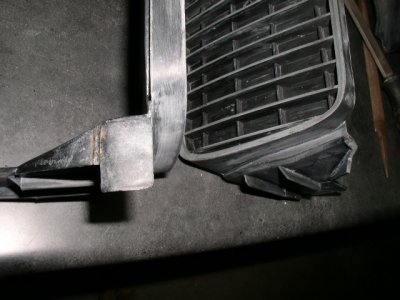
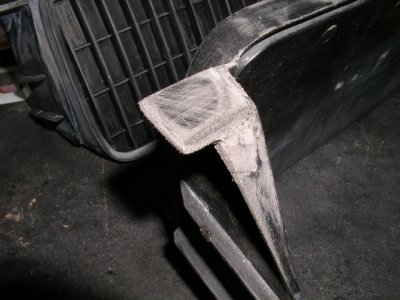
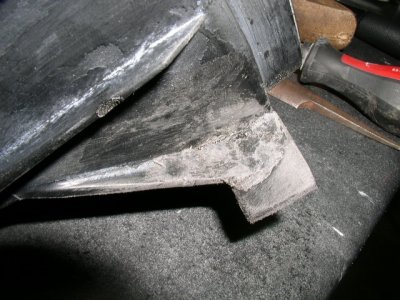
More of the same on 1 of the headlight doors. The tab for the down stop was broken off. This one took a little more time because of having to use 2 little pieces of plastic. Overall I think it will work just fine and with some new paint will hardly be noticeable.

P7210110.JPGP7210111.JPGP7210112.JPGP7210113.JPGP7210114.JPG

- - - Updated - - -

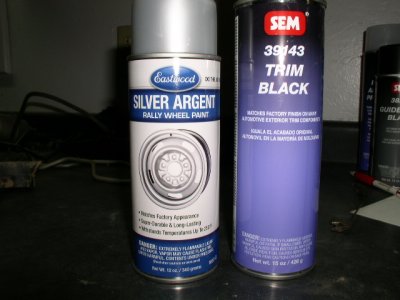
The next step will be getting them painted when I can get back out in the garage. These are the colors I am going to use which are supposed to be a fairly decent match to the original colors.

P7210115.JPG
 
Easy Off Oven Cleaner

Decided to get going on my grill restoration. Somewhere along the line a po spray painted the entire thing black. So after cleaning the dirt and grime off I used Easy Off oven cleaner (thanks to recommendations from a couple of people on this site) to remove the paint. This was a very time consuming process because of all the little rectangles mostly on the headlight doors. It is very gentle to the plastic but takes a bunch of time and scraping to remove the paint. I tried a SEM product for removing paint from plastic bumpers, and luckily experimented on a junk Cuda grill I had laying around. This stuff is way to aggressive for these grills and would have ruined it for sure.

View attachment 128685View attachment 128686View attachment 128687

- - - Updated - - -

I had 2 bad areas that needed repairing. I was going to use a 2 part epoxy for plastic, but then found this stick with small fibers imbedded in it that you use like a stick of solder. It really works good for these types of repairs. I'm not even sure what it is called, but got it from my local body shop. I started with the easiest first. Cut out a new piece from a junk grill, welded it together, and ground, filed, and sanded it.

View attachment 128688View attachment 128689View attachment 128690View attachment 128691View attachment 128692View attachment 128693View attachment 128694

- - - Updated - - -

More of the same on 1 of the headlight doors. The tab for the down stop was broken off. This one took a little more time because of having to use 2 little pieces of plastic. Overall I think it will work just fine and with some new paint will hardly be noticeable.

View attachment 128700View attachment 128701View attachment 128702View attachment 128703View attachment 128704

- - - Updated - - -

The next step will be getting them painted when I can get back out in the garage. These are the colors I am going to use which are supposed to be a fairly decent match to the original colors.

View attachment 128705


Im glad you went with the recommendation. I have used it before and I knew it worked. I promise you, I'd never say anything that may cause harm intentionally. Soon I'll be posting step by step cleaning of my RR grill on my resto thread using the Easy Off cleaner.

Thanks for the info on plastic repair. I've never done much of that before. One more little trick to add to the bag.

Shes looking good!!!! Gives me motivation for my car looking at how nice your car is turning out.

Thats one SWEET ride........
 
That is some great work you are doing there, tedious but ill wager its going to look great on the car!
 
Great job Elk, this is something I will keep in mind when I get this far.
Thank you for showing us how you are fixing your grill.
 
I agree...Great write up and a great job. Thanks to you, 747 and a couple of the other Charger guys I have some pretty great tips on fixing plastic grill's to keep in my back pocket for future use. Thanks!
 
Auto Transport Service
Back
Top