• When you click on links to various merchants on this site and make a purchase, this can result in this site earning a commission. Affiliate programs and affiliations include, but are not limited to, the eBay Partner Network.

1969 Charger R/T resurrection

Great write-up elk! You beat me to the punch I'm about to start my grille resto this week, I'll be using the tip re: the oven cleaner :icon_thumleft:

I haven't really gotten into disassembling my entire grille assembly yet (basically all still in one piece) but how intricate is it? Doesn't look too bad as long as I take my time and a lot of pictures, but any tips or even a blown-up pic from the service manual (if there is one) would be a huge help
:eek:ccasion14:
 
Great job, I like the looks of that stuff you used and yes it is a pain in the ***, to bad you can't media blast them haha. Don't mean to jump in but thought I'd mention to Speedfreak, be careful with corroded fasteners they'll break the plastic if they are very stubborn, just hold the clips with pliers or a wrench while breaking the screws loose. Car is coming along great and beautiful RR as well.
 
I haven't really gotten into disassembling my entire grille assembly yet (basically all still in one piece) but how intricate is it? Doesn't look too bad as long as I take my time and a lot of pictures, but any tips or even a blown-up pic from the service manual (if there is one) would be a huge help
:eek:ccasion14:

I took a lot of pictures also. I didn't think it was that complicated when I took it apart, but you know how that goes 2 years later when trying to get everything back the way it was originally. lol That plastic welding style stick I used is really a great product if you have any repairs to make.

- - - Updated - - -

I agree...Great write up and a great job. Thanks to you, 747 and a couple of the other Charger guys I have some pretty great tips on fixing plastic grill's to keep in my back pocket for future use. Thanks!

Are you saying you have already found your next project?
 
I took a lot of pictures also. I didn't think it was that complicated when I took it apart, but you know how that goes 2 years later when trying to get everything back the way it was originally. lol That plastic welding style stick I used is really a great product if you have any repairs to make.

- - - Updated - - -


Are you saying you have already found your next project?


Hehehehehe.........No sir. At the moment just enjoying watching you fella's bring your rides back to life.
 
I took a lot of pictures also. I didn't think it was that complicated when I took it apart, but you know how that goes 2 years later when trying to get everything back the way it was originally. lol That plastic welding style stick I used is really a great product if you have any repairs to make.

- - - Updated - - -


Are you saying you have already found your next project?

Awesome, I'll have to shoot ya a pm when it comes time to put mine back together, basically just unsure about the bolts that hold the 3 main pieces of the grille together/ fasten it to the car if that makes sense

Ah cmon Will, you know you want a Charger! Come on in, the water's fine! lol
 
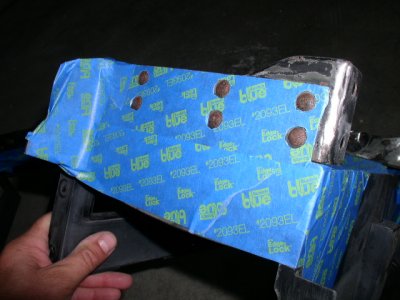
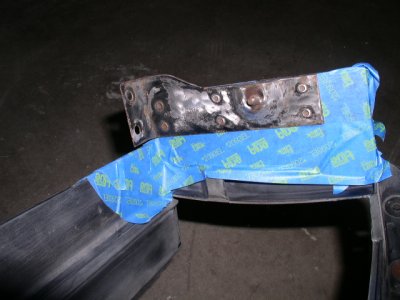
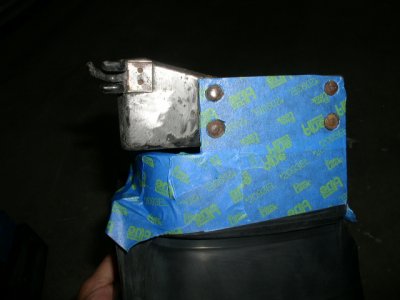
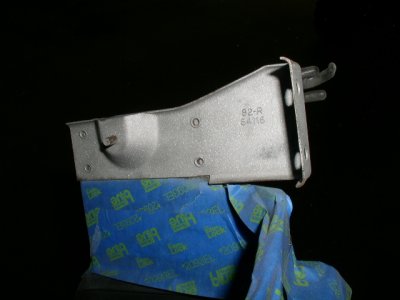
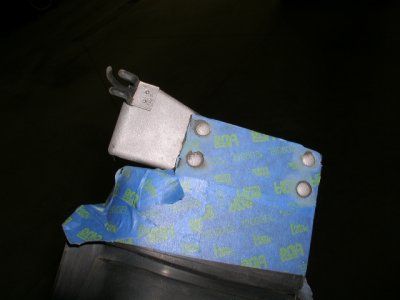
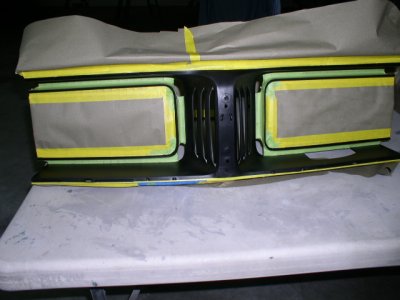
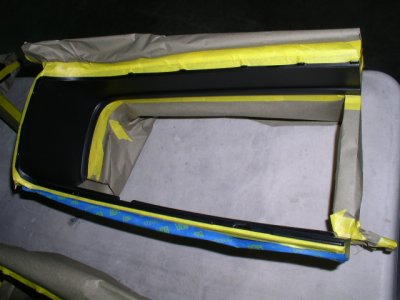
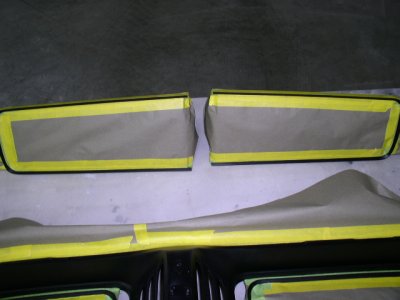
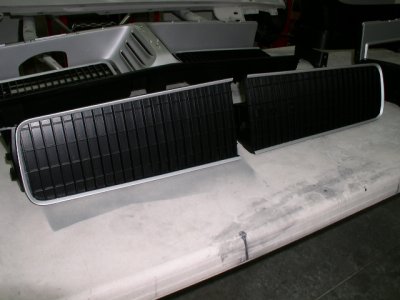
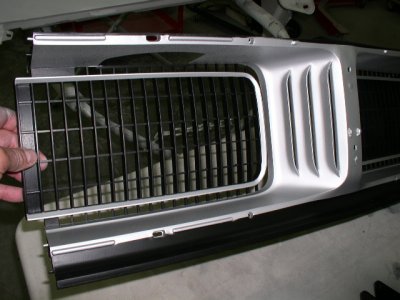
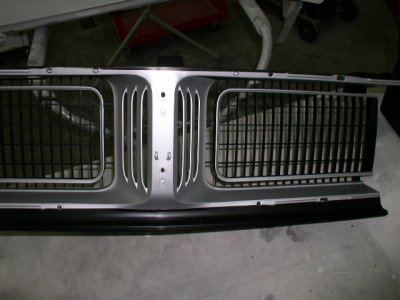
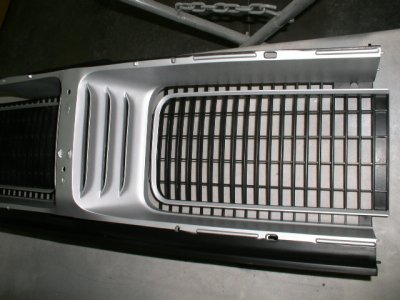
I can finally say I am done with the grill restoration except for bolting it together and installing the chrome trim on the front. I didn't keep track of the time I spent on it, and honestly don't want to know. It was very time consuming and tedious - now I know why the pro's get so much for this service. After I used the oven cleaner to clean off the old paint, I taped off the plastic around all the metal. A quick blast in my cabinet, prime and black paint finished off the metal.

P7230122.JPGP7230123.JPGP7230124.JPGP7230125.JPGP7230126.JPG

- - - Updated - - -

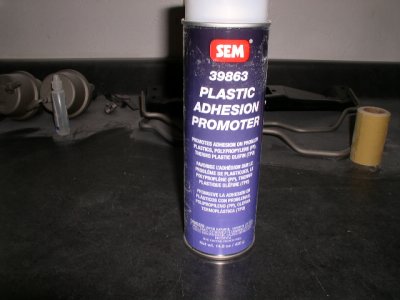
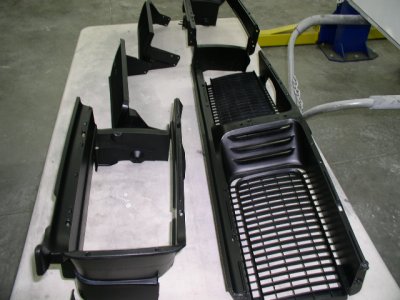
I then hung up the 5 pieces and first sprayed them with an adhesion promoter before a couple coats of trim black.

P7270141.JPGP7280142.JPGP7280143.JPG

- - - Updated - - -

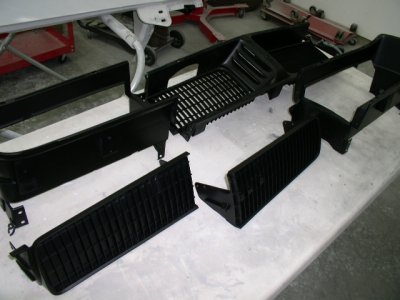
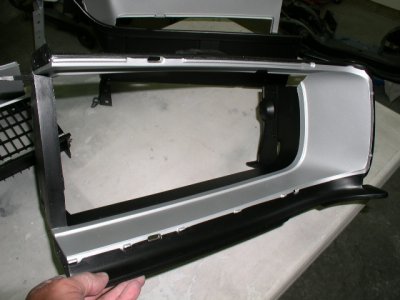
After letting them dry for 2 days, the real fun began. Taping off for the silver areas. And some shots off the finished product. I have seen enough of the Charger grill for awhile and don't ever plan on doing another one. Not a professional job, but good enough for who it is for.

P7290146.JPGP7290147.JPGP7290148.JPG

- - - Updated - - -

P7290149.JPGP7290150.JPGP7290151.JPGP7290152.JPGP7290153.JPG

- - - Updated - - -

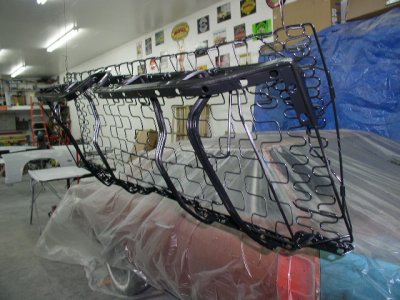
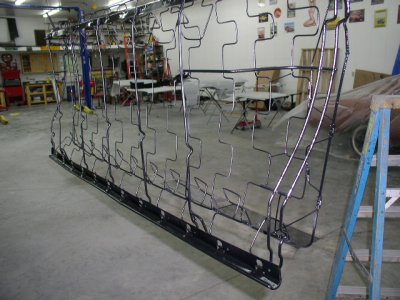
And a much easier project, got the rear seat frames blasted and painted.

P7280144.JPGP7280145.JPG
 
Thanks Don. Now I just have to keep the birds and big June bugs away from it while driving down the highway.
 
Great Progress

The grill looks fantastic !!!! It really came out very nice. What color / brand of silver did you use???

I'm glad to see that you blasted and painted the seat frames. It's the little details like that which cause a car to stand out from the crowd.

Looking Good !!!!
 
The grill looks fantastic !!!! It really came out very nice. What color / brand of silver did you use???

I'm glad to see that you blasted and painted the seat frames. It's the little details like that which cause a car to stand out from the crowd.

Looking Good !!!!


I used SEM 39143 trim black & Eastwood Silver Argent Rally Wheel Paint. These 2 colors seem to be the closest match to original according to most of the guys on the Dodge Charger forum.
 
Damn that came out awesome! Great job, gonna.be cool to see it all put back together. I was thinking about using that same adhesion promoter, think I'll pick up a can now :icon_thumleft:
 
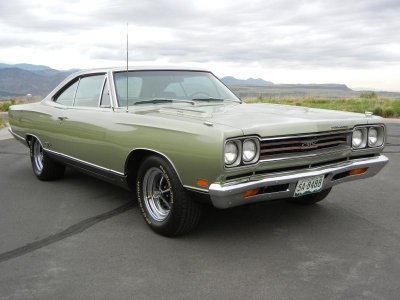
Took me a while to read through all the entries to find you hadn't yet painted your original F3 Charger. While it wouldn't have been my first choice for color if I were ordering a 69 Mopar today, I'm glad to have it on my numbers-matching GTX. A lot of people have told me how nice they think it looks, and women particularly seem to like it. With black to accent it, I think it looks pretty sharp.

My first new car was a 69 Sport Satellite that I special ordered in Alpine White with black vinyl & interior, so you might question my choices in color, but that was a good looking car too. Plus, you never had to worry about seeing another car in that color, same as the F3. If you car is numbers-matching (I didn't see where it said it was or wasn't), you might want to at least consider it.

This photo was taken on a cloudy day, so the color doesn't pop like it does on a sunny one or in my garage.
 

Attachments

  • 114.jpg
    114.jpg
    54.7 KB · Views: 482
Took me a while to read through all the entries to find you hadn't yet painted your original F3 Charger. While it wouldn't have been my first choice for color if I were ordering a 69 Mopar today, I'm glad to have it on my numbers-matching GTX. A lot of people have told me how nice they think it looks, and women particularly seem to like it. With black to accent it, I think it looks pretty sharp.

My first new car was a 69 Sport Satellite that I special ordered in Alpine White with black vinyl & interior, so you might question my choices in color, but that was a good looking car too. Plus, you never had to worry about seeing another car in that color, same as the F3. If you car is numbers-matching (I didn't see where it said it was or wasn't), you might want to at least consider it.

This photo was taken on a cloudy day, so the color doesn't pop like it does on a sunny one or in my garage.

The car does not have the original motor. I kind of wanted it that way during my search for a project. I didn't want to feel guilty about making changes during the resto. I did kick the idea around about going with the original colors, but ultimately decided against it because it would not have been a color I would have ordered new on one of these cars (especially triple green). Not saying it is a terrible color, but to me it doesn't look the part of the badass musclecar which I am looking for. It does look great on your GTX. In my mind it fits your car a lot better than on the Charger body - but that is just my opinion. You are right about not seeing many cars in the green shades at car shows, sort of ironic seeing as it seemed like 90% of them were painted some sort of green when new.
 
All these parts you are restoring so well is giving me the itch to get another project :headbang:

Lovin' that grill big time.
 
Looking good Elk, looks professional to me.:thumbsup:
X2, if you had posted that pic saying you bought an oem grill that was still in the box from 1969 I would have believed you. Great job
 
Argent Silver

I used SEM 39143 trim black & Eastwood Silver Argent Rally Wheel Paint. These 2 colors seem to be the closest match to original according to most of the guys on the Dodge Charger forum.

Thanks for the reply.

I have almost a quart left of silver argent rally wheel paint in PPG that I was thinking about using on my RR along with the SEM trim Black. The only problem I could have is that it's a lacquer. I'm afraid it might be too strong and soften up the plastic. I have a BIG TIME broken up POS lower grill that I could experiment with it on first.

Its always good to use an adhesion promoter when painting plastic.

Your grill looks awesome........... It really came out SWEET !!!
 
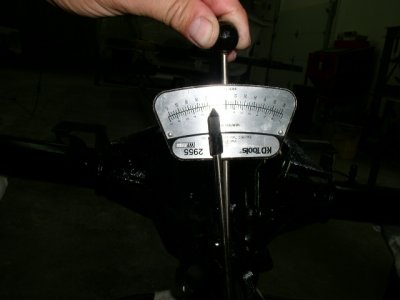
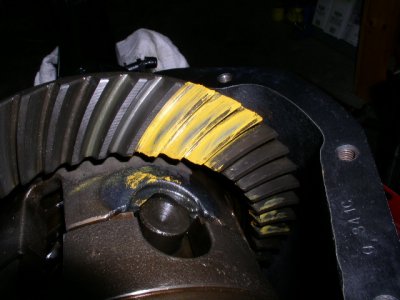
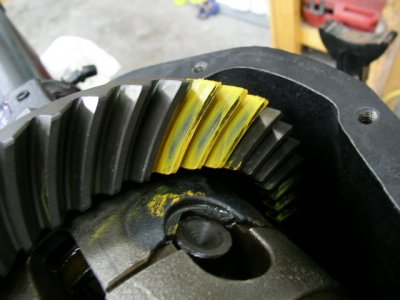
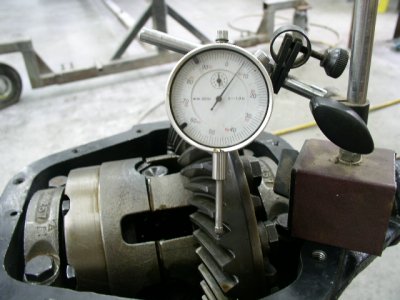
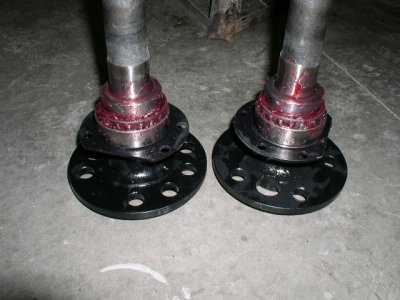
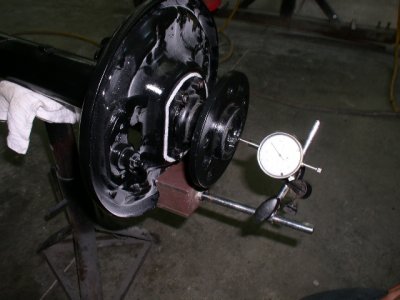
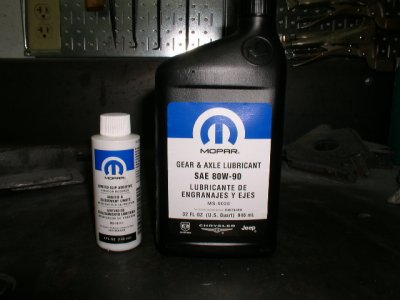
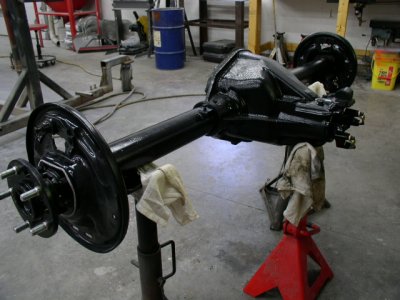
Spent the last several evenings learning about Dana 60 rear ends. Pinion depth, pinion preload, backlash, gear tooth contact pattern, axle shaft end play, and some other measurements I have probably forgotten already. I replaced all the bearing, seals, and clutch pack. I did go with the standard axle bearings instead of following the crowd to the "green" style. An interesting project for sure, but not something I would want to do everyday. It turned out pretty nice and should be ready for some abuse.

P7300160.JPGP7300162.JPGP7300163.JPGP7300166.JPGP7310168.JPGP7310169.JPGP8010170.JPGP8010172.JPG
 
Love to see guys taking on as much of the work themselves as possible, makes them that much more special when finished. Congrats
 
That's a really good contact pattern to have there. Did you do both sides of the tooth to see your drive and coast pattern?
 
Auto Transport Service
Back
Top