• When you click on links to various merchants on this site and make a purchase, this can result in this site earning a commission. Affiliate programs and affiliations include, but are not limited to, the eBay Partner Network.

1969 Charger R/T resurrection

that grill came out beautiful... good luck & great work
 
Hey sorry been off the site for a while. The graphics shop in menomonie is Transport Decor. 715-233-1470. They rent a space from us and do nice work. Lots of cool materials. They also install on site so they could come to you and install if that helped.

Scott
 
Hey sorry been off the site for a while. The graphics shop in menomonie is Transport Decor. 715-233-1470. They rent a space from us and do nice work. Lots of cool materials. They also install on site so they could come to you and install if that helped.

Scott

Thanks, I'll check them out when I get to that phase of the project.
 
LOL I'm a dumb@ss .. didn't look closely enough at this photo and thought it was the done heater core up on the shelf and you were going to post your pics of the refurb later

attachment.jpg

I have to admit, at first glance i thought it was a awful long heater core housing! lol, oh well it does look great Elk! :)
 
Thanks Ron - just wish I had more time to get out in the garage to get more accomplished. Work & kids leaves no time for the toys.
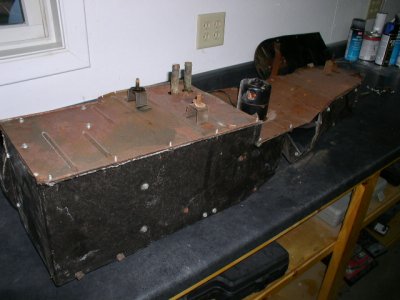
 
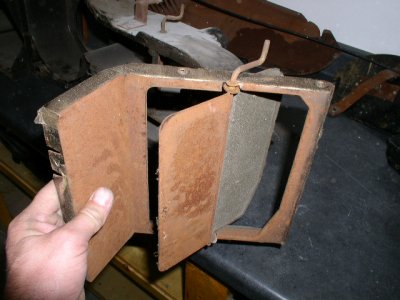
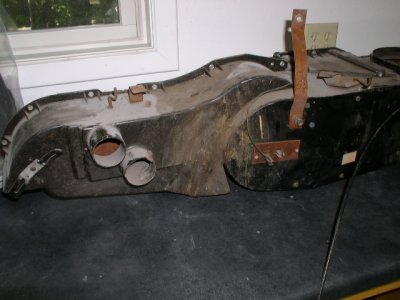
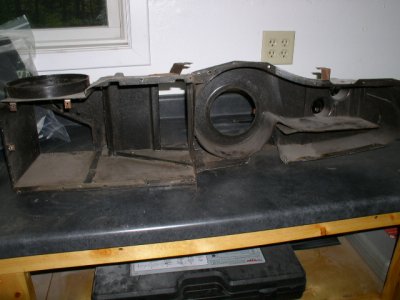
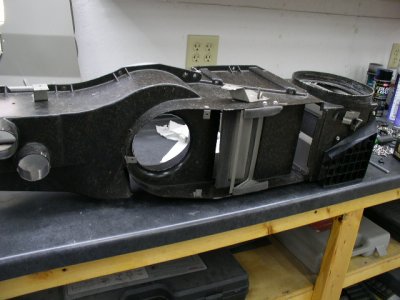
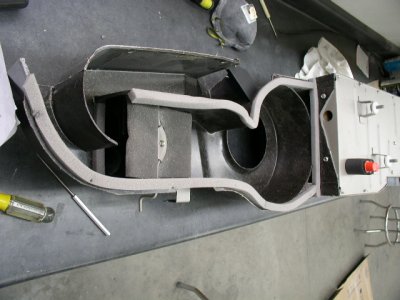
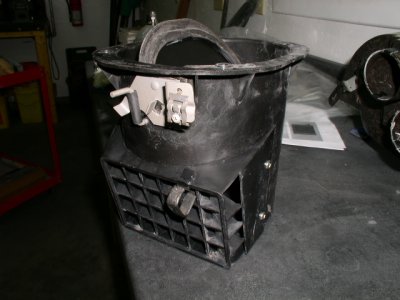
I managed to free up several hours over the past couple of weekends and decided to take care of my heater box. Here is what I started with.

P9290087.JPGPA010112.JPGP9290085.JPG

- - - Updated - - -

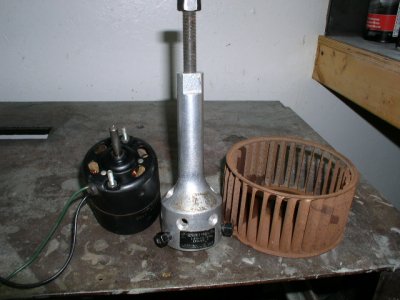
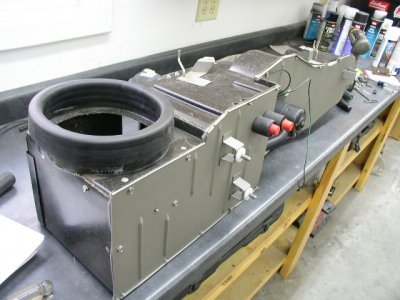
Stripped it down as far as possible. Good thing I am in the HVAC business and had a blower hub tool. I don't think the wheel would have come off any other way.

PA040128.JPGPA040130.JPG

- - - Updated - - -

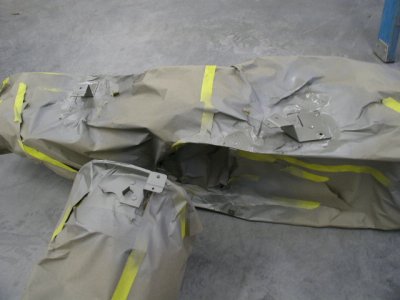
In addition to blasting and painting every piece that came off, I also taped off the box and used a small hand blaster to get the surface rust off the riveted on parts. I used a satin black and Eastwoods Detail Grey for paint. I did not paint the actual housing as I thought it looked ok and I have no idea how a person could replicate the exact look anyway.

PA110152.JPG

- - - Updated - - -

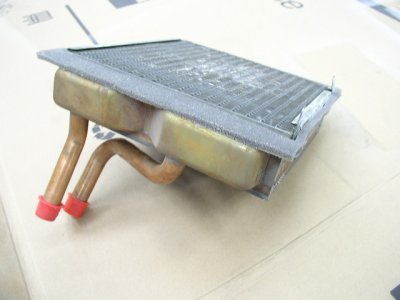
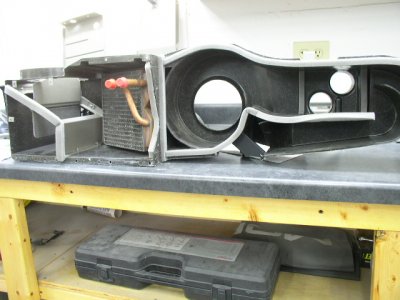
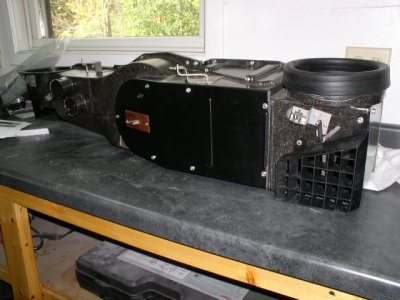
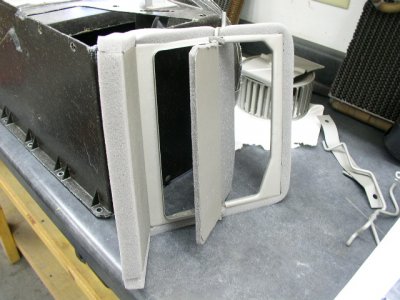
And the finished product thanks to Detroit Muscle Tech's rebuild kit. I'll put this up on a shelf and cross another thing off the list to do.

PA120156.JPGPA120157.JPGPA120158.JPGPA120160.JPGPA120161.JPGPA120162.JPGPA120155.JPGPA120164.JPG
 
Elk you make it look easy! You have it looking great and thats probably not the part of this build that you looked forward to doing, mark another off the list! :)
 
Thanks guys, it actually wasn't as bad as I was expecting. Best part is that there is no mouse smell anymore lol. I have also got the ball rolling on my bumpers and bumperettes. Decided to go with Tri-City Plating out of TN, and should have them back in a couple of weeks. Last week I dropped off my 440 block and crank to the shop building the motor. They are looking at using 440 Source heads, Performer RPM intake, and a Holley 770 Street Avenger. Still doing some research on the cam. He will dyno it when done, but says it will be a torque monster with around 500 hp. Sounds like fun to me. I have been checking into headers and exhaust and think I am down to either TTi or Dougs with Dynomax mufflers.
 
:eusa_think:another fine job and good post they seem to just keep coming along what's the next phase thanks for sharing :headbang:
 
:eusa_think:another fine job and good post they seem to just keep coming along what's the next phase thanks for sharing :headbang:

Well, I am going to get the dash put together next. Hoping the kid can free up some time to get back over and get the final blocking done on the exterior of the car. Then off to the body shop for paint :hello2: - that is what I am really looking forward to.
 
I managed to free up several hours over the past couple of weekends and decided to take care of my heater box. Here is what I started with.


Stripped it down as far as possible. Good thing I am in the HVAC business and had a blower hub tool. I don't think the wheel would have come off any other way.


In addition to blasting and painting every piece that came off, I also taped off the box and used a small hand blaster to get the surface rust off the riveted on parts. I used a satin black and Eastwoods Detail Grey for paint. I did not paint the actual housing as I thought it looked ok and I have no idea how a person could replicate the exact look anyway.


- - - Updated - - -

And the finished product thanks to Detroit Muscle Tech's rebuild kit. I'll put this up on a shelf and cross another thing off the list to do.

H2E - What a great looking job on the heater box, so that's how it's done . . . ADD another on to my list . . . ( thanks buddy ! ) ( SMILE )
 
H2E - What a great looking job on the heater box, so that's how it's done . . . ADD another on to my list . . . ( thanks buddy ! ) ( SMILE )

Beautiful job Elk, another reference for me when I get to it!
keep them coming! THANKS
 
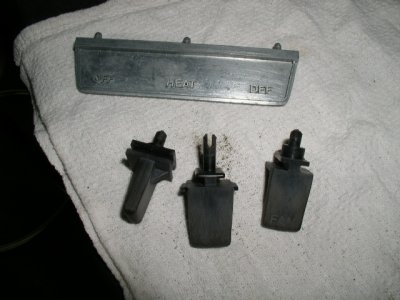
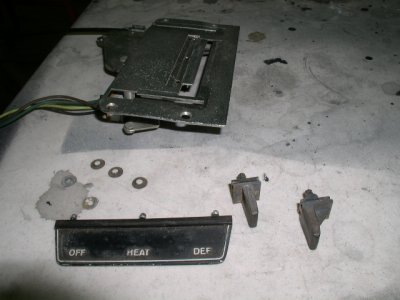
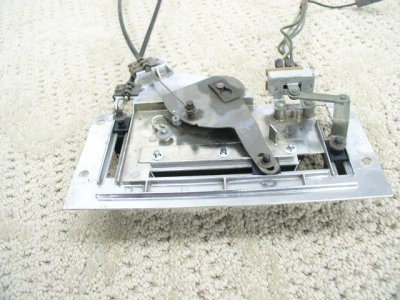
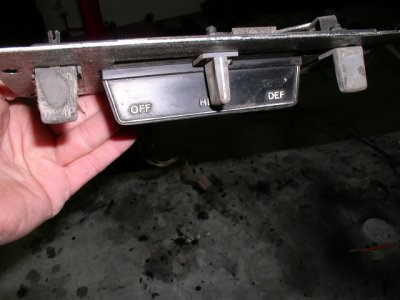
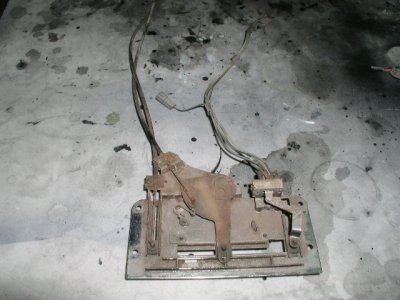
Tackled the heater control - here is what I started with.

P9290080.JPGP9290081.JPG

- - - Updated - - -

Stripped it apart.

P9290083.JPGP9290082.JPG

- - - Updated - - -

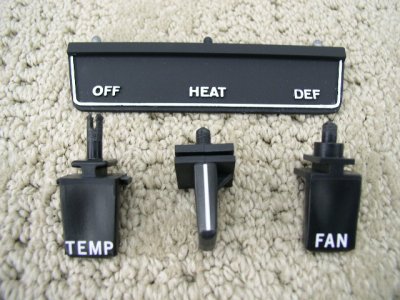
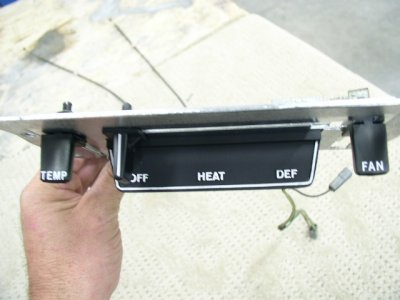
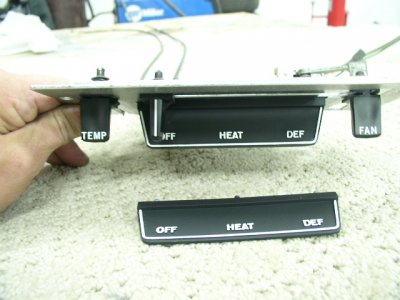
I used a sticker kit for the 3 knobs, but I had no option on the panel but to repaint. I struggled with this piece, stripping it back down to bare metal 4 times before figuring out how to make it look nice. Started with etch primer and then flat black - that was the easy part. I tried a white paint pen first, but wasn't able to get nice lines. Next I used white paint on the end of a toothpick, but with the same results. I finally sprayed gloss white on a piece of thin cardboard and let it sit for a couple of minutes. I laid this on a flat table and the pressed the panel into it, let it dry for 2 hours and did it again. It worked so good I did another one I had laying around just for the hell of it.

PA140170.JPGPA140172.JPGPA140175.JPGPA140177.JPG

- - - Updated - - -

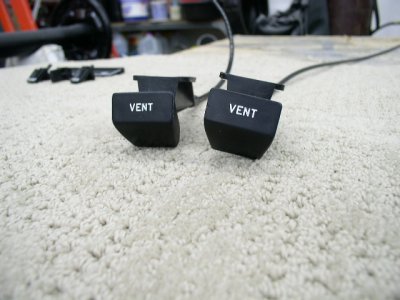
I then fixed up the vent cables. Adhesion promoter, SEM black, and then SEM clear. I let these set for 2 days before using a pin and dabbing white paint in the letters. Very quickly I then wiped them lightly with denatured alcohol to remove the excess white paint. Saved myself $100. with just a little paint.

PA140171.JPG
 
Elk, The work, the quality of it is going to bring requests from some, that looks terrific!
 
:icon_thumright:wow another nice job done what's next on the list next :icon_thumleft:
 
I would've never thought of using the cardboard like you did. excellent work and attention to detail.
 
Auto Transport Service
Back
Top