• When you click on links to various merchants on this site and make a purchase, this can result in this site earning a commission. Affiliate programs and affiliations include, but are not limited to, the eBay Partner Network.

1969 Charger R/T resurrection

:icon_thumright:wow another nice job done what's next on the list next :icon_thumleft:

Think I am going to get the dash put together.

- - - Updated - - -

I would've never thought of using the cardboard like you did. excellent work and attention to detail.

I tell you, I was about to throw in the towel on that piece. I screwed around for two weeks trying to get it to look decent with regular painting. I did the second one in a manner of minutes with the cardboard trick.
 
Awesome progress and great work Joel, thanks for the tip on the heater controls too! I was just looking at mine yesterday thinking how big of a PITA it'd be to try and paint pen the letters back nicely, just saved me a lot of work haha :icon_thumleft:
 
I'm definitely watching what you're doing! That heater control turned out awesome. Now I know how I'm going to be doing mine when the time comes. Great work as usual H2E.
 
That's one thing that makes restoring these cars fun "all the little details" lots of things to learn and experiment with. Once again, excellent job.
 
Awesome progress and great work Joel, thanks for the tip on the heater controls too! I was just looking at mine yesterday thinking how big of a PITA it'd be to try and paint pen the letters back nicely, just saved me a lot of work haha :icon_thumleft:

Anything for you Speedy lol.
 
:icon_thumleft: looking real good :headbang:
 
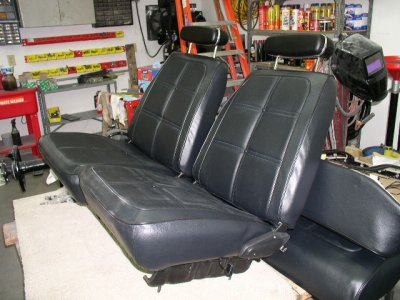
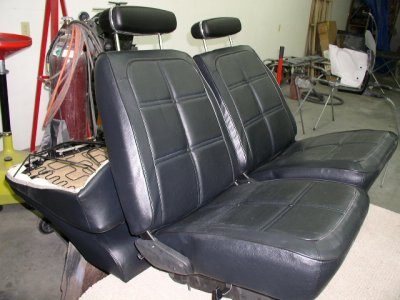
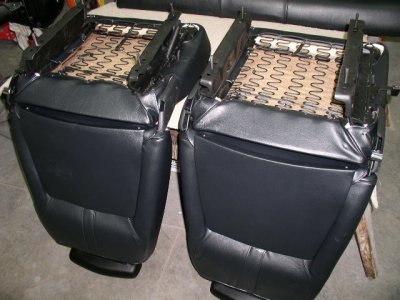
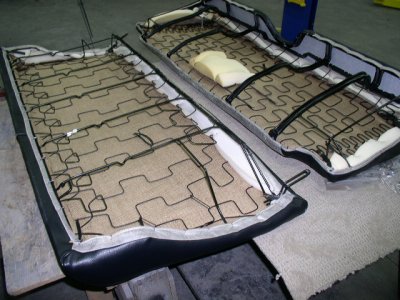
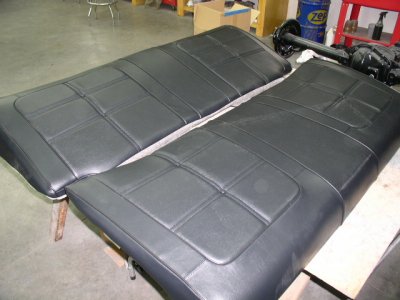
Out with the old green & I with the new black. I bought the interior from Dante's - who I can't say enough good things about. I had a local shop that does all the interior work for Muscle Car Restorations recover the seats. Got them back yesterday and put together last night. Triple black here we come.

PA170179.JPGPA170180.JPGPA170181.JPGPA170182.JPGPA170184.JPG

- - - Updated - - -

Well in that case I have another sanding block with your name on it lol

I'm not quite sure you would want me running the blocks during the final sanding - that's kind of the impression I am getting from the kid helping me at least. And you know what? It doesn't hurt my feelings one bit. Lol
 
:glasses2:wow they look real good :headbang:
 
Love your work H2E . . . and great attention to detail . . . Seat look fantastic ! ! ! Are we there yet ? ! ? ! ? ( wink )
 
Looking at the pics. I guess I could have dusted them off a little before posting them up. Everything in my shop is covered in sanding dust at the moment and I didn't realize it showed so well. The headrests were wrapped up and packed away so they are squeaky clean.

- - - Updated - - -

Are we there yet ? ! ? ! ? ( wink )

Well not quite yet, but I will say everything looks a whole lot better than it did last year at this time.
 
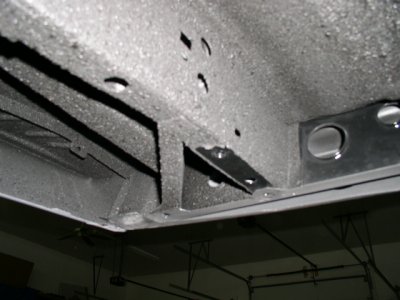
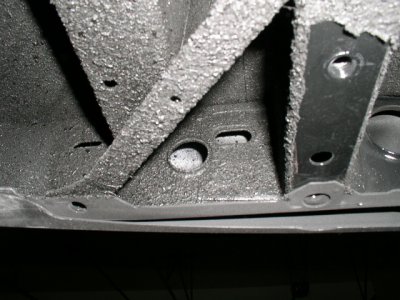
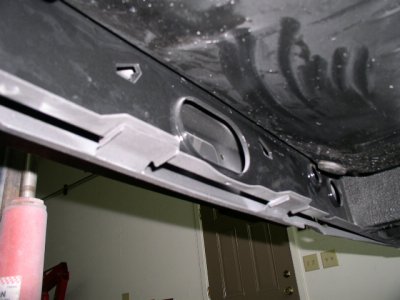
Good evening elk just have a quick question about installing rear valance to rear frame brace. There is two bent tabs on valance should these be bent so it fits flush with rear frame brace or do you adjust to centre rear tail light.also did you have to shave a little metal of tail light to fit squarely on the rear valance.
 
Good evening elk just have a quick question about installing rear valance to rear frame brace. There is two bent tabs on valance should these be bent so it fits flush with rear frame brace or do you adjust to centre rear tail light.also did you have to shave a little metal of tail light to fit squarely on the rear valance.


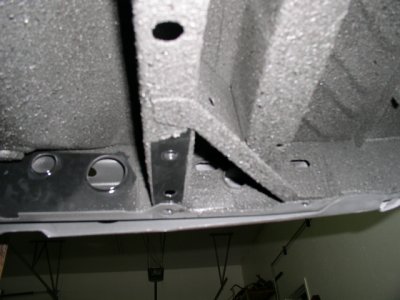
Are these the tabs you are referring to? They lined up fairly well with my frame and rear spring hangers. We centered everything as best as possible but did have to trim a little here and there to make everything fit nice.
PA170185.JPGPA170186.JPGPA170187.JPGPA170189.JPG
 
Last edited:
Excellent work and updates as always Elk. I love your cardboard stamp idea and the heater controls look awesome, as do the seats
 
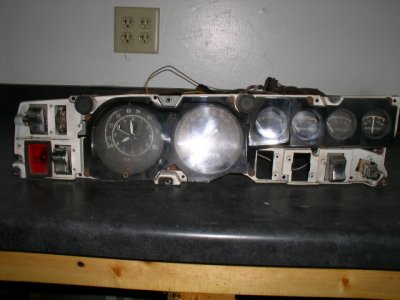
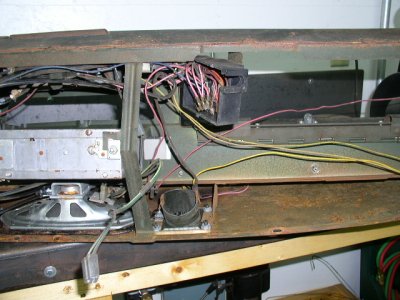
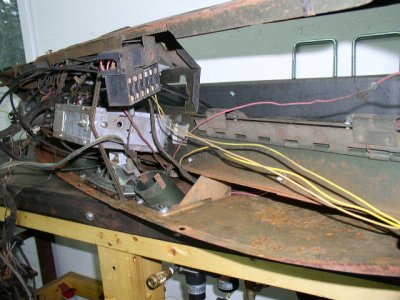
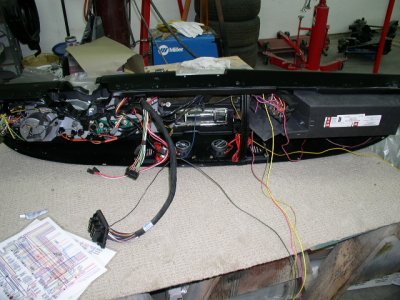
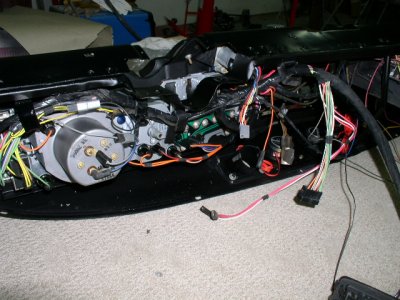
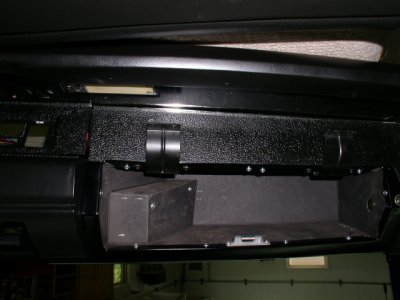
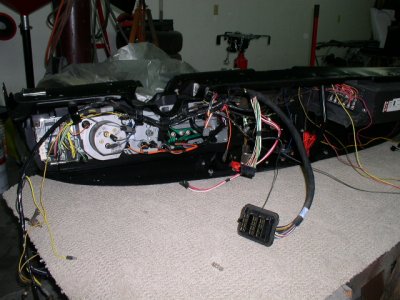
Finally got around to getting most of the dash put together. Here are some before shots.

P5180169.JPGP5180173.JPGP8040192.JPGP8040193.JPG

- - - Updated - - -

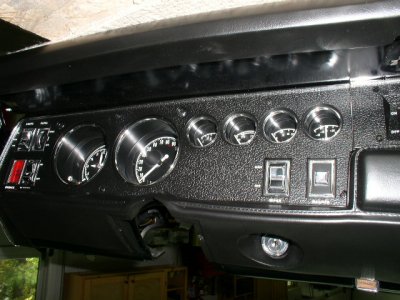
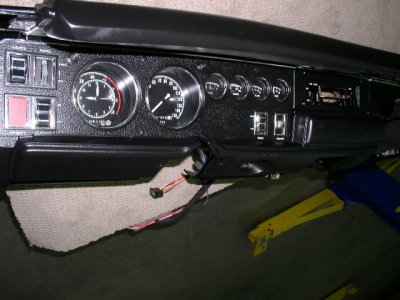
And some of how it looks now. I will leave it like this for now and finish it up after it is in the car. Everything seemed to go smoothly, but of course I won't know if it works for awhile yet. Man - I need to get this car in paint so I can start bolting everything back on it to free up some floor and shelving space. I did just think of one issue I had. I purchased an interior screw kit for $35. from Classic Industries previously. I think I was able to use maybe 4 screws out of it on this entire dash. They were either to short, to long, the wrong color, or the heads were to large (this was the case for all the black finish screws that hold on the face plates, and the main reason I wanted the new kit). After all the problems I had with Classic lately, I didn't even bother calling them. I bought a screw kit from Mega or YO for my RR years ago and everything fit perfect. Anyway, The Classic kit for Chargers is a major POS - don't waste your money on it.

PA010088.JPGPA010089.JPGPA010091.JPGPA010092.JPGPA130166.JPGPA130167.JPG
 
Finally got around to getting most of the dash put together. Here are some before shots.


And some of how it looks now. I will leave it like this for now and finish it up after it is in the car. Everything seemed to go smoothly, but of course I won't know if it works for awhile yet. Man - I need to get this car in paint so I can start bolting everything back on it to free up some floor and shelving space. I did just think of one issue I had. I purchased an interior screw kit for $35. from Classic Industries previously. I think I was able to use maybe 4 screws out of it on this entire dash. They were either to short, to long, the wrong color, or the heads were to large (this was the case for all the black finish screws that hold on the face plates, and the main reason I wanted the new kit). After all the problems I had with Classic lately, I didn't even bother calling them. I bought a screw kit from Mega or YO for my RR years ago and everything fit perfect. Anyway, The Classic kit for Chargers is a major POS - don't waste your money on it.

View attachment 146743

My votes on the "after" look . . . that's fantastic, looks even better than NEW ! ! Keep pushing along, and thanks for the updates ! !
 
Elk, That does look better then new! The dash in these Chargers and 70 RR's are one of the coolest in these Mopars for sure, kind of always wished the 69 had one like them.. You sure are making this car look great.
 
Auto Transport Service
Back
Top