• When you click on links to various merchants on this site and make a purchase, this can result in this site earning a commission. Affiliate programs and affiliations include, but are not limited to, the eBay Partner Network.

1969 Dodge Charger RT Restoration

Organsol is a lacquer based paint and sprays entirely different than most other top coats. Very difficult to find in the original composition, but it still can be found if your a purist looking for correctness. Most guys are now going to other forms of urethanes to achieve the desired look. There are various techniques to produce a desired effect.

The hood inserts was a gloss black and there is a tape insert offered by a variety of vendors supplying those pieces.
 
Richard I had read where the St Louis plant had went to a flat paint sometime in the 69 run and didn't use the Qrgansol. Can you confirm that? I went with a flat black because of ease of care. Shop originally sprayed mine with lacquer but I didn't like it cause it looked grayish. Maybe because they wet sanded after the black was applied and it contaminated the black with clear from sanding.
 
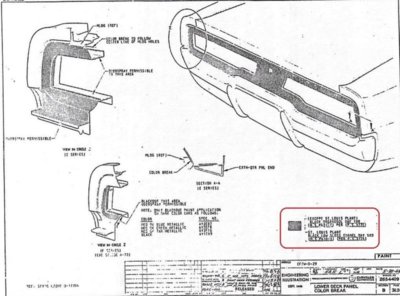
You'll notice that the ST louis plant used low gloss black in the tailpanel blackout ..

8261670-chargerblackouttailpanel (1).JPG
 
Organosol did have a tendency to dull out and loose its texture through time and use. It looks very good when new and properly applied. I have no ideal on the plant variations as our 69 Charger is a Hamatrack car. I have attached a link to a posting that has some very good reviews. Hopefully this will help with the process.
http://www.dodgecharger.com/forum/index.php/topic,125355.0.html
 
Thanks all, I will have to look into the tail panel more. The tape on hood inserts will be much easier, and it looks like vendors are offering two levels of gloss.
 
Never knew of two levels of gloss for the hood inserts. All of the originals that I am familiar with, are of the gloss black color. We do make them in flat black, red, white and gold to accent certain colors and as per customer request.
 
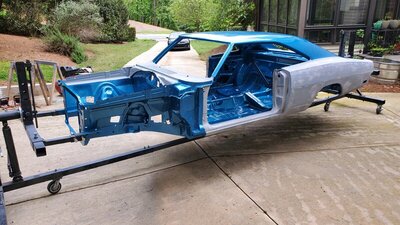
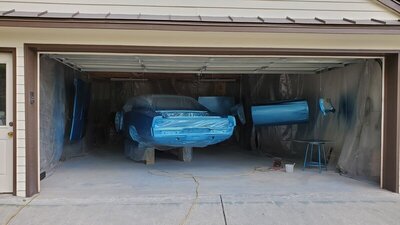
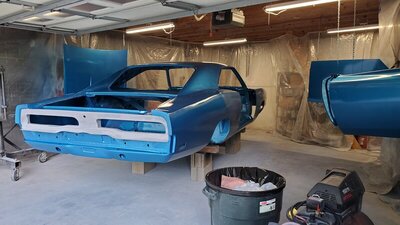
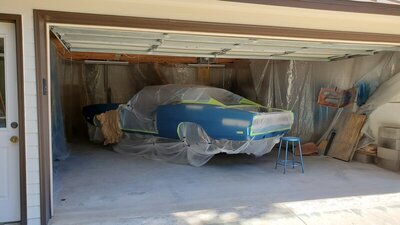
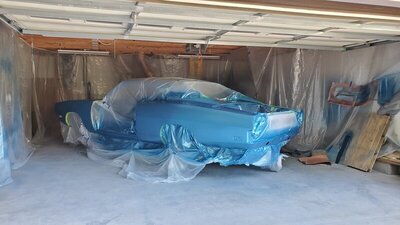
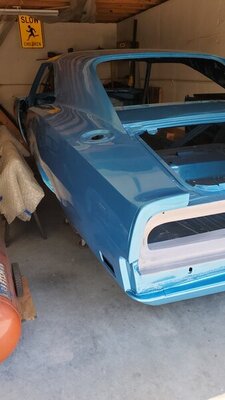
One more round of blue down and just one more to go. Thanks for the advice on the stick-on blackouts for the hood and on painting the tail panel black last. That will make things easier and I can just focus on blue.

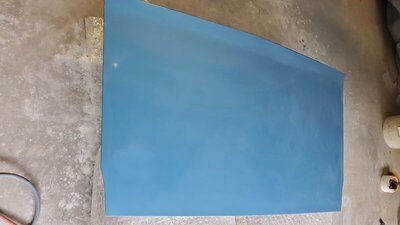
It is too cold this weekend, so the final blue will go on next weekend. I think I am going to inspect the exterior one more time and do a little more block sanding. I just hope I can get the clear to go on nice and smooth. The blue has been spraying nicely as long as I do thin coats so the metallic does not run. I would be tempted to not wet sand and buff the clear if it had minimal orange peel and looked somewhat original. Any thoughts on leaving orange peel or advice on getting the clear to go on smooth?

20200424_181657.jpg 20200502_190208.jpg 20200503_153649.jpg
 
The problem with current restorations and even the true OE caliber restorations is that the mass public believes that the paint jobs should be 110% perfect with no runs, lead areas finished to perfect smoothness and no orange peel, etc. So unfortunately, if you attempt to do a truly correct paint job with the runs and orange peel, then you will get people thinking that the car was poorly painted. Seeing that you are already planning on using a clear coat and detouring from the straight enamel finish, I personally would say that I would make the paint as nice as possible. But the most important thing is what is going to make you the happiest. And the car is looking very good up to this point and I am sure that the remainder of the car will turn out very nice as well. Keep it up, looks great!!!
 
Last edited:
As expected the clear didn't come out smooth enough and I will have wet sand and polish. No decision to be made. It did turn out well and I am happy with it. I am glad I did that extra round of high build primer and block sanding!

20200517_163819.jpg 20200517_175052.jpg
 
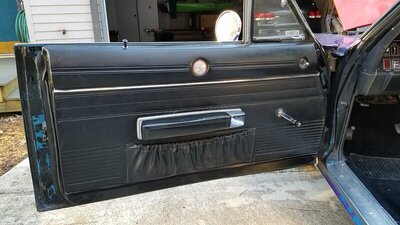
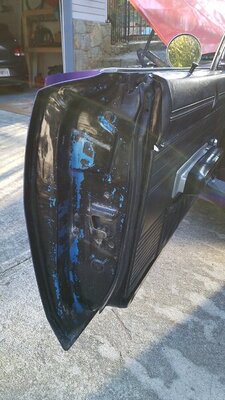
My next question is did they originally black out part of the inner door panels for black interior? My car was painted purple at some time and they painted parts of the door where the trim panels didn't cover black. There was black paint on around and below the trim panel. My door jambs were also painted black, so I assumed this wasn't correct.

Did they black out any of the door from the factory? Does anyone have pictures of how it should be if they did? I could see them putting the black below the panel since it would be visible inside. Thank you!

20180202_165501.jpg 20180202_165505.jpg
 
While I'm no expert I would imagine the entire door is painted same as the body color, not based on the interior color. My car is Red (PP1) with black interior & the door is all Red.
 
As Wayne's picture of his Super Bee shows, the tape line was basically split by the door weatherstripping holes. This tape line will run all the way from the area at the door end cap seal all the way to the top of the door at the vent window frame.
 
Thanks for the picture and info dadsbee and 69bfan! That makes sense, the panel section was black and a previous owner just painted the part between the seal and the edge of the door on mine black. So the shiny black at the bottom of my door may be original and the flat on the edge is not.
 
The interior door door color was sprayed after the body color. I have no ideal on if they used a "mask" to expedite the process or just used a taping process to paint the interior color of the car. But the area of the door "inside the weatherstripping holes" would receive the interior color. All other areas like the door striker area would receive body color.

The assembly line process for the interior paint was a lacquer mix. If you look at a "survivor car", you will see that the paint at the bottom of the door frame is thinner and more likely to exhibit more signs of orange peel and have less shine. It was just production line work.

Hopes that this makes sense. Even though Wayne's Super Bee uses the painted upper door frames where the Charger uses the padded upper pad, it gives you a very good view of the break in the paint.
 
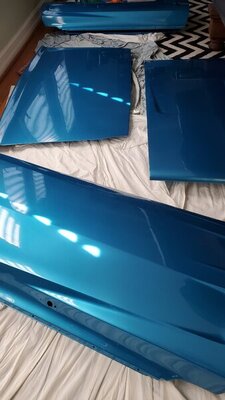
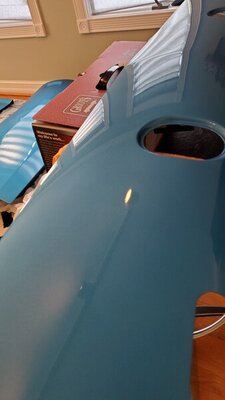
After many hours of wet sanding I finally got the car smooth. Unfortunately there was a lot of texture and it was my first time, so I sanded through quite a few spots. I decided to sand it all smooth, touch up paint, and clear the entire exterior of the car. The touch up of the B5 didn't go well as I kept seeing halos with the metallic paint, so most panels that needed blue I just resprayed the entire panel. I also figured out that I was spraying the clear way too thin causing the texture.

It turned out much smoother this time and wet sanding and polishing the first piece (front valence) went very well.

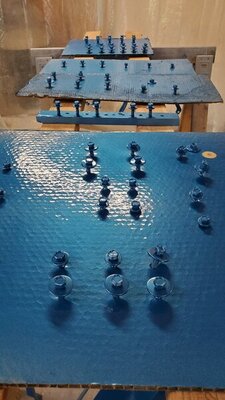
20200524_174034.jpg 20200711_134022.jpg 20200711_160011.jpg 20200719_111533.jpg 20200719_111732.jpg 20200719_111557.jpg
 
Now I am on to wet sanding and polishing the remaining parts. I am also preparing for spraying black the tail panel, inside of the doors, behind the head lights, and under body coating.

For the tail panel I will use a couple of peoples suggestions on mixing something similar to the original Organosol. I will probably use the first one. I believe the DX1999 has been discontinued, but was able to find some still.
http://www.dodgecharger.com/forum/index.php?topic=125355.0
https://moparconnectionmagazine.com/organosol-separating-truth-from-fiction/

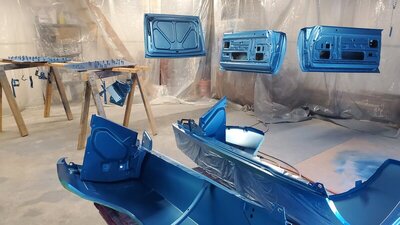
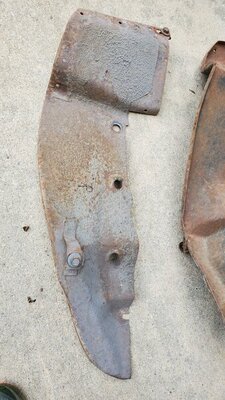
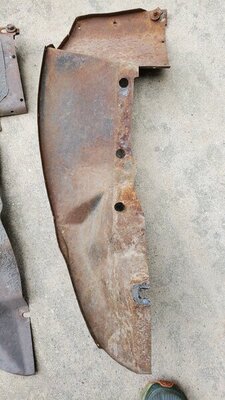
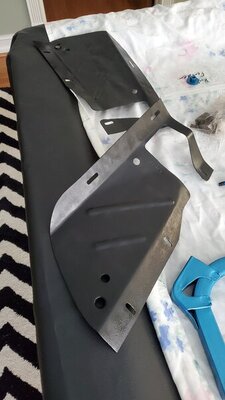
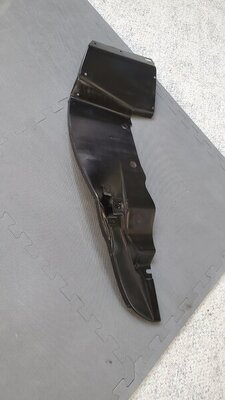
Currently I am in the middle of blasting and painting the inner fender wells. 3 out of the 4 were in very good shape, the fourth needed a lot of straightening. None of them had much rust which is the good thing about my car.

20200716_175052.jpg 20200716_175055.jpg 20200719_111646.jpg 20200719_111926.jpg
 
What did you end up going with for the basecoat? Did you use the Deltron PPG or go with the Chromobase?
 
What did you end up going with for the basecoat? Did you use the Deltron PPG or go with the Chromobase?

Sorry for the slow reply. I did end up going with SPI for everything but the base coat and with PPG Deltron for the base. It wasn't cheap but it did cover well and looks great. B5 blue looks amazing. Should be finishing the cutting and buffing in the next week.
 
Well wet sanding and polishing the entire thing took almost a month. It looks much better now and am glad I added more clear coat. More pictures to come this weekend, but still looks the same in pictures. I did start putting in fender shields and body plugs. I was supposed to pant behind the head lights and the tail panel this weekend, but I was given the wrong paint. I guess I will go back on the rotisserie one last time and try to do the under body coating first.

I do have one question and hopefully someone can provide a picture. I mixed up the bolts for the rear inner fender shield (large one in front of the door) and am not sure what the bolt should look like that is visible on the lip of the wheel wheel. Does anyone know the size of the washer and if it should be painted body color?
 
Auto Transport Service
Back
Top