You are using an out of date browser. It may not display this or other websites correctly.
You should upgrade or use an alternative browser.
You should upgrade or use an alternative browser.
1969 Dodge Charger RT Restoration
- Thread starter bg1767
- Start date
bg1767
Well-Known Member
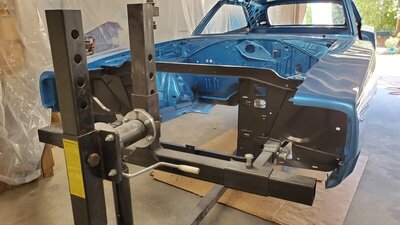
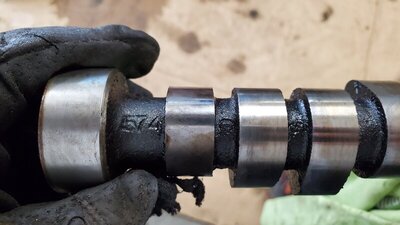
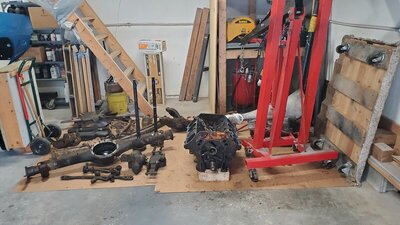
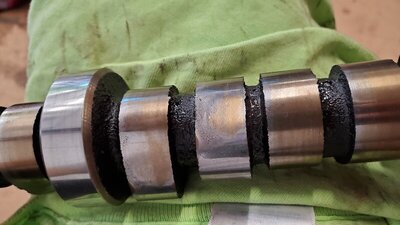
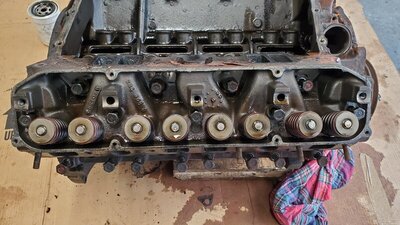
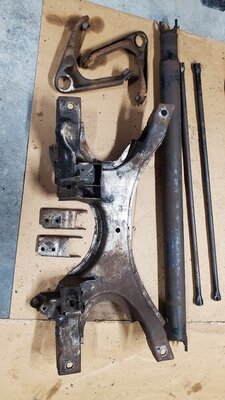
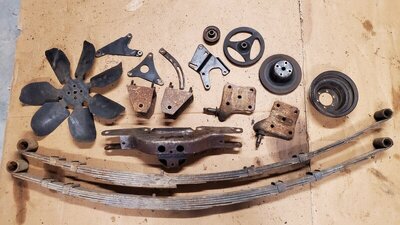
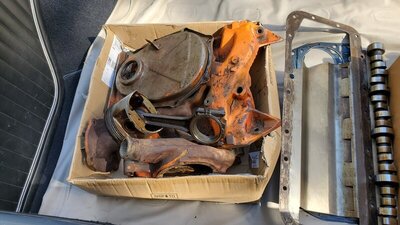
The suspension and engine have all been taken apart as well. Some of those original bushings were in much worse shape than I thought. Many of them were a bear to get out! Does that drive shaft look original? They way one end was welded made me unsure. How about the cam, there are some numbers on there?
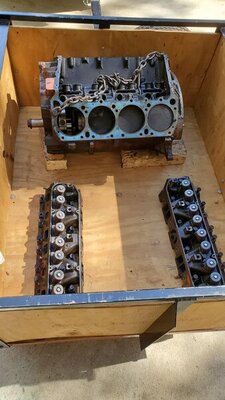
The engine, except for the cam all looked better than expected. From my micrometer it looks like it may have never been bored out, but we will see what the machine shop says. If anyone knows of a good MOPAR engine shop in or near Atlanta, please let me know!
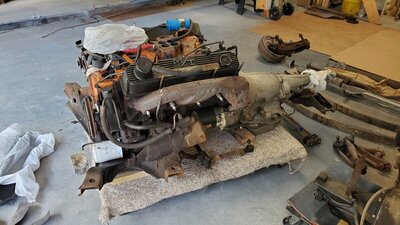
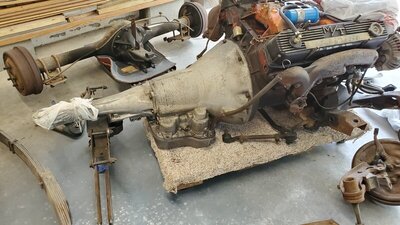
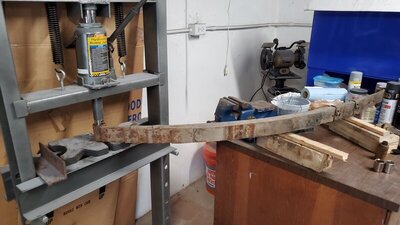
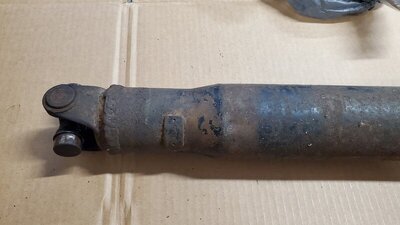
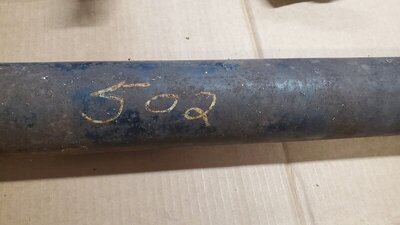
The engine, except for the cam all looked better than expected. From my micrometer it looks like it may have never been bored out, but we will see what the machine shop says. If anyone knows of a good MOPAR engine shop in or near Atlanta, please let me know!


bg1767
Well-Known Member
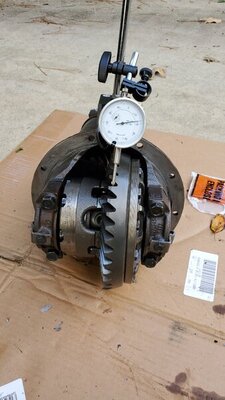
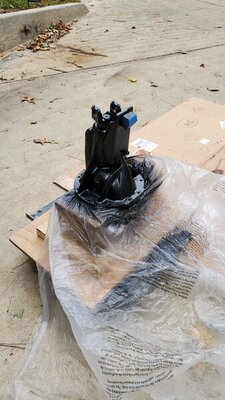
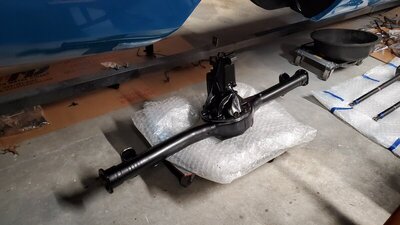
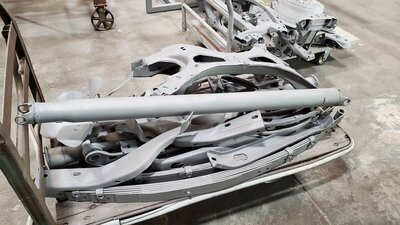
In November and January I restored suspension and engine parts, and even got a few installed. Most suspension parts were powder coated.
Used Caswell Plating's black oxide kit for most of the hardware, it works very well. Some of the parts were then also painted for extra protection or to get a closer color to original.
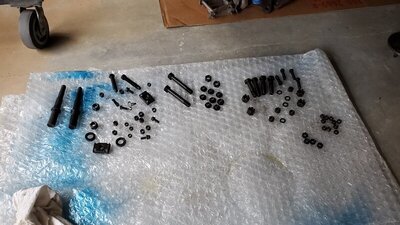
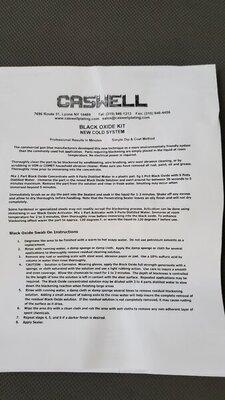
Used Caswell Plating's black oxide kit for most of the hardware, it works very well. Some of the parts were then also painted for extra protection or to get a closer color to original.


bg1767
Well-Known Member
bg1767
Well-Known Member
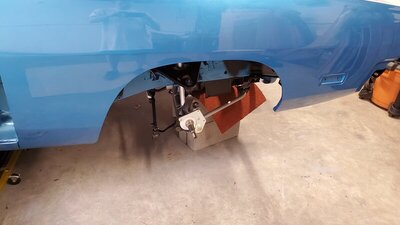
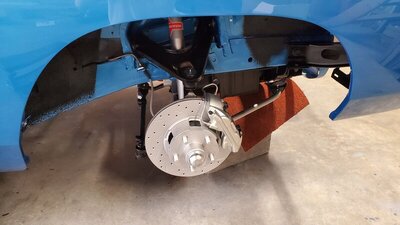
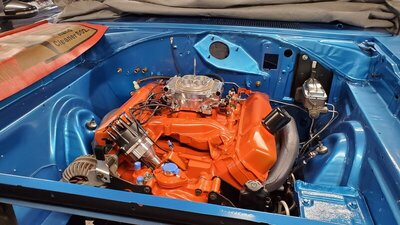
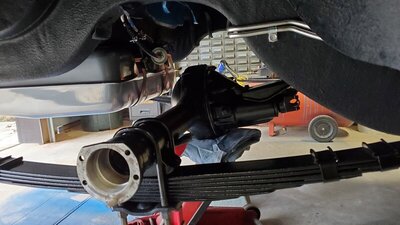
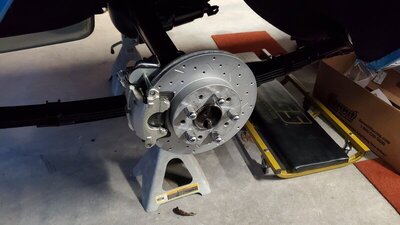
I am trying to go back mostly to original, but am making 2 upgrades. A Leeds front and rear disk brake kit and Holley Sniper EFI. For the brakes I am not using power brakes as I like the clean engine compartment look and liked the brake pedal feel of the original 4 drums. For EFI I am using an EFI tank as I liked the baffles. Not cheap, but they installed nice.
For the gas tank I connected to the two new vents and am going to use the one on the original filler tube that goes into the trunk floor frame rail. I made sure it was clear and hope this is enough. I didn't want the shut off vent valve installed in the C pillar as some others have done. Any thoughts on this and if this will be enough?
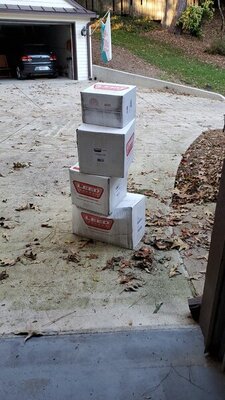
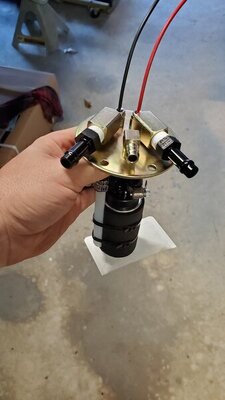
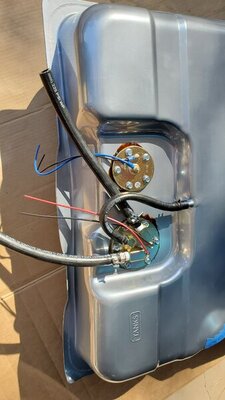
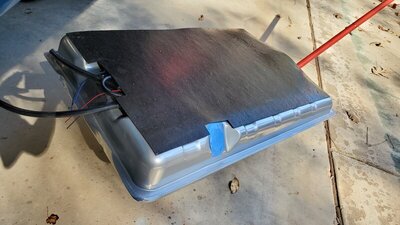
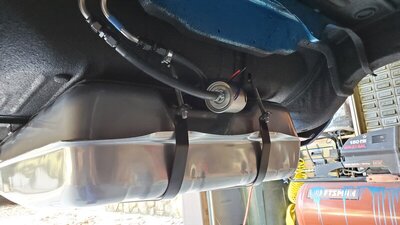
For the gas tank I connected to the two new vents and am going to use the one on the original filler tube that goes into the trunk floor frame rail. I made sure it was clear and hope this is enough. I didn't want the shut off vent valve installed in the C pillar as some others have done. Any thoughts on this and if this will be enough?


bg1767
Well-Known Member
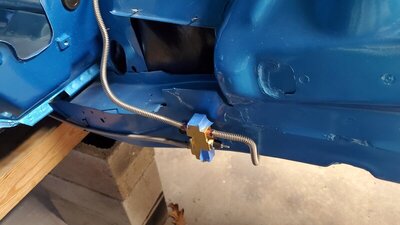
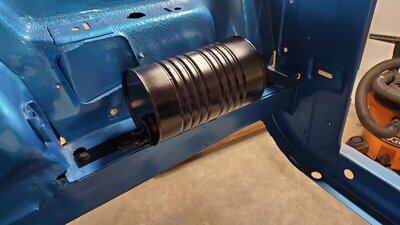
In January I am finishing the restoration of engine and suspension parts and getting some of them installed. Parking brakes are working and most of the brake lines are installed. All of them are stainless steel from Inline Tube. They all installed very nicely. Was able to save the vacuum canister under the battery tray with one spot of JB Weld. It was fun and cheap rebuilding the power steering pump. Most of my engine components look original which is surprising for over a dozen different owners.
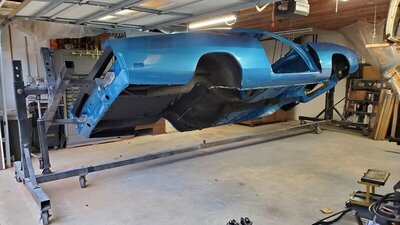
It was so dusty inside and out I had to give it its first wash inside and out. Strange washing half a car.
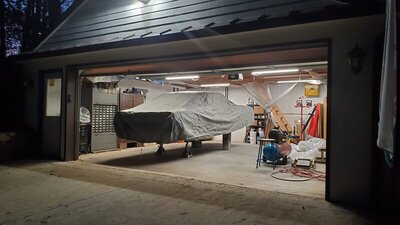
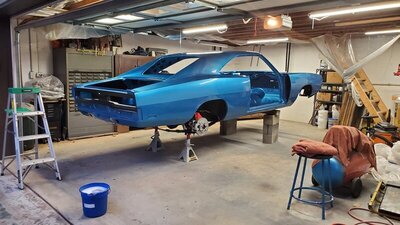
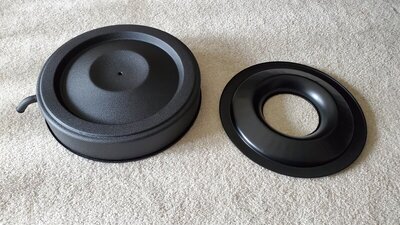
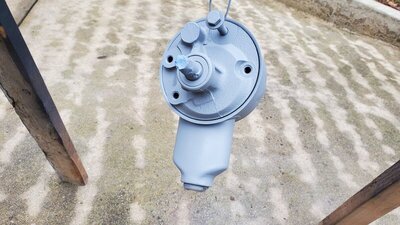
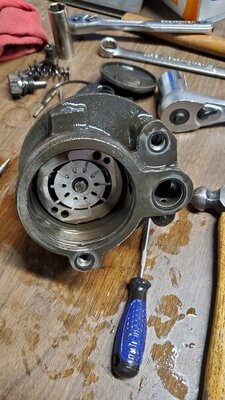
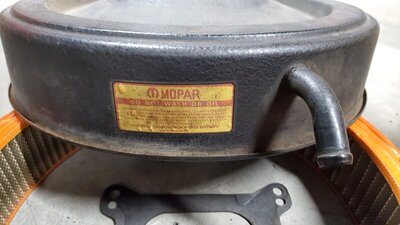
It was so dusty inside and out I had to give it its first wash inside and out. Strange washing half a car.


mopar4don
Well-Known Member
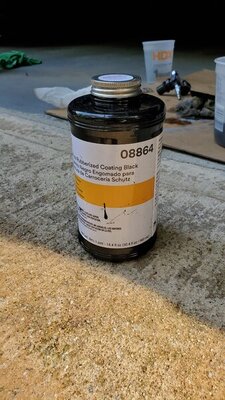
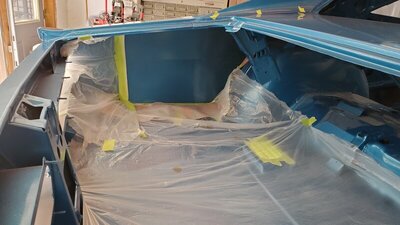
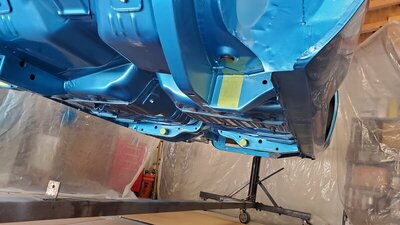
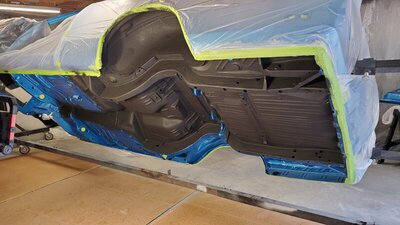
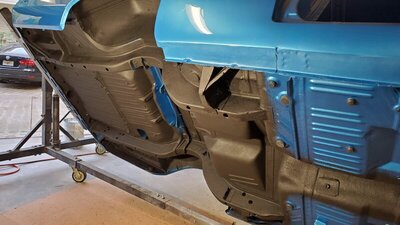
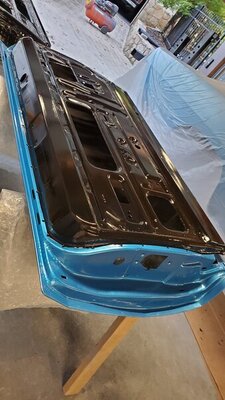
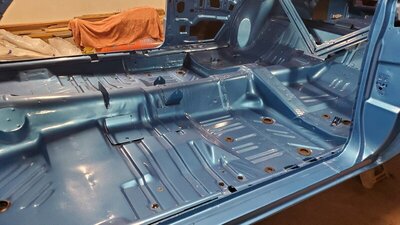
So you coated the inside of the quarter panels with this and then painted over the coating blue? I cant tell from the pic. It just looks like a blue inner quarter to me?Under body coating is complete as well as inside the quarters, trunk, and doors. The 3M 08864 is very thick and looks much more like original than anything I have used before. It required about 10 bottles. I used the $15 Schutz gun from Amazon and was very happy with it.
View attachment 993871 View attachment 993872 View attachment 993873 View attachment 993874 View attachment 993875
Or this pic is before you sprayed the undercoating? If so can you paint over the undercoating? Do you have a pic showing what it looks like after spraying?
bg1767
Well-Known Member
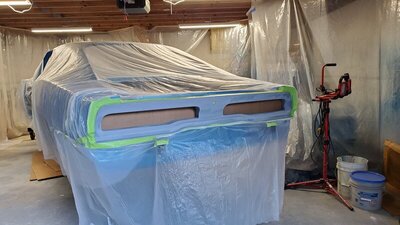
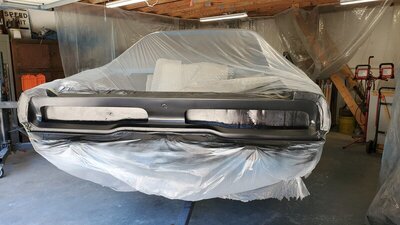
The entire trunk was painted, then taped off weeks/months later. The under body coating was spayed back to just before the marker light and as far forward as I could get. The picture where the the trunk is taped off is just before the under body coating was sprayed.
bg1767
Well-Known Member
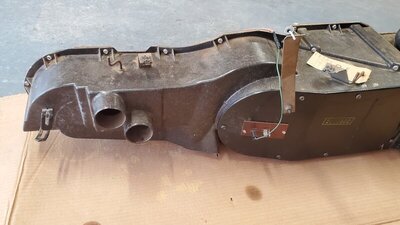
The heater box was a good weekend project. I liked the rebuild kit from Detroit Muscle Technologies. I have bought many of my soft parts from them. It came apart and back together very nicely. It definitely needed it! The motor I bought 10 years ago did not have the vent hole in the right spot so the vent was extended.
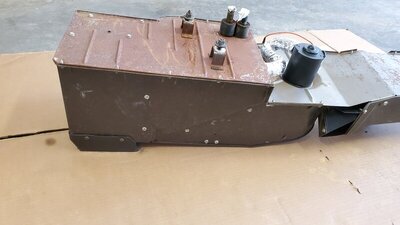
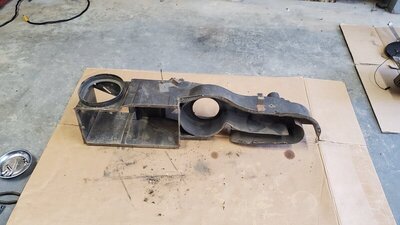

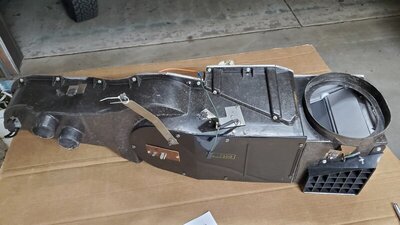
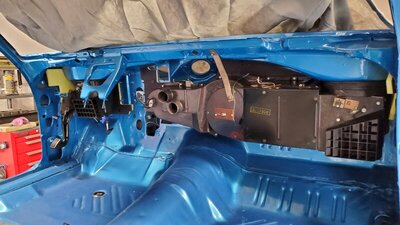


bg1767
Well-Known Member
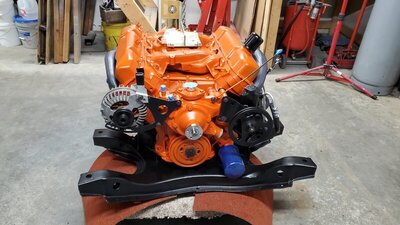
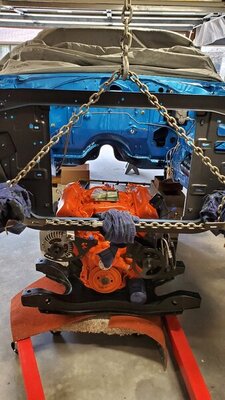
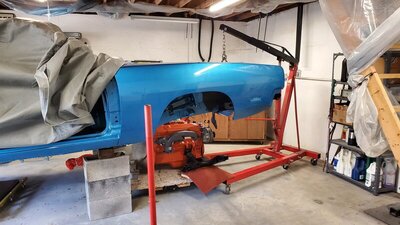
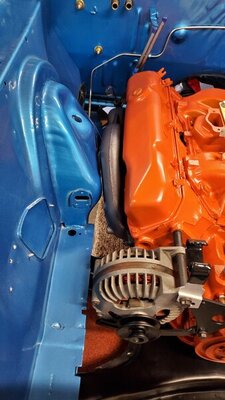
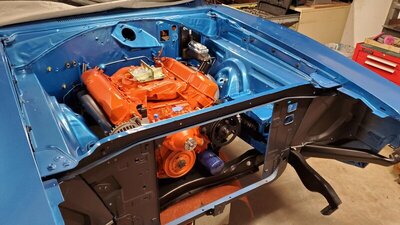
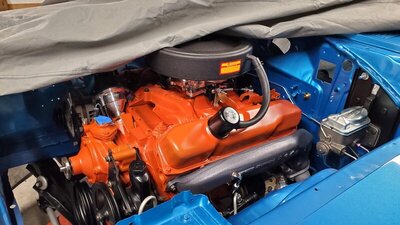
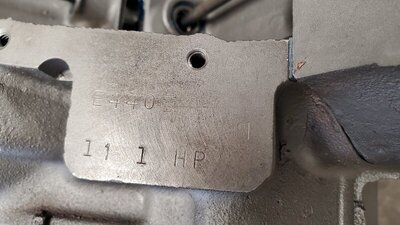
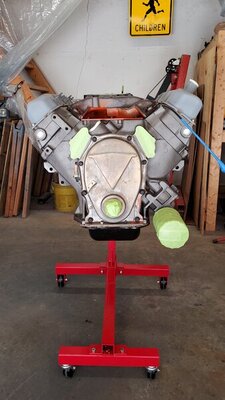
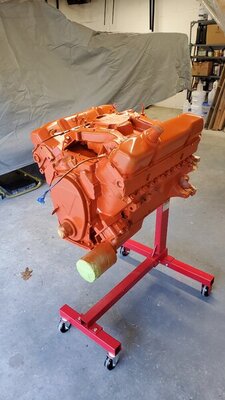
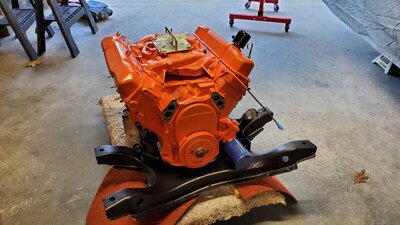
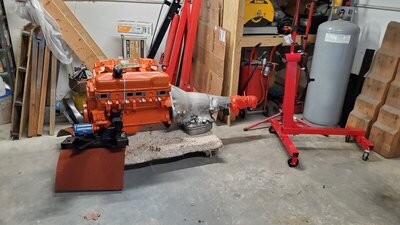
The engine came back from the machine shop as well. I used Ewing Automotive Machine Service in Snellville, GA. They are reasonable priced and everyone I talked to recommended them. It turned out to be in very good shape. It was not bored out previously but was this time it was to 30 over. Most components were still good and were reused. The only upgrade was a mild cam.
The 78 Bronco and kayak trailer worked great for drop off and pickup. Makes sense to use a 429 to get a 440.
There were a few problem areas. First, I pre-painted more than I needed too. I wanted to paint the valley pan and the bottom of the intake (for rust prevention), but I should not have pre-painted so far out and the hold down bars. Second, I taped off to much around the exhaust manifold bolts. I later saw people taping closer to the bolt holes. I will probably have to touch up some gray spots. And third, the dip stick tube is a pain. They are way too tight and I broke the first and scratched the second. With the second I even grinded the end and should have done more. I still couldn't get it in the last 1/4 inch.
I never did find original looking valve cover bolts, anyone know where to get some? Detailed pics of what was in the passenger side valve cover clips would be great as well!
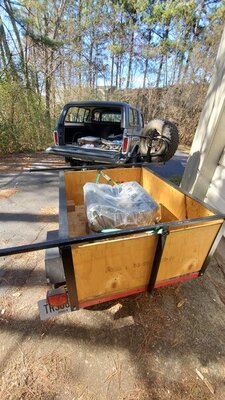
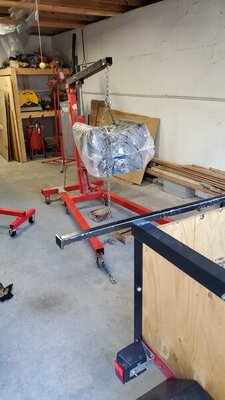
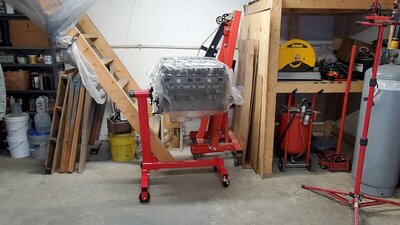
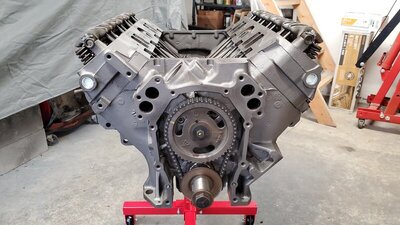


bg1767
Well-Known Member
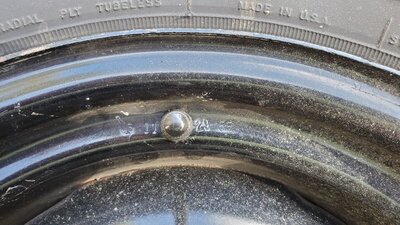
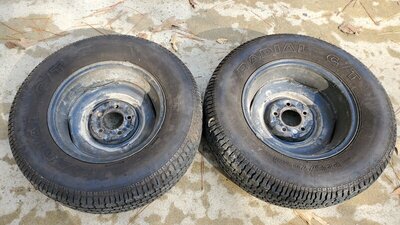
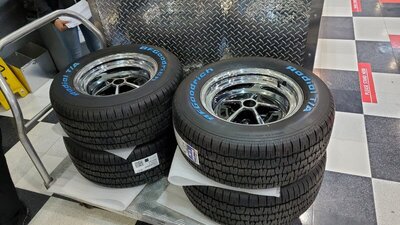
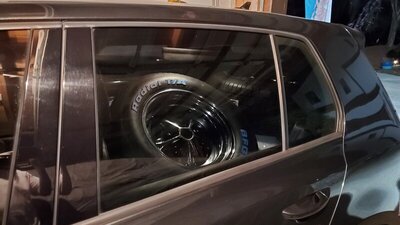
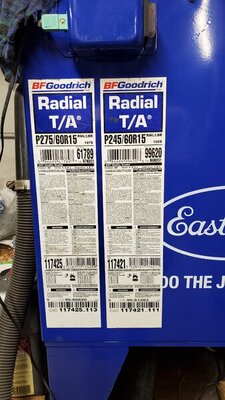
We also have wheels and tires. The rear wheels just barely hit the disc brake calipers, so I needed to run 1/4" wheel spacers. This meant I needed longer wheel studs so I switch last last wheel from left and threads to right to match the others. The front was changed with the disc brake swap. So far I am liking the 245's in the front and 275's in the rear.
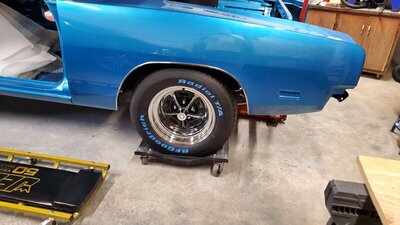
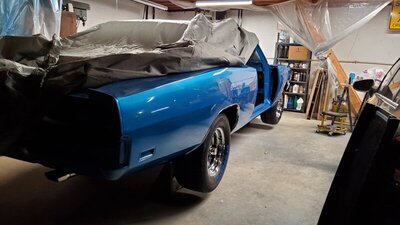


I'd install some doors on that thing or it'll be cold as hell on spring and fall days like a Jeep! Haha just playing man the car looks awesome keep it up! Nothing like a 2nd gen Charger and magnum 500 wheels!
Jarven1977
Well-Known Member
Great work.. Like the details!
bg1767
Well-Known Member
Ugh, last week I spent an hour and half catching up on the current status. The site let me add a half dozen posts with lots of pictures. A couple hours later the this site went down for a day. When it came back all the recent posts were wiped out.
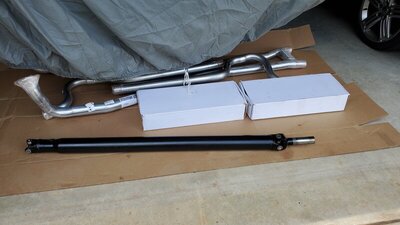
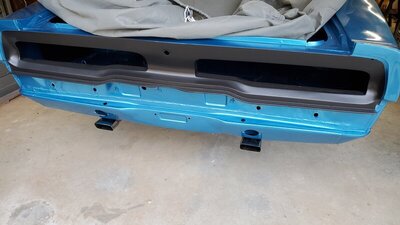
I have done a lot since April. Suspension, exhaust, brakes, body panels, engine electrical, and grill are all done. I am very happy with the Accurate Exhaust B body kit and Leeds brake kits I bought. Both were very complete, look great, and went in very easily.
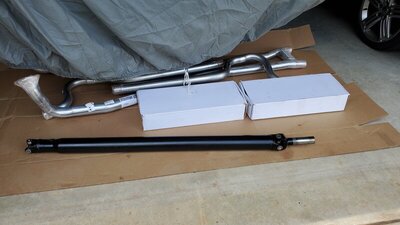
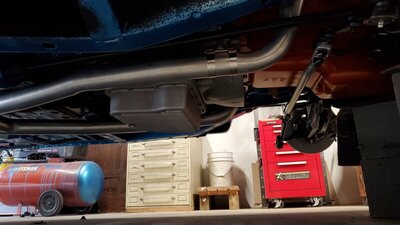
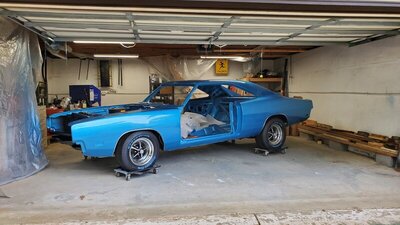
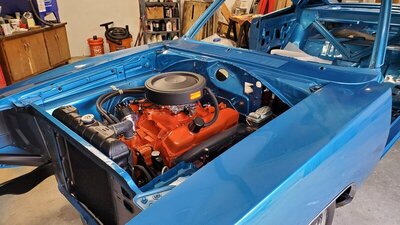
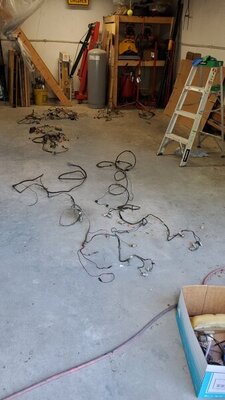
I have done a lot since April. Suspension, exhaust, brakes, body panels, engine electrical, and grill are all done. I am very happy with the Accurate Exhaust B body kit and Leeds brake kits I bought. Both were very complete, look great, and went in very easily.


Similar threads
- Replies
- 68
- Views
- 4K
- Replies
- 5
- Views
- 441
- Replies
- 16
- Views
- 1K

