• When you click on links to various merchants on this site and make a purchase, this can result in this site earning a commission. Affiliate programs and affiliations include, but are not limited to, the eBay Partner Network.

1969 Dodge Super Bee Coupe Restoration

Looks good! Can you show where the drip shields go?
I did...

beerestoration2019 3132.JPG beerestoration2019 3130.JPG
 
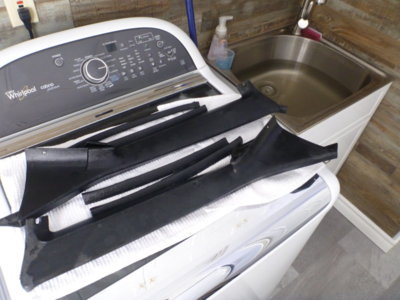
Just like a good paint job, interior installation is all in the prep work. I have soaked and scrubbed these trim pieces for hours and see why guys give up and paint them.

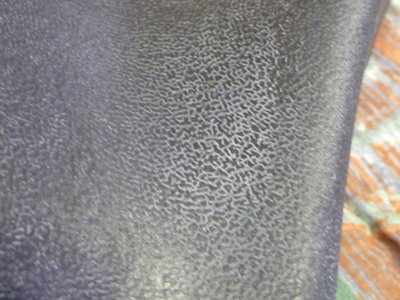
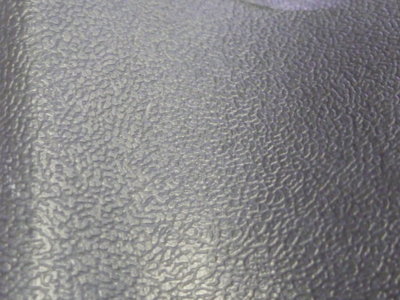
Wet they look shiny, but always return to looking gray in the grain.

Based on me using it for other stuff and how it worked, I soaked the A pillar trim pieces in Easy Off oven cleaner for 20 minutes, scrubbed with a brush, then lightly with some green scotchbrite.

Rinse and wash with soap... and look at that!

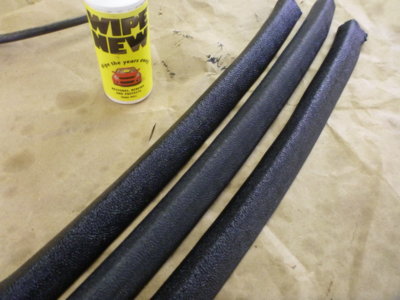
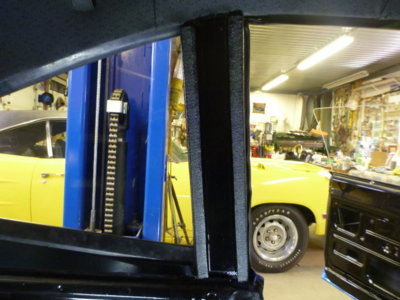
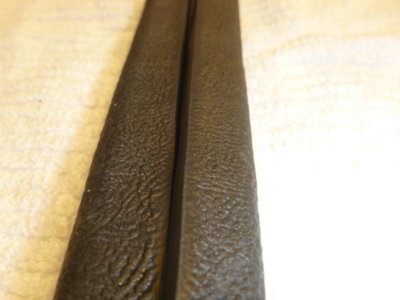
Did the same with the filthy B pillar "windlace" that is not reproduced. They cleaned up nicely as well and then I wiped them down with "Wipe New". Outers done, middle not.

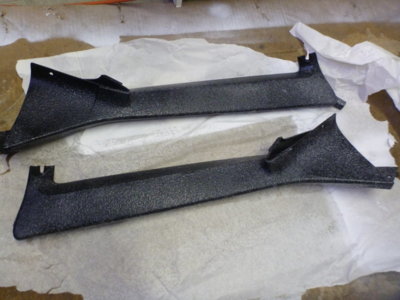
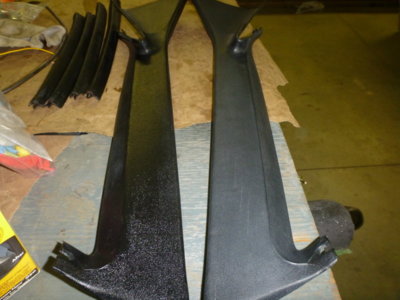
A pillar trim, left coated with Wipe New and right not.

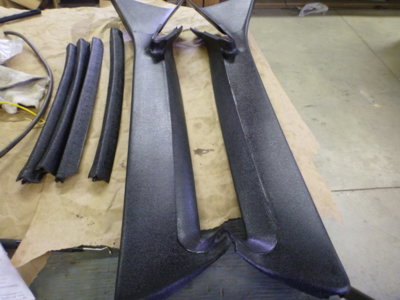
All ready to install, like new trim!

B pillar windlace in place.

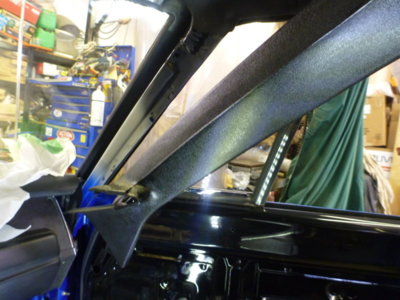
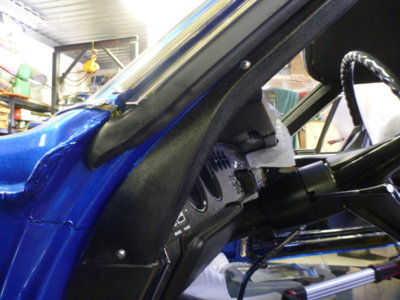
A pillar shown in installation postion.

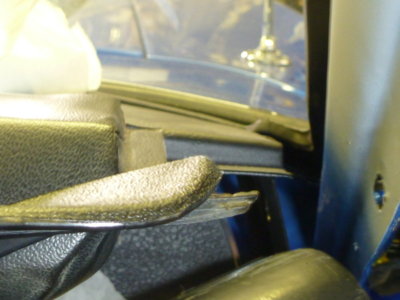
Make sure you watch that the tab goes under the metal in the dash area so it fits into the corner up against the windshield gasket correctly.

beerestoration2019 3148.JPG beerestoration2019 3159.JPG beerestoration2019 3150.JPG beerestoration2019 3161.JPG beerestoration2019 3163.JPG beerestoration2019 3171.JPG beerestoration2019 3177.JPG beerestoration2019 3181.JPG beerestoration2019 3186.JPG beerestoration2019 3196.JPG
 
Last edited:
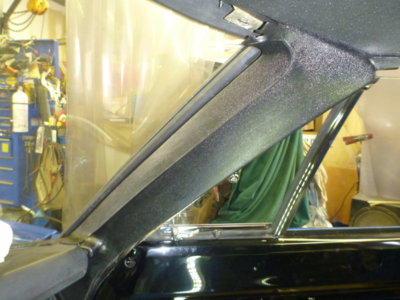
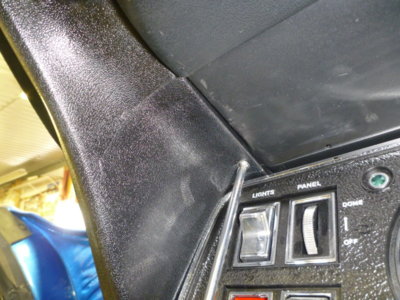
A pillar trim in place.

Drivers side showing the correct #10 washer head screws. The ones in the repro kit had the wrong heads, but you can buy correct ones at NAPA.

Don't miss the screw up under the dash.

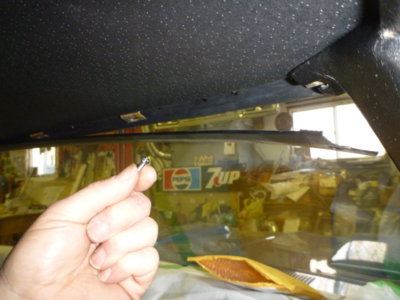
Hope you put these windshield trim retainers in before you installed the windshield! (you could get them in now, but wouldn't be fun)

The windshield to headliner trim was previously painted the same flattish black as the dash. It does not get painted gloss TX9 like the other interior trim pieces. #8 x 5/8" oval head screws x 6.

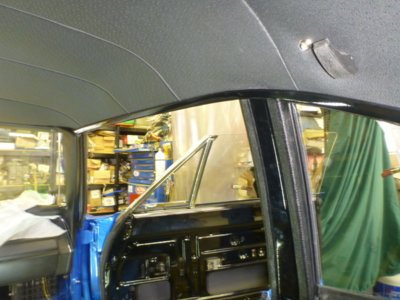
Windshield to headliner trim in place, over top of the A pillar trim pieces.

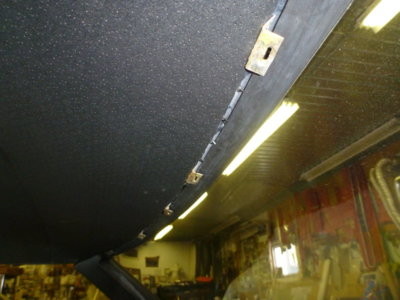
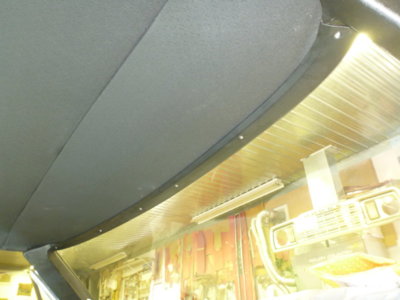
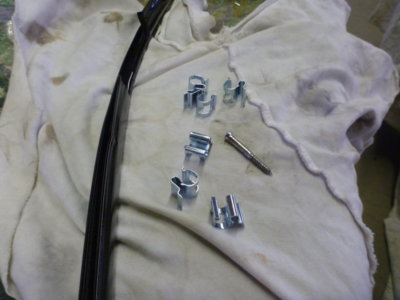
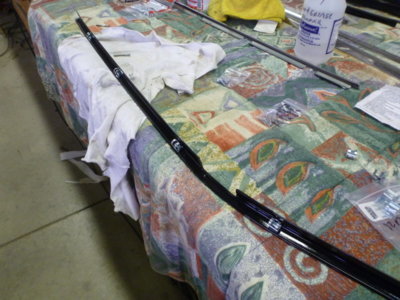
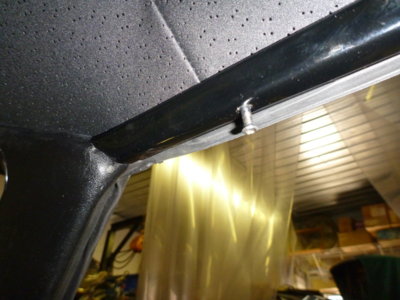
Headliner to roof rail trim uses 6 of these clips and one screw.

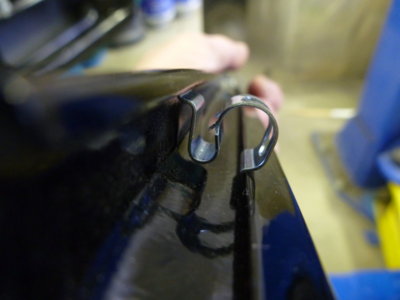
Clips slide it place like so. This is the the drivers side, picture taken from the front looking rearward.

3 on the front door section and three on the rear seat area. I used a bit of butyl to hold them in place so they didn't slide off while installing.

Screw goes about 4" from the front end, into the roof rails screw slot. Rubber hammer used to knock the trim clips tight onto the headliner mounting edge.

beerestoration2019 3189.JPG beerestoration2019 3193.JPG beerestoration2019 3194.JPG beerestoration2019 3198.JPG beerestoration2019 3199.JPG beerestoration2019 3201.JPG beerestoration2019 3202.JPG beerestoration2019 3205.JPG beerestoration2019 3206.JPG beerestoration2019 3210.JPG
 
One side in place!

Detail of how the trim fits around the B pillar windlace. Why the lace goes on first.

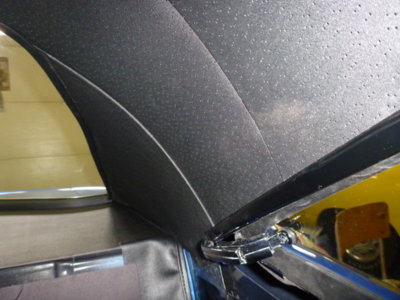
Sail panel sure sitting nice now! I put the last clip on the headliner/roof rail trim about 1" from the back.

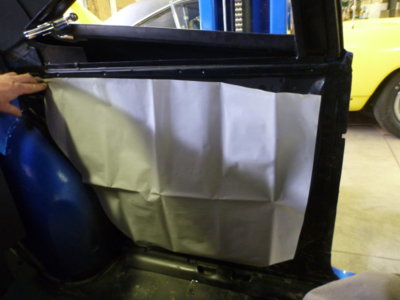
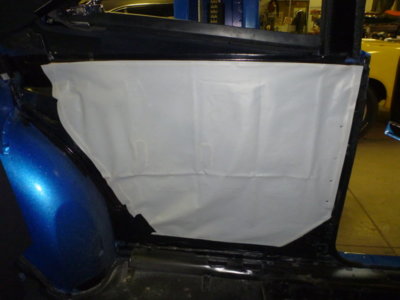
Door panel vapour barrier. I told Patik I had a coupe and didn't want crank holes in the back... he gave me no arm rest holes either.

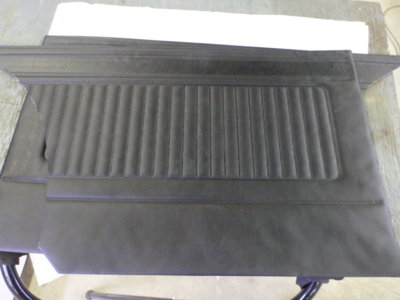
Mind you, same thing with the panels. No crank holes and arm rests not punched out either. Don't think any car came without rear arm rests...

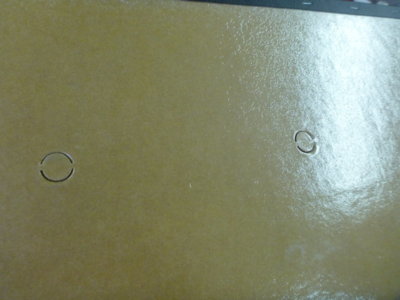
Arm rest screw holes. I cut out the plugs and carefully cut the outer material.

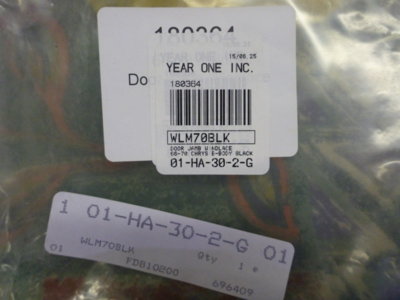
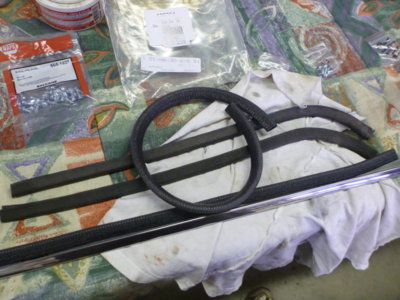
Windlace for the lower rear door openings.

My old ones are pretty beat up and grungy, but thinking they're going to get the Easy Off treatment as well to see if I can use them.

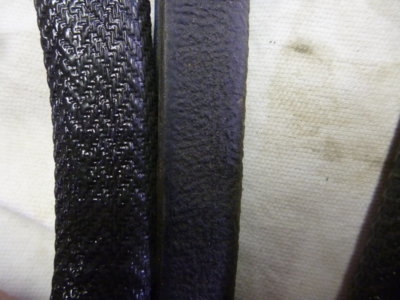
Generic braided repro on the left... and OE GRAINED windlace on the right.

My back locked up crawling out and thought I'd grab a shot from the floor!!

beerestoration2019 3214.JPG beerestoration2019 3215.JPG beerestoration2019 3217.JPG beerestoration2019 3223.JPG beerestoration2019 3226.JPG beerestoration2019 3225.JPG beerestoration2019 3227.JPG beerestoration2019 3228.JPG beerestoration2019 3229.JPG beerestoration2019 3238.JPG
 
Last edited:
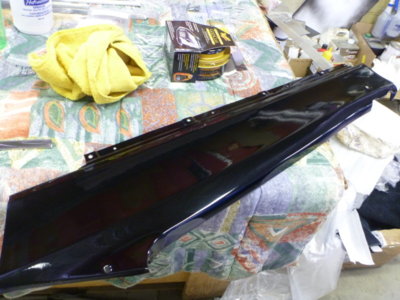
Figured as good a time as any to put some wax on the rear trim panels. Again painted TX9 Gloss Black.

My door windlace was covered in paint from a poorly taped off paint job in '88 and 50 years of grime. Didn't want to use the incorrect reproductions so I coated these with full strength paint stripper for 15 minutes, gave a quick scrub and a rinse. Absolutely beautiful, even before a wipe of Wipe New.

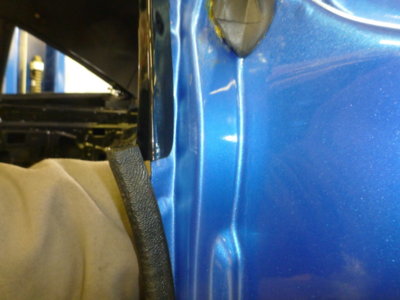
Checking for location with trim panel. Windlace goes inside about 1/2".

Windlace in place, looks brand new.

Rear seat vapour barrier installation. Cord seal (draft caulking) put around top and sides, as well as arm rest screw holes. (I also misted some Krown rust inhibitor into some seams before I closed this up)

Vapour barried pressed into place.

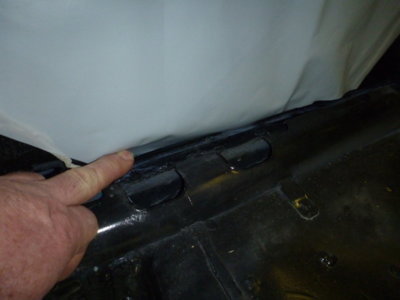
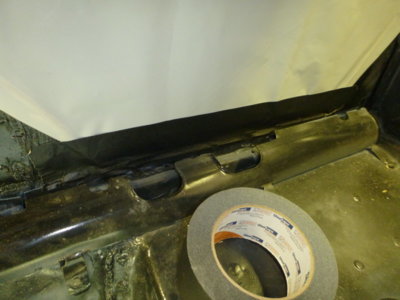
At the bottom you flip the barrier into the slot at the bottom of the frame so any water drains into the quarter panel.

Then you tape the bottom.

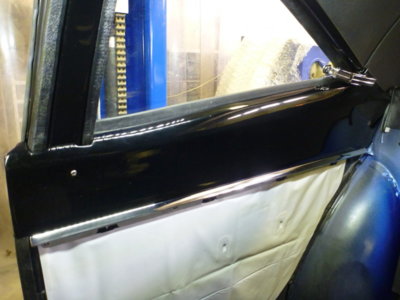
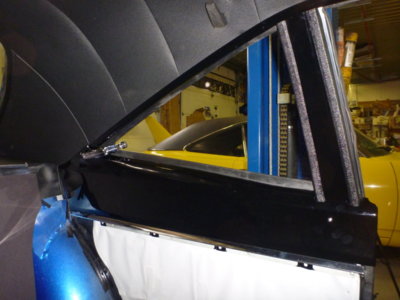
Passenger side trim panel all in place, with the stainless "door" panel retainer.

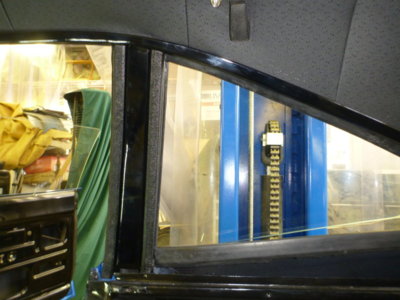
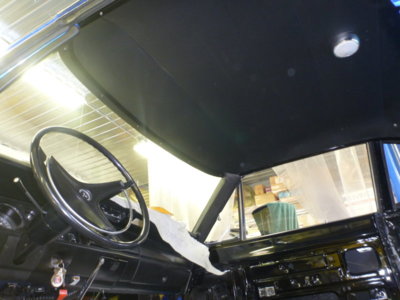
Drivers side all together. Everything fit very nice. Panel is tight to window rubber seal, headliner install undisturbed.

beerestoration2019 3242.JPG beerestoration2019 3243.JPG beerestoration2019 3245.JPG beerestoration2019 3246.JPG beerestoration2019 3260.JPG beerestoration2019 3261.JPG beerestoration2019 3250.JPG beerestoration2019 3255.JPG beerestoration2019 3259.JPG beerestoration2019 3262.JPG
 
Last edited:
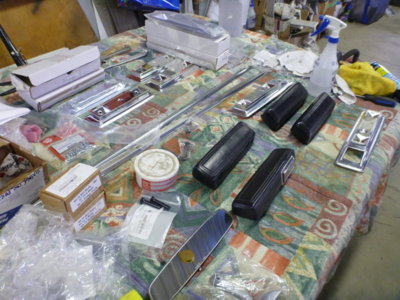
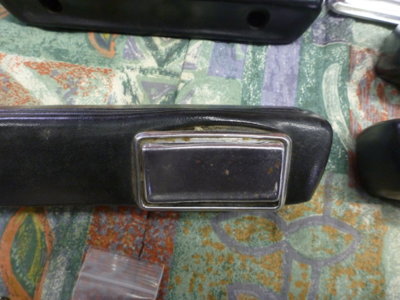
The parts just keep coming! Sorting out what OE and what Repro parts to use for arm rests, door handles, etc.

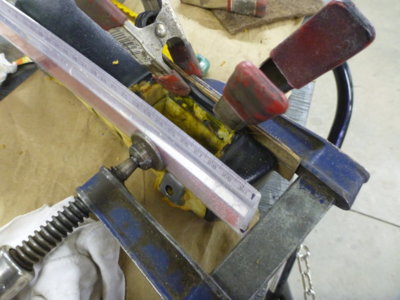
One rear arm rest needs a bit of help, but other than that a good cleaning and they're all usable.

Clamp and rulers to have a workable part, then contact cement and spring clamps to get the vinyl back into place.

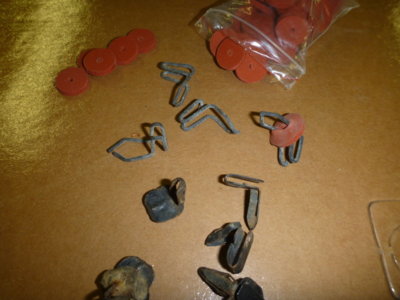
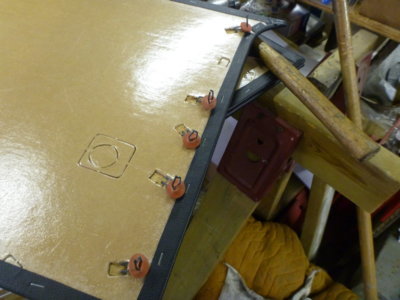
Door panel clips, what came with the reproductions top and OE's bottom.

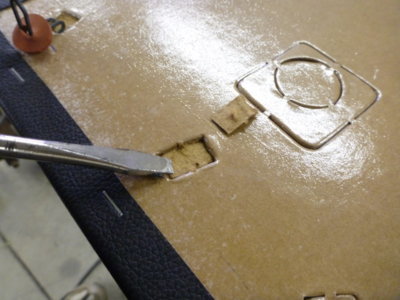
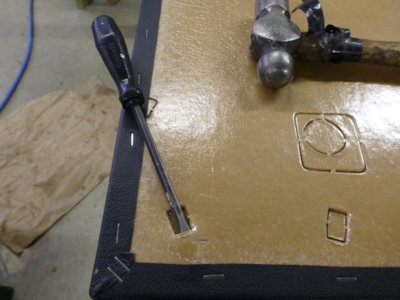
Do NOT knock the cut outs in the panels (PG Classics) out to install the clips!

Use a screw driver and remove about 1/2 of the cut outs thickness.

Then use a sharp screw driver to split the panel mid way to make a pocket for the clip.

I'm using the repro clips in the back, so I have enough good OE ones for the front door panels.

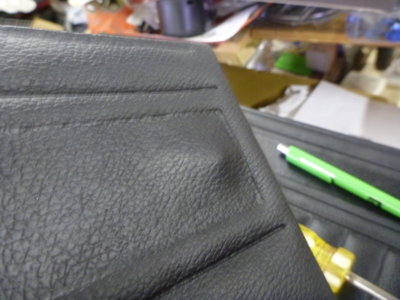
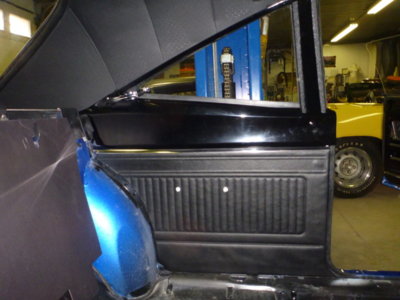
Drivers side panel in place, you can see the bump from me removing the panel plug. I put part of it back, but still a bump. You don't see it without the flash.

Passenger side panel in clean.

beerestoration2019 3268.JPG beerestoration2019 3269.JPG beerestoration2019 3293.JPG beerestoration2019 3283.JPG beerestoration2019 3285.JPG beerestoration2019 3287.JPG beerestoration2019 3286.JPG beerestoration2019 3288.JPG beerestoration2019 3294.JPG beerestoration2019 3295.JPG
 
Last edited:
A couple of hundred views and can't believe nobody was marveled at how the A pillar trim cleaned up.. :(

.......................
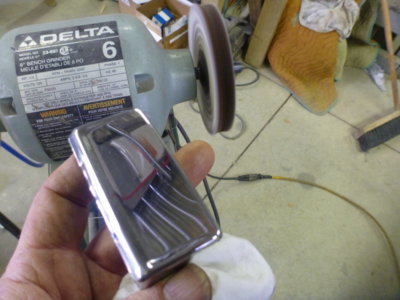
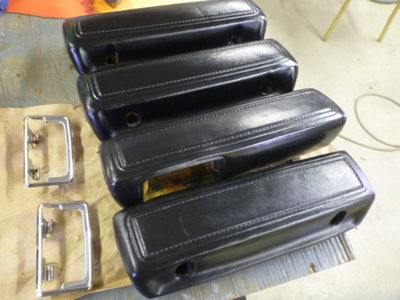
Arm rests repaired as needed, cleaned up and ready to install. Ash tray retainers polished up.

Ash tray lids polished up. I spy an old airplane rudder stashed up on the garage door tracks.

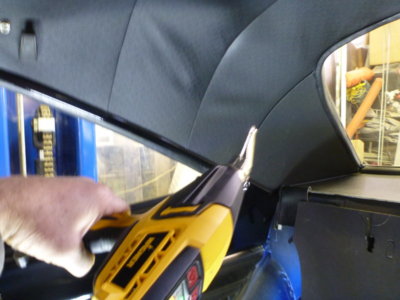
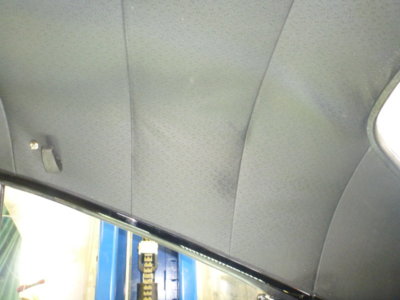
I guess after 2 years my few wrinkles aren't coming out on their own. Medium heat so you don't darken the fabric. It's not necessarily the wrinkle itself you need to remove. Push a finger into the headliner in various places and see if the wrinkle disappears. Some spots it was about 8" away from the wrinkle that needed a little shrink to make it disappear.

Note the wrinkle does not always come out while heating. Heat your spot and let cool to see what changes. Fold lines in the headliner from shipping came out easily by just running the heat gun down the fold. Still a few spots to touch up later, but it's better than factory already hands down.

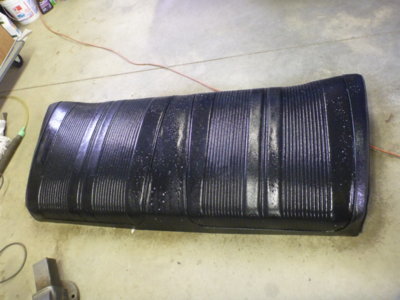
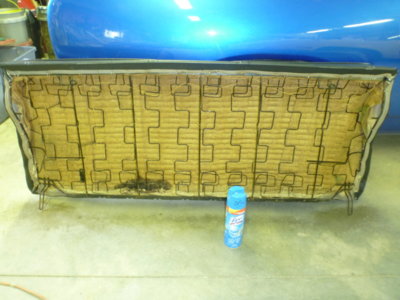
Cleaning up my back seat with Scrubbing Bubbles. Still in great shape! Had it recovered in 1988 ! ?? Did it originally come with a seat emblem in the middle?

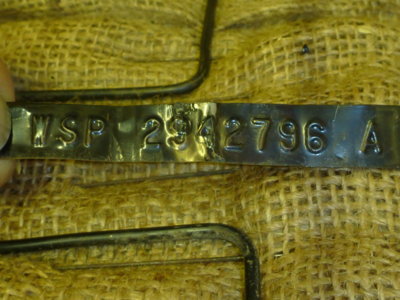
Seat part number tag.

Thankfully the mice didn't eat into the seat, or even the burlap, and just had their nest tucked in tight to it.

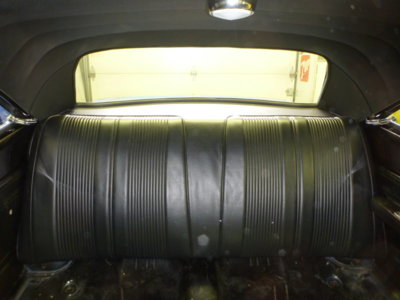
Seat back in place, sits nice on the hooks and package tray. Realized it needs to come out to make life easy for seat belt install. At least I didn't put in the 2nd arm rest before I realized that!

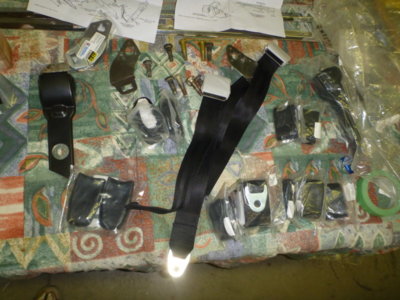
Sorting out my seat belts for install. Almost thought I was missing a front belt set.. but all there.

Back seat sorted out, ready to bolt in place.
beerestoration 004.JPG beerestoration2019part2 023.JPG beerestoration 005.JPG beerestoration 009.JPG beerestoration2019part2 005.JPG beerestoration2019part2 012.JPG beerestoration2019part2 016.JPG beerestoration2019part2 017.JPG beerestoration2019part2 019.JPG beerestoration2019part2 028.JPG
 
A couple of hundred views and can't believe nobody was marveled at how the A pillar trim cleaned up.. :(

Man that A piller trim really cleaned up nice:thumbsup:

Interiors really have the parts don't they! My knees ache just watching your progress! Looking good :D
 
Hey, I'm just catching up through the last 5 pages. Nice work! I'm going to borrow the plastic trim cleaning trick, looks great.

Window install was really tedious for me as well. Those thin slider channels are the worse. Mine were the straight style andthey still hang up a bit even after graphite and heating them to hold the curve of the glass.
One thing I would have mentioned was to make sure the tension on the vent windows was tight before dropping the window assemblies in the door. I didn't and had to pull one out to tighten as the vent window kept shutting from the breeze while driving down the road lol.
 
Great attention to detail, some things can be a real challange, btw that a pillar trim looks exceptionally nice, i never would have thought of using easy-off, pure genius my freind!
 
The A pillar looks great, I have been taking notes. I too am going to borrow your cleaning trick when I get to that part on mine. I have learned a lot from yourself and Justin.
 
Move in is coming along nicely! How long till the 1st test drive?
 
Auto Transport Service
Back
Top