• When you click on links to various merchants on this site and make a purchase, this can result in this site earning a commission. Affiliate programs and affiliations include, but are not limited to, the eBay Partner Network.

1969 Dodge Super Bee Coupe Restoration

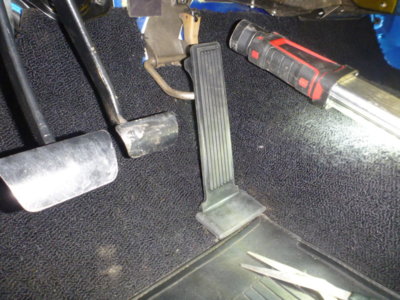
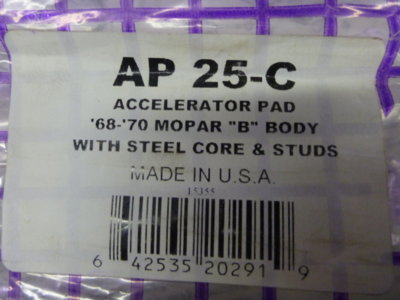
New reproduction gas pedal

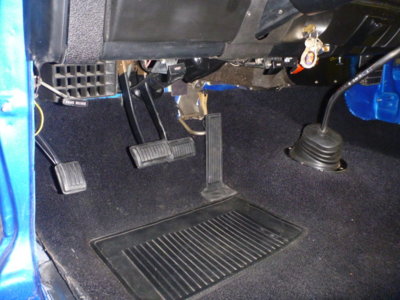
Floor drilled to match carpet and pedal installed. I drilled about 5/16" forward of the correct measured position I had on the floor pan. Not bad considering the patched up mess the pedal was attached to when I installed this carpet in '88.

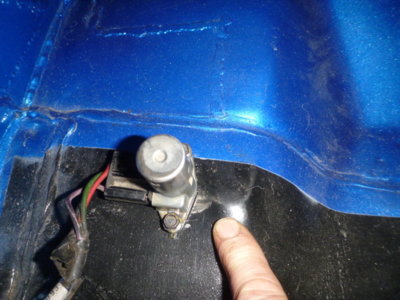
Similar deal with the dimmer switch that was also mounted in a patched up mess when the carpet was installed in '88. It should be on that formed boss about an inch to the right and up 3/4", but it'll live here!

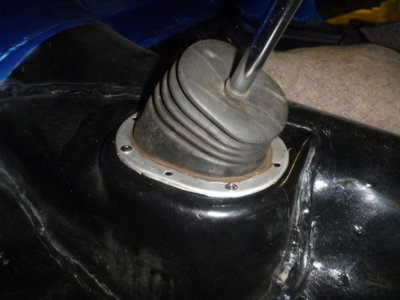
Shifter boot installed with 4 # 10 stainless screws. Then the carpet put back and deco ring installed with 4 x # 10 oval head screws.

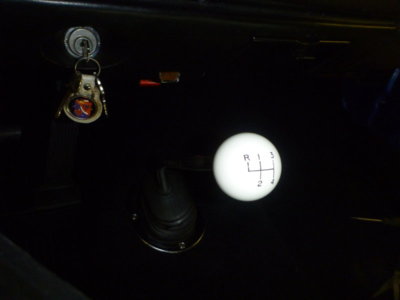
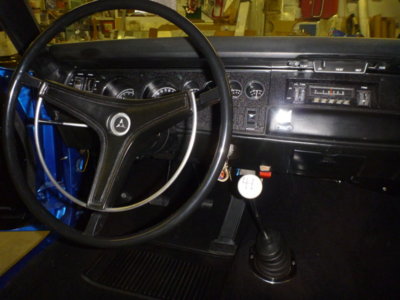
New shifter ball, that is correct for assembly line. I've always had a hurst T handle and have a date correct new one that will probably find it's way back into the car in time.

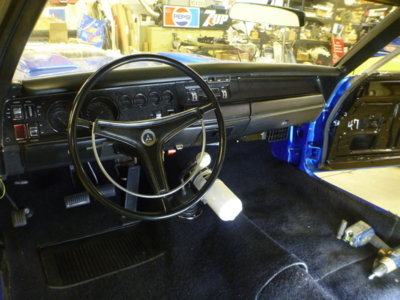
Getting there!

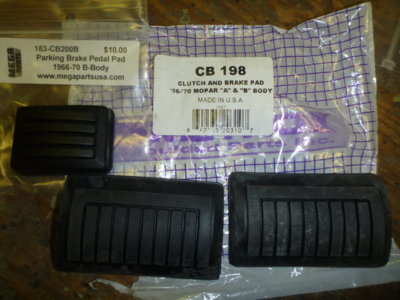
New Ebrake, clutch and brake pedal covers.

Pedal covers all in place.

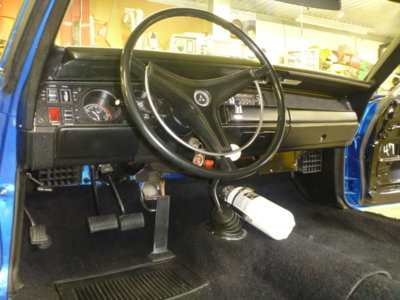
5 lb fire extinguisher back into it's home.

The list is getting shorter....
beerestoration2019part2 319.JPG beerestoration2019part2 318.JPG beerestoration2019part2 321.JPG beerestoration2019part2 323.JPG beerestoration2019part2 332.JPG beerestoration2019part2 341.JPG beerestoration2019part2 344.JPG beerestoration2019part2 349.JPG beerestoration2019part2 357.JPG beerestoration2019part2 360.JPG
 
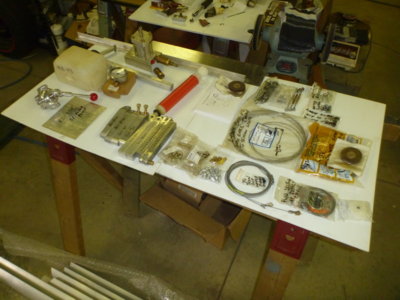
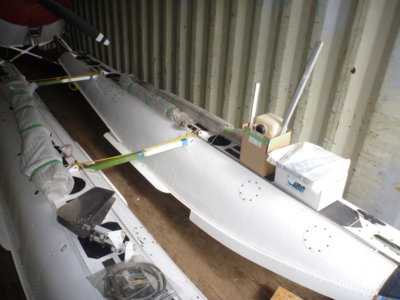
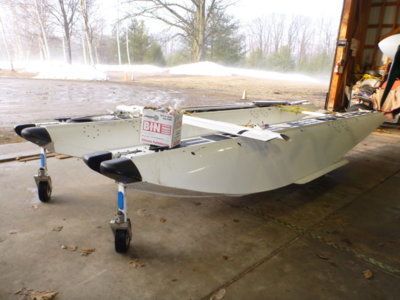
Depends how well I keep my shop doors locked! Lost the 3 previous days to aircraft customers and making money.. good and bad in that! LOL Now I lose next Wednesday delivering these..... at least I got to repurpose one of Jamie's boxes!
1800amphibswhiteapril102015 072.JPG 1800amphibswhiteapril102015 090.JPG 1800amphibswhiteapril102015 093.JPG
 
Last edited:
trying to figure out what I'm looking at in the last 2 pics. aileron or elevator section and control struts /cables?
 
A couple of hundred views and can't believe nobody was marveled at how the A pillar trim cleaned up.. :(

.......................
Arm rests repaired as needed, cleaned up and ready to install. Ash tray retainers polished up.

Ash tray lids polished up. I spy an old airplane rudder stashed up on the garage door tracks.

I guess after 2 years my few wrinkles aren't coming out on their own. Medium heat so you don't darken the fabric. It's not necessarily the wrinkle itself you need to remove. Push a finger into the headliner in various places and see if the wrinkle disappears. Some spots it was about 8" away from the wrinkle that needed a little shrink to make it disappear.

Note the wrinkle does not always come out while heating. Heat your spot and let cool to see what changes. Fold lines in the headliner from shipping came out easily by just running the heat gun down the fold. Still a few spots to touch up later, but it's better than factory already hands down.

Cleaning up my back seat with Scrubbing Bubbles. Still in great shape! Had it recovered in 1988 ! ?? Did it originally come with a seat emblem in the middle?

Seat part number tag.

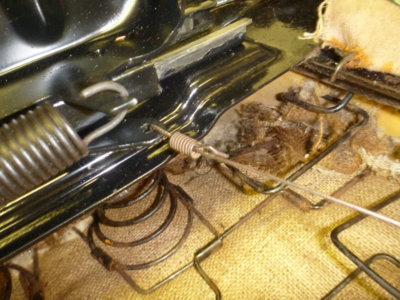
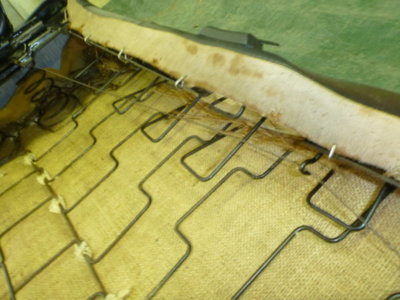
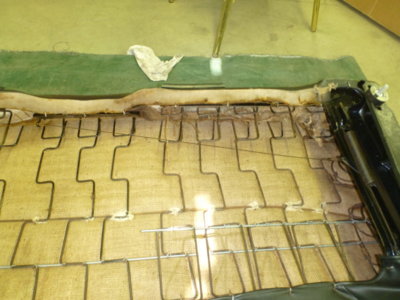
Thankfully the mice didn't eat into the seat, or even the burlap, and just had their nest tucked in tight to it.

Seat back in place, sits nice on the hooks and package tray. Realized it needs to come out to make life easy for seat belt install. At least I didn't put in the 2nd arm rest before I realized that!

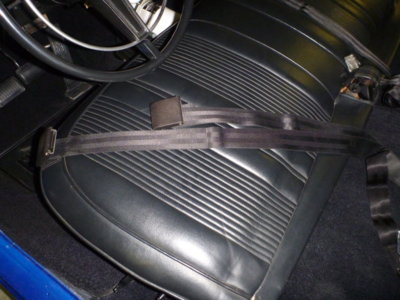
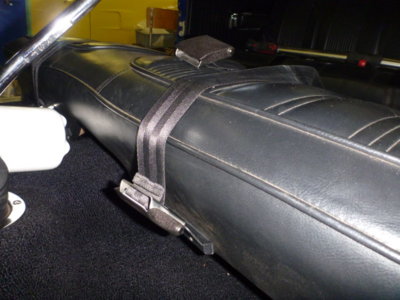
Sorting out my seat belts for install. Almost thought I was missing a front belt set.. but all there.
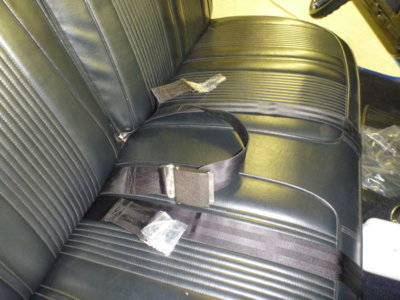
Back seat sorted out, ready to bolt in place.

View attachment 751836 View attachment 751837 View attachment 751838 View attachment 751840 View attachment 751841 View attachment 751842 View attachment 751843 View attachment 751844 View attachment 751845 View attachment 751846
We're speechless
 
trying to figure out what I'm looking at in the last 2 pics. aileron or elevator section and control struts /cables?
Amphibious floats and their rigging Don, I build them.. install them.. etc. Thankfully these ones just have to be delivered to Bowmanville.

1800amphibswhiteapril102015 010.JPG
 
Last edited:
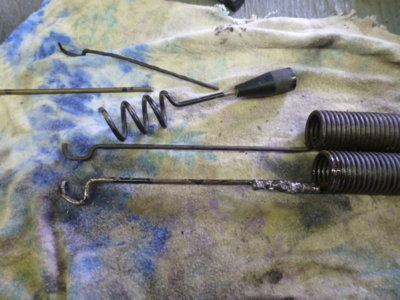
Finally found a use for my 1985 cell phone antenna. One of my springs was crusty but still working, I put it in Evaporust and it fell apart. MIG'd on a piece of my phone antenna and Bob's your uncle!

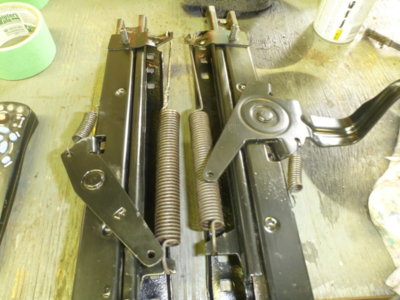
Seat tracks lubed and springs reinstalled, ready for floor bolts and spacers.

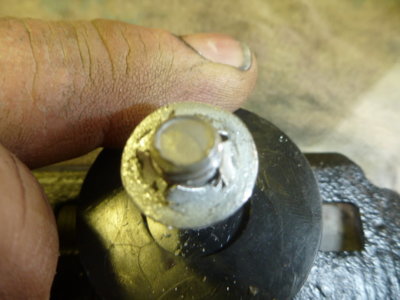
I swear these quick nuts are fluted backwards!

Quick nuts going into place! :D

Now the carriage bolt and spacer can't fall out.

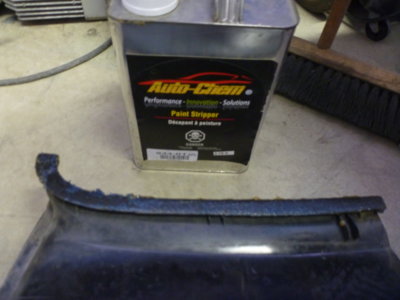
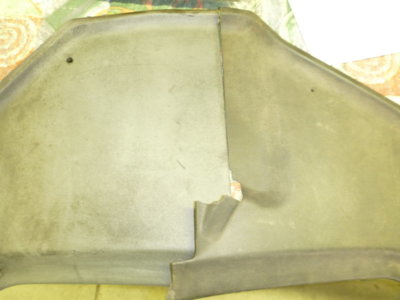
My kick panels were a mess, just like my windlace and A pillars. Used the paint remover on the edges.

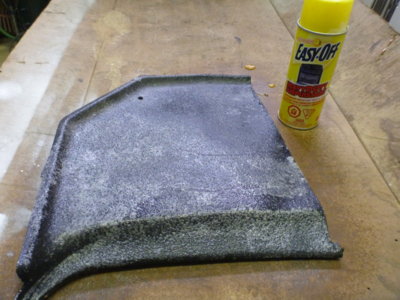
Used Easy Off again on the main kick panels to pull the dirt up out of them.

Learned what worked on the ABS "A" pillar material DID NOT work the same on the Polypropylene kick panels. It did clean them, but lightened them considerably. Clean on left, dirty on right.

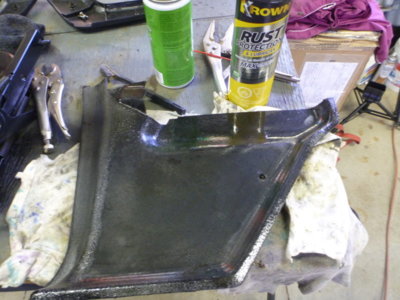
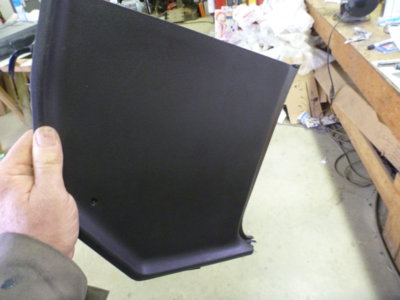
Had to dig into my bag of tricks from 34 years in the plastics industry, from when trying to get initial run approvals while matching colour and gloss for about 65 colours for TRW and Bendix seat belt divisions. Tried numerous things on the panel and finished by finding Krown worked the best. Spray, short soak and wipe / buff clean.

Like new and not shiny.

beerestoration2019part2 372.JPG beerestoration2019part2 376.JPG beerestoration2019part2 377.JPG beerestoration2019part2 379.JPG beerestoration2019part2 380.JPG beerestoration2019part2 388.JPG beerestoration2019part2 389.JPG beerestoration2019part2 395.JPG beerestoration2019part2 405.JPG beerestoration2019part2 419.JPG
 
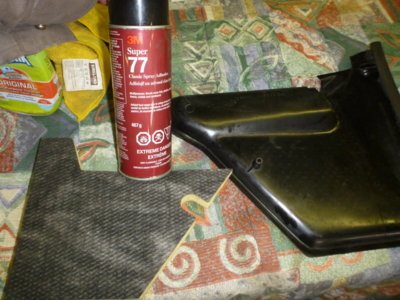
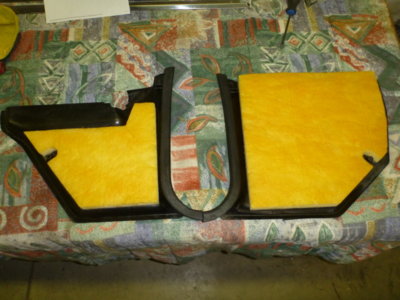
New kick panel insulation and spray adhesive.

Insulation in place ready to install the panels. They slip over the door opening pinch weld and have one #10 oval head screw each.

Kick panels in.

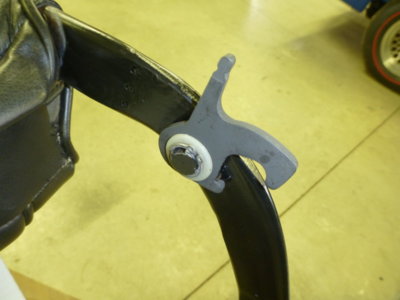
I painted the seat latches with high heat BBQ paint, like I used on my brake assembly backing, to simulate a black phosphate coating.

There is a left and right spring. This is the passenger (right) side,

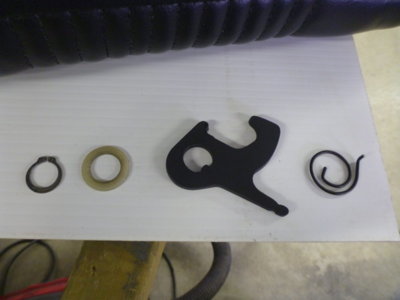
Spring, then latch, then nylon washer and snap ring.

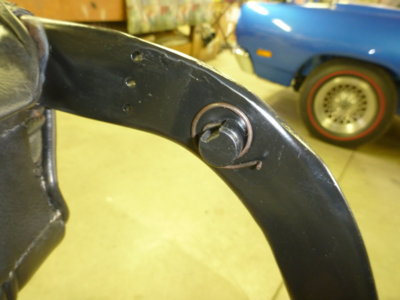
Seat tracks installed to front seat bottom and latch connector cable/wire installed. Pictures shows passenger side hooked through the lever hole and then retainer (that looks like a spring) slid over the connection to lock it.

Wire goes across an eyebolt (attached to the inner frame front) that is adjustable to snug up the wire for even latch movement on both rails.

Wire to drivers side latch assembly lever, retained identical to the passenger side.

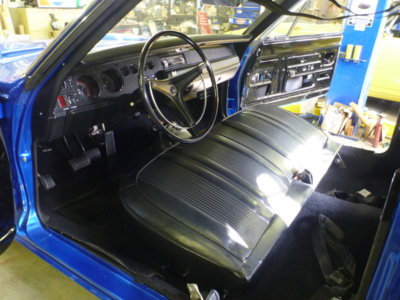
Front seat bottom set into floor pan holes.

beerestoration2019part2 424.JPG beerestoration2019part2 425.JPG beerestoration2019part2 430.JPG beerestoration2019part2 390.JPG beerestoration2019part2 391.JPG beerestoration2019part2 393.JPG beerestoration2019part2 415.JPG beerestoration2019part2 416.JPG beerestoration2019part2 417.JPG beerestoration2019part2 434.JPG
 
Your getting close to finishing. Everything looks great.
I also like your aircraft fabrication parts (pontoons etc.).
 
So tired of the reproduction follies. After sending the first, salt crusted and corroded, set back two years ago and getting a clean set in exchange I thought things were good.

Both belts should reach the dual stowing clip on the seats bottom edge. These two belts are sewn together at the attachment end so I guess I'm chasing PG Classics for a new pair that are both the same length.

You'd do good to get a 3 year old in the belt. It goes half way around me.

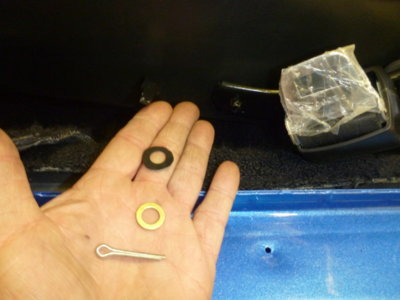
Not sure what the real OE hardware looks like, but this is what I'm using that gets hidden behind the cover. Certainly better than my nail that had been there for 30 years!

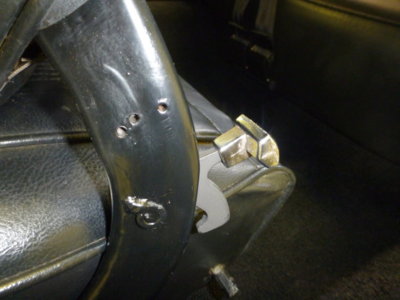
Seat backs in place. Cotter to be bent around when I'm certain they're staying on.

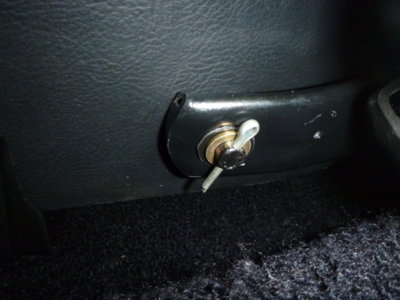
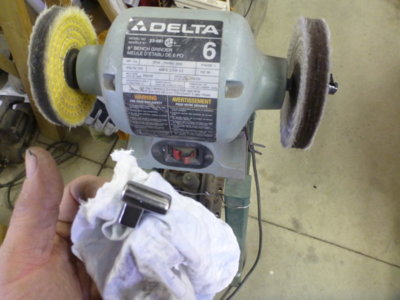
Polished up the seat release latch knobs.

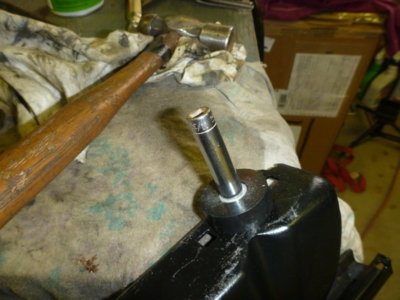
Knob in place. Both sides are the same casting, one with set screw down.. the other up.

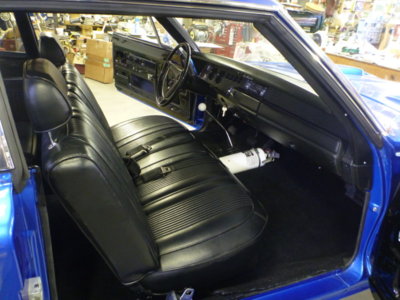
Passenger entrance view.

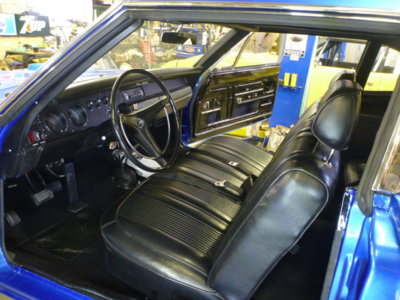
Driver entrance view.

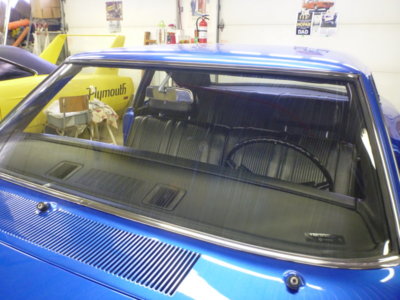
Cross walk pedestrian view! :)

beerestoration2019part2 437.JPG beerestoration2019part2 440.JPG beerestoration2019part2 447.JPG beerestoration2019part2 443.JPG beerestoration2019part2 445.JPG beerestoration2019part2 470.JPG beerestoration2019part2 472.JPG beerestoration2019part2 453.JPG beerestoration2019part2 460.JPG beerestoration2019part2 461.JPG
 
Last edited:
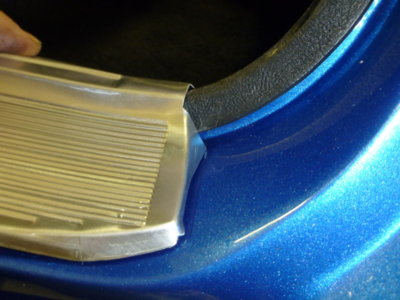
Did a lot of searching, only to end up back in Canada getting new sill plates from National Moparts after being guaranteed in writing they were the correct dullish finish of OE's.

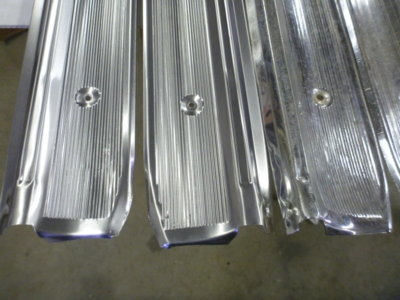
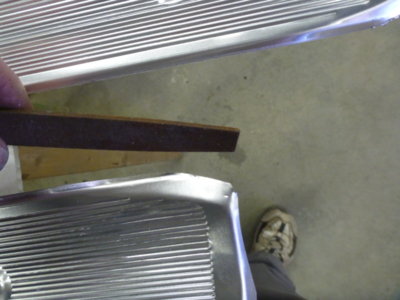
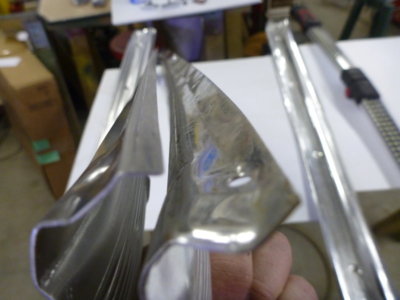
New correct finish reproductions vs the overly shiny set I had from '88. Many still selling the shiny ones.

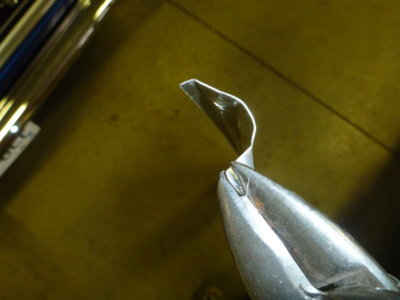
The sills need a quick file to take some burrs off. A couple spots were like a serrated knife.

They also have the correct straight down edge to hold the carpet vs the other reproduction on the right without it.

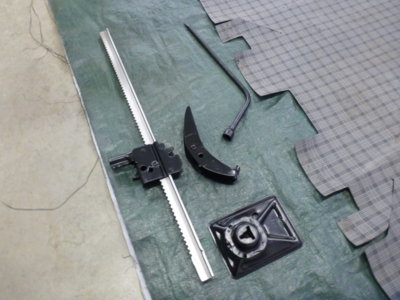
Refurbished 1969 bumper jack and lug wrench. New reproduction hook from Tony's via Megaparts ($100US). My trunk mat all cleaned up ready to install. Jack not perfect date wise, but close to my build. It's a 9D so mfg in April.

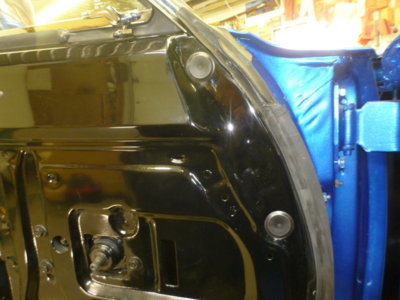
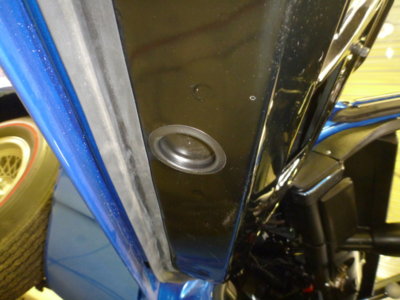
Door plugs into vent frame mounting holes.

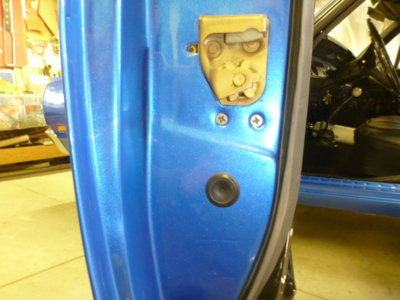
Big plug in the door bottom.

Plug in the end of door below latch.

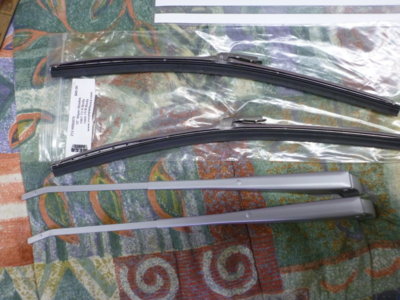
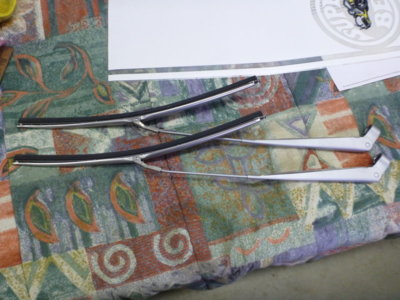
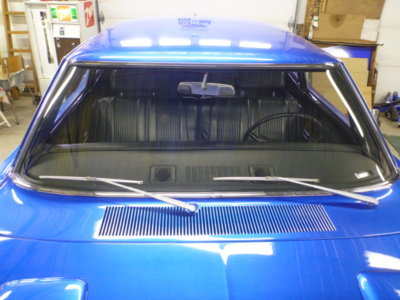
Refurbished 15B wiper arms and new reproduction blades from Megaparts.

Ready to install to car.

beerestoration2019part2 476.JPG beerestoration2019part2 483.JPG beerestoration2019part2 484.JPG beerestoration2019part2 487.JPG beerestoration2019part2 492.JPG beerestoration2019part2 495.JPG beerestoration2019part2 497.JPG beerestoration2019part2 498.JPG beerestoration2019part2 501.JPG beerestoration2019part2 502.JPG
 
Not trying to hurt you, but the correct installation point for the pedal would be in the upper right corner of the rubber pad. That means your carpet sits a bit to "low" if you measured the pedal holes on the floor correct.

View attachment 758002

As noted... I was working with existing 30 year old holes in the carpet, not something I could move and I wasn't buying a new one. Even if I could have there is no way it would have moved over 2" forward to get the pedal on the rubber mat before the formed carpet would have bottomed out against the rear face of the shifter hump.

BTW.. does your carpet go right over top of the throttle cable arm??? SO it lifts the carpet every time you hammer the pedal down?
 
Not trying to hurt you, but the correct installation point for the pedal would be in the upper right corner of the rubber pad. That means your carpet sits a bit to "low" if you measured the pedal holes on the floor correct.

View attachment 758002

You'll really be lucky to find any aftermarket carpet that will let you get the heal pad where it was from factory. If you locate the pad where it belongs, you'll be way short under the seats where the rear section meets. Don't know why this is so common with almost every one that I've seen. You're at the mercy of the manufacturers.
 
You'll really be lucky to find any aftermarket carpet that will let you get the heal pad where it was from factory. If you locate the pad where it belongs, you'll be way short under the seats where the rear section meets. Don't know why this is so common with almost every one that I've seen. You're at the mercy of the manufacturers.
Yep.. that too. Looks like I have about an inch of overlap on the drivers side. Have about 3 " on the passenger. As I noted the biggest issues is the formed 4 speed hump section and I could probably get it 3/4" forward at best. This was a "good $$" carpet that I bought in '88. Don't know if they've done any better repopping them in 30 years.

beerestoration2019part2 452.JPG
 
Being a factory no two were the same place, the line had to keep moving, and you need to be able to hammer down with nothing in the way.
 
Definitely... and to make myself feel better I opened the door of my Superbird to this. In 1990 I put the old OE carpet over the repro and cut it exactly the same!
beerestoration2019part2 507.JPG
 
Wiper assemblies in place.

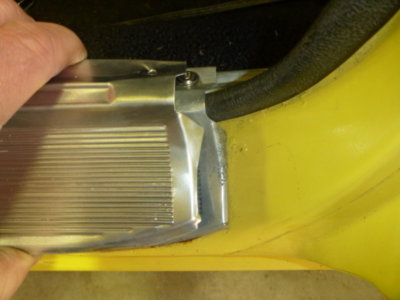
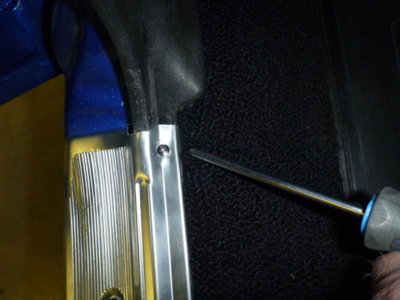
Reproduction sills don't quite sit correctly. Needs a bit of trimming on the "triangle".

Repro to OE comparison. Also note the interior sides screw hole. The reproductions are a depression for the screw and the OE's are a formed raised area.

Trimming, then filing, about an 1/8" off the triangles for proper fit.

Make sure you get the front interior screw located before putting the outer sill screws in place, or you'll do some swearing!

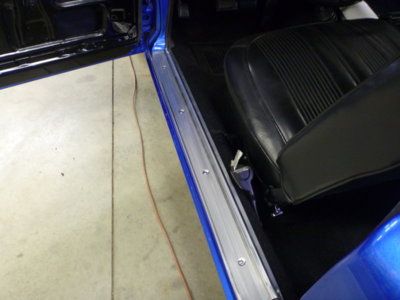
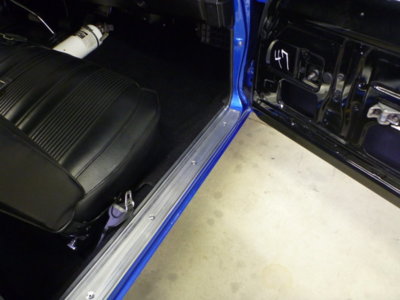
Drivers side installed

Passenger side installed. Lost my extensions that hold the carpet from sill plate to rear seat on each side. Have a nice used OE pair on their way from the USA from Sal @Moparsal .


beerestoration2019part2 508.JPG beerestoration2019part2 510.JPG beerestoration2019part2 511.JPG beerestoration2019part2 516.JPG beerestoration2019part2 518.JPG beerestoration2019part2 519.JPG beerestoration2019part2 521.JPG
 
You could have asked your buddy .,..I would have hooked you up:thumbsup:
 
Auto Transport Service
Back
Top