• When you click on links to various merchants on this site and make a purchase, this can result in this site earning a commission. Affiliate programs and affiliations include, but are not limited to, the eBay Partner Network.

1969 Dodge Super Bee Coupe Restoration

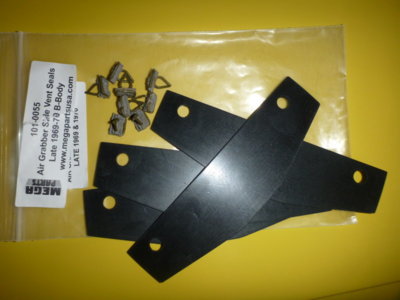
I was just going to cut some rubber from a roll I have and reuse the old clips that I'd already cleaned up. But I already needed something from Jamie anyhow. What's another 30 bucks at this point.

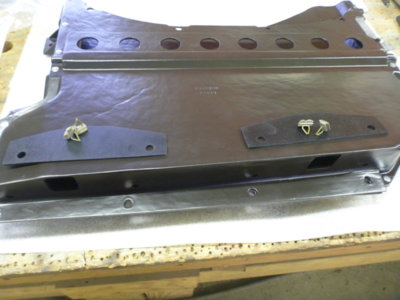
Drain flappers ready to install.

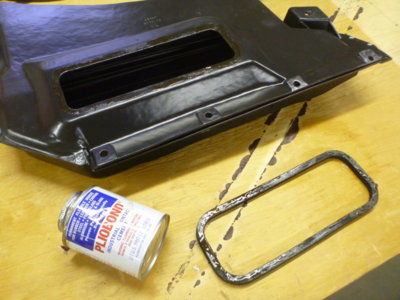
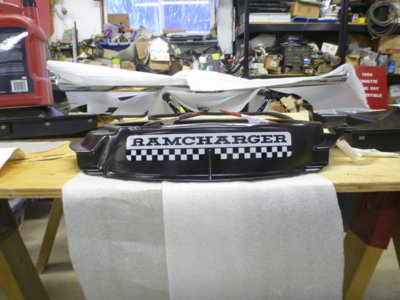
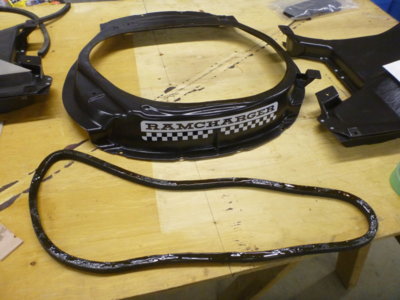
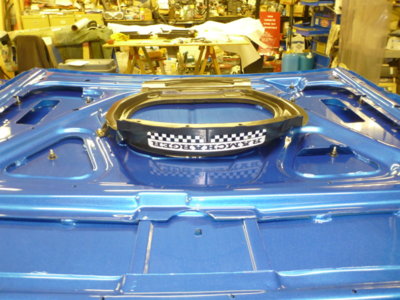
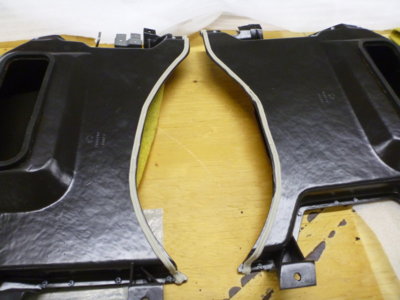
All parts laid out for a photo shoot, ready for foam seals and the Ramcharger decal.

Neat thing about Pliobond, it's the same brown colour as the factory glue residue I cleaned off the box during restoration. It's also a GREAT glue.

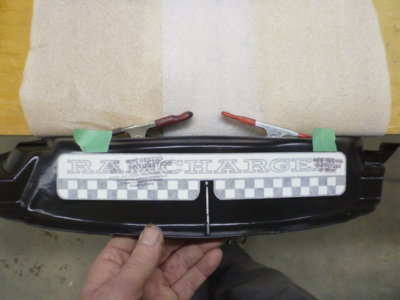
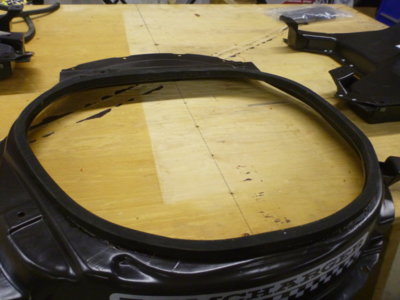
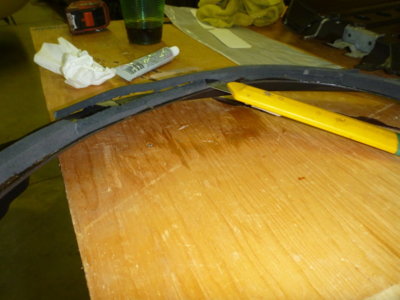
Foam in place and "clamped".

Gonna get one shot at this, better make it straight.

Success. PITA with RAMCHARGER a clear decal to show the box colour through it. Spent 30 minutes coaxing the hazy spots out (air) to get it to look consistant.

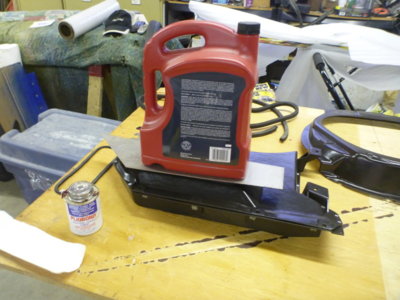
Center box and foam glued up. Same Pliobond.

In place and will trim the passenger side detent in the foam once it's cured in place.

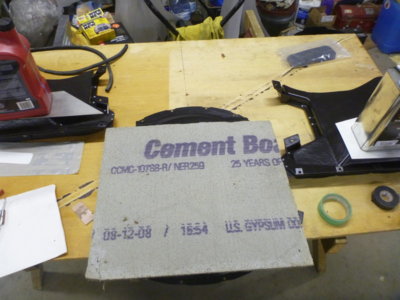
So this is why they call in Cement board!

beerestorationfall2018 563.JPG beerestorationfall2018 616.JPG beerestorationfall2018 623.JPG beerestorationfall2018 627.JPG beerestorationfall2018 629.JPG beerestorationfall2018 632.JPG beerestorationfall2018 633.JPG beerestorationfall2018 637.JPG beerestorationfall2018 638.JPG beerestorationfall2018 639.JPG
 
Last edited:
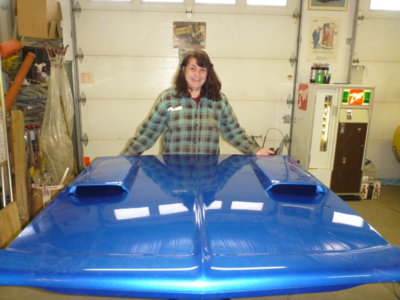
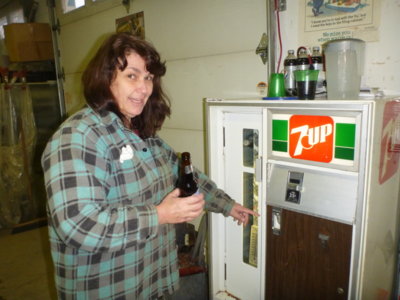
Had my faithful assistant (of 36+ years) help me carry the hood from a marine container to the shop. One of the few that has ever sat on that hood, laying back against the windshield at the drive-in! The only one that's ever married me and went to and from the chapel in this car in 1982!

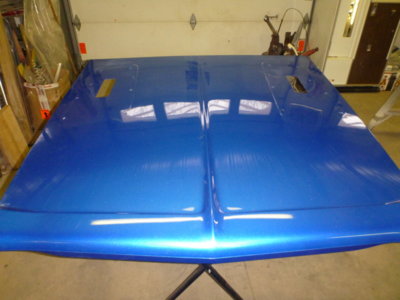
I'd say body man Kenny did a damn good job of getting it straight.

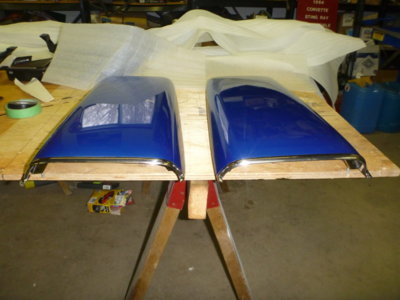
Scoops off for bezel install and then proper installation.

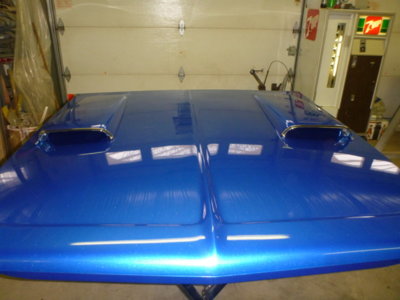
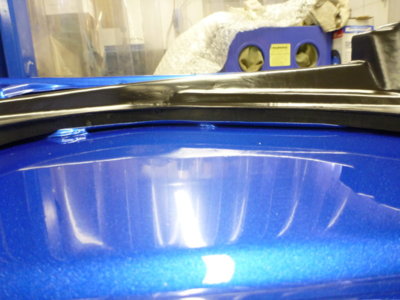
Scoop bezels installed and ready to put on the hood. Paint is like a mirror.

Scoops set in place ready for gaskets and nuts.

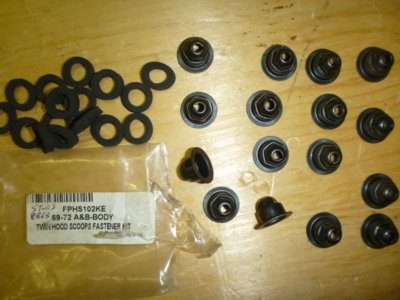
Install kits nuts and gaskets. Studs were bonded into the scoops before paint.

Make sure you keep the gasket centered and don't just blindly install the nut

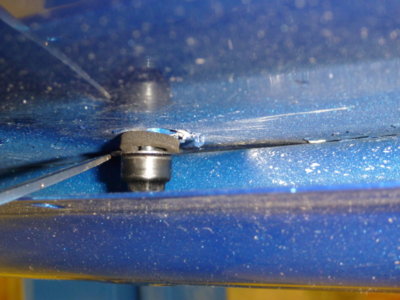
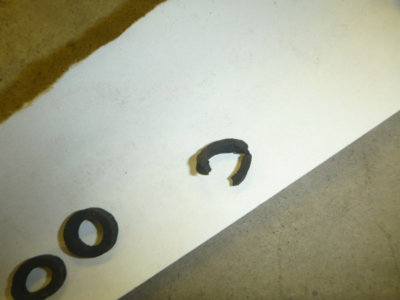
If you don't pay attention and the gasket cocks this is what you'll get!

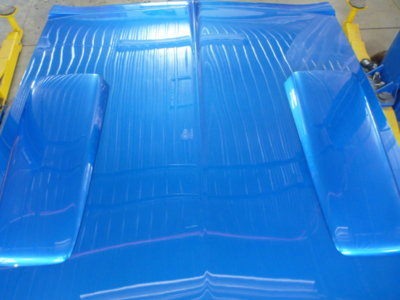
Told her I'd buy her a beer if she came back out to the shop and helped me flip the hood over!!
1f609.png
Best nickle I spent all day!

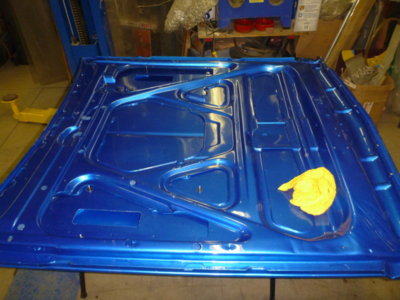
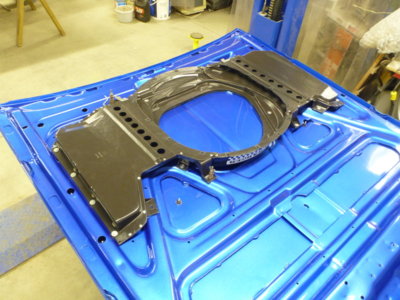
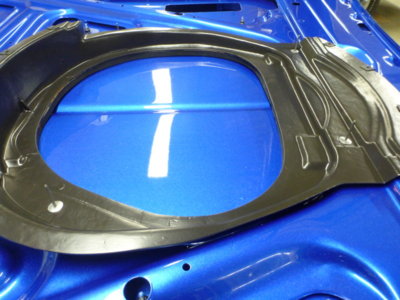
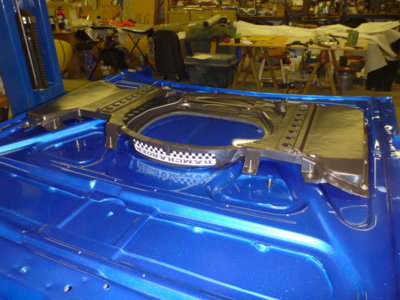
Hood wiped clean and ready to install the Ramcharger airbox.

beerestorationfall2018 646.JPG beerestorationfall2018 654.JPG beerestorationfall2018 665.JPG beerestorationfall2018 674.JPG beerestorationfall2018 681.JPG beerestorationfall2018 682.JPG beerestorationfall2018 685.JPG beerestorationfall2018 686.JPG beerestorationfall2018 695.JPG beerestorationfall2018 697.JPG
 
Last edited:
Had my faithful assistant (of 36+ years) help me carry the hood from a marine container to the shop. One of the few that has ever sat on that hood, laying back against the windshield at the drive-in! The only one that's ever married me and went to and from the chapel in this car!

I'd say body man Kenny did a damn good job of getting it straight.

Scoops off for bezel install and then proper installation.

Scoop bezels installed and ready to put on the hood. Paint is like a mirror.

Scoops set in place ready for gaskets and nuts.

Install kits nuts and gaskets. Studs were bonded into the scoops before paint.

Make sure you keep the gasket centered and don't just blindly install the nut

If you don't pay attention and the gasket cocks this is what you'll get!

Told her I'd buy her a beer if she came back out to the shop and helped me flip the hood over!!
1f609.png
Best nickle I spent all day!

Hood wiped clean and ready to install the Ramcharger airbox.

View attachment 688649 View attachment 688650 View attachment 688651 View attachment 688652 View attachment 688653 View attachment 688654 View attachment 688655 View attachment 688656 View attachment 688657 View attachment 688658
Love the story Wayne.....Just how many people can say that...very very cool......

Hood and scoops look great!

Love the 7up machine...I remember those......
 
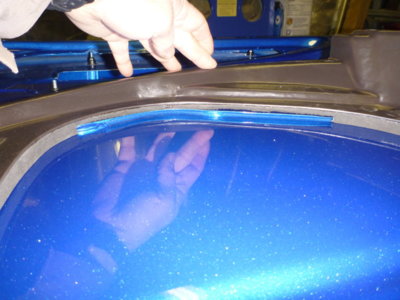
Center set in place to see why the OE foam was trimmed back in one spot.

Answer is because the box actually sits to the passenger side of the hood and sits over a reinforcement panel. Foam marked for trim.

Foam trimming.

Now it sits perfect.

Center ready to close my eyes and pull the 4 rivets.

Outer boxes have both rivets and clip nuts with screws on the outer edge.

Laid out a strip of cord seal on each outer box where it overlaps the center, to duplicate the OE installation.

All pegged in place ready to pull outer box rivets and tighten screws.

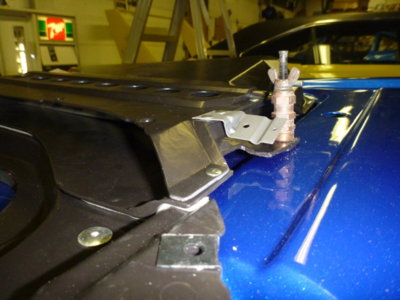
Slowly pulled the outers down with wing nut clecos to squash the cord seal before riveting.

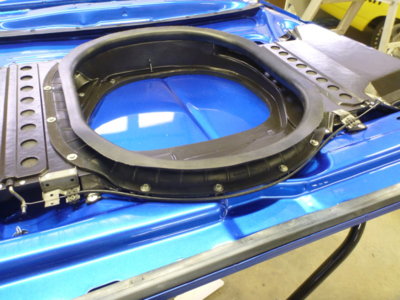
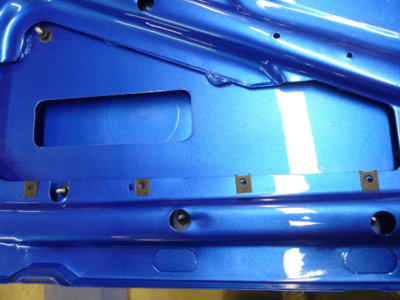
Almost done, but thanks to an issue that I wish we had of thought of before paint I stopped for the night. Three of the holes are oversize from multiple air box removals over time. Rivets won't expand enough to hold and I can't get a keeper washer behind the structure in these spots. Will work on a solution tomorrow and then install the filter seal, cowl and radiator support seals.

beerestorationfall2018 701.JPG beerestorationfall2018 703.JPG beerestorationfall2018 708.JPG beerestorationfall2018 710.JPG beerestorationfall2018 715.JPG beerestorationfall2018 716.JPG beerestorationfall2018 724.JPG beerestorationfall2018 729.JPG beerestorationfall2018 741.JPG beerestorationfall2018 744.JPG
 
Center set in place to see why the OE foam was trimmed back in one spot.

Answer is because the box actually sits to the passenger side of the hood and sits over a reinforcement panel. Foam marked for trim.

Foam trimming.

Now it sits perfect.

Center ready to close my eyes and pull the 4 rivets.

Outer boxes have both rivets and clip nuts with screws on the outer edge.

Laid out a strip of cord seal on each outer box where it overlaps the center, to duplicate the OE installation.

All pegged in place ready to pull outer box rivets and tighten screws.

Slowly pulled the outers down with wing nut clecos to squash the cord seal before riveting.

Almost done, but thanks to an issue that I wish we had of thought of before paint I stopped for the night. Three of the holes are oversize from multiple air box removals over time. Rivets won't expand enough to hold and I can't get a keeper washer behind the structure in these spots. Will work on a solution tomorrow and then install the filter seal, cowl and radiator support seals.

View attachment 688659 View attachment 688660 View attachment 688661 View attachment 688662 View attachment 688663 View attachment 688664 View attachment 688665 View attachment 688666 View attachment 688667 View attachment 688668
Everything looks great!

I would suggest to contact Frank B. and see if the have a bigger diameter rivet with the same rim size they can order for you....What probably happened someone just straight drilled the old rivets out with a bit too big....If he doesn't have that option you may have to tig weld the holes and drill out.....

If you come up with a different fix it would be great for you to detail that. Which I am sure you will because most can run into this problem....
 
I've had the box of rivets I used for over 28 years, bought to install the nose seals in the Bird in 1990 ! I'll sort it out tomorrow and as usual do my daily post! lol I have a plan, whether it works or not is another story...
 
I've had the box of rivets I used for over 28 years, bought to install the nose seals in the Bird in 1990 ! I'll sort it out tomorrow and as usually do my daily post! lol I have a plan, whether it works or not is another story...
I hope you find that "bush" fix.....thats the stuff we need to know about!

Sometimes the car is in the right hands and you're the one to get that accomplished!
 
Had my faithful assistant (of 36+ years) help me carry the hood from a marine container to the shop. One of the few that has ever sat on that hood, laying back against the windshield at the drive-in! The only one that's ever married me and went to and from the chapel in this car in 1982!

I'd say body man Kenny did a damn good job of getting it straight.

Scoops off for bezel install and then proper installation.

Scoop bezels installed and ready to put on the hood. Paint is like a mirror.

Scoops set in place ready for gaskets and nuts.

Install kits nuts and gaskets. Studs were bonded into the scoops before paint.

Make sure you keep the gasket centered and don't just blindly install the nut

If you don't pay attention and the gasket cocks this is what you'll get!

Told her I'd buy her a beer if she came back out to the shop and helped me flip the hood over!!
1f609.png
Best nickle I spent all day!

Hood wiped clean and ready to install the Ramcharger airbox.

View attachment 688649 View attachment 688650 View attachment 688651 View attachment 688652 View attachment 688653 View attachment 688654 View attachment 688655 View attachment 688656 View attachment 688657 View attachment 688658
THANKS to the ‘faithful assistant’,, I know how that works!
 
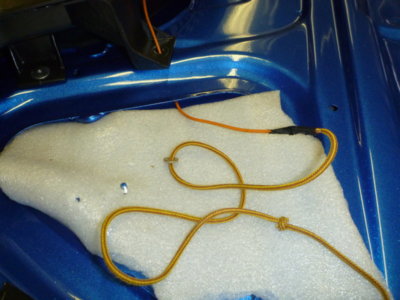
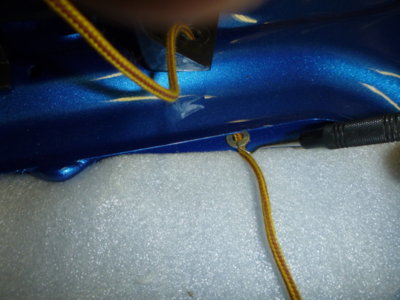
Why you walk away when things go South and sleep on it. My brain never shuts off. How to install a backing washer, to correct the oversize hole. Piece of aquarium tube threaded in and out of the hood.

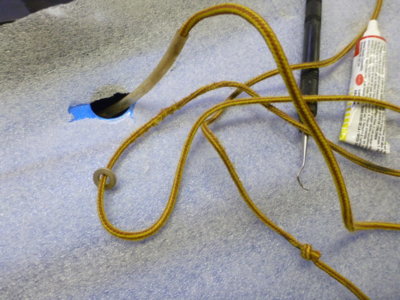
Work boot lace with an AN960-10 (3/16) washer threaded on and a knot in the lace.

What ever quick drying glue you have around the shop to coat the washer face and pull up into place in the hole. I had some china bonder that dries in 2 minutes.

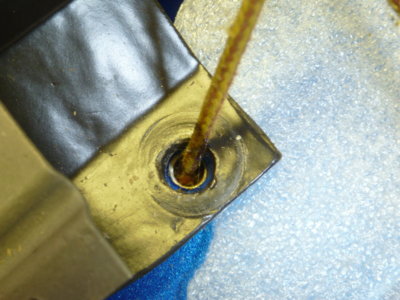
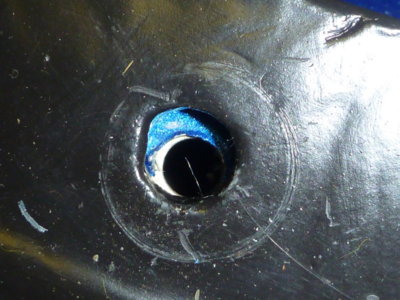
One hole fixed.

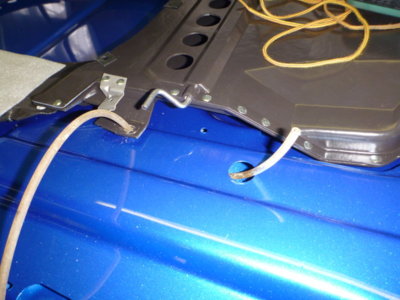
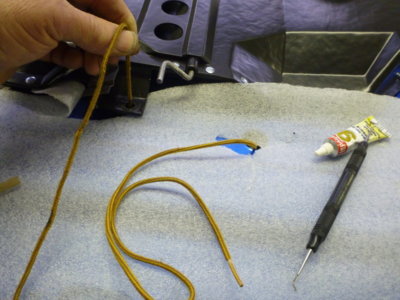
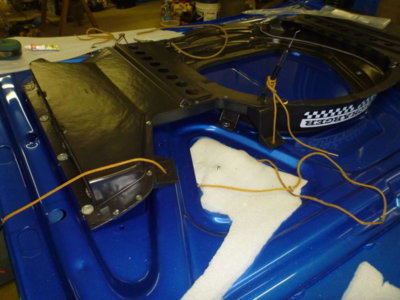
Hood web holes required a wire fed down and out, and then the lace taped on and pulled in.

Carefully sliding the washer under so I don't lose the glue. Pretty tight pulling the knot through, but doable.

Ready to do the other side, with the other end of the same lace.

Bob's your uncle!

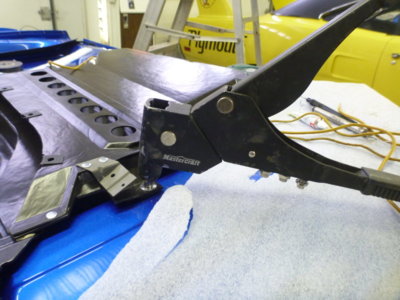
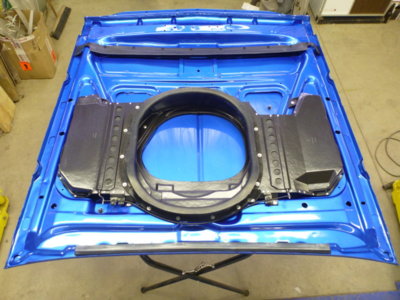
Final three rivets pulled to complete the box installation.

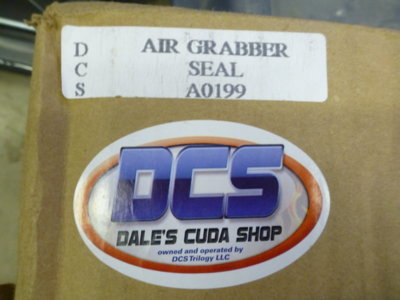
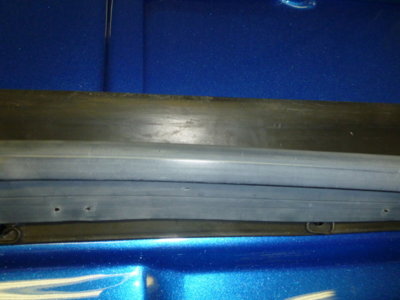
Purchased my new air filter seal from Dales Cuda Shop.

beerestorationfall2018 745.JPG beerestorationfall2018 746.JPG beerestorationfall2018 750.JPG beerestorationfall2018 752.JPG beerestorationfall2018 754.JPG beerestorationfall2018 756.JPG beerestorationfall2018 759.JPG beerestorationfall2018 789.JPG beerestorationfall2018 764.JPG beerestorationfall2018 772.JPG
 
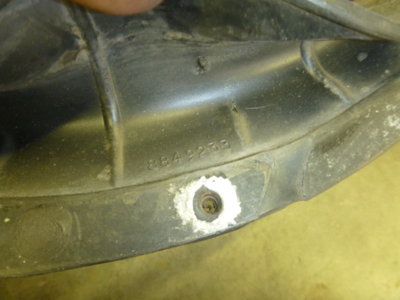
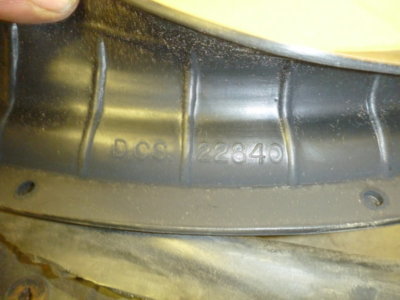
OEM number from the removed seal. Think I bought this one in 1988 from the Chrysler dealer at the corner of Wilson and Keele in Toronto.

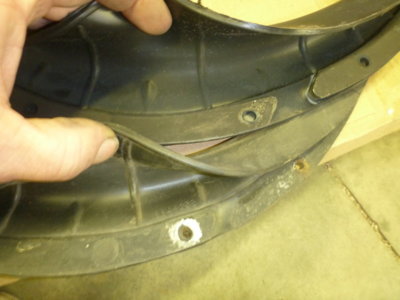
DCS has no part number in the same location as the OEM part number.

DCS part number at the back of the seal where nobody will see it.

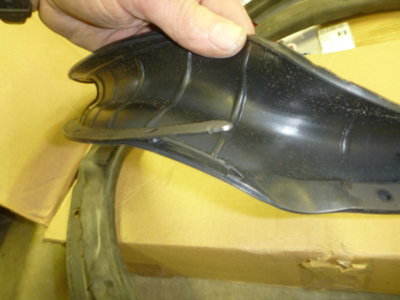
Excellent reproduction, but they certainly need to work on their bonding system.

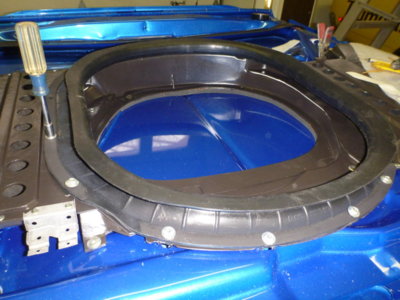
All screws in loose before tightening them up.

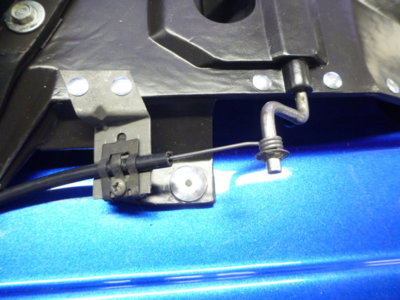
Drivers side cable locked in place and push nut installed.

Cable installed to passenger side, making sure both flaps are tightly closed and work smoothly.. open / close.. open / close.

Bought my radiator seal and cowl seal from two different suppliers but both obviously came from the "same" place.

Not too happy that one is a deep black and the other is almost gray, even after cleaning. Ended up breaking out my "Wipe New" to get it to darken up somewhat.

Time to call my paint man and get the nose back on the car. Hopefully he has time before Christmas.

beerestorationfall2018 774.JPG beerestorationfall2018 775.JPG beerestorationfall2018 777.JPG beerestorationfall2018 780.JPG beerestorationfall2018 782.JPG beerestorationfall2018 802.JPG beerestorationfall2018 803.JPG beerestorationfall2018 768.JPG beerestorationfall2018 767.JPG beerestorationfall2018 809.JPG
 
That came out awesome, great work! I really love the cool options like this that Mopar did, really cool.
 
Why you walk away when things go South and sleep on it. My brain never shuts off. How to install a backing washer, to correct the oversize hole. Piece of aquarium tube threaded in and out of the hood.

Work boot lace with an AN960-10 (3/16) washer threaded on and a knot in the lace.

What ever quick drying glue you have around the shop to coat the washer face and pull up into place in the hole. I had some china bonder that dries in 2 minutes.

One hole fixed.

Hood web holes required a wire fed down and out, and then the lace taped on and pulled in.

Carefully sliding the washer under so I don't lose the glue. Pretty tight pulling the knot through, but doable.

Ready to do the other side, with the other end of the same lace.

Bob's your uncle!

Final three rivets pulled to complete the box installation.

Purchased my new air filter seal from Dales Cuda Shop.

View attachment 688901 View attachment 688902 View attachment 688903 View attachment 688904 View attachment 688905 View attachment 688906 View attachment 688907 View attachment 688908 View attachment 688909 View attachment 688910
And here some may have laughed when I dais "bush fix".....I knew you would find a way....Great Job Wayne!

Looks great!
 
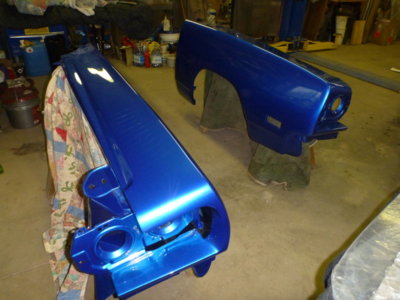
Fenders wiped down ready to sort out correct hardware for install by reading the shop manual and comparing to the hardware kit I'd bought. After 50 years and three paint jobs it's needless to say most body shops don't care and just use nuts and bolts.

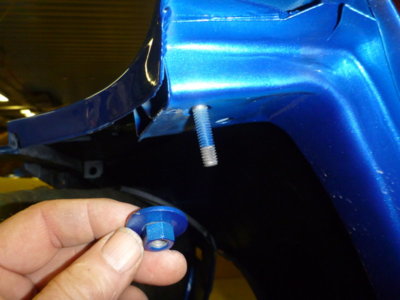
Upper rear of fender to outer cowl stud in place. Short thread section in, long out.

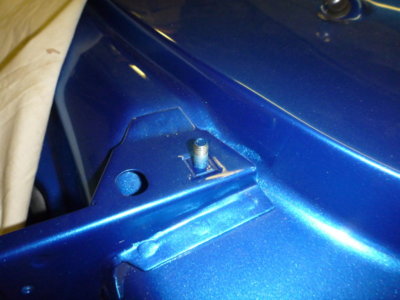
Short stud in place at upper cowl.

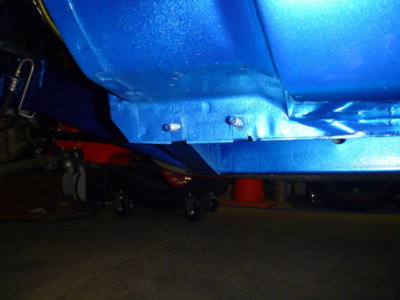
Two long studs in clip nuts at front of door sill. Long thread section in, short out.

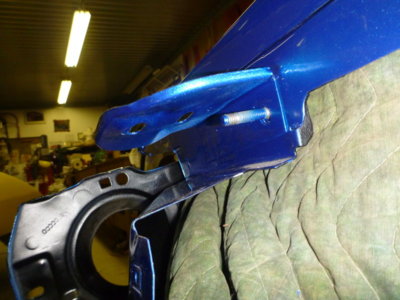
Long stud under the radiator support attach bracket. Long thread section in, short section out for the washer nut.

Four clip nuts down the fender edge.

Clip nut in the inner fender for the hood hinge.

Two clip nuts, each side, on the radiator support.

Car has just crossed the 2000 hours of total labour to this point with the body shop and my time added together.

beerestorationfall2018 835.JPG beerestorationfall2018 842.JPG beerestorationfall2018 843.JPG beerestorationfall2018 848.JPG beerestorationfall2018 850.JPG beerestorationfall2018 854.JPG beerestorationfall2018 857.JPG beerestorationfall2018 861.JPG
 
Last edited:
Looking great Wayne! Just going back a bit in your thread; the paint you used for your air box, was it custom mixed?
No, I used something off the shelf that was spot on the original plastic colour. PM me.. don't want to share here in case it doesn't hold up.
 
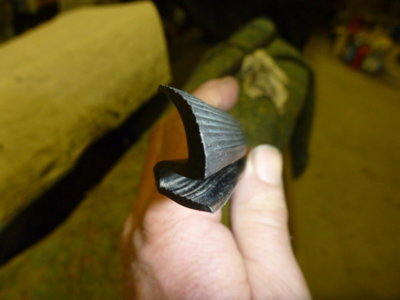
Was sitting on my ***, feeling a little overwhelmed at how far I still have to go and just scrubbing up the old package tray trim for the rear window while I gathered my wits.

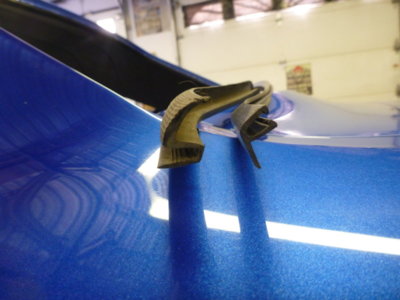
Correct OE profile, at least from my car.

Thinking back to how pissed off I was when I paid good money to Year One for this (on the right) absolutely incorrect / useless / "OEM in every detail" / POS that I bought last year.

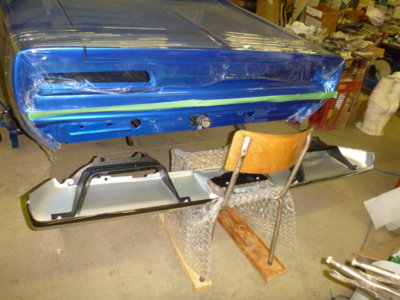
I then decided to get off my *** and do something WITH THE CHAIR ! Rear bumper on same and attach brackets installed.

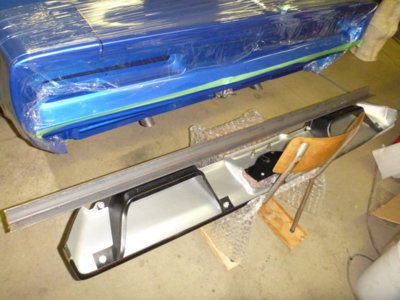
Quick check, with a length of angle iron, that both brackets are in alignment and sitting straight.

Chair is the perfect height and the "hump" at the front made it even better to slide up into place.

beerestorationfall2018 862.JPG beerestorationfall2018 863.JPG beerestoration2017 1271.JPG beerestorationfall2018 870.JPG beerestorationfall2018 871.JPG beerestorationfall2018 873.JPG
 
Last edited:
Auto Transport Service
Back
Top