• When you click on links to various merchants on this site and make a purchase, this can result in this site earning a commission. Affiliate programs and affiliations include, but are not limited to, the eBay Partner Network.

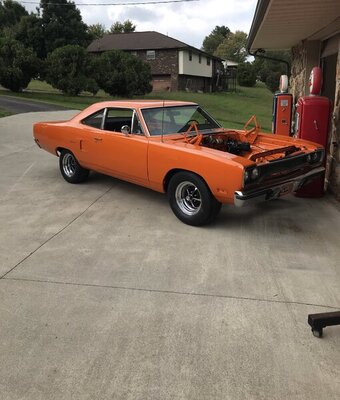
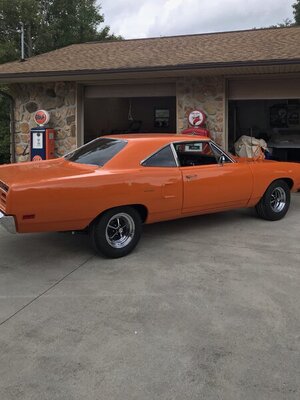
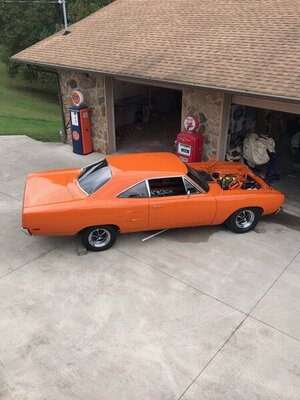
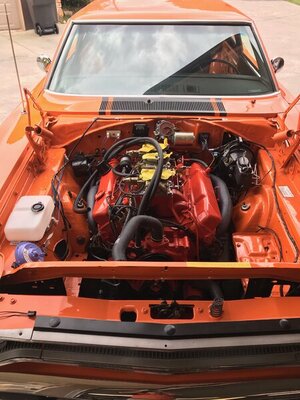
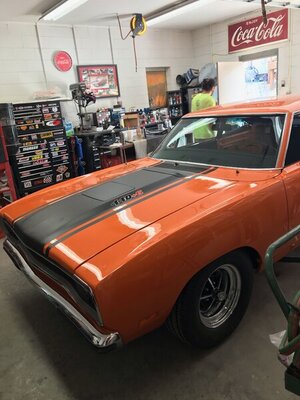
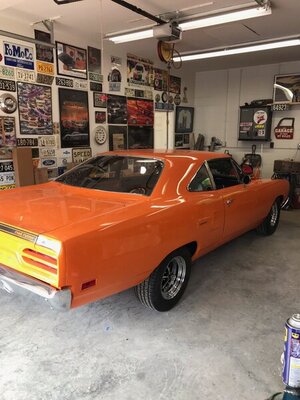
1970 Roadrunner Build

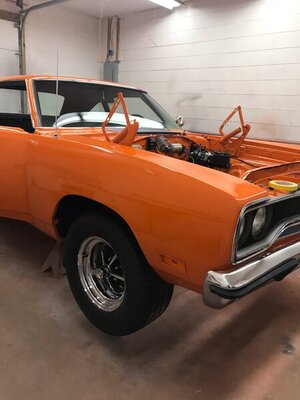
I felt like when I added the glass to my car that it transformed from just a "shell" to a more of a car. It makes a big difference!

Looks great!
 
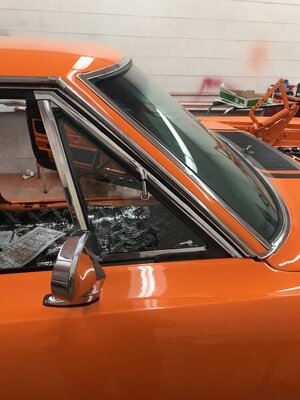
Got the pillar trim and rear view mirror back in car. Steering column rebuilt and installed. Package tray in. Spent a week of evenings after work looking for my sun visors and they seem to have vanished along with one piece of post welt molding. Finally threw in the towel and found some on EBay.

33C44922-304C-474C-9A58-BF8BD57FAE61.jpeg D4C546CA-B021-4457-BC43-4ADB25B796C2.jpeg 799C79CE-9AFB-468D-B00E-0CDE5BB266CA.jpeg BB219455-51D3-4D6B-9907-DE5D91D716FB.jpeg
 
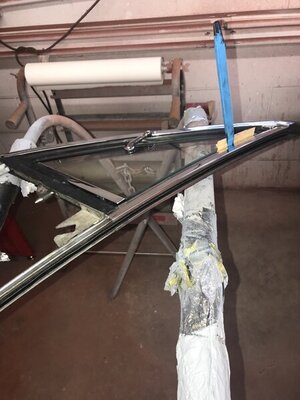
I had my vent windows rechromed as the pot metal had some minor black specks beginning to show. When they rechromed them they ground the second rivet off inside the frame for some reason, so we ended up using body panel epoxy to install the felt channel. I think if I had to do it over may have used the reproduced frames??

70BCB54E-EE82-491D-9DF1-93C85351FF29.jpeg 5CDA8EA9-4428-44EE-B26C-0B0CDED036FA.jpeg C689A9A4-A797-4807-875C-14957F11059B.jpeg
 
I wanna come visit. Hell, got nothing else to do. :)
 
Well for the first time in 23 months the car was rolled out of the garage and saw daylight. Nickey got the engine dropped in and moved car over to another bay at his garage. Pressing hard to finish up so he can get the paint laid down on the Mustang before the cold weather shows up. Can’t wait to hear her crank back up :rolleyes:

10EDEB06-45EA-4168-ADED-45104DC9F5D3.jpeg 9D1FD3F7-ACFD-4289-B957-6162A2CE149D.jpeg C1ACFA32-D992-4F65-A50F-C39AA598CD1C.jpeg 1EC14EB9-ACCF-47B2-8D6B-3E7A19DD12FD.jpeg A234F34E-1C2A-4B87-BC64-3B66FE8EF925.jpeg 4FFC53FD-CDA0-4DF0-BD64-0129C36267E5.jpeg
 
Last edited:
I'm a little late to the party, but, DANG YOUR CAR IS GORGEOUS! I just read through your whole thread and you really paid attention to the details.

I've owned my 70 GTX since 1983 and want to do a complete restoration like yours in the near future.
 
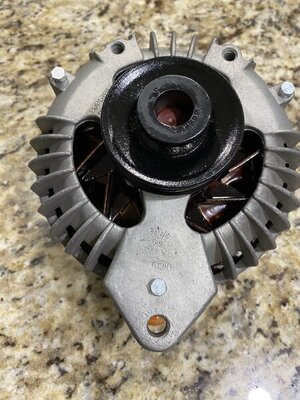
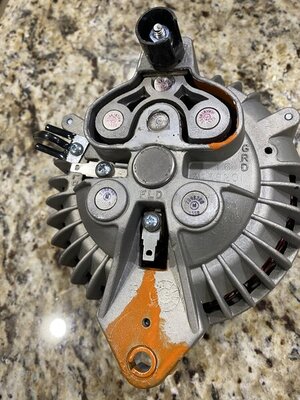
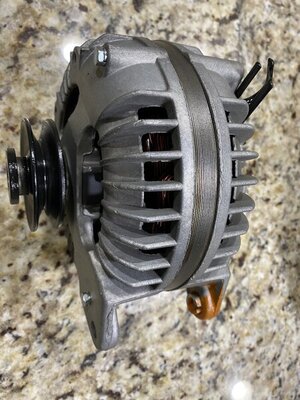
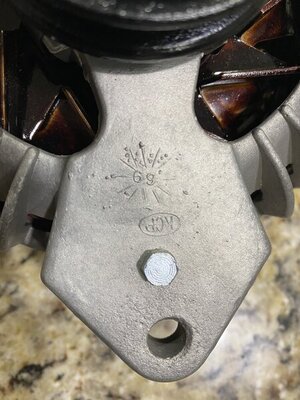
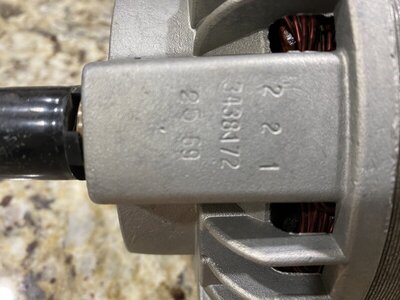
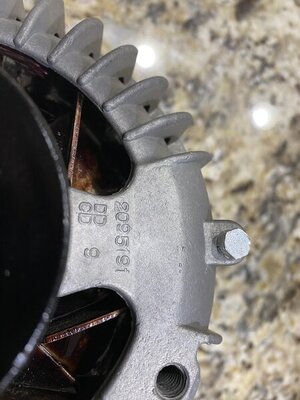
Thanks it has been a bit of a learning curve as this is my first Mopar. Speaking of attention to detail, I received my alternator today from Paul Jacobs and it truly is a work of art. I highly recommend him for an alternator restoration as he is great to deal with. When I put the internally regulated alternator I had on the engine (Post #163) it really looked out of place and so the hunt for the right one was on. Paul located the correct alternator that even had the correct 69 date castings and very close build date for my car.

C65626CC-02E1-4F52-9B66-DCA7A2EEA365.jpeg 299876B7-F161-4EB7-8FD9-B27EC1DD48D5.jpeg 8D5D9BC5-C766-4982-8066-4BA3C129C7DE.jpeg 83A15833-A70A-4717-96DA-41CEC00E594F.jpeg A9FF1162-CF54-46E8-939F-CB0A1C6A3571.jpeg E5752278-6E13-42D1-8D3A-8A0E5471B7A9.jpeg
 
Last edited:
Exhaust system from Accurate Exhaust also arrived. It was kind of like Christmas around here today :D. Anyway their system looks great including the correct hangers, Q style clamps and exhaust tips.

A5767242-7E9B-429B-A243-4B1D7E07AC8B.jpeg
 
Exhaust system from Accurate Exhaust also arrived. It was kind of like Christmas around here today :D. Anyway their system looks great including the correct hangers, Q style clamps and exhaust tips.
I have heard multiple times how accurate exhaust makes great stuff, so I'm sure you will be pleased with the end result and installation. Having said that, I have never put in any exhaust that didn't need at least some level of tweaking - it just seems to come with the territory. I'll be curious to see how this goes in.

I've said it multiple times before, but I'll say it again. NICE CAR AND WELL DONE!!! Looks super!

Hawk
 
Alternator looks fantastic! Maybe I will send mine to him this winter. You will be very happy with the Accurate system.
 
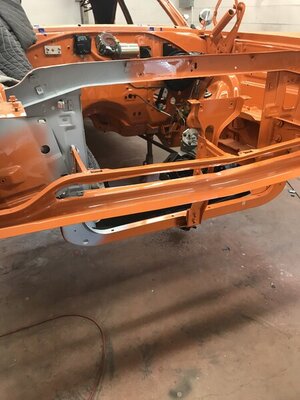
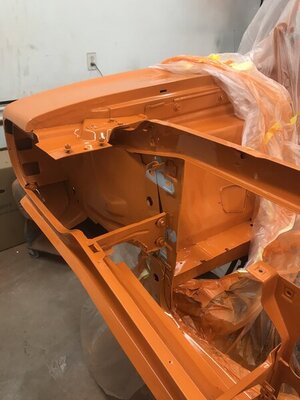
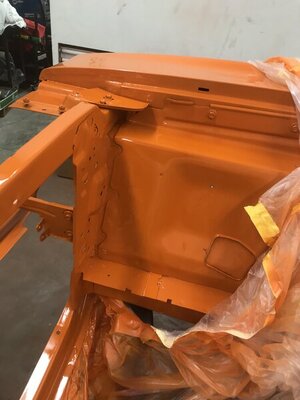
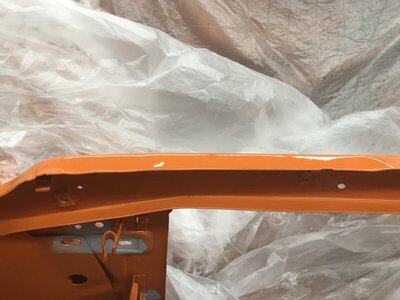
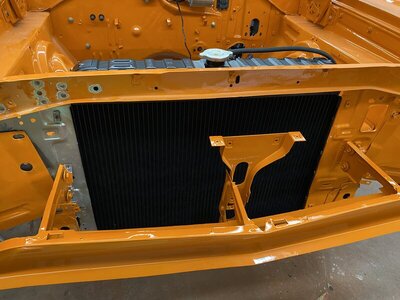
Decided to go with a 26" radiator so had to order a replacement panel to convert to a 26" radiator support. Slight oversight, but test fit and ready to weld in. Glen-Ray Radiators are truly a piece of art.

View attachment 932224 View attachment 932225
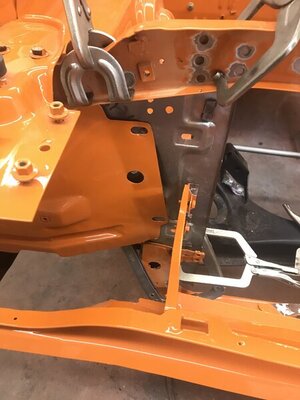

Is this the piece you used to convert to 26”? If so, how did it fit?

Radiator Core Support Patch Conversion 26" GTX 68-70 RIGHT SIDE SUPERBEE USA


https://www.ebay.com/itm/Radiator-Core-Support-Patch-Conversion-26-GTX-68-70-RIGHT-SIDE-SUPERBEE-USA-/131536769949
 
Yes that is the correct part. It fit just like it came off of the assembly line. An oversight on my part for sure. We put it in after car was already painted and then blended it back in. Use your radiator for exact placement before welding it in.

6CBFF4BE-0B17-482D-9F7C-9C33EA572343.jpeg DB858C87-58FC-4DF2-86F7-A335C19AAB15.jpeg 984D196C-2519-4074-AA39-5B2B95498ECF.jpeg 448FBBB2-FBD0-410F-B8FD-712EC50EC9B3.jpeg E3414705-50AF-4050-A625-FBA1B929376A.jpeg 72AD0EC3-F78E-4938-8C88-23B02C3264F4.jpeg View attachment 1011602
 
Last edited:
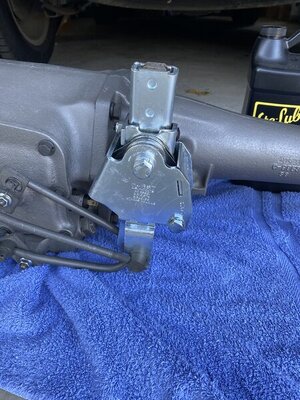
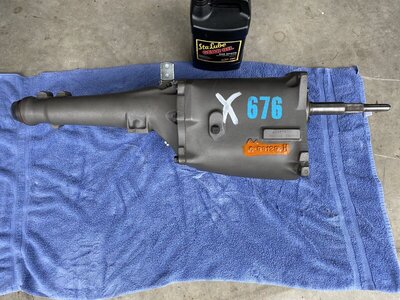
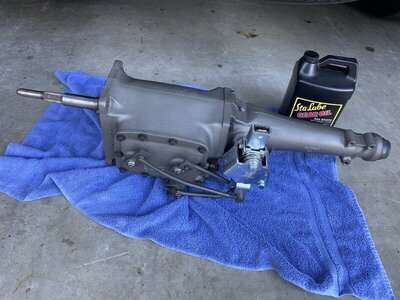
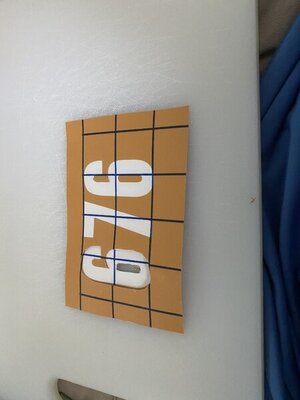
Got my transmission back from rebuilder about 2 weeks ago and it turned out great. He used a hot temperature black oxide treatment on all the bolts, restored the shifter and set the linkage up. I attempted to recreate the factory markings today and it didn’t turn out too bad. My wife cut the numbers out using her Cricut. Then used a sponge to apply paint over stencil.

D6A9929E-390C-4A98-90BD-F2FC695161EB.jpeg 1CFB4FE0-72F7-4344-AE4E-3512F6F5A508.jpeg ECE5F41E-34AF-493E-9516-B691F4842B9E.jpeg FDC4409E-8E26-4654-ABAC-1E87F0C63D52.jpeg
 
Last edited:
Auto Transport Service
Back
Top