• When you click on links to various merchants on this site and make a purchase, this can result in this site earning a commission. Affiliate programs and affiliations include, but are not limited to, the eBay Partner Network.

$500- 68 charger

you gonna use that to bring your next project home on?
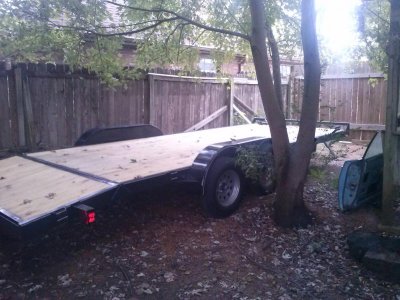
Actually I had to carry the car to a DMV to have the vin# checked so I can get my title. Yep, I bought it with just a bill of sale. I trusted the guy I bought it from and it was all legal. But I had to apply for title, and should have way before now,.but it is on the way so all is good. I took the car off the rotis and back on the stands, rolled it on the trailer then took the stand wheels off and put the feet on,. it was some work but needed to do it. I needed a trailer anyway, I may carry it to get painted, etc.. Really don't feel like turning my garage into a paint booth. That is not definite tho. I think I got a good deal on the trailer, 20', beaver tail, brakes, etc.,- $2100 brand new. When I get the car going I will take it to the local strip on the trailer also.
 

Attachments

  • CAM00177.jpg
    CAM00177.jpg
    76.6 KB · Views: 575
Actually I had to carry the car to a DMV to have the vin# checked so I can get my title. Yep, I bought it with just a bill of sale. I trusted the guy I bought it from and it was all legal. But I had to apply for title, and should have way before now,.but it is on the way so all is good. I took the car off the rotis and back on the stands, rolled it on the trailer then took the stand wheels off and put the feet on,. it was some work but needed to do it. I needed a trailer anyway, I may carry it to get painted, etc.. Really don't feel like turning my garage into a paint booth. That is not definite tho. I think I got a good deal on the trailer, 20', beaver tail, brakes, etc.,- $2100 brand new. When I get the car going I will take it to the local strip on the trailer also.
Why did you have to bring that up? I had almost forgot the pain and suffering associated with titling mine "glad that's over with". It all sounds to familiar "bill of sale" and I bet you had some uneasy feelings until you got it taken care of "congrats on getting that monkey off your back".
 
Congrats on your trailer and getting the title! ill wager that Charger will look menacing mean sitting on there headed for the track.. I gave my son in law a camper and he is going to make a car hauler out of it, he has one but its to narrow i guess for a car, hey, someday maybe it will benefit me here if i need a car hauled lol. Not the reason i gave it to him but seeing this, Ummm, ya never know! lol
 
decent price on a cool open trailer & congrats on getting the car titled, I'll bet that feels really good now...
 
Heck yea it feels good! I actually already have a tag for it, lol., It will not need one for at least another year.
 
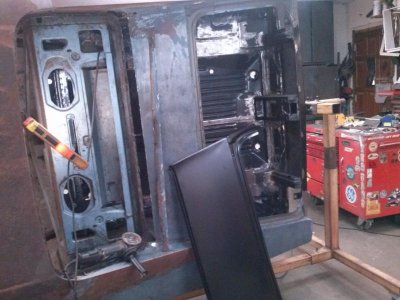
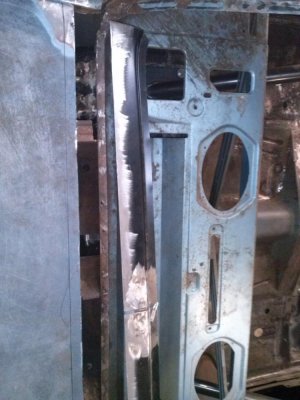
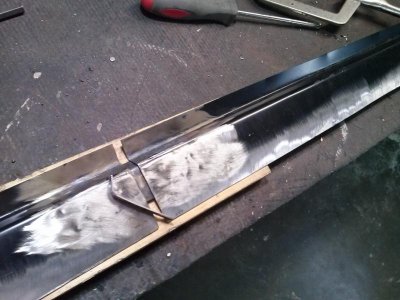
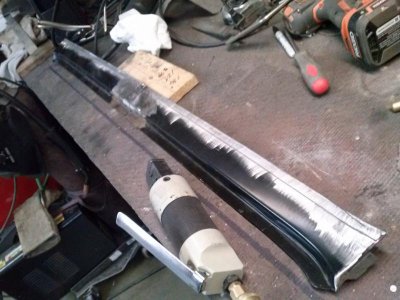
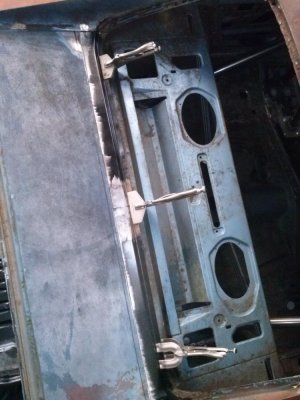
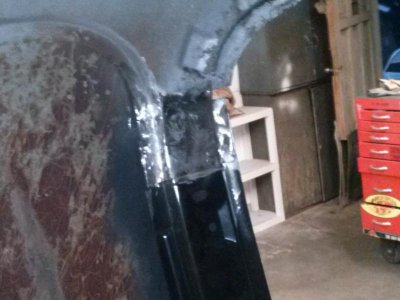
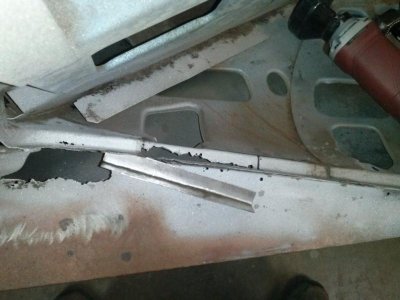
It's been a while since I have posted anything but I have been working on it every eve and weekends. I have been touching up on the bottom a lot, fixing small rusty spots, improving some of the upside down welds now that I can get to them upright, etc.. I also have finally started on the rear window. Call me crazy but I could not see replacing the entire deck filler when only the 1st inch by the glass was pretty much all that needed replacing, so I decided to do something which cost me a lot of money but will save me a lot of work. I cut the $300 deck filler off at 3" behind the glass and will be spot/splicing that small piece in with a flanged edge. To further complicate things the deck filler was about 1/4" to short, side to side. So I had to cut the piece in half and add that 1/4".
 

Attachments

  • CAM00182.jpg
    CAM00182.jpg
    65.3 KB · Views: 511
  • CAM00189.jpg
    CAM00189.jpg
    89.7 KB · Views: 509
  • CAM00190.jpg
    CAM00190.jpg
    63.1 KB · Views: 523
  • CAM00191.jpg
    CAM00191.jpg
    64 KB · Views: 513
  • CAM00192.jpg
    CAM00192.jpg
    65.4 KB · Views: 505
  • CAM00197.jpg
    CAM00197.jpg
    91.1 KB · Views: 494
Looks good. You can always use the rest of the deck filler that you cut to use for patching in small holes and such.
 
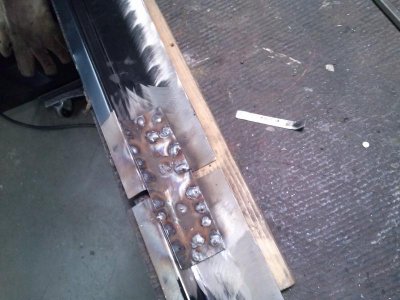
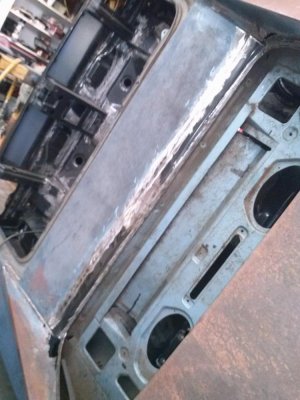
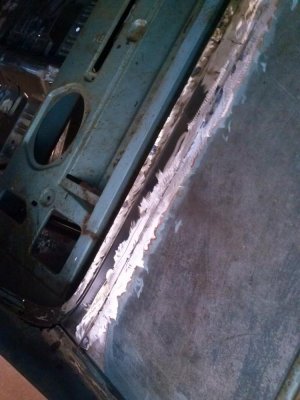
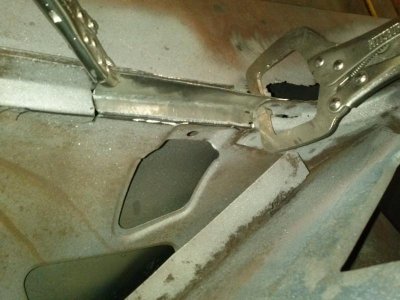
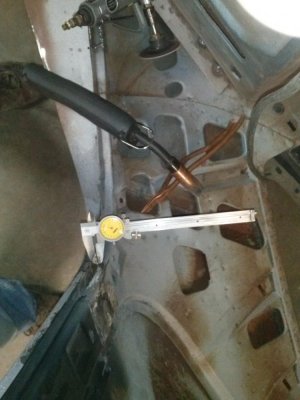
Finished welding in the bottom patch I made. That was 92 holes, drilled and spot welded. 1 every inch on the 2 attaching edges. I filled the plenum cavity with a rust killer and was able to remove the surface rust as needed for this patch, but I may have to gently sand blast some of the other areas around the window before patching/repairing. My plan on this 1st piece seems to have worked out well for me. It should slick out nicely with a little of the "All Metal" filler and that resin sealer stuff, which I plan to use on exterior seams. Now on to the top lip.
 

Attachments

  • CAM00201.jpg
    CAM00201.jpg
    90.5 KB · Views: 447
  • CAM00200.jpg
    CAM00200.jpg
    88.7 KB · Views: 445
You did a great job on it, looks good... 92 holes and welded, that is some time consuming work there! Only a Mopar guy would be so particular as to do this kind of work, ive seen some Ford and Chevy guys who had some decent rides but i never seen them get this involved with a project, as far as doing it all themselves! The quality shows here to...
 
Its coming back together back there. That is an area I am very glad I haven't had to deal with!
 
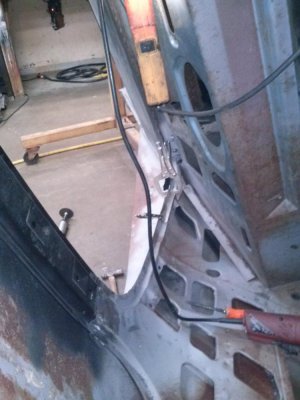
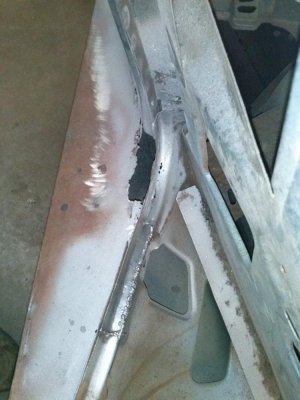
I made this patch which is part of the roof framework. The new rear roof bow attachs here. I will make some smaller patchs for the rusty areas near it. The last pic is where I left a small piece of the old lip to line up the new inner lip of the roof bow. Tac welded it in then remove the old piece.
 

Attachments

  • CAM00203.jpg
    CAM00203.jpg
    71.2 KB · Views: 464
  • CAM00205.jpg
    CAM00205.jpg
    66.8 KB · Views: 445
  • CAM00207.jpg
    CAM00207.jpg
    54.9 KB · Views: 457
looking good thanks for the updated photo's :hello2:
 
Looking real good Daytona we're doing our back windows backwards. You started on the bottom channel and I just finished my top channel. Hopefully this week the bottom pieces I ordered will come in. Keep up the good work.
 
Finished welding in the rear roof bow and the patch that it attaches to. I will patch some of the smaller rot spots around the window next.
 

Attachments

  • CAM00208.jpg
    CAM00208.jpg
    80.9 KB · Views: 411
  • CAM00211.jpg
    CAM00211.jpg
    51.1 KB · Views: 440
:icon_thumleft:looks good keep it up :headbang:
 
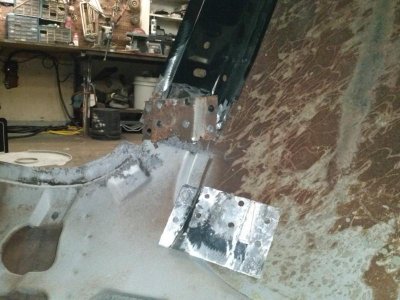
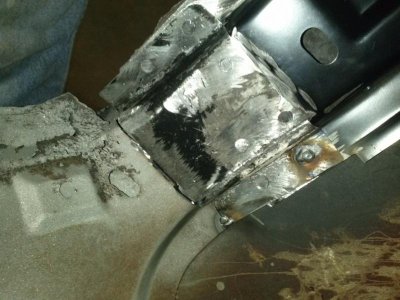
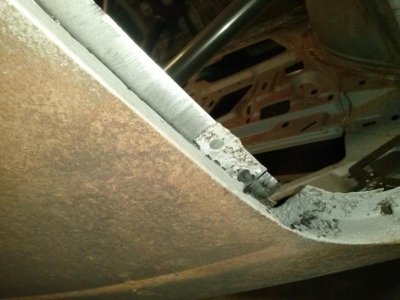
This evenings progress. Will clean it up a little tomorrow eve.
 

Attachments

  • CAM00215.jpg
    CAM00215.jpg
    53.1 KB · Views: 425
  • CAM00216.jpg
    CAM00216.jpg
    58.8 KB · Views: 395
  • CAM00217.jpg
    CAM00217.jpg
    80.5 KB · Views: 402
  • CAM00219(2).jpg
    CAM00219(2).jpg
    85.3 KB · Views: 416
Looking good! you must have a great amount of patience for this tedious work..
 
Looking good! you must have a great amount of patience for this tedious work..
It may be patience but probably more like some kind of OCD or something. :sick:
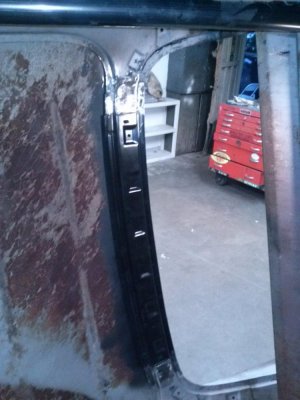
I try not to get to meticulous tho.
 

Attachments

  • CAM00220.jpg
    CAM00220.jpg
    76.1 KB · Views: 358
Last edited:
Auto Transport Service
Back
Top