You are using an out of date browser. It may not display this or other websites correctly.
You should upgrade or use an alternative browser.
You should upgrade or use an alternative browser.
$500- 68 charger
- Thread starter daytona kid
- Start date
daytona kid
Well-Known Member
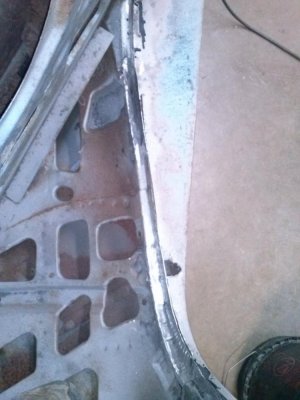
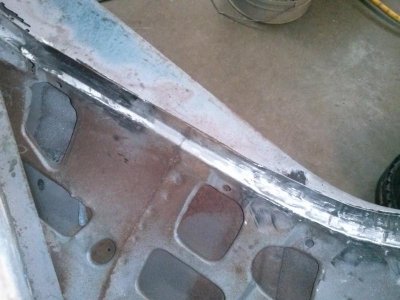
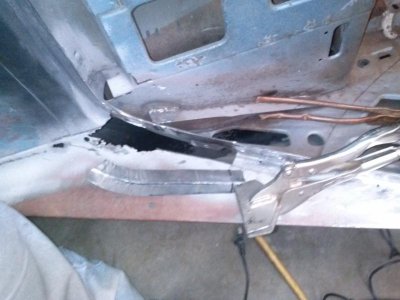
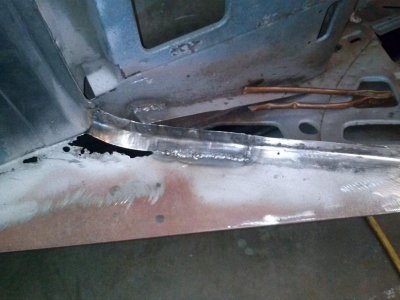
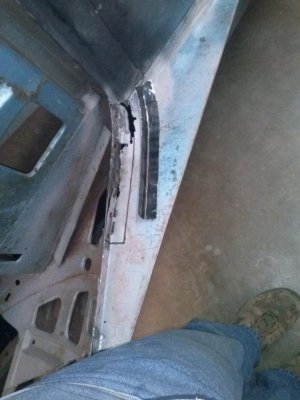
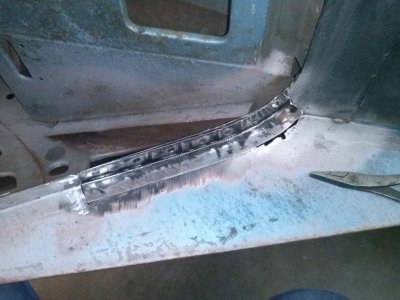
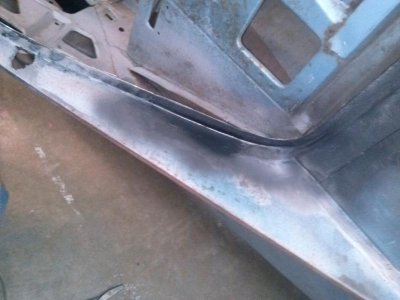
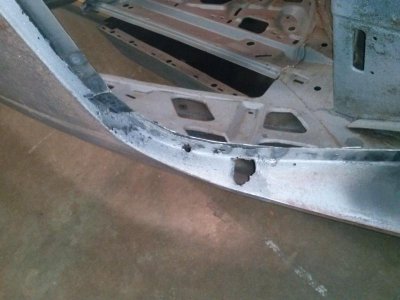
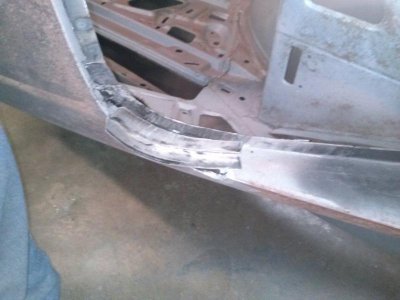
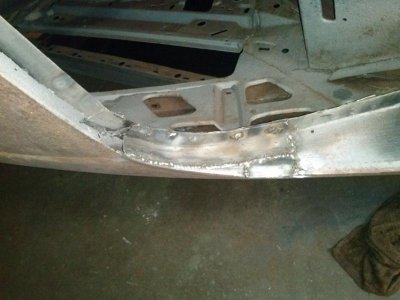
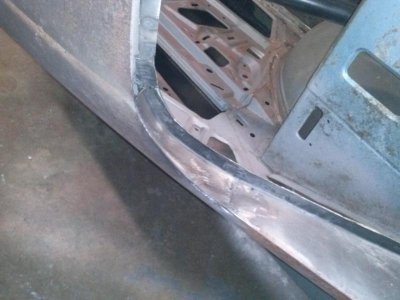
Made more progress with the window. I'll have to trim some of the excess new inner lip pieces in spots., I made them a little long to make sure they wouldn't be short. The shrinker & stretcher work well, but take a some practice. I had to put a cheater bar on them to use with this guage metal. The stock/short handle was not working. I put that deck/outer slice piece in 1st, then I got most of the inner lip areas and frame work fixed, now moving back to the outer. I will have to make the top outer lip piece and that will be last.
Attachments
daytona kid
Well-Known Member
Ron 73
Deceased, But not forgotton
I agree, Nice work, Id like to get me a shrinker and stretcher! Im trying to decide if i can afford one of the metal flangers, and i imagine there pricey.. Looking good Daytona!
- - - Updated - - -
Man, you make it look easy! i know it isint, just sayin...
- - - Updated - - -
Man, you make it look easy! i know it isint, just sayin...
Redhorse719
Well-Known Member
Lookin' good.
cdr
Well-Known Member
excellent work!!!!!
daytona kid
Well-Known Member
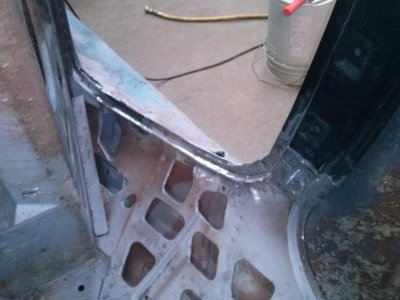
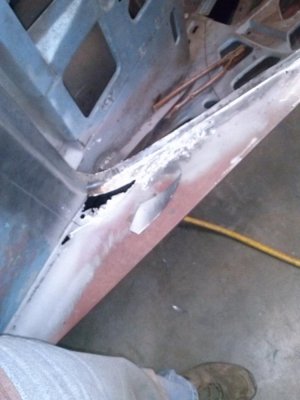
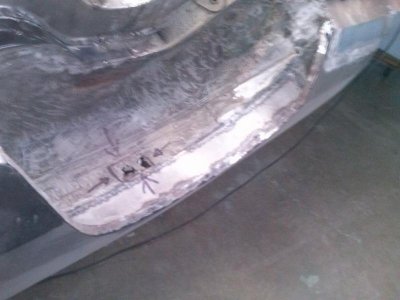
Here is a spot anyone with rust should look for. These spots, 1 on each side, are under the sailplane support/inner framework connection to the top of the wheel house. The are a perfectly square/rectangle where there was a water catching box made by the support above. These should patch easy.
Attachments
Yeap, had to patch mine "pretty easy fix". Your patching is looking really good, keep it up.Here is a spot anyone with rust should look for. These spots, 1 on each side, are under the sailplane support/inner framework connection to the top of the wheel house. The are a perfectly square/rectangle where there was a water catching box made by the support above. These should patch easy.
Ron 73
Deceased, But not forgotton
After all the work you just finished, i imagine this was a walk in the part, Thanks for the updates, i saved a few pictures just to use for reference if need be on the window channel! Thanks.
daytona kid
Well-Known Member
Ron 73
Deceased, But not forgotton
Cool, Looks like your getting the hang of the shrinker and stretcher! That piece looks good, Mine would have a v cut about the middle of it, i think those tools are well worth the money by the looks!
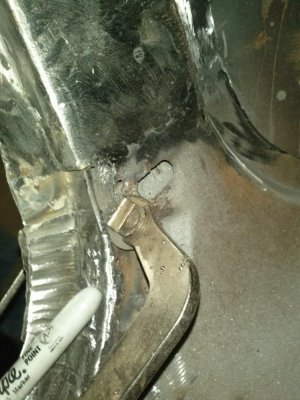
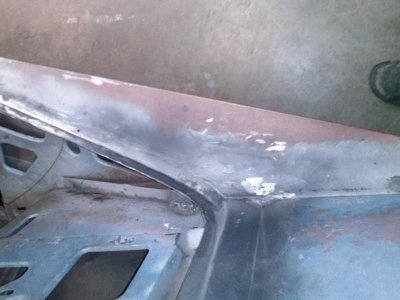
Here's another spot.
Looking real good with the patching . . . I haven't had to test out my shrinker/stretcher yet . . .
daytona kid
Well-Known Member
Superfreak
Well-Known Member
Great looking work you're doing, won't be long now.
daytona kid
Well-Known Member
Wow, your skills seam to be getting better and better "not that they weren't already good" but those look great, I wouldn't have been able to tell you fixed the one had you not said. Keep it up
Similar threads
- Locked
- Replies
- 1
- Views
- 229
- Replies
- 2
- Views
- 250

