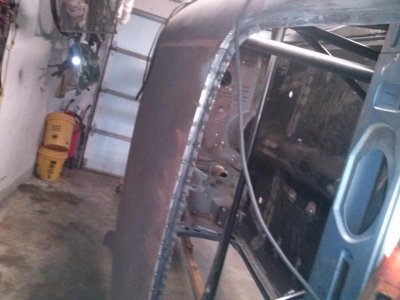
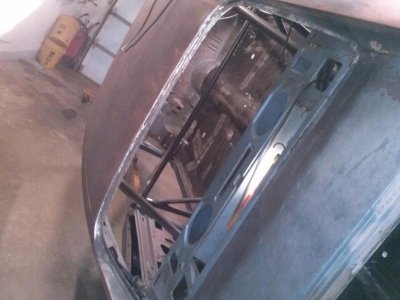
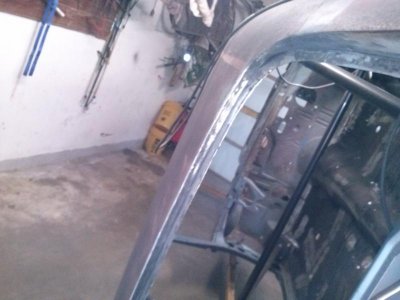
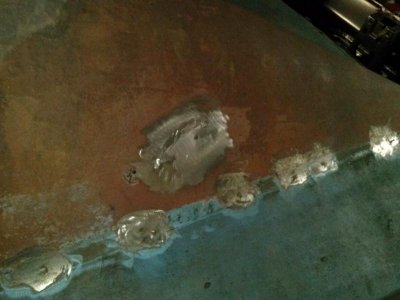
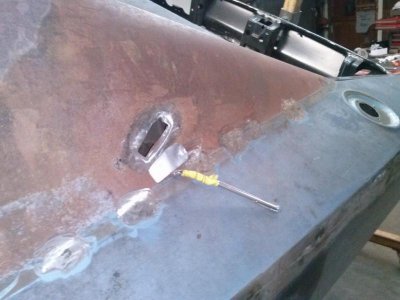
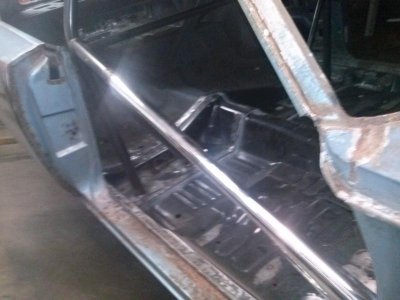
Very impressive skills you got there! Your car is going to be awesome when it's done.
You are using an out of date browser. It may not display this or other websites correctly.
You should upgrade or use an alternative browser.
You should upgrade or use an alternative browser.
$500- 68 charger
- Thread starter daytona kid
- Start date
Mr.SpeedFreak
Well-Known Member
I was wondering about the lip that runs along the top edge of the window opening?
As I understand it, that lip is for the trim. I guess the trim fits in under the lip? (not really sure, I read it on someones thread) Maybe you don't need that lip?
Or is your patch going to be below that?
When I patched that area on mine I just cut out the "face" (vertical piece between the shelf and roofline), and when I pieced the patches in the weld itself made up a decent amount of that lip. I was just careful with my grinding and I'm in the middle of smoothing it out with all-metal right now. (Just blocking it to match the original lip in the areas where it was left)
Mr.SpeedFreak
Well-Known Member
As far as I know, you're right it's just there to help hold the trim in but I'm not really sure how necessary it is, I would think the clips should be plenty to hold the trim in place
daytona kid
Well-Known Member
Superfreak
Well-Known Member
The new wiz kid on the block.
hunt2elk
Well-Known Member
The new wiz kid on the block.
No doubt. Great job Kid. I think for a X-mas present we should get you a shingle to hang over your garage door saying "Mopar metalwork done here".
Mr.SpeedFreak
Well-Known Member
No doubt. Great job Kid. I think for a X-mas present we should get you a shingle to hang over your garage door saying "Mopar metalwork done here".
x2 looking really good!
Ron 73
Deceased, But not forgotton
That does look neat and clean, You do have some skills there Daytona!! Looks like a professional job..
- Local time
- 5:27 PM
- Joined
- Mar 14, 2012
- Messages
- 20,008
- Reaction score
- 43,333
- Location
- Surrey, B.C. Canada
daytona kid
Well-Known Member
ROTFLMAO :rolling: THNX GUYS!
daytona kid
Well-Known Member
Ron 73
Deceased, But not forgotton
Looks great! If i didn't know better... it looks like you just took the window out and cleaned up the channel for paint!
roadrunnerman
Well-Known Member
X3
daytona kid
Well-Known Member
Mr.SpeedFreak
Well-Known Member
Those damn Dukes boys were at it again... lol
Everything came out great Daytona, bet that all feels good to have in the rear view. Bring on the blasting and may the solid metal be with you :icon_thumleft:
Everything came out great Daytona, bet that all feels good to have in the rear view. Bring on the blasting and may the solid metal be with you :icon_thumleft:
Ron 73
Deceased, But not forgotton
Does look good! Blasting soon will get you on another plain with the build, i cant speak for everyone but im sure learning a lot watching you, my favorite part was your roll bars. i think there cool as it gets and makes it meaner still looking at it!
daytona kid
Well-Known Member
Funny you should mention the roll-bar, I wanted to throw this idea out there and see what everyone thinks. I think chrome roll-bars look cool but I think NHRA rules say no chrome bars or cages. So I thought about the chrome skin I applied to my jet. It's not real durable and I would only be able to put it on mostly straight sections. I could hide the unchromed spots with padding or something. If it doesn't work out it comes right off with a heat gun/blow dryer.

