Moparstyle
Well-Known Member
Pm me
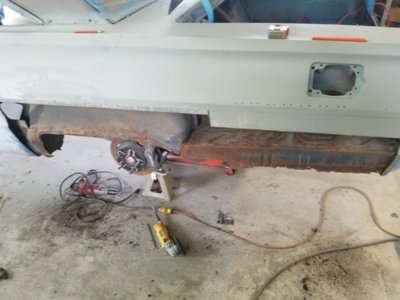
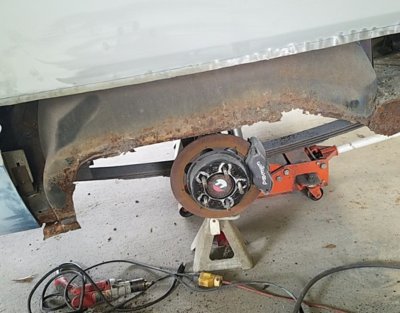
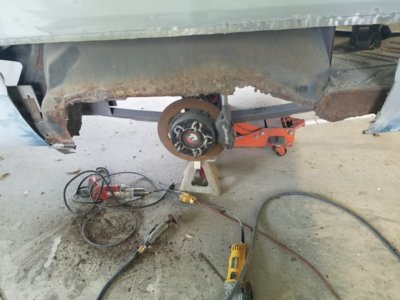
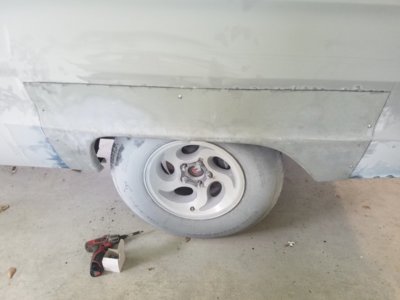
I used a circular hand held buffer with a 6" rubber pad and 80Grit sandpaper. Took it all off right away.Started razor blading it, then DA, finally decide to use the strip disc that worked really well. I've gone through about 6 so far, still have the trunk to do...
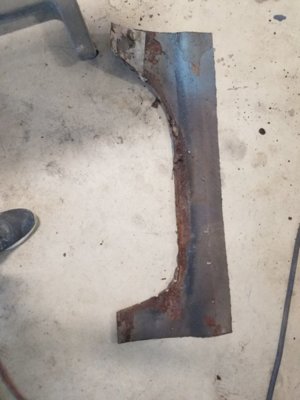
That looks really good budWell decide to try my hand a panel replacement. While they dont make a compete quarter they do make the wheel well and lower quarter sections.
Started by deciding how far forward I wanted to go, this side has the least amount of rust too. Wanted to keep it to a minimum yet expose enough of the wheel well as I knew the lip was gone. Also I wanted to stay away from the body lines to avoid any issues down the road...
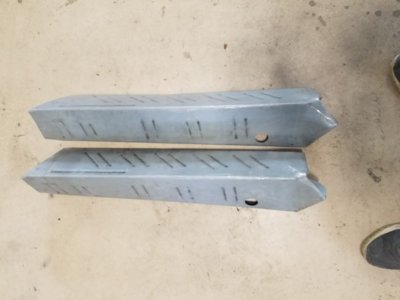
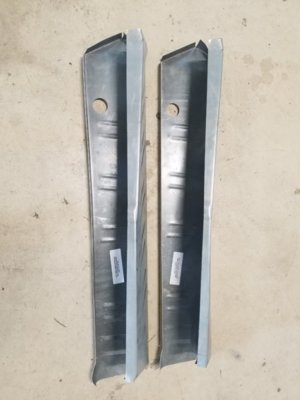
Also the trunk extensions they sent me were for the same side even though they are marked l & r.... and of course it's the opposite side I decided to start working on..
View attachment 587187 View attachment 587189 View attachment 587190 View attachment 587191 View attachment 587192 View attachment 587193 View attachment 587194
Sounds like it’s been rust repair day for us both lol I’ve got the very bottom corner of my drivers door to patch next it’s not to badI have everything in epoxy now except for the trunk and the areas I'll be cutting out. The primer has revealed some trouble places I initially thought were ok. Going to look for a better door or a skin section...
I feel your pain lol I’m not looking forward to that at allThat's good to hear, everything is workable on mine and not too invasive.... The part that I'm not looking for is all of the blocking to come!!!
The flange makes it strongerThose panels were flanged on the top edge, when I was fitting the wheel well quarter up I left enough metal to lap it.... Not sure which way is better, butt weld or use the flange...
Looks like your car was set up for ladder barsWell did some more drilling out of spot welds, grinding and air chiseling...all of the floor is out except the pinch welds at the fire wall...that can wait until I get it on the lift.
Came out pretty easy, the spot weld cutter kit I bought had 15 dual head bits and I only used 2 1/2 to go through 100 spot welds...best $15 I've spent so far...
I was really happy to find no rust in the rockers, trans crossmember is solid!!!
Now the fun of wire wheeling everything and coating it before the pans go in...any volunteers????
View attachment 554183 View attachment 554184 View attachment 554185
SweetYes sir it is!!!
What Shrinker stretcher you buy so i dont buy the sameWe I'm still waiting to the left side trunk extension. My Shrinker stretcher showed up as did my
flanger/punch. Shrinker stretcher is a POS, gonna call the mfg Monday.
Cut out the passenger side rear wheel well area, luckily it's not to bad , about the same condition as the left side.


CheAp eBay speacial.... I did fire up my Lincoln Tig200.... Started seeing what could be done with sheetmetal.... With the flanger and the tig I think it will make a nice finished product.What Shrinker stretcher you buy so i dont buy the same
That repair panel looks pretty good in the pic. I didn’t know someone made the complete wheel arch section. What part of the door do you need. I used one door skin to fix both of my doors and I thought I kept a full and partial skin when we moved. I also have both wheel wells with the lip arch section to match up to the arch on the quarters. I didn’t go that far on mine because I didn’t see a complete section anywhere and didn’t want to piece one together. I only had some pinholes about 2 inches above the arch but the drop down from the trunk could use a replacement panel like the ones you got. It was a good idea to cut below the body line since it’s a pretty distinctive feature on the 66/67 coronets. Keep up the good work and keep the pics coming.Well decide to try my hand a panel replacement. While they dont make a compete quarter they do make the wheel well and lower quarter sections.
Started by deciding how far forward I wanted to go, this side has the least amount of rust too. Wanted to keep it to a minimum yet expose enough of the wheel well as I knew the lip was gone. Also I wanted to stay away from the body lines to avoid any issues down the road...
Also the trunk extensions they sent me were for the same side even though they are marked l & r.... and of course it's the opposite side I decided to start working on..
View attachment 587187 View attachment 587189 View attachment 587190 View attachment 587191 View attachment 587192 View attachment 587193 View attachment 587194
