• When you click on links to various merchants on this site and make a purchase, this can result in this site earning a commission. Affiliate programs and affiliations include, but are not limited to, the eBay Partner Network.

69 gtx

After getting those new quarters attached, have fun with the tail light housings fitting with the quarters! I like what you did getting the full quarter. I had used the other style and welded seam at the top all the way down. That took me a full summer to get those long lines right.

it is so much worth spending the extra for the full quarters then your time welding and warping and sanding, and mudding..and sanding...and mudding...
 
Yes that's one spot I saw right away that'll take some time to make right! Did you try to get them close before or after the 1/4's were hung. I'm going to let the pro's do the mudding, sanding, blocking, painting, & buffing. I figure I'll be time and money ahead working some overtime and paying to get it done. Thanks for the info guys!
 
I did them after the quarters were hung...Pounding and filler..Mine was real challenge because the left rear had been hit and whoever did the bodywork back in the 70's left the left rear bolt in area mangled.
 
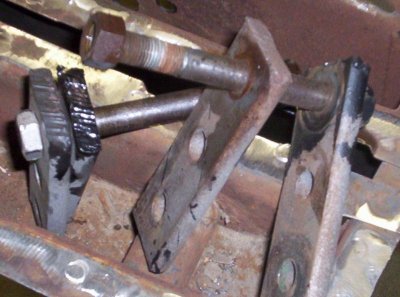
Well my body shop guy stopped over last night and said everything looked pretty good overall. So Ill be marking and unclamping everything this weekend with the intent of getting the trunk floor on.I made some struts to hold the rear frame rails till I start getting enough metal on to stiffin things up a little. Let the welding begin!!!!!:whip2:
 
Oh yeah I forgot, got my rechromed wing vents back last night. They look great!!! Thanks to Bill T's restorations!
 
Your doing one hell of a job GTX, very professional looking work.:sSig_goodjob:
 
69gtx, it looks great. I actually use self drilling sheet metal screws and remove some of the clamps. just unscrew and weld up the hole. easy to remove them and reposition things. just don't screw on a flat painted surface. I screwed several on the rain gutter and tail light insert. I would get the clamps off of the truck lid and lay the trunk lid on. looking at the clearance between everything. I had to unscrew and move everything 3-4 times before I felt good enough to start welding. my Roadrunner has been bare (soda blasted 100%) for almost a full year with no evidence of even slight surface rust. yes, I also run a dehumidifier all the time, and I have it set to 50% humidity. I had to rework the stud holes for the taillight in the taillight bucket, and the fender extension, so you might want to look at this so you aren't drilling and fileing after paint.
just my opinions, so take it for what it might be worth. continue the pics, we enjoy them.
pt in Tennessee
68 Roadrunner
 
I bought both new quarter skins for my car, I do believe you went the right way by getting the entire quarter panels and doing what im trying to do... "DONE RIGHT" Im used to doing body work but now i think it gets to be more then general work,, and the time involved with welding, dealing with the metal warping, i don't know, a job that i wanted to enjoy is turning into some real work, physical and mental to get it right. Im still enjoying it but i cant work on it the way i want, lots of time in-between most of the time, I commend you in how your building it and it is one great build and something you will be proud of!
 
Thanks guys! Yes I was going to lay the trunk in there. I want no suprises. I'm going to go ahead and throw the front metal on just to be sure also. I know it's alot of, put together, take a part but I think that is going to be what it takes for it to come out nice. I had planned on the sheet metal screws before tear down so I could use them as a guide for alignment going back together. I just didn't want to put them in till I had everything close. You know how you may need to move something a 1/8" then you cant remember which hole to line up with. Joe my body shop guy really help calm me down and show me things wern't quite as bad as I thought. He said basically any aftermarket stuff will never fit great no matter how good it is. Their in the profit bussiness, not quality bussiness. So I hope I can get the front end on and all my screws in this weekend so I can start pulling it apart. I'm trying to point out all the "problem areas" for those that are thinking of doing this so they can see what to look for and kinda see ahead what they should look for. Well breaks over time to hit it!
 
Well I'm taking next week off to work on the car. Wish me well! I'll be off the grid and in the garage! I'll report back in July with the hopeful progress & pictures of needed fixes ( very few I hope)! :eek:hthedrama:
 
Last edited:
Well I'm taking next week off to work on the car. Wish me well! I'll be off the grid and in the garage! I'll report back in July with the hopeful progress & pictures of needed fixes ( very few I hope)! :eek:hthedrama:

I'm taking a couple of days to work on mine also, some good quality time with the mistress always does a man good... LOL

Pipe some wifi over to the garage and then you can send us pics while your in-between steps. Nice work on the GTX, that is going to be one amazing car. NICE.
 
Sorry MT I'm a low tec redneck. I'm lucky to get my phone to work!. But I will be taking a lot of pics during assm. so fear not.
The better half gets a weekend later this month that I will take her up to Greenbay area, ( lest you think that's not a fair trade,I'm a Viking fan to the core so having to go there is going to strain me more than you know...... Believe me I know the warning signs when I push the garage time to the edge. Luckily my dog sides with me so she can't at least beat me to death, as long as the dogs around anyway.
 
GTX sheetmetal 015.jpgGTX sheetmetal 016.jpg

- - - Updated - - -

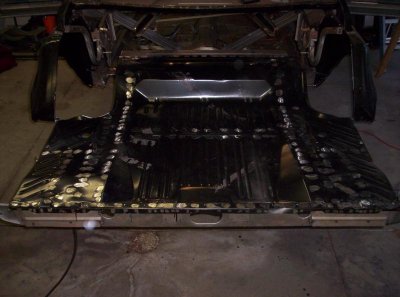
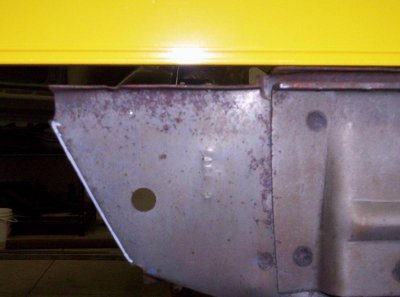
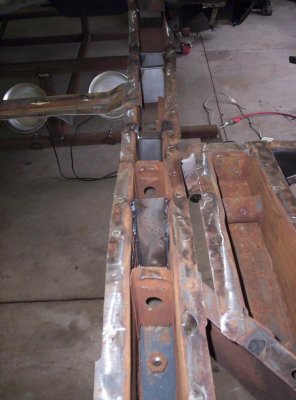
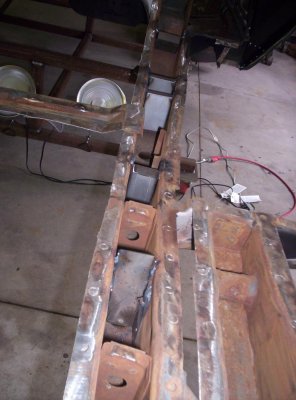
So after a hard week I got about 90% of what I wanted done! So I'll kinda breeze through here a little. First I found on my car it was easier to hang the 1/4s in place and work backwards to we tubs, trunk floor trunk ext.'s, tail light panel. It was just easier to get everything to mate up. So I mocked everything up, checked my gaps, body lines, window opening, and for level then put sheetmetal screws in for referance to reassemble. Once apart again I put my frame rail gussets in (see above) then POR 15 them.

- - - Updated - - -
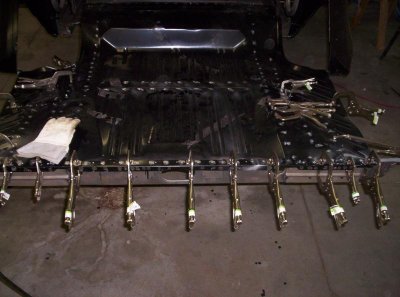
GTX sheetmetal 017.jpgGTX sheetmetal 019.jpg

- - - Updated - - -

Screwed the trunk floor back on and started plugging the 188 holes I just drilled in it, then sanded smooth with a flapper wheel on the grinder. Note here, I bought 2 of the cheap harbor frieght grinders on sale for 10$ a piece and have a cut off wheel and a flapper wheel on them, plus my good one with the grining wheel so I'm not constantly changing out the wheels! Speaking of Harbor frieght also bought 20 vise grips on sale for 3.99, SCORE!!!!
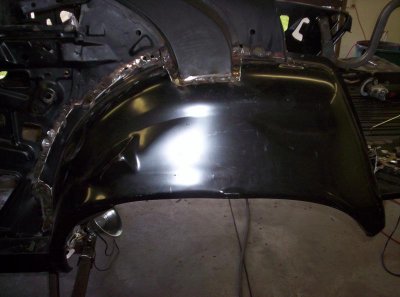
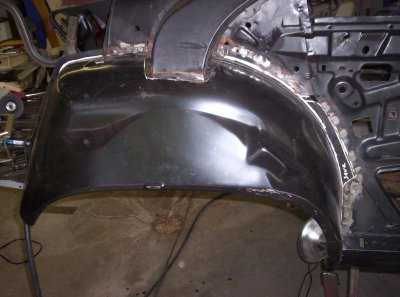
Next I moved to the outer wheel tubs and did the same with them.

- - - Updated - - -
GTX sheetmetal 008.jpg
BTW check out these custom tourched shackle I took off!

- - - Updated - - -
GTX sheetmetal 020.jpgGTX sheetmetal 021.jpg

- - - Updated - - -

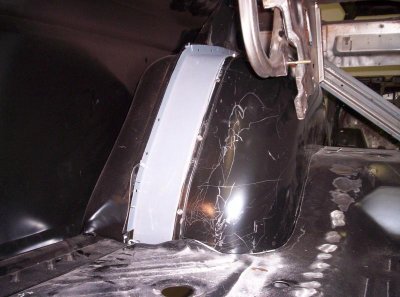
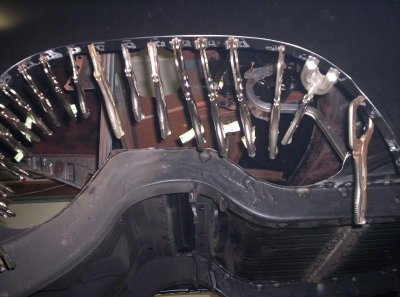
Next I hung the 1/4 back on and rear window filler. Once in place and real close I screwed them down and started welding at the door jam, then down across the rocker, back to roof seam, then to tail light panel. Then back to outer wheel wells.

- - - Updated - - -
GTX sheetmetal 022.jpgGTX sheetmetal 024.jpg

- - - Updated - - -

GTX sheetmetal 012.jpgGTX sheetmetal 013.jpg

- - - Updated - - -

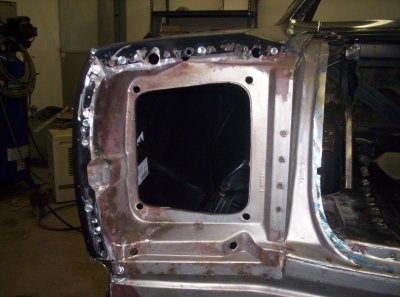
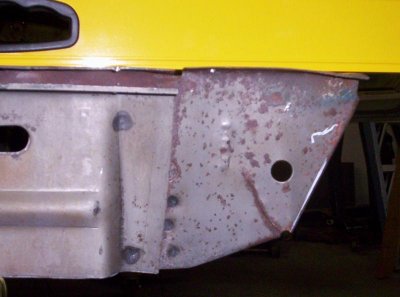
You can see how far off the trunk ext. pads were off from right to left from the factory! so I corrected that a little.

- - - Updated - - -
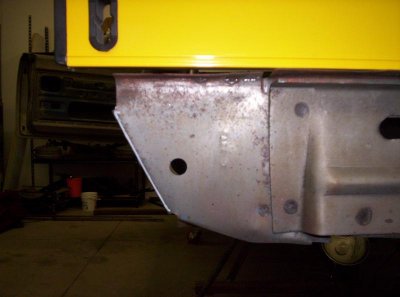
GTX sheetmetal 014.jpg

- - - Updated - - -

I can't stress enough that get your body lines right & gaps right also. I know it's a pain I had the 1/4's on and off at least 4-6 times per side getting everything as close as I could. I have 1/4 gaps at the doors and trunk and the trunk was a stinker getting right. Another thing check your drip rail piece that goes in the rear 1/4 window also I was lucky to catch that one.

- - - Updated - - -
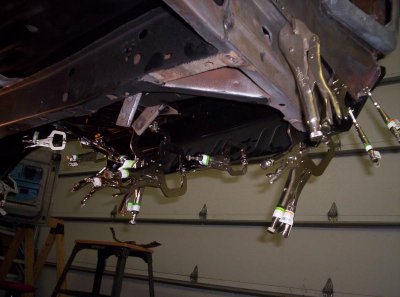
GTX sheetmetal 002.jpg

- - - Updated - - -

GTX sheetmetal 025.jpg

- - - Updated - - -

So theres the left mini tub mocked in place. Looks pretty good huh. I rolled a step in the 2 pieces so when I weld it and sand it smooth it should look pretty clean. I'll have the body guy give it a swipe of filler if needed. Oh I forgot I used Eastwoods rocker panel sealer for the inside. stuff works great. I did combine to of the 18" hoses so I could make sure I got overlap at the middle of the rocker when coming from both ends. Also used it on frame & to shoot in between the trunk panesl to seal it up a little. 6 cans in all.

- - - Updated - - -

I finally feel like I'm over the sheet metal hump:icon_fU: If anyone has questions feel free I kinda condensed this a lot.

- - - Updated - - -

Also still on track to drop her off at the body shop 1st of Aug. :0}
 
Hey lookin good. If you could could you post a pic of the rear of the tubs at the trunk floor,i,m doing this and trying to figure out the cleanest cut.
 
Damn good work! She's coming together. Be sure to check the profile between the quarters and the quarter panel extensions real well. I know I had to do a bit of fancy footwork with the AMD quarters on my bird so the body profile of the quarter matched the cast quarter extension, and transitioned smoothly at the same time. Just throwing it out there.. Keep up the good work!
 
Thank Will. I also spent a lot of time with that. I have the body lines flowing good to that piece, however I'll be welding in some material as it seems to be touching on the 3 corners with about up to .15 gap in middle of the lines with the radius being the worst offender. I'll post a picture of that and also the back of the wheel tubs cut for DareDevil.

- - - Updated - - -

Will did you use the gasket between the cast ext. and 1/4? I know a lot of cars don't use them but I was thinking of using them on mine. Help fight scuffing & paint chipping.
 
10008581_798956433469141_312279975_n[1].jpg

- - - Updated - - -

IMG_20140701_205537[1].jpg
Here's a couple pictures with every thing mocked up before welding.
 
Looking sharp man! It's a Plymouth again! lol No, didn't use the gaskets. I tossed around the idea just like you, but after securing them on I noticed they're rock solid. Didn't really like the idea of a foam type gasket soaking up and holding any water/moisture in-between there either.
 
Auto Transport Service
Back
Top