You are using an out of date browser. It may not display this or other websites correctly.
You should upgrade or use an alternative browser.
You should upgrade or use an alternative browser.
69 gtx
- Thread starter 69 GTX
- Start date
I did get the backs of the gauge faces painted white last night. No fish eyes! Lets hope that carries over to the other side.
Are you keeping the fender mounted turn signals (L31)? I haven't seen a good pic of your fenders.
Are you keeping the fender mounted turn signals (L31)? I haven't seen a good pic of your fenders.
Yes, I have new repro's. Just haven't mounted them. I have the fenders off for engine compartment work. I feel a lot safer that way. When I started I debated about deleting the bullet indicators, side markers & antenna, but decided to keep them as I wanted a 70's era look
Thanks Mark! Love the hat. I'll have to return the favor. Got the lense and already got it on. I owe ya buddy.
Installed, superglue.
Also the studs are a little narrower. So I had to do a little milling to get the height right. And because the studs were a little close to the metal housing so I put some shrink wrap on the studs to help insulate them.

I put a light coat of primer on the gauge faces, and no fish eyes!
The flat black best matched the tach so I used it instead of the SEM black which actually was closer to OEM finish. Which brings me to the next thing to fix. The tach isn't square in the housing.
You can see the the blue lense on the tach interferes with the housing, so back to the mill to remove some material.
So you can see with the tach now square the holes don't line up. Out comes the Drexel tool to slot the holes. I like using a sharp drill bit for slotting holes. They don't grab like carbide bits.
You can see how much I had to slot the holes.
I painted the needles.
With the faces painted I'm going to give them a couple days to dry before I use the stencils to paint the increments.
Got the plastic inserts for the column bracket from mega parts.
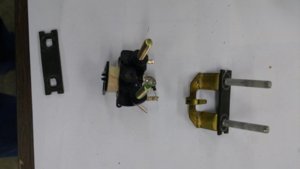
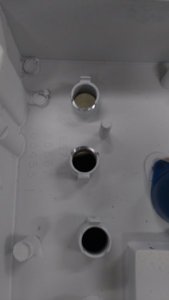
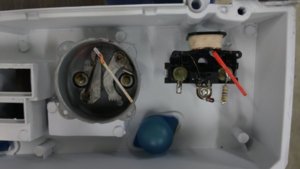
Got most the pieces in this piece. Can't seem to remember where that grommet goes. Must be the hole to the left.
I ordered the lower bearing for the steering column. I ordered the auto on the column bearing but it doesn't look correct. But I'll make it work.
showard
Well-Known Member
Tim, your doing a great job on those gauges. 

Similar threads
- Replies
- 7
- Views
- 829
- Locked
- Replies
- 1
- Views
- 840
- Replies
- 7
- Views
- 1K


