• When you click on links to various merchants on this site and make a purchase, this can result in this site earning a commission. Affiliate programs and affiliations include, but are not limited to, the eBay Partner Network.

69 Super Bee Long Time Coming

Coledavis01

Well-Known Member
Local time
4:51 AM
Joined
Jul 19, 2010
Messages
340
Reaction score
54
Location
Kansas City, MO
Hello All,
Have been following a lot of your restoration threads as motivation & reference so figured it's time I add to the forum. Gotta warn everyone that a lot of the older pics were scanned in from a point & shoot so may be a bit blurry at times.

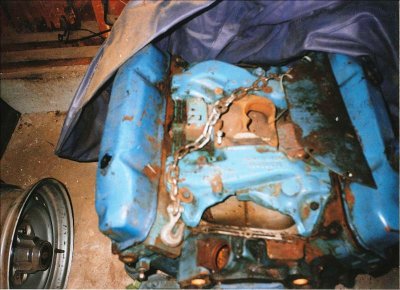
Have had my Bee since 2002, was a senior in high school with high hopes and shallow pockets. Previously had a 69 Coronet 440 2dr ht with the leaning tower of power I'd been working on during summers at my dad's place for a couple of years going for a tribute Bee with a marine 440 my dad's friend gave me- didn't get to the point of figuring out how much of a pain that would've been to put in. Sucker had 12 coats of paint (b3 blue) and really solid needing only passenger front pan, trunk & lower quarters.
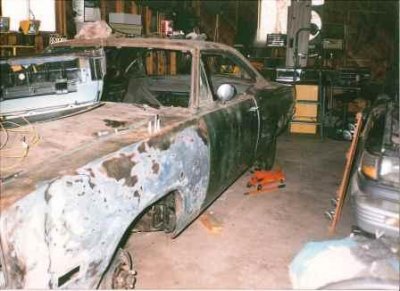
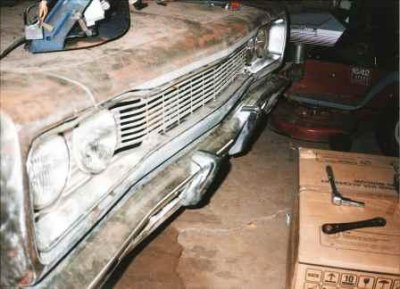
69 Coronet Front Drvr.jpg
69 Coronet Front Pass.jpg
Marine 440 for Coronet Top View.jpg

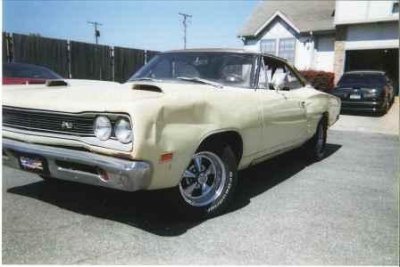
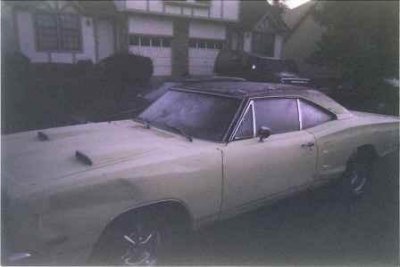
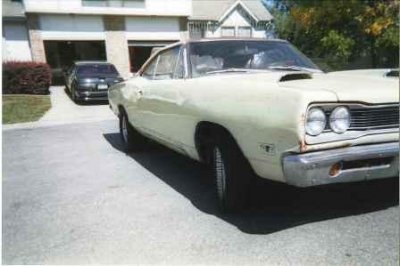
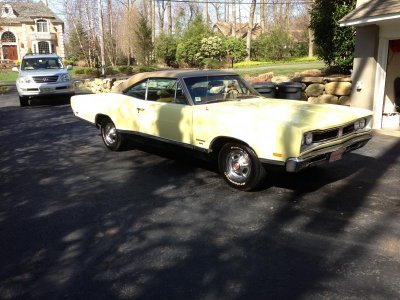
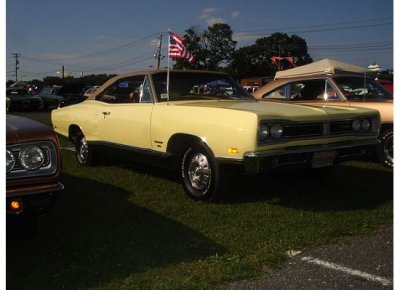
I was looking for a replacement daily driver as my ratty old Camaro (yeah, give me some hell) was on it's last leg when I stumbled across the real deal Super Bee in the local newspaper classified ads and called the guy as soon as I had a chance. The car was a two owner and had spent a long time sitting for reasons unknown but was very original with numbers matching everything. The owner had gotten her running and polished up the original paint as best he could and the second I saw it & person and drove it I was absolutely hooked. I worked out a deal with him and drove it home, about a 45 minute trip down the interstate which you'll see from the pics wasn't a very bright idea.
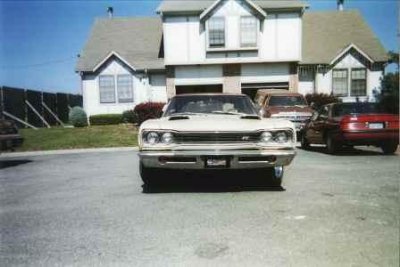
69 Super Bee Front.jpg

Having 2 projects wasn't going to work so sold the blue Coronet to a Mopar guy in Lebanon, MO that last I heard made it to California. If that sounds familiar to anyone let me know, would like to see if somebody finished it!


So back to the Bee, I was a senior and while girls, drinking beer, and general dumbassery had most of my attention I luckily had a pretty well paying job for a high school kid and a great mom that didn't mind the car taking up the space so I was able to afford to get going on the tear down and moving on bodywork.

- - - Updated - - -

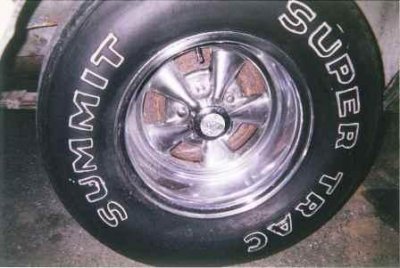
Here's some more pics of when I got her. Even had the factory hubcaps in the trunk! Believe the Cragar's, ugly floormats & the blanket that doubled as a seat cushion we're the only non-factory pieces. Where she wasn't rusty, well even where she was, there were dents, dings & scratches.
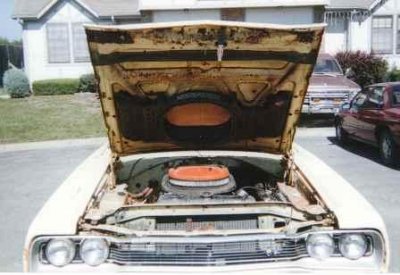
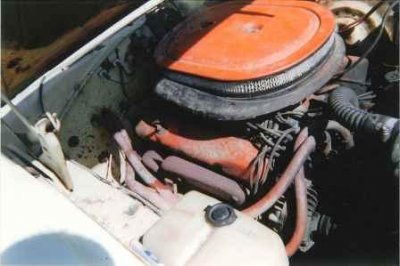
Super Bee Air Grabber.jpgSuper Bee 383 Psgr Sd.jpgSuper Bee Drvr Front.jpg

- - - Updated - - -

Super Bee Carb.jpg

Sorry for the blur, original old Carter ran well but did leak so my first project was cleaning it up & rebuilding it. First carb ever did & believe beginners luck helped me out as it ran great after putting it back on and very minor tuning.
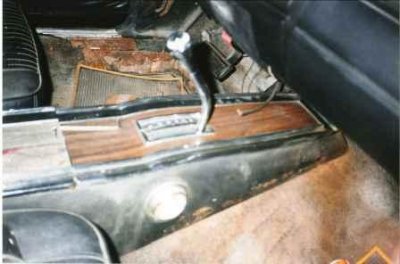
Super Bee Console.jpg

Had the chrome shifter knob & was an early build date so assuming that was factory?
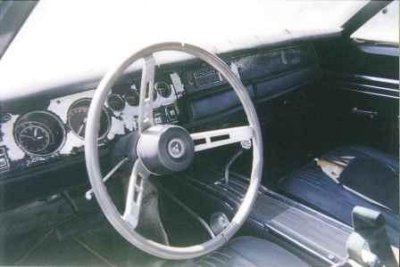
Super Bee Dash.jpg

Someone had put an aftermarket receiver in but lucky for me no dash hack. Found the original AM radio trim at a swap meet for $10! I'm on the fence as far as trying to redo the steering wheel myself versus paying a pro, anyone have any insight?
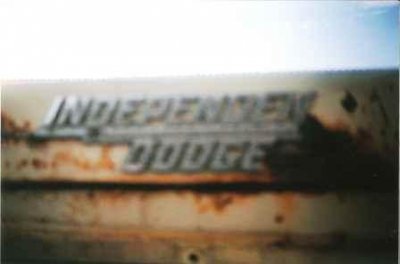
Super Bee Dealer Emblem.jpg

She's been a Kansas City area car since rolling off the STL line. Missing a "CE"
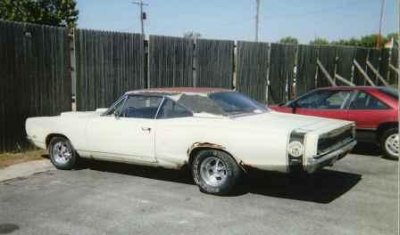
Super Bee Drvr Sd.jpg

Little bit of vinyl top hanging on for dear life and a glimpse of the rusty mess she was underneath.
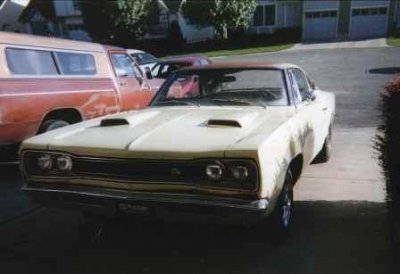
Super Bee Front 2.jpg

Right after I'd gotten her home, other than the carb leak, bit of oil coming through the PCV there were no leaks!
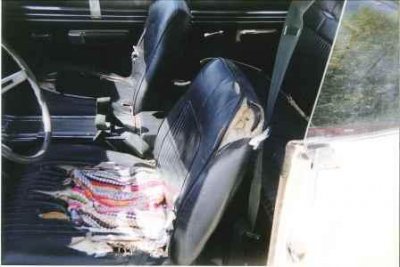
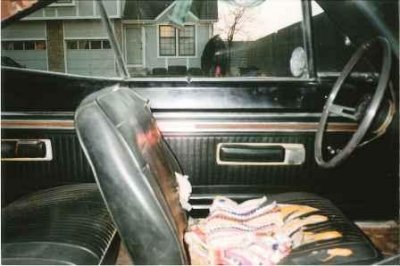
Super Bee Interior.jpg

Everything was there but pretty toasted. Door panels are surprisingly in great shape.
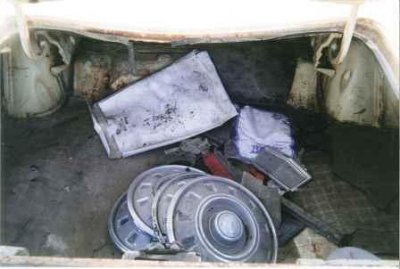
Super Bee Junk In The Trunk.jpg

Original hubcaps! Going body color 15" steelies w/ redline dog dishes. Muscle cars deserve better than full wheel covers! Under that old tattered trunk mat is a real mess.
 
She is a beauty. Looks like a nice fun project with some nice goodies. Good luck with her. Btw the hubcaps are awesome. Buck the trend and throw them on. You will like the look.
 
Thanks Chris! It's gone a long way since these pics, will get more uploaded with the progress. Glad I have the covers and may pop them on and decide I like the look, good to have choices.
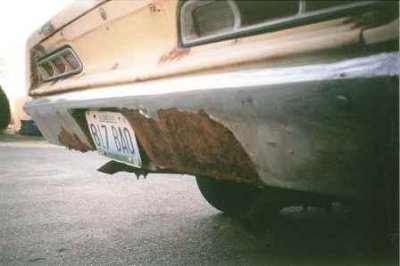
 
View attachment 182701

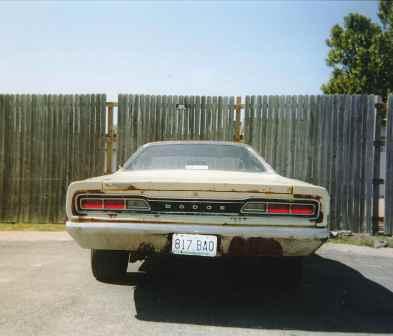
Another shot of the 383. Has since been rebuilt, will get to it in later threads.
Super Bee Driver Lower Qtr.jpg
Super Bee Driver Rear Qtr.jpg

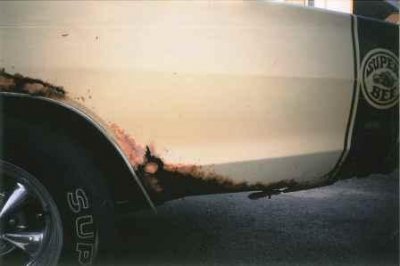
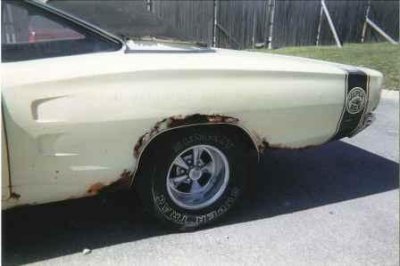
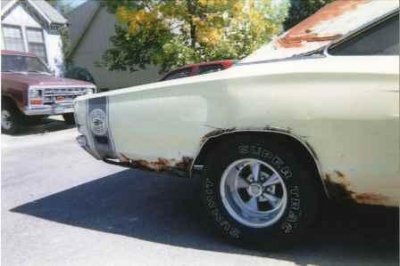
Driver's quarter rust.

Super Bee Drvr Door.jpg

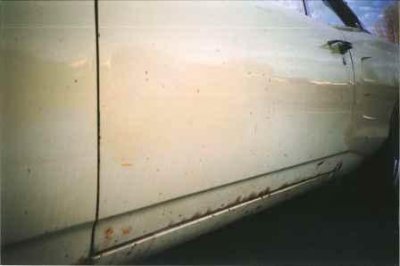
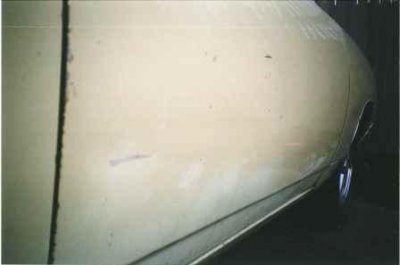
Door was dinged up but the rust was minimal.

Super Bee Drvr Fender Damage.jpg

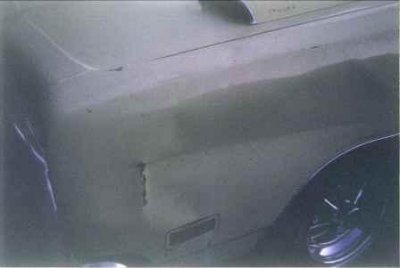
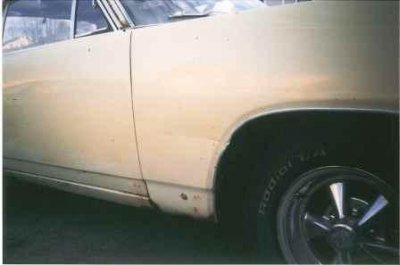
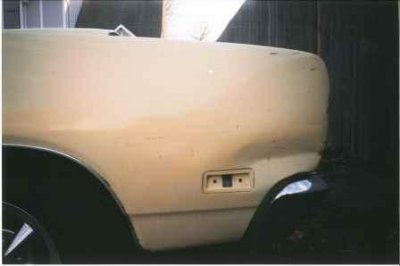
Closer shot of the damage to the fender, if I recall previous owner had accidentally tagged it with a boat trailer.

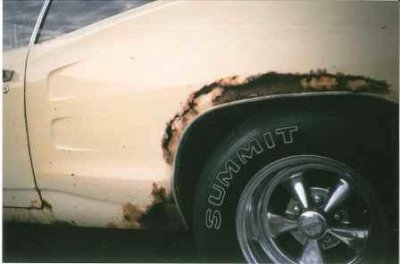
Super Bee Drvr Fender Top Rust.jpg

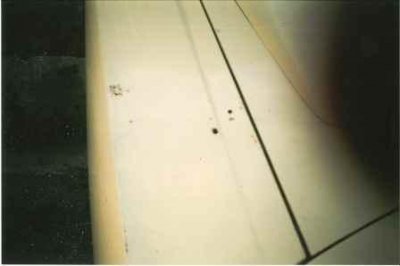
Even rust through on the top of the fender where the splash shield meets it underneath.

Super Bee Drvr Fender.jpg

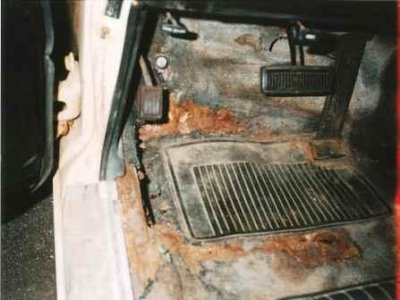
Super Bee Drvr Floor Delete Option.jpg

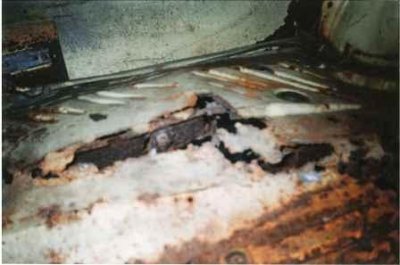
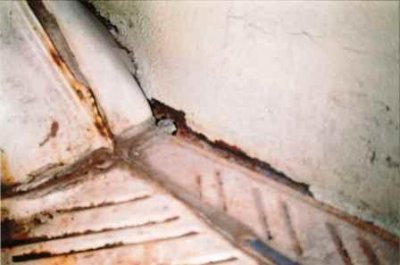
Had the Fred Flinstone feature in case you ran it out of gas. Was an interesting experience having the wind coming up through the hole driving it and had to be very careful where I had my left foot! The carpet remnants and rubber Road Runner floor mat were all that sort of blocked the elements.

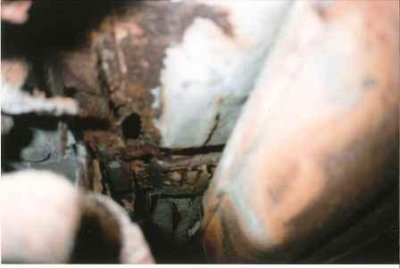
Super Bee Drvr Frame Rail Gone.jpg

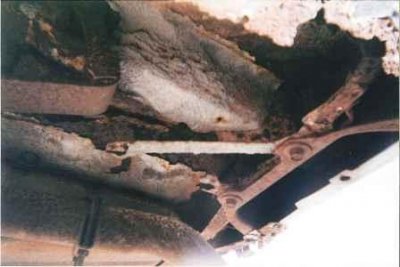
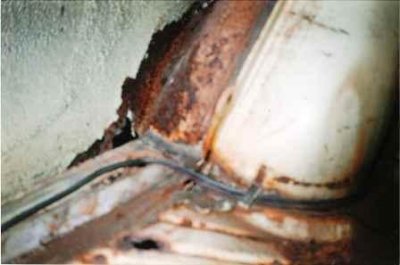
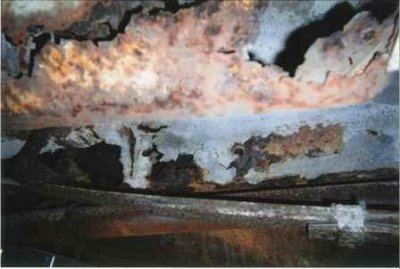
This is a shot from the driver's rear, the gas tank on the right & exhaust pipe on the lower left. That rusty gap in the top left is where the framerail is supposed to be. :eusa_think:

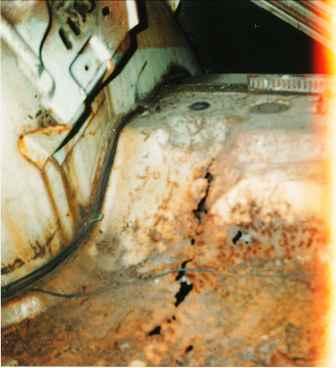
Super Bee Drvr Frnt Trunk.jpg

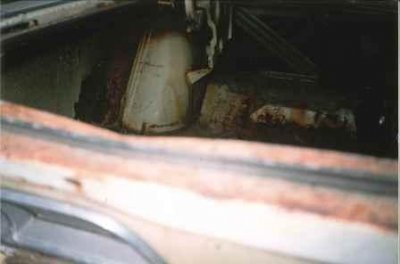
Driver side trunk, salt from below and water leak from above made a real mess of it.

Super Bee Drvr Front 2.jpg
 
Got quite a few more to get loaded, nostalgic looking back at what a project its really been.
 
She'll be a real beauty when you're done. Just remember to take your time and don't get overwhelmed. Good luck and keep the car **** comming.
 
Getting a few more pics up over lunch break.

Super Bee Drvr Int.jpg

Another interior shot.

Super Bee Drvr Qtr.jpg

Front end of the quarter, somehow the rockers survived.

Super Bee Drvr Rear Bumber Mount.jpg

Bumper bracket was okay but nothing else around it! If I recall every bolt holding it on snapped.

Super Bee Drvr Rear Framerail.jpg

Another view of why I was a dumbass to drive it... really was no frame rail left under it on the driver's side.

Super Bee Drvr Rear Qtr.jpg


Super Bee Drvr Rear Window.jpg

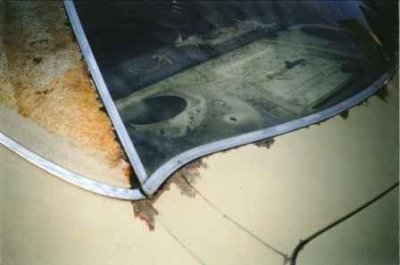
Rear window corners were bad, other than one small spot on the top passenger corner the channels were surprisingly solid.

Super Bee Drvr Tail Light.jpg

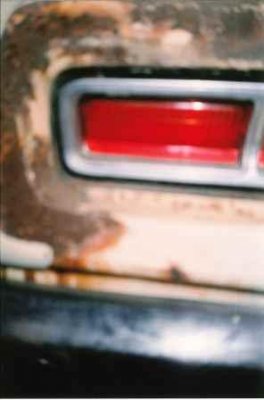
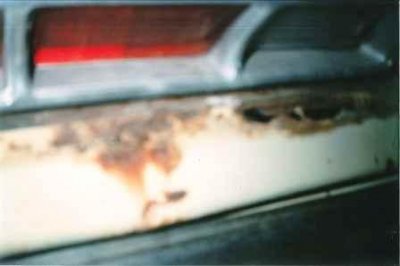
Was worried about the tail light corner areas where that pot metal end piece attaches but while pitted it wasn't rusted through.

Super Bee Drvr Trunk Flr.jpg
Super Bee Drvr Trunk Lip Dmg.jpg
Super Bee Drvr Trunk Spring Mount.jpg

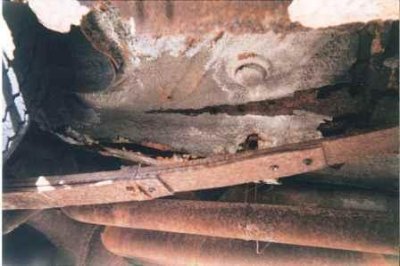
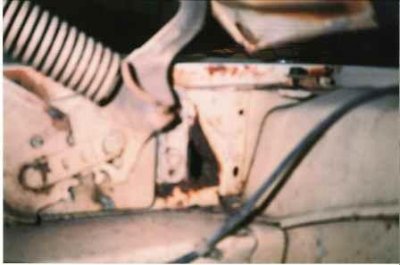
This is the scary one. Mentioned earlier I drove the car home, was doing about 70 down the interstate with this somehow holding over every bump. Once I got it into the body shop the guy told me about a week after I'd brought it in he went out and the car was sitting really low on that corner. The rest of the rail had given out and the spring was sticking up in the trunk :icon_eek:

Super Bee Drvr Wheelwell.jpg

- - - Updated - - -

The passenger side fared better on both dents & rust. Best thing about the car having the original paint is knowing exactly where it needs attention. Should've kept one of the quarters w/ the stripe for garage art but they're long gone.


Super Bee Psgr Door.jpg
Super Bee Psgr Fender Damage 2.jpg
Super Bee Psgr Fender Damage.jpg
Super Bee Psgr Front.jpg
Super Bee Psgr Qtr.jpg

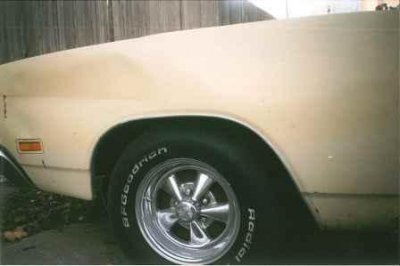
These big old L60's just barely fit but the mess that driver's side frame rail was in the car had effectively lowered itself and was digging the top of the wheel well into the sidewall over the smallest bumps. When I test drove the car the first time we took it up an entrance ramp and while by the smell I thought it was burning rubber the whole way up, I think a lot of it was the tire being carved.

Super Bee Psgr Rear Qtr.jpg
 
Last edited:
That is going to be a looker I am telling you. Got some work ahead of you but she will come back nicely.
 
Awesome!!! First pics i've seen of the ole bee. Being a fellow kansan AND someone restoring a rusty bee, i can appreciate every aspect of this! NICE project cole, very cool car!
 
Looks like your going to be pretty busy, good luck to you. Make sure you look over the overlapping joints like the quarters to the trunk gutter area or where the front and rear pan overlap these will sometimes be very fat making the spot welds look really deep from rust build up in between the panels. She'll be a beaut when you get it all done.
 
lotta work to do, but she'll be sweet when you're done. i like the Cragars, fill out the 1/4s really nice on the b Bodies(but i'm kinda biased)
 
Will be a great looking car when you're done. Maybe i'll get a chance to see it when i'm over at the k-mart dc waiting to pick up a load.
 
Awesome!!! First pics i've seen of the ole bee. Being a fellow kansan AND someone restoring a rusty bee, i can appreciate every aspect of this! NICE project cole, very cool car!

Thanks Leo!
Still need to get out and see how yours is coming along! It's much less of a mess now but still have quite a ways to go.

- - - Updated - - -

Will be a great looking car when you're done. Maybe i'll get a chance to see it when i'm over at the k-mart dc waiting to pick up a load.
Thanks!
There's at least 3 of us active on here not too far from Lawrence- ought to make an afternoon of it if you have time sometime you're down.
Used to live just across 70 from the DC, was a great place but always smelled like dog food with that Del Monte plant next door.

- - - Updated - - -

Few more before shots, passenger side still had plenty of issues but wasn't nearly as bad as the driver's side.

Super Bee Psgr Hood Hinge Area.jpg

Super Bee Psgr Rear Framerail.jpg

Super Bee Psgr Sd Frame Rail.jpg

Frame on the passenger side wasn't in good condition by any means but still had the skeletal remains of where it was supposed to be.

Super Bee Psgr Seat Corner.jpg

Super Bee Psgr Tail Light.jpg

Took off the tail panel and had this fun surprise.

Super Bee Psgr Trunk Frnt.jpg

Super Bee Psgr Trunk.jpg

Super Bee Rear Bumper.jpg

Super Bee Rear of Console.jpg

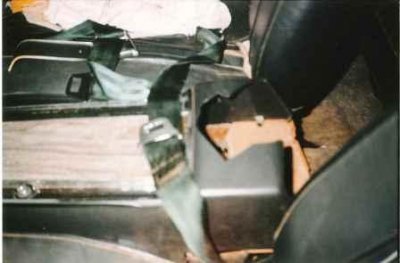
Not sure if someone stepped on this or was an attempt at a white trash cup holder?

Super Bee Rear Wheel.jpg

Super Bee Rear.jpg

Super Bee Windshield.jpg

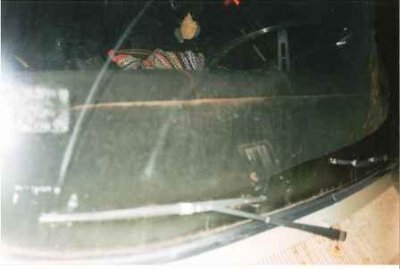
Windshield wasn't cracked but someone had ran the wipers with toasted blades.
 
hubcaps and inspiration

Not that my ride is a beast like yours but they could be cousins. Here are a few pics of the car with hubcaps for inspiration..IMG_0765.jpg69 500.jpg
 
Thanks Chris!
That is one nice 500, the wheel covers look good on it and definitely don't see too many tan top cars. Is it a tan bucket seat interior?
 
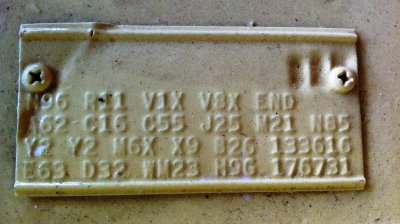
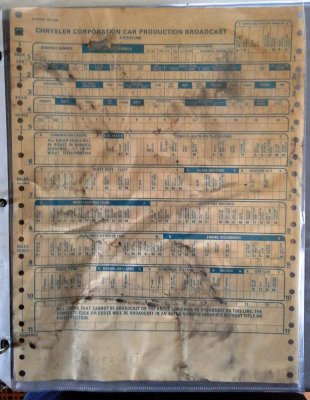
Should have posted this first but the Bee did have the original fender tag & the build sheet was under the rear seat springs in really good shape!

2012-08-18 17.03.59.jpg

Thanks to Stockmopar.com for the decoding tool. Was built on the same day OJ Simpson won the Heisman :angry7:

Code Description
E63 383-4 Barrel
D32 H-D A-727 TorqueFlite Trans
WM23
W = Dodge Coronet / Charger
M = Medium
23 = 2 Door Hardtop
H9G
H = 383 330HP OR 335HP 1-4BBL 8 CYL
9 = 1969
G = St. Louis, MO, USA
176731 Sequence Number '176731'
Y2 Paint Code: Sunrise Yellow
M6X
Trim Grade/Style/Color
M = Medium
6 = Vinyl Bucket Seats
X = Black
X9 Upper Door Frame: Unknown At This Time
B26 Date Built: 11 / 26 / 1968
133616 Order Number: 133616
C16 Roof Type OR Color: Console w/ Buckets
C55 Bucket Seats
J25 3 Speed Variable Wipers
M21 Roof Drip Rail Moldings
N85 Tachometer
Y2 Unknown At This Time
A62 Rallye Instrument Cluster
N96 Fresh Air Hood
R11 Music Master Radio AM
V1X Full Vinyl Top - Black
V8X Transverse Stripe - Black
END End of Codes


2014-04-30 13.49.25.jpg

Buildsheet is a bit faint on the ink, 3.23 Sure Grip rear end.

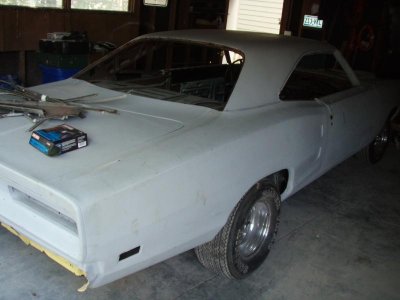
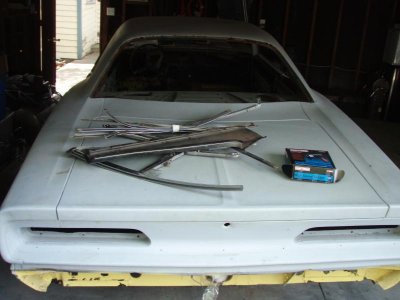
This part I don't like. I have absolutely no photos of the tear down and panel replacement...was away at school while it was happening and didn't ask the guy to take any.

Was an old guy by the name of Van Don'trememberhislastname down off of 12th & Quindaro Blvd in Kansas City, KS which if you're not familiar with Kansas City is one of the most rough and tumble parts of the city. Stopped in about once a month to give him payments and was followed off the highway and to his house twice by some guys that didn't appear to want to be my friend and when a guy who's lived there his entire life yells at you to hurry up and get inside, you listen. :icon_eek:

Anyway, he did a decent though not perfect job on it and for the work involved and time spent I feel like it was money well spent. Biggest gripe I had is while he pulled the rear window and fixed the lower corners, did leave in the old trim clips and there were a couple of rust through spots across the top of the rear window he didn't touch but as I think about it, very well could have been on my end coming to the end of the $/hrs work we'd agreed on.

springs 093.jpg

Really dirty in these pics.
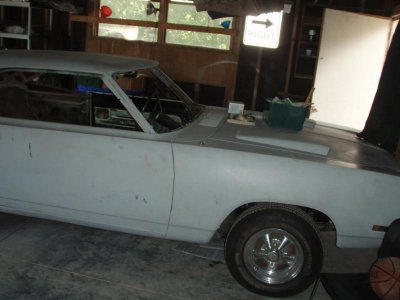
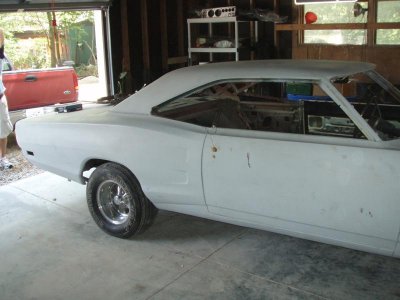
After I got the car back from the first body guy it sat for several months in my Mom's 1 car garage (she gets first dibs on driving it once back together) during my stay at the dorms freshman year.
It was then off to a garage at the house me and a couple of buddies lived in where it served primarily as a coaster for red solo cups and would occasionally fire it up to make certain the neighbors did in fact hate us. I got absolutely nothing done on it that year.

After that wild year was out of my system I had the car at a friends shop for the next 2 years where we did get a bit done here & there and mostly sourced parts as my income could withstand.

So these pics are after all of that time and during my second time around as a college senior when I met my now wife and decided to really get going on it again.

springs 094.jpg

No idea why he painted this area yellow, was afraid issues may be hiding under it but never found anything later on.

springs 095.jpg

During all that time the original 383 had never had come out of it and still ran great after not doing much more than rebuilding the carb the year I bought it. Sadly though, one time when I fired it up to blow the cobwebs out a valve decided to blow out as well, eating a hole in a piston top but luckily only barely scraped a cylinder wall before I shut her down.

While not an ideal situation, it did have what I believe to be 95xxx miles on it with no signs of it ever being apart so probably due for a refresh. I'll keep telling myself that anyway! So shortly after these pics, out came the motor & tranny which is a whole different story.

springs 096.jpg

Quarters were replaced, trunk floor & extensions, driver's side front floor and a patch on the passenger side. He reworked the front the front fenders but as I found out later missed some soft spots behind the headlight bucket areas.
 
Auto Transport Service
Back
Top