You are using an out of date browser. It may not display this or other websites correctly.
You should upgrade or use an alternative browser.
You should upgrade or use an alternative browser.
70 Roadrunner restoration
- Thread starter TDawg
- Start date
Whoa.... that is one gorgeous hotrod, malex!! If mine turns out half as nice as this, you won't be able to knock the smile off of my face!! Thanks for posting!
Well thanks Tdawg! I think yours will be equally as nice. But lots of work involved in a full resto even without metal replacement.
I recall that I used a lazer level to get the side stripes on straight. Because the panels swoop in and out my tape job just wasn't working out until I had a red line to follow!
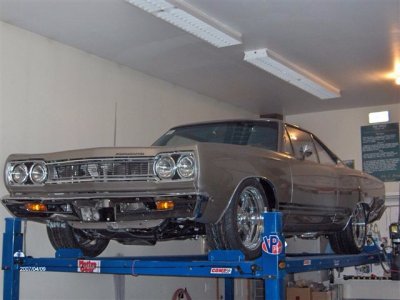
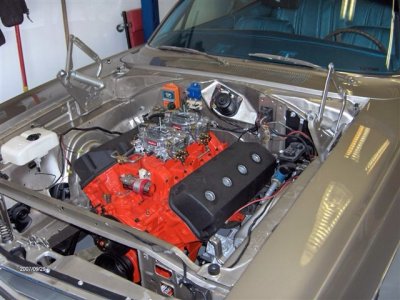
I installed Hooker Headers on this X. In this X's early life it used to see track time and on the heater box is a pristine Hooker header decal from back in that era. In respect to that period of time that is what went back on the car and the decal is still on the box.
On the rear window is also an NHRA decal from the late sixties and that was also left untouched and although it is weathered, it remains in place to this day.
The original hemi unfortunately was grenaded early on and probably the 4.88's that were in the rear had something to do with that.. The replacement hemi comes from Eddie Haines out of Florida, so needlees to say that end of this restoration is also top notch. 1 of 18 Hemi GTX's sold in western Canada back in 68.
I also did a 69 440+6 Super Bee for a friend and I added the gussets to his car that I mentioned. Lots of guys add the torque boxes but I rarely see the gussets.
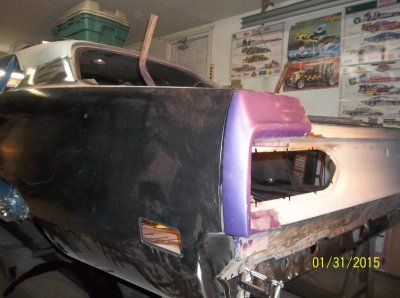
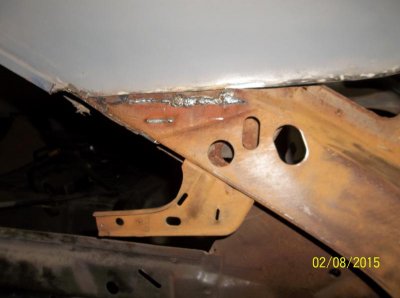
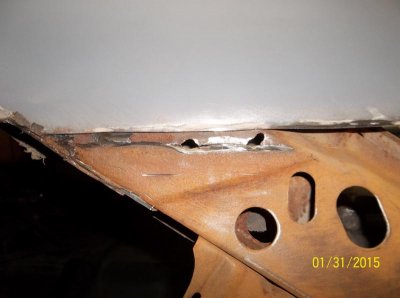 Trimming the rear quarter/roof joint because of the brazing job someone did, discovered the rear quarter was spot welded to the inner roof structure... hmmmm.
- - - Updated - - -
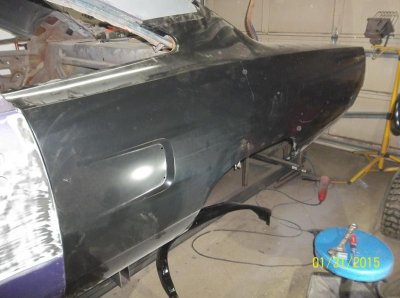
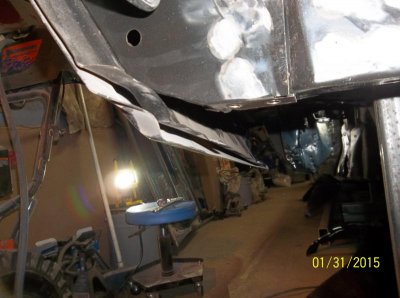 First test fit of the rear quarter panel. Lined up good except for the bottom of the trunk extension... not quite sure how to rectify this, it is off by about 3/4 of inch....
Hemirunner
Well-Known Member
Trimming the rear quarter/roof joint because of the brazing job someone did, discovered the rear quarter was spot welded to the inner roof structure... hmmmm. First test fit of the rear quarter panel. Lined up good except for the bottom of the trunk extension... not quite sure how to rectify this, it is off by about 3/4 of inch....
Did you have the rear panel on during that test fit of the quarter? I had the same problem, but the entire rear trunk floor/frame assembly needed to go down. I used a bunch of clamps along that seam and pulled it all together. That pushed the quarter up high enough to where it lined up with the rear tail panel. If I had to do it all over again, I wouldn't have welded the extension supports to the rear cross member until after the quarters were on. You had it all on a frame jig, so I'm not sure what's going on there.
Hemirunner
Well-Known Member
It could be. Once I pushed the bottom of the quarter panel in toward the trunk extension and tried to clamp it, it was much less of a gap. The clamps tightened it up real nice.View attachment 236739Tail panel was on and the tail light surround lined up really well also.... just the bottom was out of whack. Thanks Hemirunner, I will try the clamps... maybe that's all it needs
Headway, you are making and its looking in a good way for sure Dawg!!!
Hemirunner
Well-Known Member
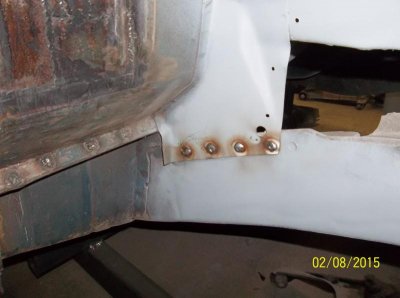
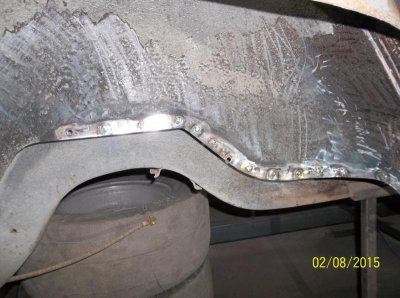
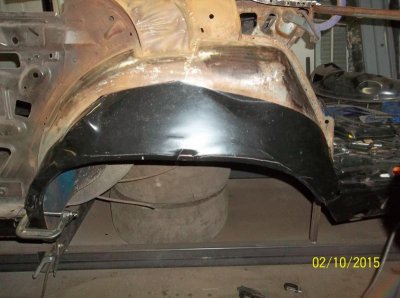
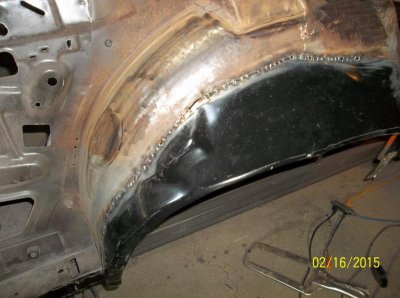
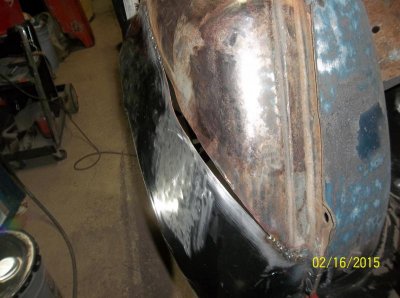
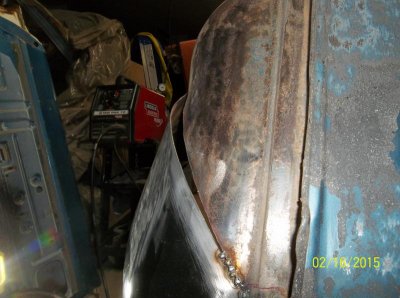
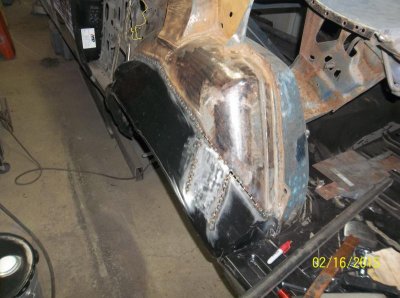
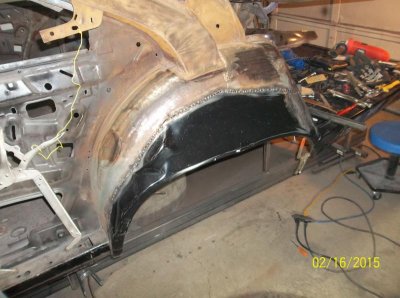
Looking good! Those wheel wells are a real pain. Mine didn't fit very well where they meet the trunk floor extensions. My ball peen fixed that!!
Thanks for the heads up, Hemirunner. ........ A Ball peen hammer you say..... lol
Nice work TDawg - making good progress!
Thanks hsorman! I just keep plugging away at it when I have time.... something is bound to happen!! lol
gdrill
Just enjoying "B"-ing here
- Local time
- 7:55 PM
- Joined
- May 29, 2013
- Messages
- 6,719
- Reaction score
- 13,749
Yikes! Maybe this is where the B.F.H. comes in! I was wondering if you test fit the quarter over the inner wheel house since you said it really didn't fit too well.
gdrill
Just enjoying "B"-ing here
- Local time
- 7:55 PM
- Joined
- May 29, 2013
- Messages
- 6,719
- Reaction score
- 13,749
Ah yes......that looks like a great idea.
Similar threads
- Replies
- 82
- Views
- 9K

