• When you click on links to various merchants on this site and make a purchase, this can result in this site earning a commission. Affiliate programs and affiliations include, but are not limited to, the eBay Partner Network.

71 Road Runner Restoration Started

You are Correct Sir !!!!

I think you're on your way to restoring two cars instead of one. :)

I've been doing some serious thinking about this and you're right. I'm going to keep her and fix it up as a driver with the 440 in it. Not show stuff like my other restorations, but something that I can go out and have some fun with. This will give me more time to gather sheet metal parts for the Bird.

So in a few minutes, I'm headed out to the local parts store and will order up some new brake parts. It has to "Whoa" if it's gonna "GO"...............

- - - Updated - - -

Man i was missing a post from you. Thanks for the update

No problem brother !!! I guess I'll have a lot more to write about now...................
 
More Parts "on the way"

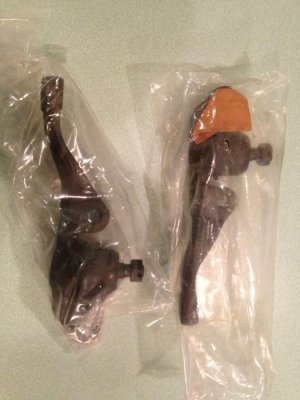
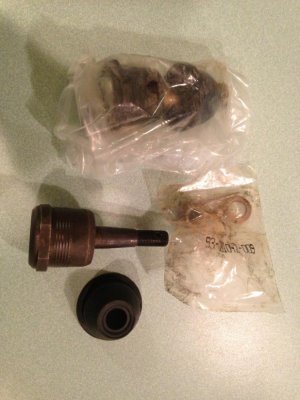
Today I ordered a new set of front brake calipers and brake pads, front brake hoses, a new master cylinder, rear flexible brake hose, 8.75 diff. gasket, upper and lower ball joints for the 72 SSB.:steering:

Some parts will be in tomorrow, the rest on next Tuesday. I have all new brake stuff for an 8 3/4 using 10" x 2-1/2" shoes, so that saved some $$$$.

Then I removed the seats and seat belts, what was left of the package tray board, and head liner sail panels, and rear seat divider. Man the floor on the car is SWEET !!!!!!!!!! (but it does need a good cleaning up now)

Once this was done I completed installing and adjusting the driver side door glass.

So now the plan is to sell the 318 and trans.

Then swap it out for a thumping 440, a 727 with a 3500 TCI stall converter, and the rear with the 8 3/4 unit from the Bird. The gear set will be an extra 3.91 sure grip 489 case I have on hand.

Should be a fun combination................ Tomorrow I will take some good pictures of the floor after it's been cleaned up.

I used "On the Way" for my fellow US Army Tanker buddies. It's what the gunner or TC always said just before squeezing the trigger on the 120 MM main gun or machine guns........ I figured it would be appropriate...........considering I just squeezed the trigger on this car.:headbang:
 
I could tell you were amping to build this car too which is cool because now we get to see two builds for the price of one .. and that price is FREE to FBB) members !!!

err FBBO members heh heh heh
 
Last edited:
I'm getting dizzy (or maybe that should be ditzy) just thinking about everything you have going on. lol. I'm having a hard enough time keeping track of 1 car at a time. You sure are doing a great job with it all though.
 
Dash Cover Installation

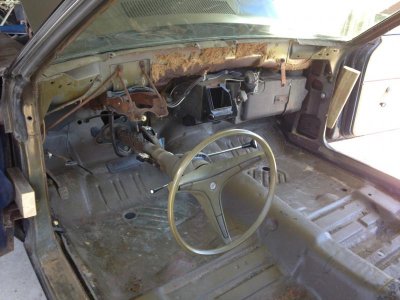
Today was spent removing the rear inner door panels and the remnants of the original head liner. This involved taking out the sun visors, rear view mirror, shoulder seat belts, coat hooks, seat belt strap holders and interior window trim. Once this was done it allowed me to get all of the old head liner and insulation out.

Then I vacuumed out the interior portion of the car shell.

Once this was done, I removed the dash frame assembly which made it necessary to lower the steering column.

. IMG_5929.jpg
- - - Updated - - -

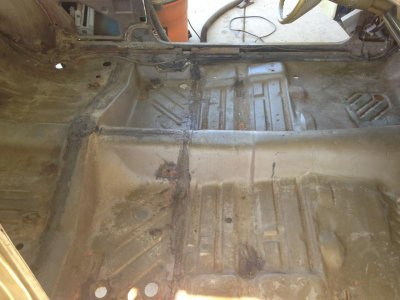
Then I used my trusty pressure washer to clean the interior section and inside the trunk area too. I am constantly amazed at just how solid this car is. The cowling is perfect and rust free. Man I wish my 71 RR was this nice..............

- - - Updated - - -
IMG_1350.jpg

- - - Updated - - -

here are the floors after they dried.

- - - Updated - - -

View attachment 148078View attachment 148079

- - - Updated - - -

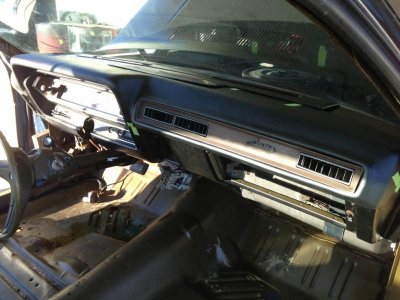
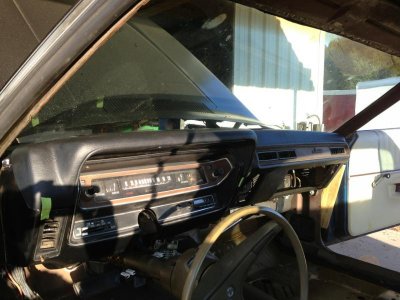
While I had the dash frame out I sanded it do the new black paint would have something to grab. Then I sanded down all of the high spots that were caused by the numerous cracks in the dash pad. In some areas it was just a lot easier to simply remove the dash vinyl exposing the foam underlayment.

- - - Updated - - -

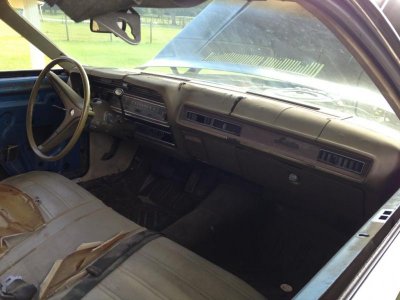
I have the new dash cover held in place with tape while the adhesive sets up.

- - - Updated - - -
IMG_1400.jpg

- - - Updated - - -

Before and after................

- - - Updated - - -
IMG_7449.jpg

- - - Updated - - -

I still have to screw down the front speaker cover and finish installing the dash frame..................... That will be a project for another day. I want the cover to set up nicely first.

- - - Updated - - -

I was able to locate a used ash tray that wasn't cracked on EBay for less than $10 shipped. When it comes in I will glass bead it and install it along with the glove box door.

I also found a set of 4 head liner bows that were needed, because they were missing on this car when I bought it. They should be arriving in a week or so. Now I have to get a new black head liner and sail panel boards. By the time all of this arrives, I should have all of the interior trim glass beaded and painted black.

- - - Updated - - -
IMG_4576.jpg

- - - Updated - - -

It's a definite improvement for sure. I know it's not "show quality" but this one is going to be a driver.

- - - Updated - - -

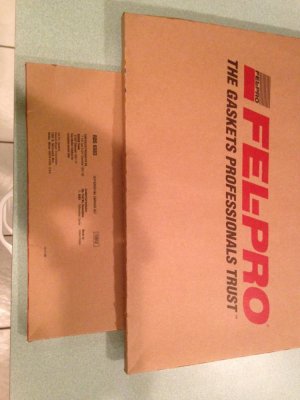
Meanwhile the upper and lower ball joints came in along with 2 differential gaskets for a Mopar 8 3/4 unit.

- - - Updated - - -
IMG_7245.jpgIMG_7426.jpgIMG_9450.jpg

- - - Updated - - -

Hopefully by Tuesday the rest of the brake parts will arrive, so I can get the brakes squared away.

- - - Updated - - -

Now I need to get a heater core and possibly a gasket set for the AC / heater box. I'm pretty sure the heater core is leaking because it has been bypassed.
 

Attachments

  • IMG_6701.jpg
    IMG_6701.jpg
    61.8 KB · Views: 447
Really great shape that is! I have to be careful here, im not quite sure which car im looking at when i come on lol.. Sounds like, and good that your pumped up for this one, thanks for the updates! Looking good.
 
Really great shape that is! I have to be careful here, im not quite sure which car im looking at when i come on lol.. Sounds like, and good that your pumped up for this one, thanks for the updates! Looking good.

Thanks Brother !!!!

I guess I could have called this one "Double Vision"..............

The easy way to tell them apart is the 72 SSB doesn't look like Swiss Cheese !!!! LOL

- - - Updated - - -

must say I'm glad you;re keeping it.

The misses and I agree. She helped me put the dash back in and when I was at a stopping point she grabbed a broom !!!! Definitely a keeper....... Both her and the car.... LOL
 
"Swiss Cheese" Ok lol, ill remember that AND the shade of color surrounding it lol.. Thanks Louis! Love the humor with as much work as your doing, what ever food your digesting to have all the energy, send me the recipe. i could use some rofl....
 
That car sure is solid. If I ever get the foolish idea to restore another one I will start with something like that.
 
What you get done in a day would take me a month brother. I am pitifully slow on what I've got accomplished so far this year
 
The misses and I agree. She helped me put the dash back in and when I was at a stopping point she grabbed a broom !!!!

Definitely a keeper....... Both her and the car.... LOL

Ok, I was really beginning to worry about the outcome of this sentence . . . glad that it went in the positive direction because the other way could have been really bad ! ! !

LOL

X2 with tallhair . . . you get so much done on that in a day . . . WOW . . . keep up the great work and thanks for the pics and updates.
 
71airgrabberRR,

I've been meaning to ask you, your car is an original N96 car and I couldn't help but notice that your correct hood is missing. Are your going to track down an original hood and bubble or will you go with a reproduction?

All the info I can find on the repops (made by PG) is that they are total crap.... but I was wondering what your thoughts are on the matter?


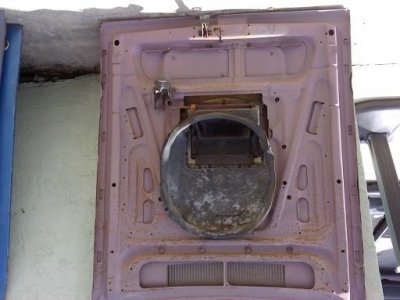
I have a rust free perfect complete set up for the car. It will need new seals though. That was the first part I tracked down because I thought it would be the hardest to locate. I was very lucky to find it. It was about an hour drive away as a bonus.

- - - Updated - - -

image.jpg
 

Attachments

  • image.jpg
    image.jpg
    44.7 KB · Views: 376
Very nice! rust free and not far away, Your ahead of the game most of the time! Go go go bro!!
 
image.jpg

- - - Updated - - -

Now I need to locate an AMD quarter panel for the 72. I might get lucky at the Garlit's show.

- - - Updated - - -

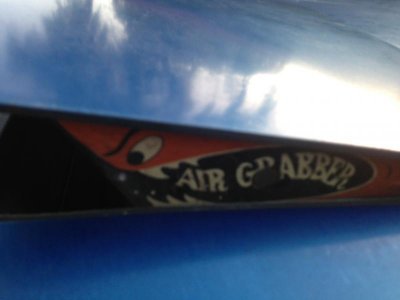
Some people try to locate a hood like I have on the 72 SSB and convert it over to an air grabber set up. I'm thinking about swapping out the hood on the 72 to a RR / GTX hood. I have one but its rusted. It can be saved though with some work.

- - - Updated - - -

The SSB hood is rust free.

- - - Updated - - -

I'm still just kicking that idea around though.
 
Auto Transport Service
Back
Top