You are using an out of date browser. It may not display this or other websites correctly.
You should upgrade or use an alternative browser.
You should upgrade or use an alternative browser.
B Body stiffening
- Thread starter Darius
- Start date
Got ALL of the lights hooked up today and turned on the heater. EVERYTHING worked the first time with zero issues. How cool, I am so blown away to finally be to this point. It is almost unreal.
Great News Darius . . . continued luck and progress on your build - Hope we'll get to see the completed build soon ! ! !
What an incredible BUILD you've got going here . . . thanks !
usaroadrunner
Well-Known Member
this will be one sweet MOPAR darius...almost there keep up the nice work. beautiful.
Force28x
Member
This is incredible! I sent you a friend request on FB. I can't get enough of this build!
Darius
Well-Known Member
I think I deleted your request because I did not know you.
Force28x
Member
That's what I get for not messaging first!
Force28x
Member
I know you had said that you deleted the side window vents on the dash pad. Did you get any pics of how you 'filled' them in? Any pics looking at the dash top through the windshield?
Darius
Well-Known Member
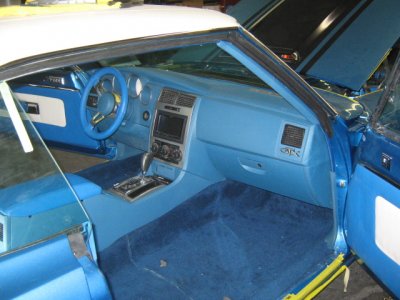
I don't have any shots with me at work . I cust a piece of ABS plastic I bought at the local plastic supply store and cut it to fit the opening. I then fabricated a combination plastic/steel mounting "bar" that screws into the bottom of the cover piece and sandwiches it into the opening left from the side vent.
Darius
Well-Known Member
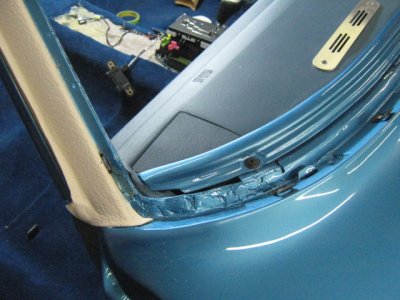
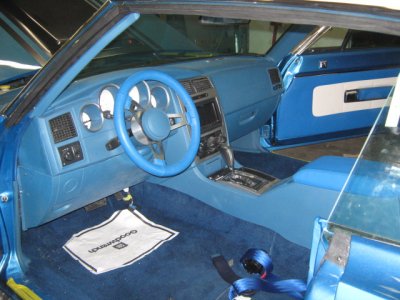
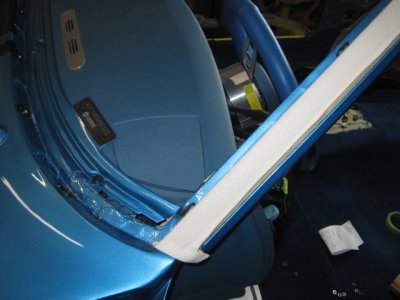 Here are some pics of the side vent covers. The ABS sheet had a texture on one side that was very close to the texture on the vinyl dash.
- - - Updated - - -
Once you open a B Body hood with these hinges, you will absolutely have to have them WOW. Who knew it could be this easy and SOLID!
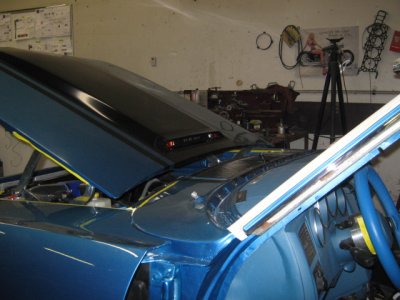
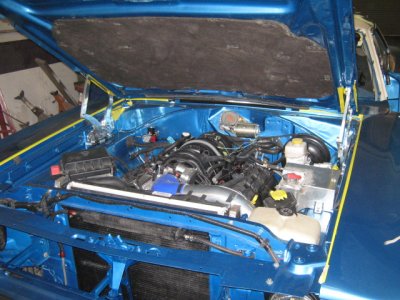
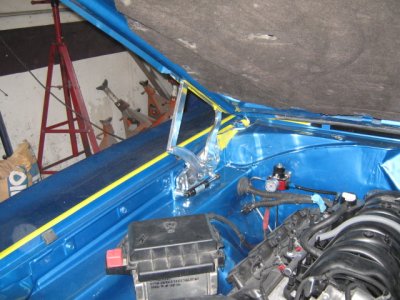
I'm likin the hood insert, I'll get a better shot later


HYRDGOON
Well-Known Member
- Local time
- 3:49 AM
- Joined
- Apr 20, 2013
- Messages
- 3,374
- Reaction score
- 2,745
- Location
- Breslau, Ontario, Canada
Coming together fast now brother! and those hinges do look sweet!
Darius
Well-Known Member
Force28x
Member
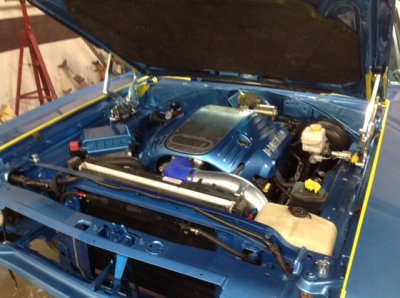
Thanks for the dash pics!! Engine compartment is sweet.
Darius
Well-Known Member
I have the original GTX grill on the car. I am not real happy with it so I will most likely change it if I can find a better one, maybe one of the repops?
Darius
Well-Known Member
Force28x
Member
Incredible! Love the GTX on the dash!
67coronetman
Well-Known Member
Wow i have to say you have put time into that car and its turned out very nice to retro for me but its very nice good work i hope you have years of fun with it awesome job... 
dickdale
Well-Known Member
Darius
Well-Known Member
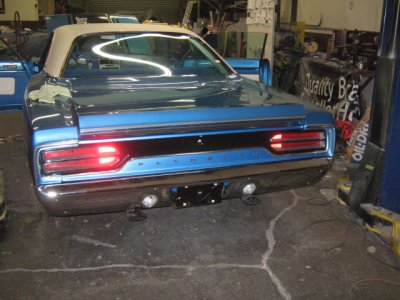
The car is DONE!!!
Well, a ton of adjustments and dialing in to do but the main build is complete and I drove it in limp mode into the Autorama today! It is a strange feeling after so long, it is almost as if I had become used to the idea that it would be a forever project or something. I amView attachment 168689View attachment 168690View attachment 168691View attachment 168692View attachment 168693View attachment 168694View attachment 168695 very pleased with the outcome. I will post numbers once we get to where we have something to report performance wise.
Well, a ton of adjustments and dialing in to do but the main build is complete and I drove it in limp mode into the Autorama today! It is a strange feeling after so long, it is almost as if I had become used to the idea that it would be a forever project or something. I amView attachment 168689View attachment 168690View attachment 168691View attachment 168692View attachment 168693View attachment 168694View attachment 168695 very pleased with the outcome. I will post numbers once we get to where we have something to report performance wise.
Similar threads
- Replies
- 0
- Views
- 258
- Replies
- 0
- Views
- 1K
- Replies
- 0
- Views
- 220

