• When you click on links to various merchants on this site and make a purchase, this can result in this site earning a commission. Affiliate programs and affiliations include, but are not limited to, the eBay Partner Network.

Body pro's Advice.

74sundance

Well-Known Member
Local time
1:30 PM
Joined
Feb 23, 2010
Messages
1,150
Reaction score
33
Location
ontario,Canada
Hey guy's,I've been doing some body work,I'm getting better but I still have a hard time feeling the work.It looks great with the eye and I am starting to get a better feel for my finish work but I still get the odd surprize after laying down the primer.Do you guy's have any hints/tricks/tips to help me feel the body work by hand before I hit it with the high build....
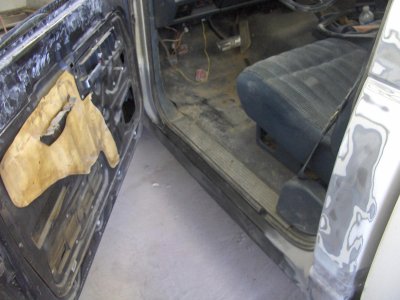
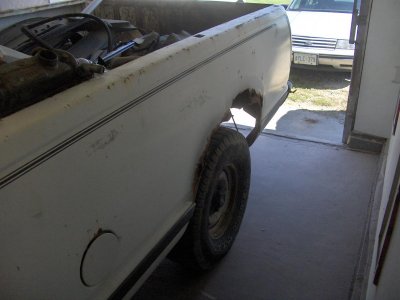
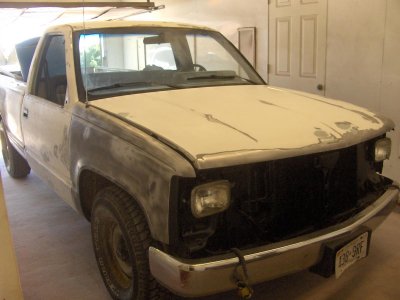
On this Truck I've welded in 2 cab corners 2 Rockers 1 Rear wheel well and still need to weld in the other side.
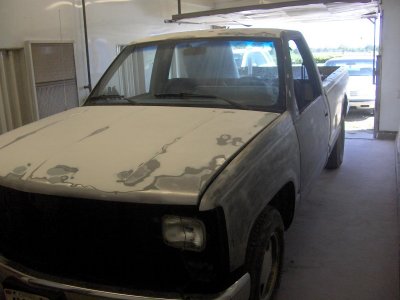
My 90 chev 1500 001.jpg
My 90 chev 1500 003.jpg
My 90 chev 1500 005.jpg
My 90 chev 1500 006.jpg
My 90 chev 1500 008.jpg

My 90 chev 1500 001.jpg


My 90 chev 1500 003.jpg


My 90 chev 1500 005.jpg


My 90 chev 1500 006.jpg


My 90 chev 1500 008.jpg
 
If I did that Donny I wouldn't have a truck left to work with lol....I don't mean rust popping out just uneven feathering high/low spots that kind of thing :)
 
A good idea Sundance would be guide coat. What that means is to spray on like a flat red or other contrasting color, then spray over that with like a grey or tan primer, covering up the first coat completly. I know company's like Eastwood, SEM make a guide coat paint, but i always had good luck with a $8 flat spray paint. Using a spray gun give's the best uniformed result's but if not an option, hold a spray can 15-18 inches back and sweep side to side across the panel dispursing the paint as equally as possible.

Next sand down with a large block (like durablock) at 400-600 grit. Once you start sanding, any high spots will start to be exposed by the red colored guide coat starting to show through. Keep working the top layer (primer) down to the red across the whole surface and your low spots will be identified by the top coat still present.

Also, 3M and a couple other company's make a dust coat for identifying proplems with your primer/sealer. It's usually a fine black/red dust that comes with an applicator you brush across your surface. It settles in any voids and identifys any swirl, scratch, chip areas

With the guide coat you'll need to decide to skim coat, grind, use high build, or whatever needed to remedy your flaw's.

Good luck buddy
 
Sundance, right on buddy. Not often you see guys that have the nuts to bail off into something that needs to be done but dont have the experience but are willing to learn. Good on ya. My hands and fingers can see more than my eyes ever will. Especially after the lights go out. The guide coat is a good idea mentioned before. Get ya some cheap flat black spray cans and fog the primed surface. After block sanding you will be able to see the lows and highs. Keep us posted. Your gona learn alot.
Small Block
 
Thank's Propwash..I'll get at it today and let you know :)

Feel: Light touch on fingertips moving parallel to your fingers. That's what she said!
Sight: rag and bucket of water. Get the surface wet and at the correct angle with a distant light source, you'll see it all like gloss black paint. Thin coat of water is also best, so a drip or two of dish soap in the water will help break the surface tension. Wipe often as you sight the panel.
 
When my car was in the shop I helped with some of the grunt work and lots of the hand sanding. The bodyman used a very light grey - almost white - color (http://www.muskie-lures.com/73roadrunner/frontend1003.jpg) PPG urethane primer and put on three coats with sanding between each one. To make them "guide coats", he added a little bit of blue to tint the second coat, then a little bit red to tint the third coat. That made it easy to tell when you were starting to break through.
 
When you are having a hard time feeling imperfections, I have my students to hold a piece of paper towel between their hand and the panel. Hold your hand flat with your fingers held slightly apart...feel the panel in all directions, lengthwise, up/down and diagonally. As the other guys mentioned, a guide coat is invaluable, I use 3M's dry charcoal/graphite wipe on type. Primer surfacer is expensive as you know, so get the bodywork correct before priming! As a visual aid a spray on wax and grease remover can be used to wet the panel to have a look...don't use water on body filler and of course on bare metal... Be careful with some primer-surfacers as well...many are not intended to get wet and can absorb water! Especially polyester based primers such as Slick-Sand!
 
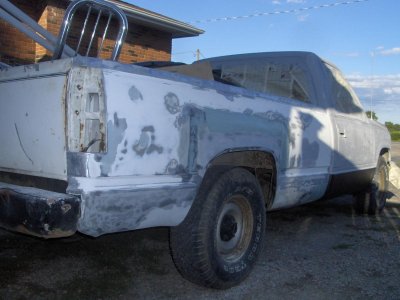
Wow guy's thank's for the responses :) I've done a lot of sheet metal fab,making my own patch panels and what not but I've always done the 1st mud then past it on to my Bud who's a body man/painter.But now I want to do it all :) I have finished the whole cab of the truck and it came out good.I'm now working on the box, it needed both wheel well patch panels.So here's my next question how wide should I go with the Bondo? How many coats to blend where I welded in the panel..No I didn't warp it all up :)

I'll try all of your tricks guy's. Thank again.
 
I've had this truck for about 5 years,I've got to get it rite,,,,,,,,,,,,,,,,,, so I can sell it and buy a Ram 1500 :)
My 90 chev 1500 004.jpg

My 90 chev 1500 004.jpg
 
Ok so I finally made time to work on the truck last night,lucky me my bud who's a body man had a few beers and came out and gave me some trade secrets...This never happens so I'm sure he will be pissed at him self in the morning lol.Any way I finally have one box side in primer and I'll pick up some black spray bomb on my lunch break and let you know how it go's tonight.
 
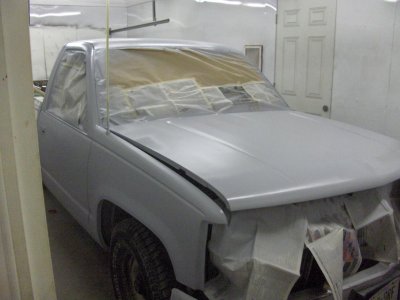
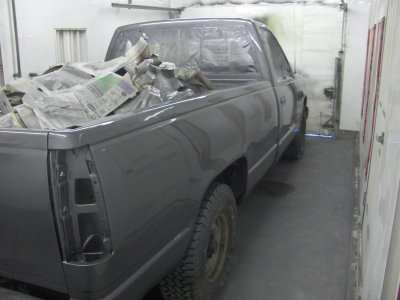
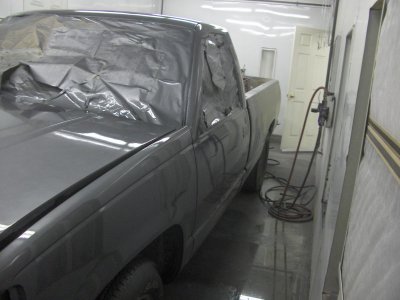
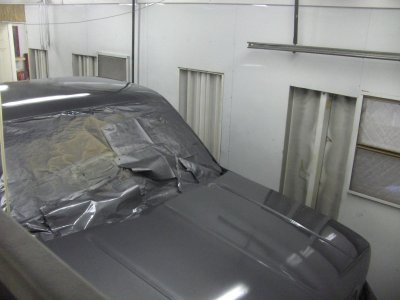
TA-DAH.........Thank's for all your help guy's, aside from an air line blowing of and putting some dirt in my fresh paint it all went smooth thank's to all your help :)
My truck 003.jpg
My truck 006.jpg
My truck 004.jpg


Now,,,,,,,who wants me to Shoot their Hemi RoadRunner? Just sign here :evil5:

My truck 003.jpg


My truck 006.jpg


My truck 004.jpg
 
Last edited:
A hint on the air line connectors...use twist locks instead of the sliding release style or whatever they are called. I never have a problem with air lines coming loose with the twist type. Looks good!
 
A hint on the air line connectors...use twist locks instead of the sliding release style or whatever they are called. I never have a problem with air lines coming loose with the twist type. Looks good!

I have really expensive connectors,they work great, it's where the rubber hose hooks on to the hard line on the wall that the hose let go.Time to install a detachable fitting there too :)
 
74sundance: I certainly understand your frustration on not being able to feel the imperfections.

Assuming you are using a guide coat to get everything as near perfect as possible (I use a wide tip sharpie), I have found that a spray bottle of rubbing alcohol can show me all the flaws that I can't feel, but show up in the final paint.

I spray the area while holding a droplight at different angles. The alcohol evaporates very quick (91% evaporates quickest) and lets you see the area better than even final paint.

As a plus side, when you find a flawed area with the alcohol, you can then rub it to help train your fingers to feel the flaw --- unfortunately for me, my fingers are slow learners, so I doubt they will ever be able to learn enough to ever eliminate the spray.

Hope this helps.
 
Auto Transport Service
Back
Top